
Tues-Friday 9/8-9/11: Digital Collages
In this lesson you will learn how to create a digital collage by combining photographs you have taken along with ones you find on the Internet, and then using the eraser tool in Photopea.
This lesson is in three parts:
-
Part 1 – What is a collage? Due Tuesday 9/8/20 (today)
-
Part 2 – Taking photographs for a digital collage. Due by Thursday 9/10/20
-
Part 3 – How to edit images together to create a digital collage. Due by Friday 9/11/20


Part 1- What is a collage?
1. Before we take photographs I want you to spend some time looking at the work of a fantastic artist named, Veerle Symoens. She is a master of creating collages. She would do this by ripping out colorful images from magazines and pages in books and layering them together. Look through her website by clicking on this link: http://www.veerlesymoens.com/collages.
2. Then do a Google image search for ‘Digital Collage Artists‘. Notice how these digital collages are similar and different to Veerle’s physical collages.
Another favorite photographer of mine, Lorna Simpson, has also created some amazing photo collages. Check her work out here: https://lsimpsonstudio.com/collages
3. Choose your favorite collage. This could be one of Veerle Symoens, Lorna Simpson, or a digital one and save it to your device.
4. Place the saved collage onto a Word document. Describe what it is that makes the image a ‘collage’. Discuss what you like about it, what it makes you think and how it makes you feel. Turn in to the Teams assignment folder titled, “Favorite Collage”.
Part 2 – Taking photographs for a digital collage
1. Watch this YouTube video which will show you how to take the photographs you will need to create your collage. Edpuzzle link: https://edpuzzle.com/media/5f5714b48d309e3f0450db9e
2. Take a variety of interesting photographs. These can be of yourself, a family member, fabrics, wallpaper, interesting textures, etc.
3. Next find a selection of images off the Internet. Again these could be of patterns, people, landscapes such as beaches, fields etc. (You can use the stock photo sites I shared for your color harmony boards.)
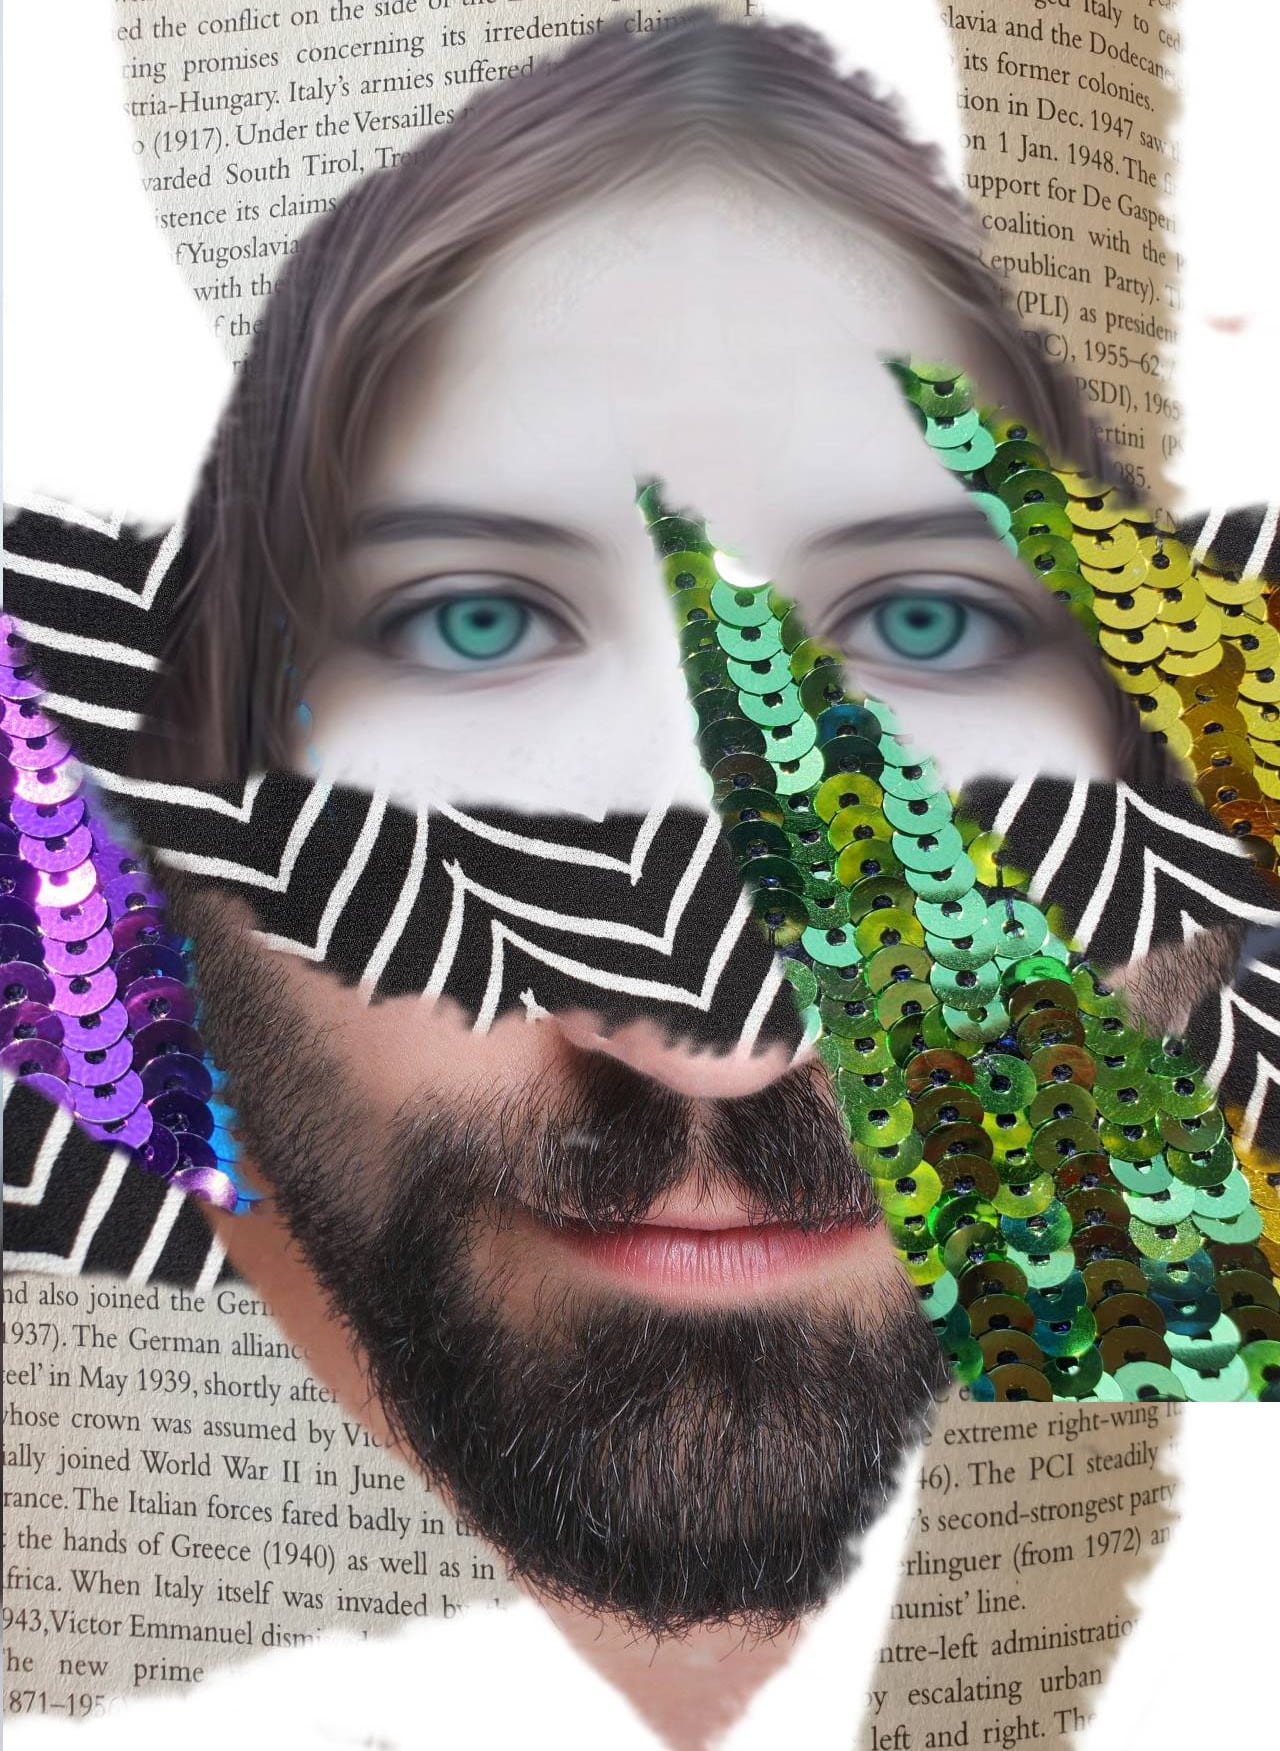
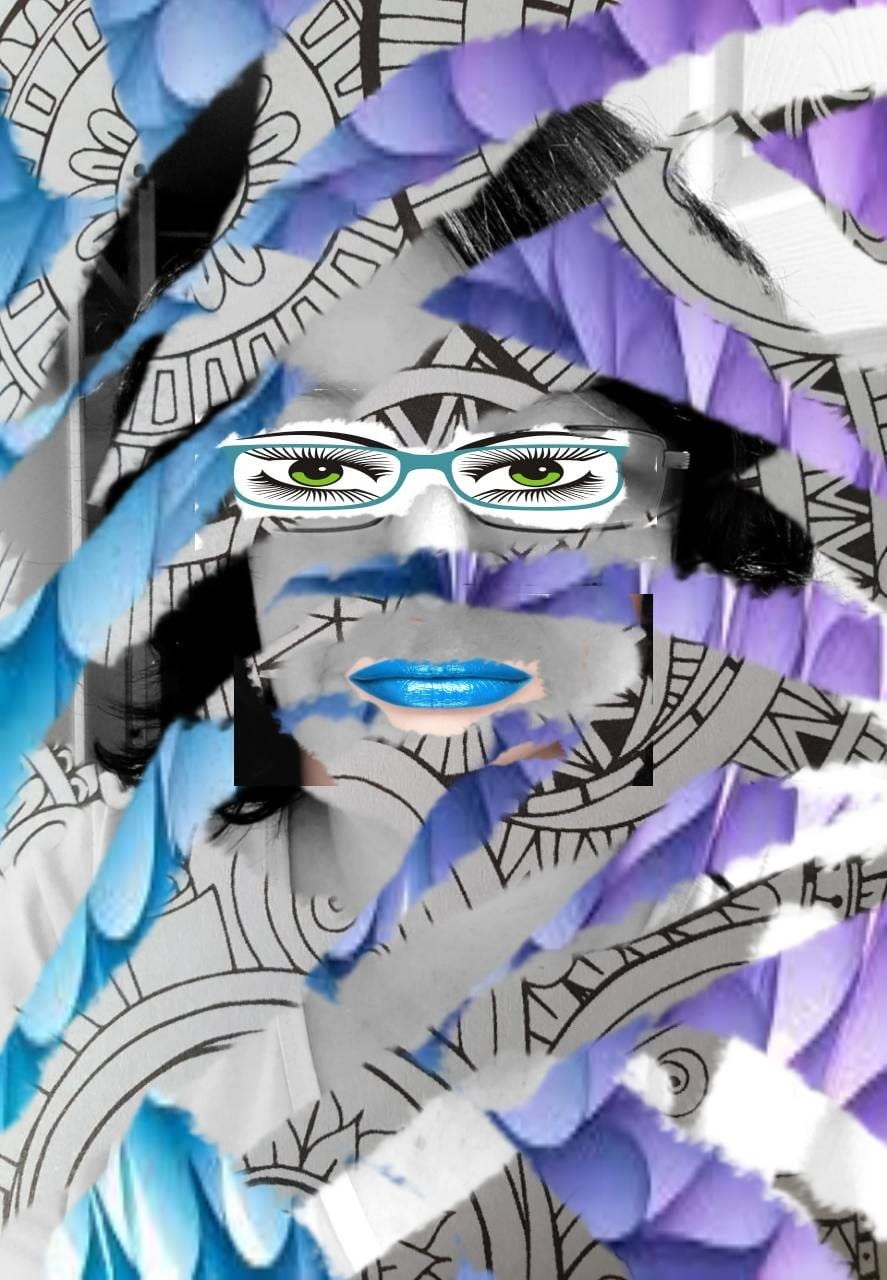
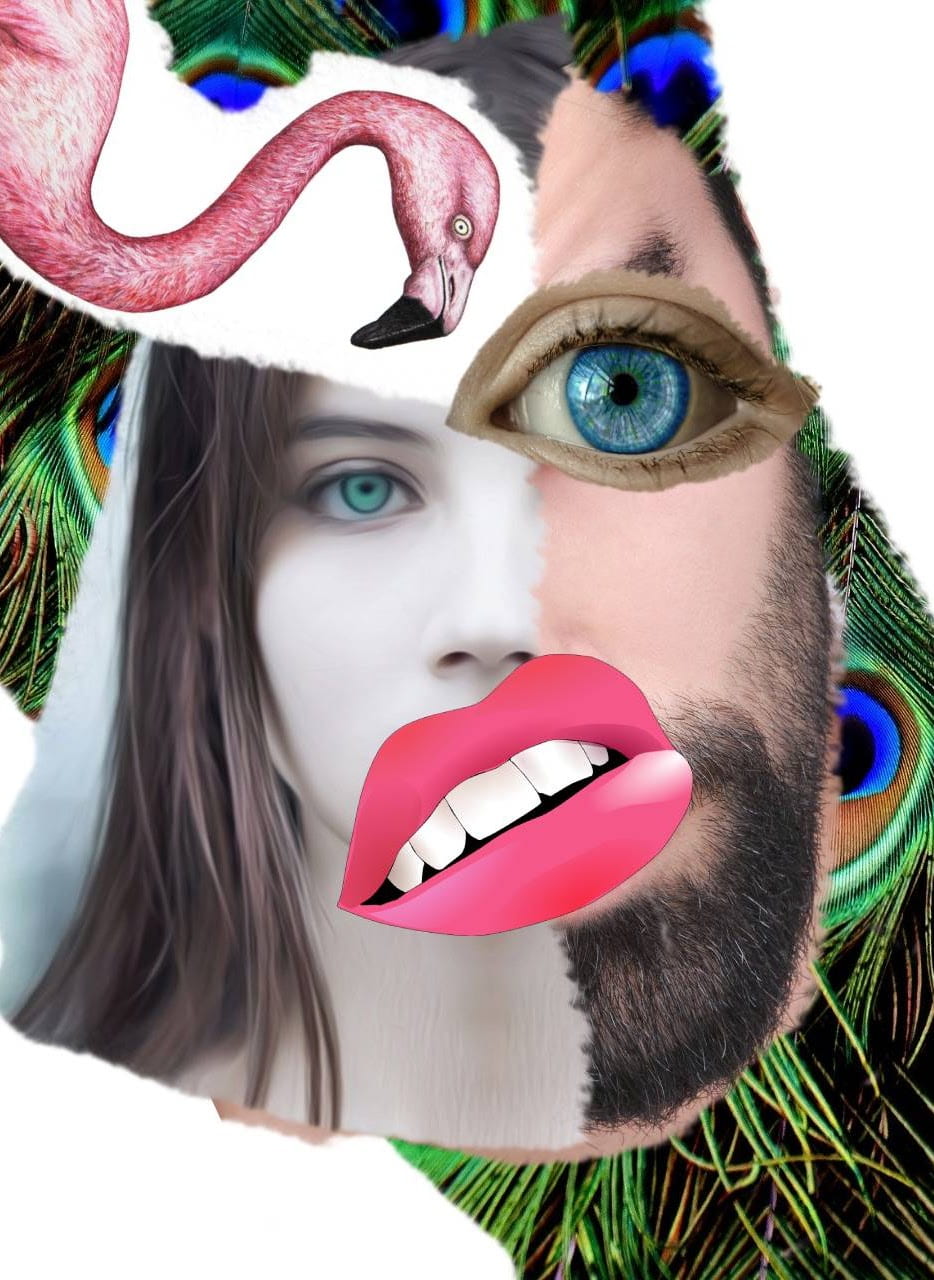
Part 3- How to edit images together to create a digital collage.
There are now two options that you can use to create your digital collage. Read carefully the two options below and choose one:
Option 1 – Using Photopea to edit your images together to create a digital collage:
1. Watch the YouTube video which shows you how to use Photopea to edit all your images together into a collage. You will learn how to use layers and the eraser tool. Edpuzzle Link: https://edpuzzle.com/media/5f57af6ec5bd733f93a96a78
2. Create your digital collage following the instructions above (remember you can use stock photos as well from the sites provided in the color harmony lesson post).
Resize: CTRL+ALT+T hold down SHIFT to maintain proportions while you pull from corners.
Undo: CTRL+Z
Option 2 – Create a real collage using your images and make it digital by photographing it:
-
Print out all the images you want to use to create your collage. As you are making a physical collage you can also use magazines, old books and other printed material in addition to the photographs you took yourself.
-
Rip the images into strips or interesting shapes. Triangles work really well.
-
Stick them together onto a piece of paper/card. If you don’t have glue or paper, you can just lay them out on plain area such as a floor or kitchen counter.
-
Photograph your completed collage (it is now digital!). Make sure your collage is in focus when you photograph it. Be close enough to get a clear shot. Make sure there is enough light. Turn the lights on or move it near a window. Have another look at Veerle Symoens collages that she has made and photographed for inspiration: http://www.veerlesymoens.com/collages