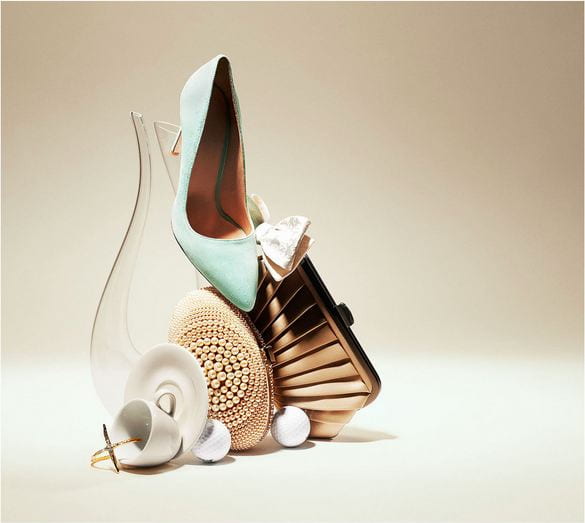
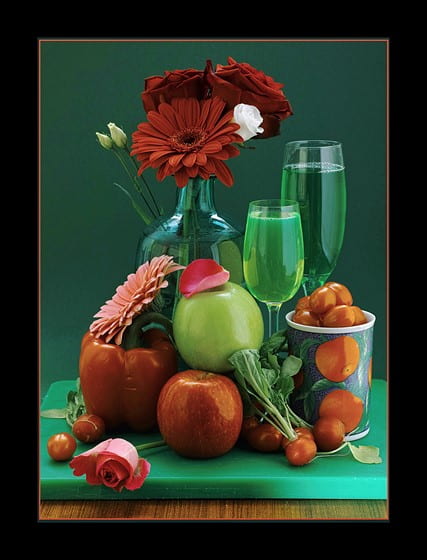
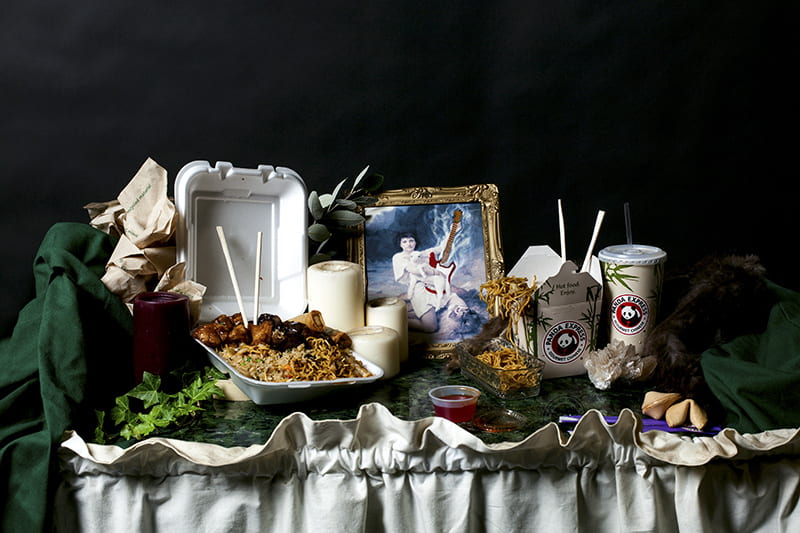
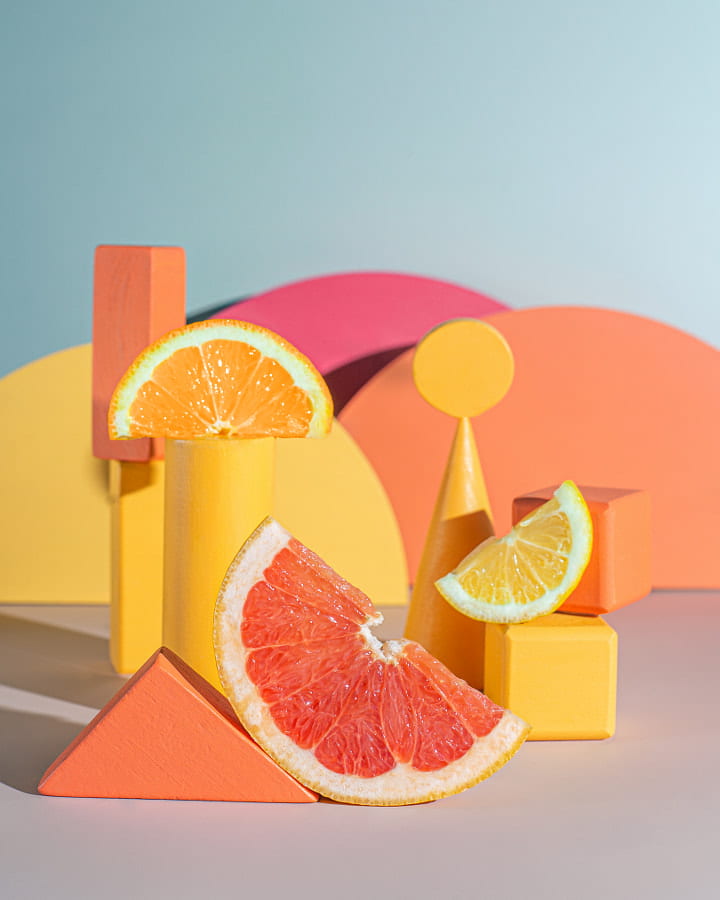
Editorial Photography Projects
Complete in any order. Turn one in on the following dates:
3/8, 3/29, 4/12, 4/26, 5/10
Projects will be graded on:
Technical Qualities-good exposure, purposeful lighting, appropriate focus, editing enhances photos, contrast, etc.
Composition-Rules of composition (or breaking them for an intentional effect), camera angles, use of space, consideration of colors, balance, etc.
Content-fulfills the criteria of the project and shows intent.
Creativity/Effort-Projects should demonstrate that you researched, brainstormed, and planned out your ideas. Thoughtfulness and problem-solving are evident.
Show off your best photographic and creative abilities!! I want you to be proud of your own work.
I am here to help you with any step of your projects.
Editorial Photography Projects PDF
How to make a contact sheet: Click Here