Extra Credit Photo Projects! Get ’em while they’re hot!
So your grade isn’t looking too hot because you have missing work from 3rd quarter? First, make sure all your 4th quarter work is complete and turned in. Then you can pick ONE of the following to make up your past missing work. Some options come with resources, others you may have to do a little research on your own. 😉
Must be turned in by May 15th!
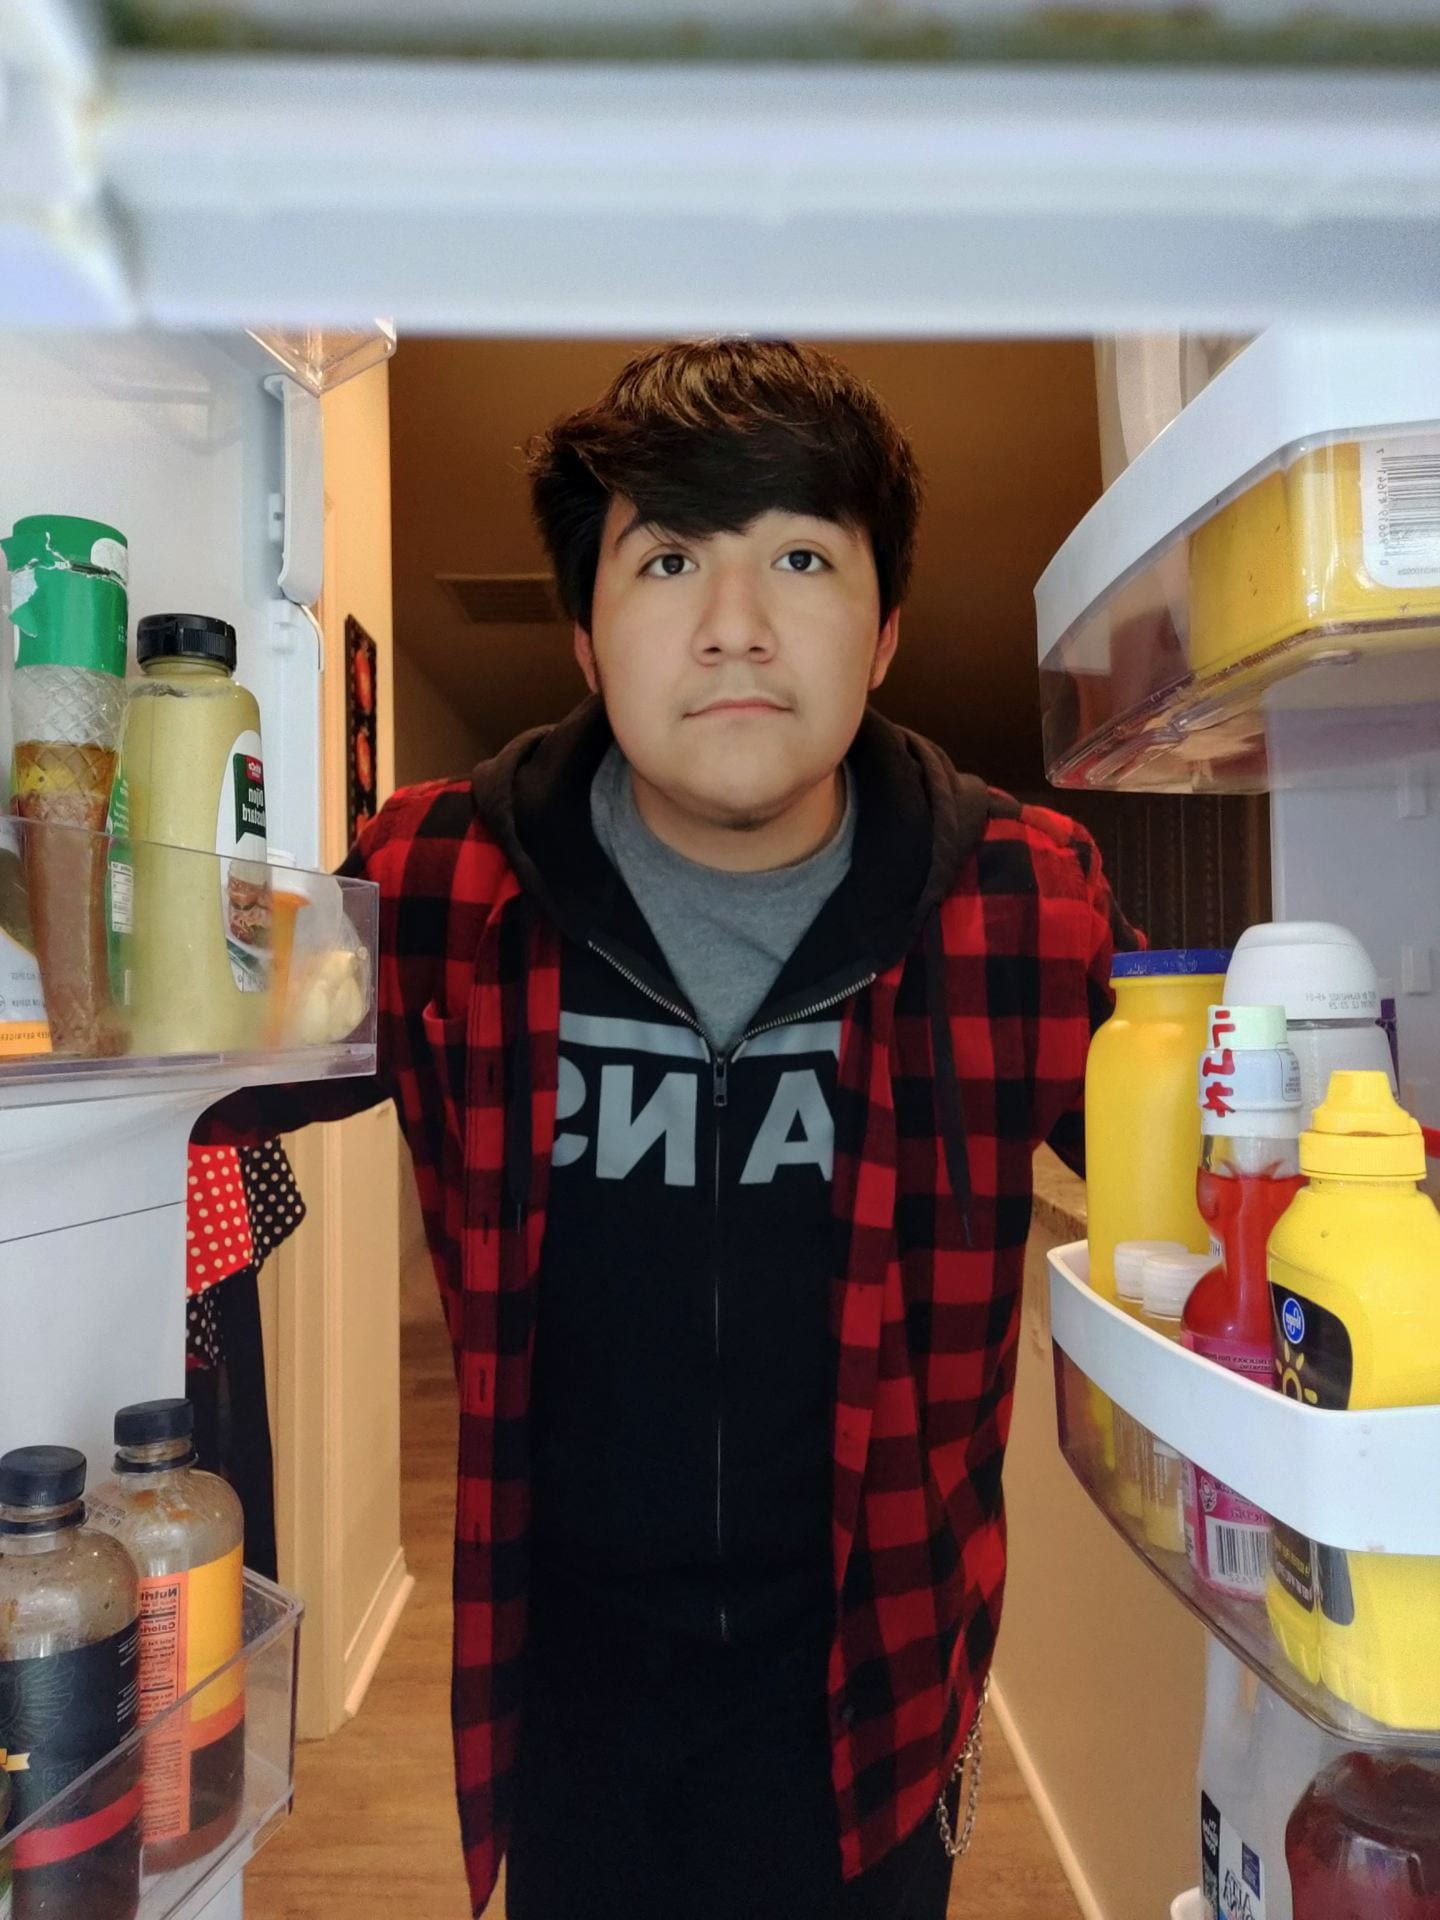
Product Photography: Click here for more info/examples/tips
- Photograph a product of your choice in the classroom, at school, or at home.
- Take a minimum of 15 photos of the product. Make sure your focus is sharp and lighting is adequate.
- Choose your best 2 photos to edit in Lightroom and post on your blog.
- Include settings in the captions and a gallery with all 15+ shots.


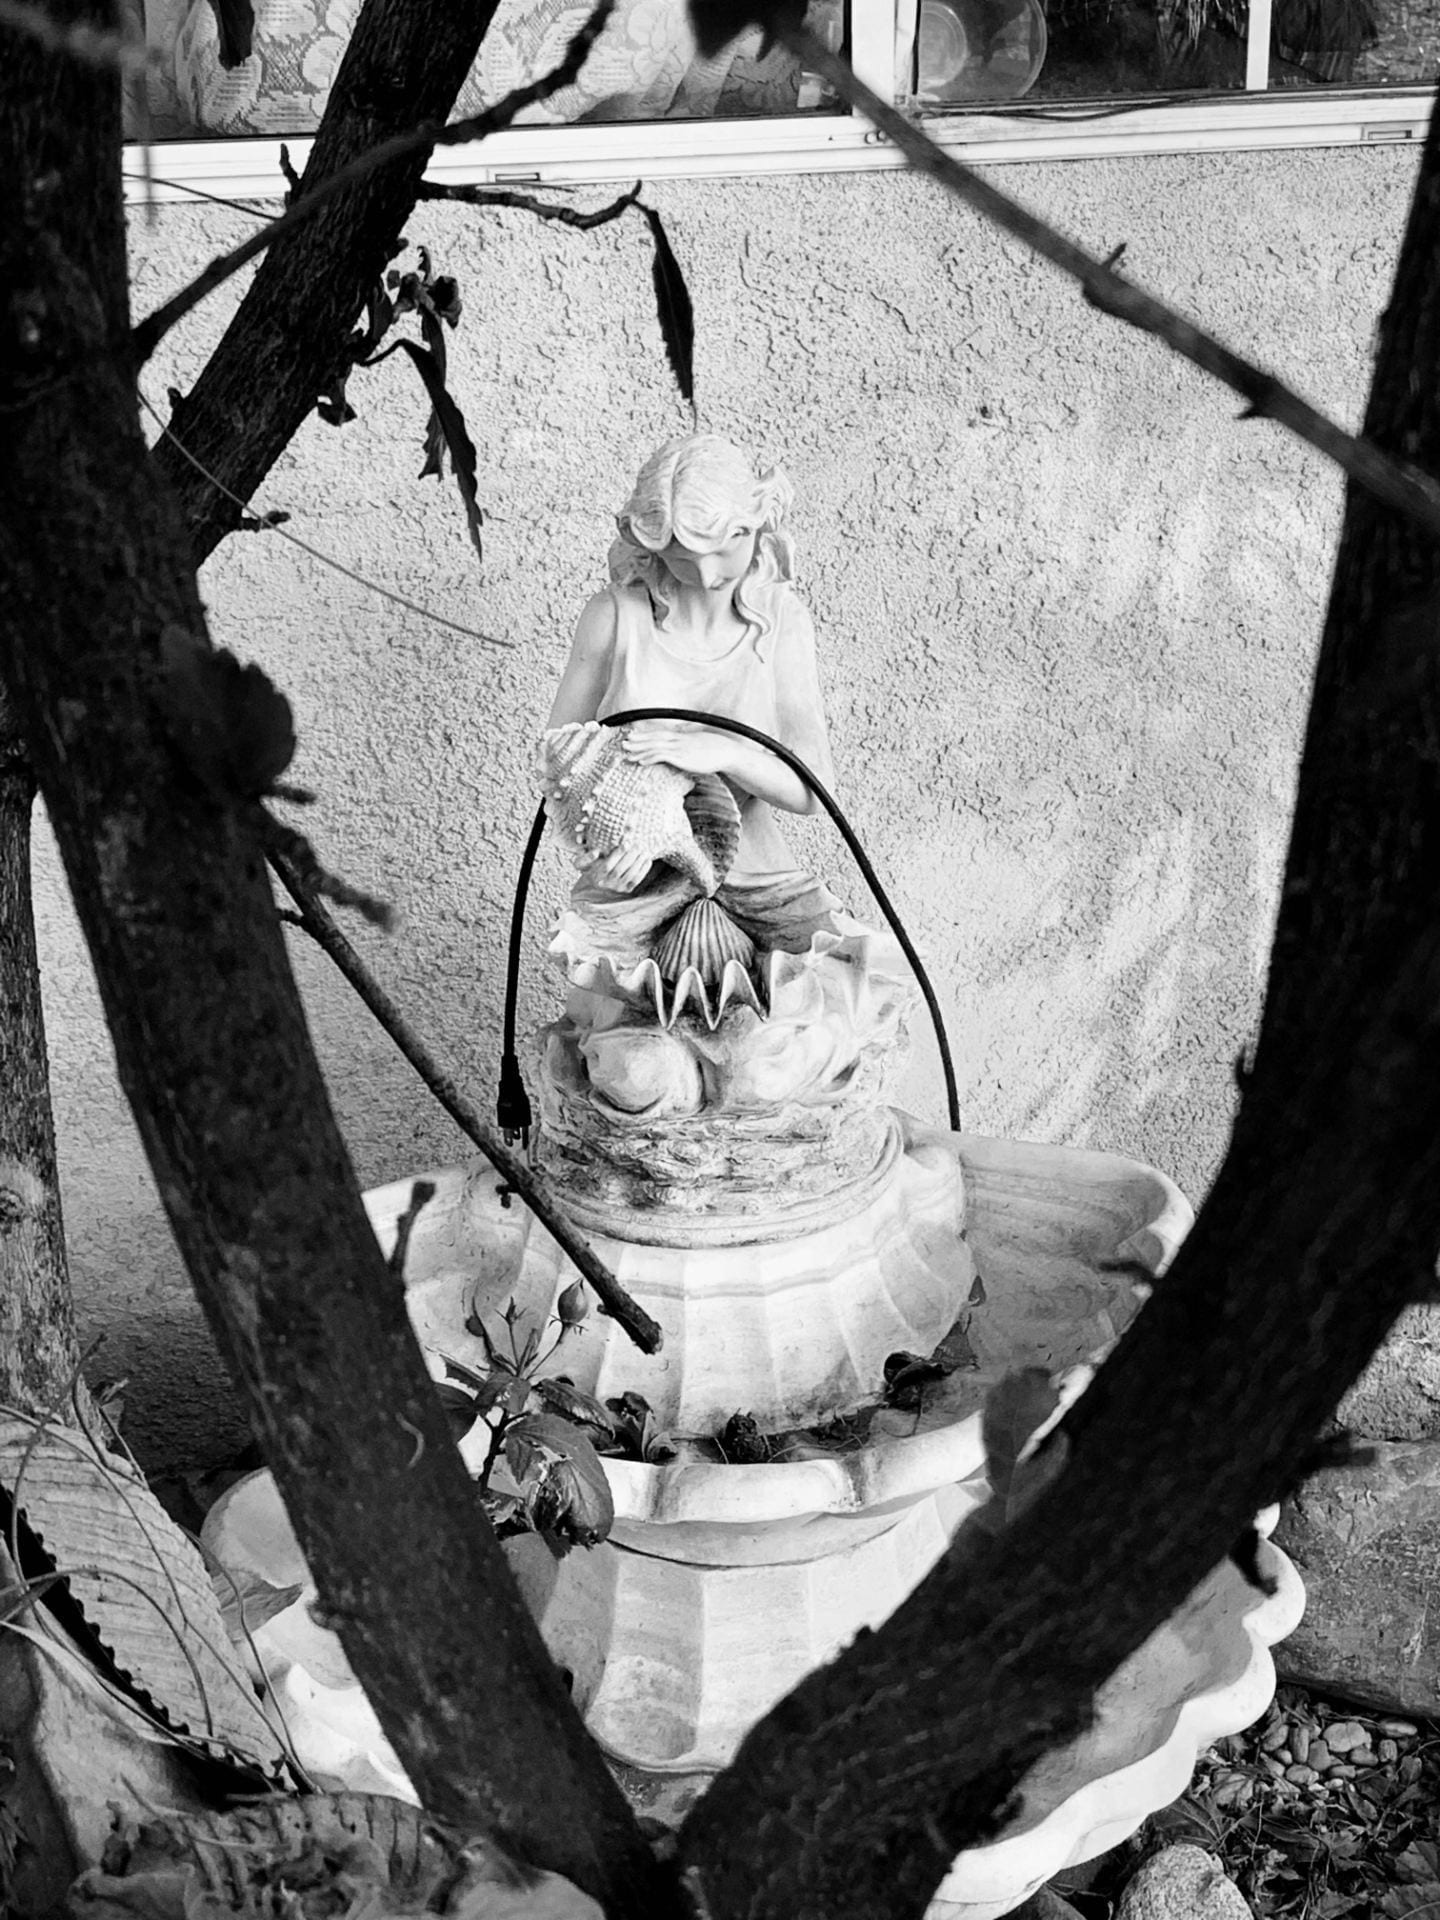
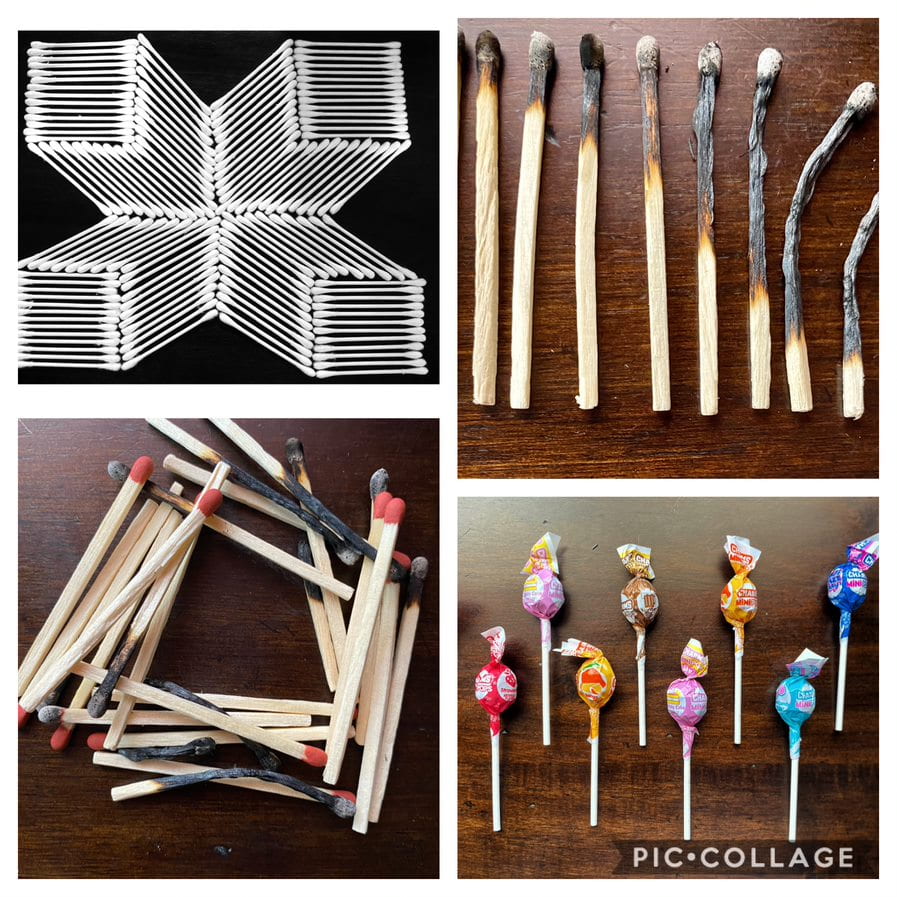
Meticulous Photography: Click HERE for more info…Or click HERE for more examples
- Choose a theme with items.
- Experiment with precise and even configurations and with the direction of light.
- Take 10 photos. Besides lighting, make sure you’re also getting a perfect bird’s eye view (top down view), with no tilt.
- Edit your best one. Post it along with a gallery with your other photos. Include settings in the captions.


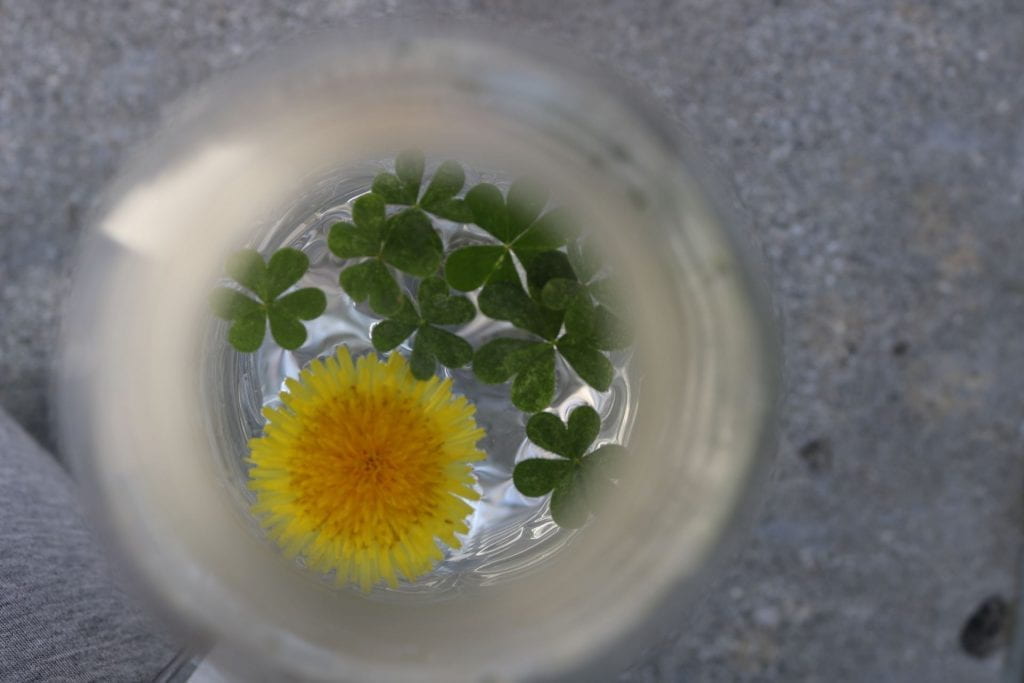
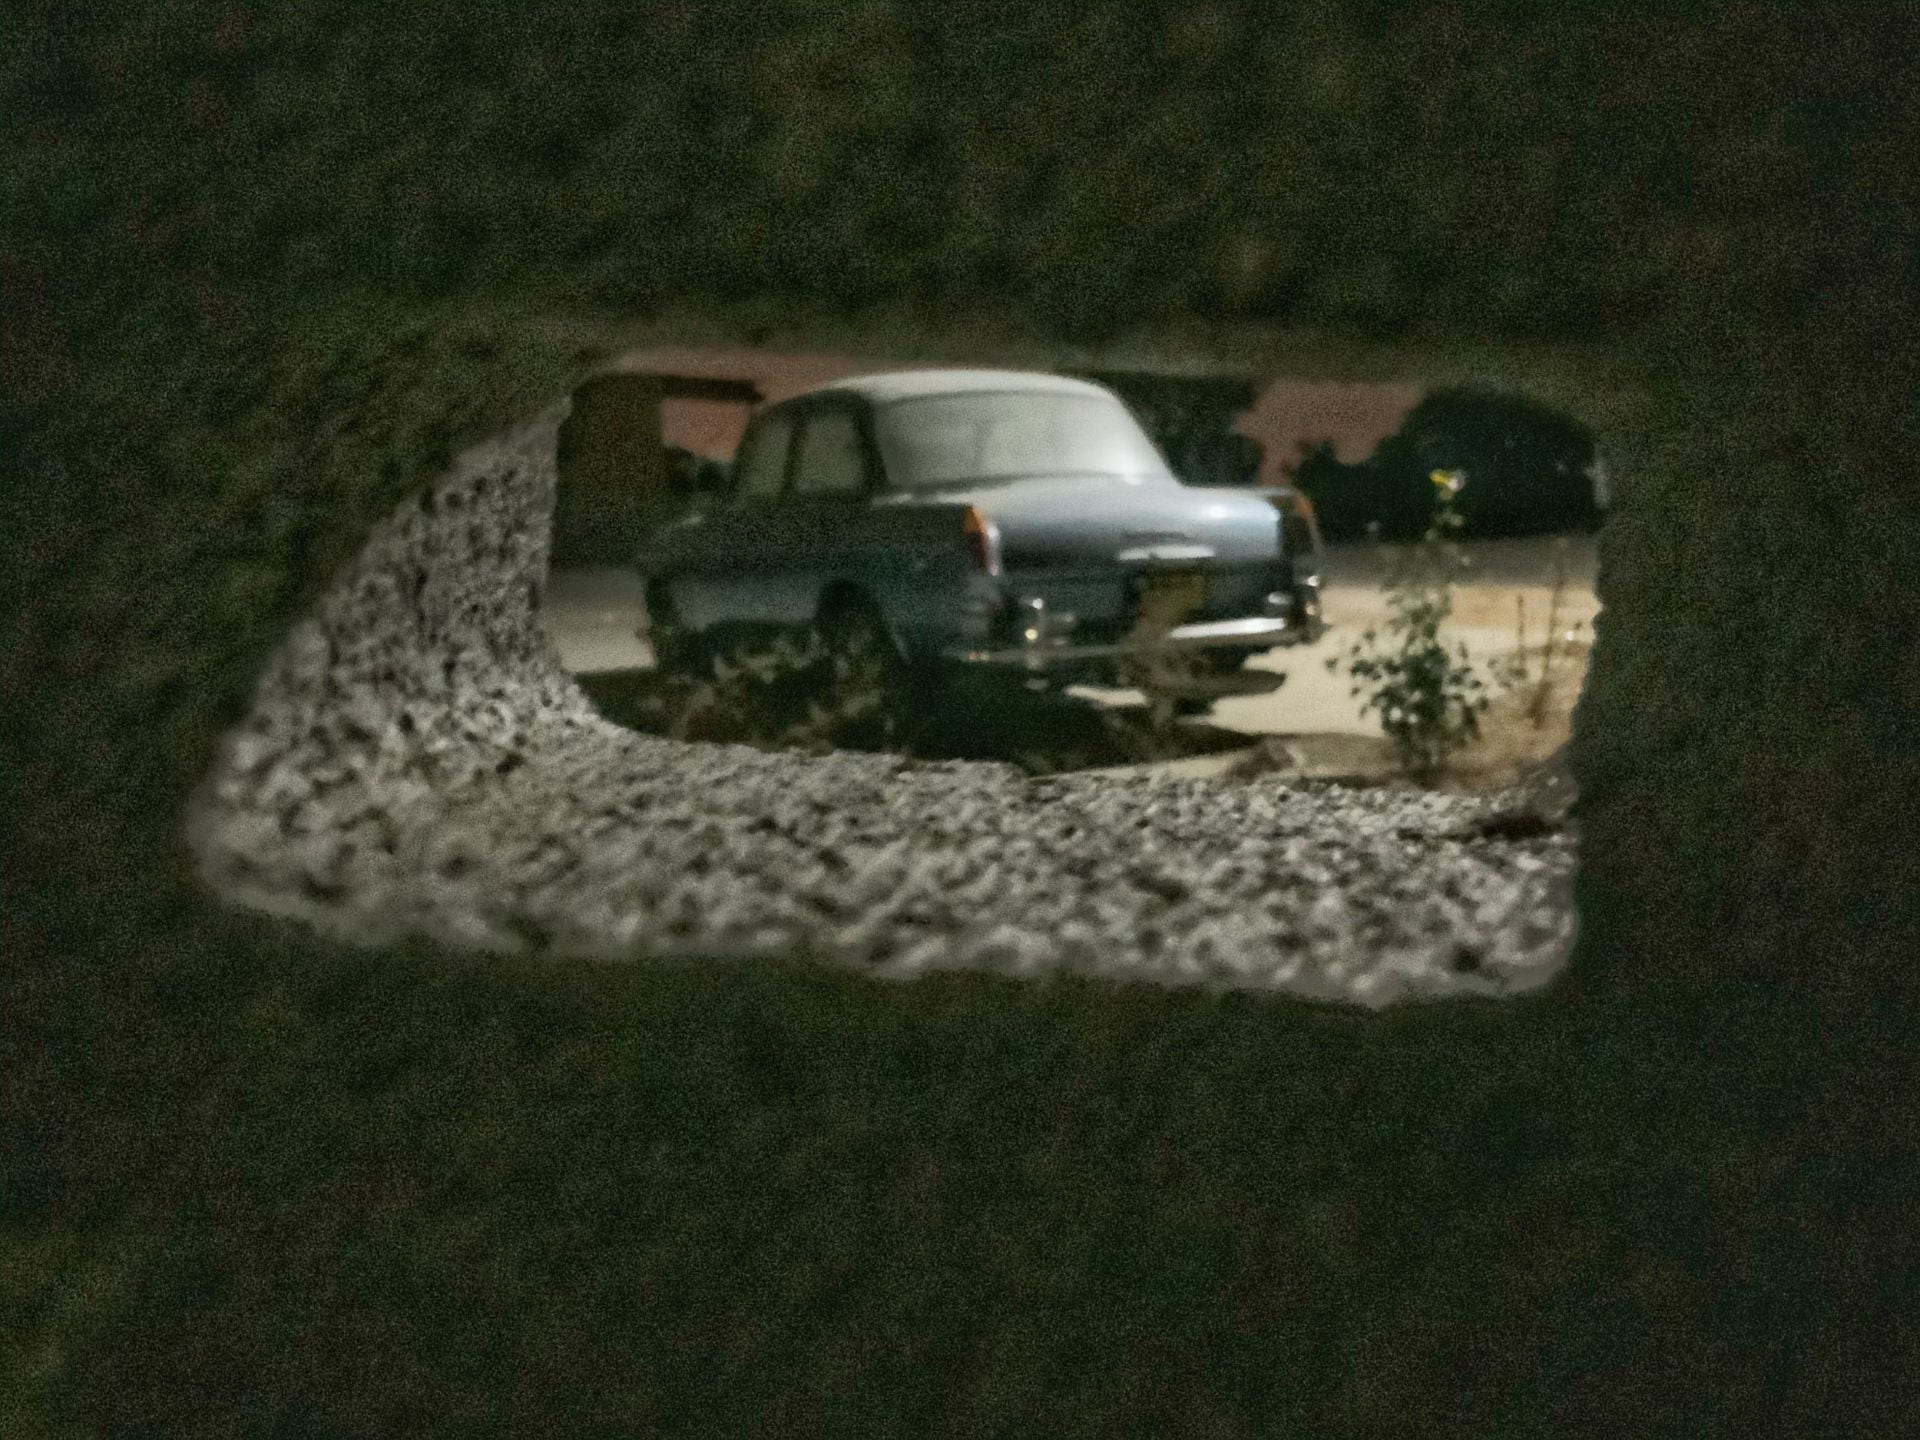
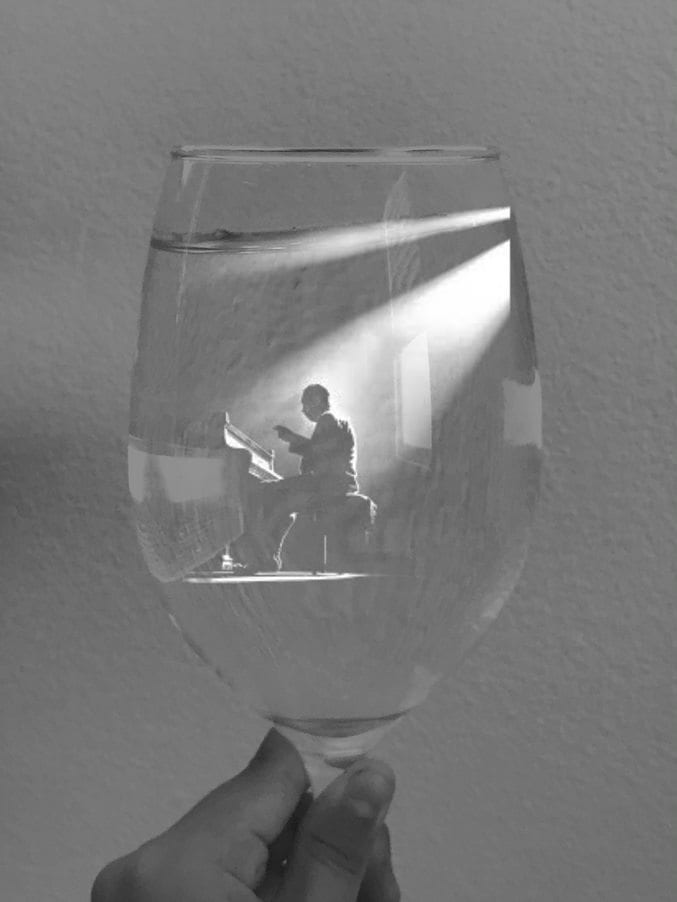
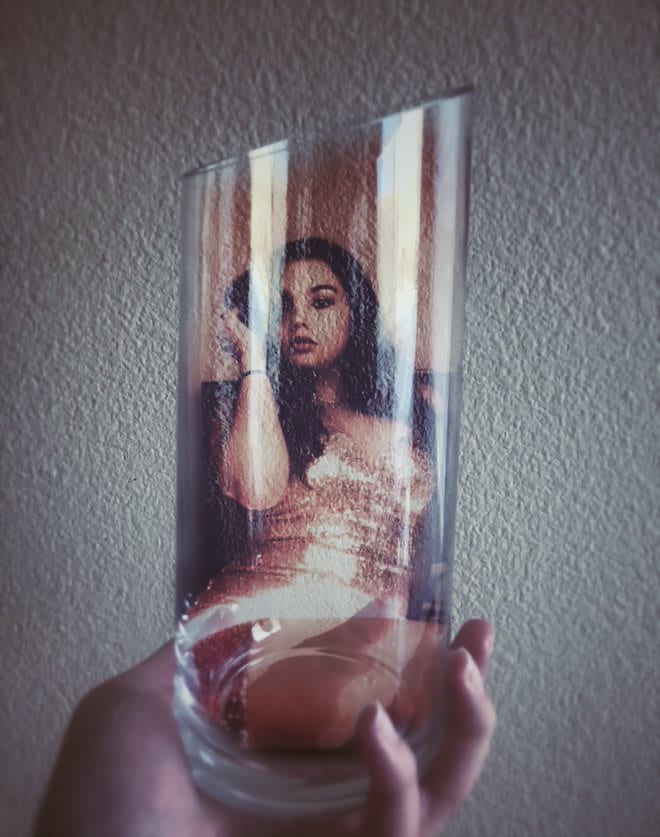
Trapped in a Jar: Click here for more ideas
- Take at least 3 photos of a glass jar, vase or container…use adequate lighting.
- Take another photo or use a photo you’ve already taken and use layer masks in Photoshop to put it together.
- Edit the result and post on your blog. Include all the original photos in a gallery.


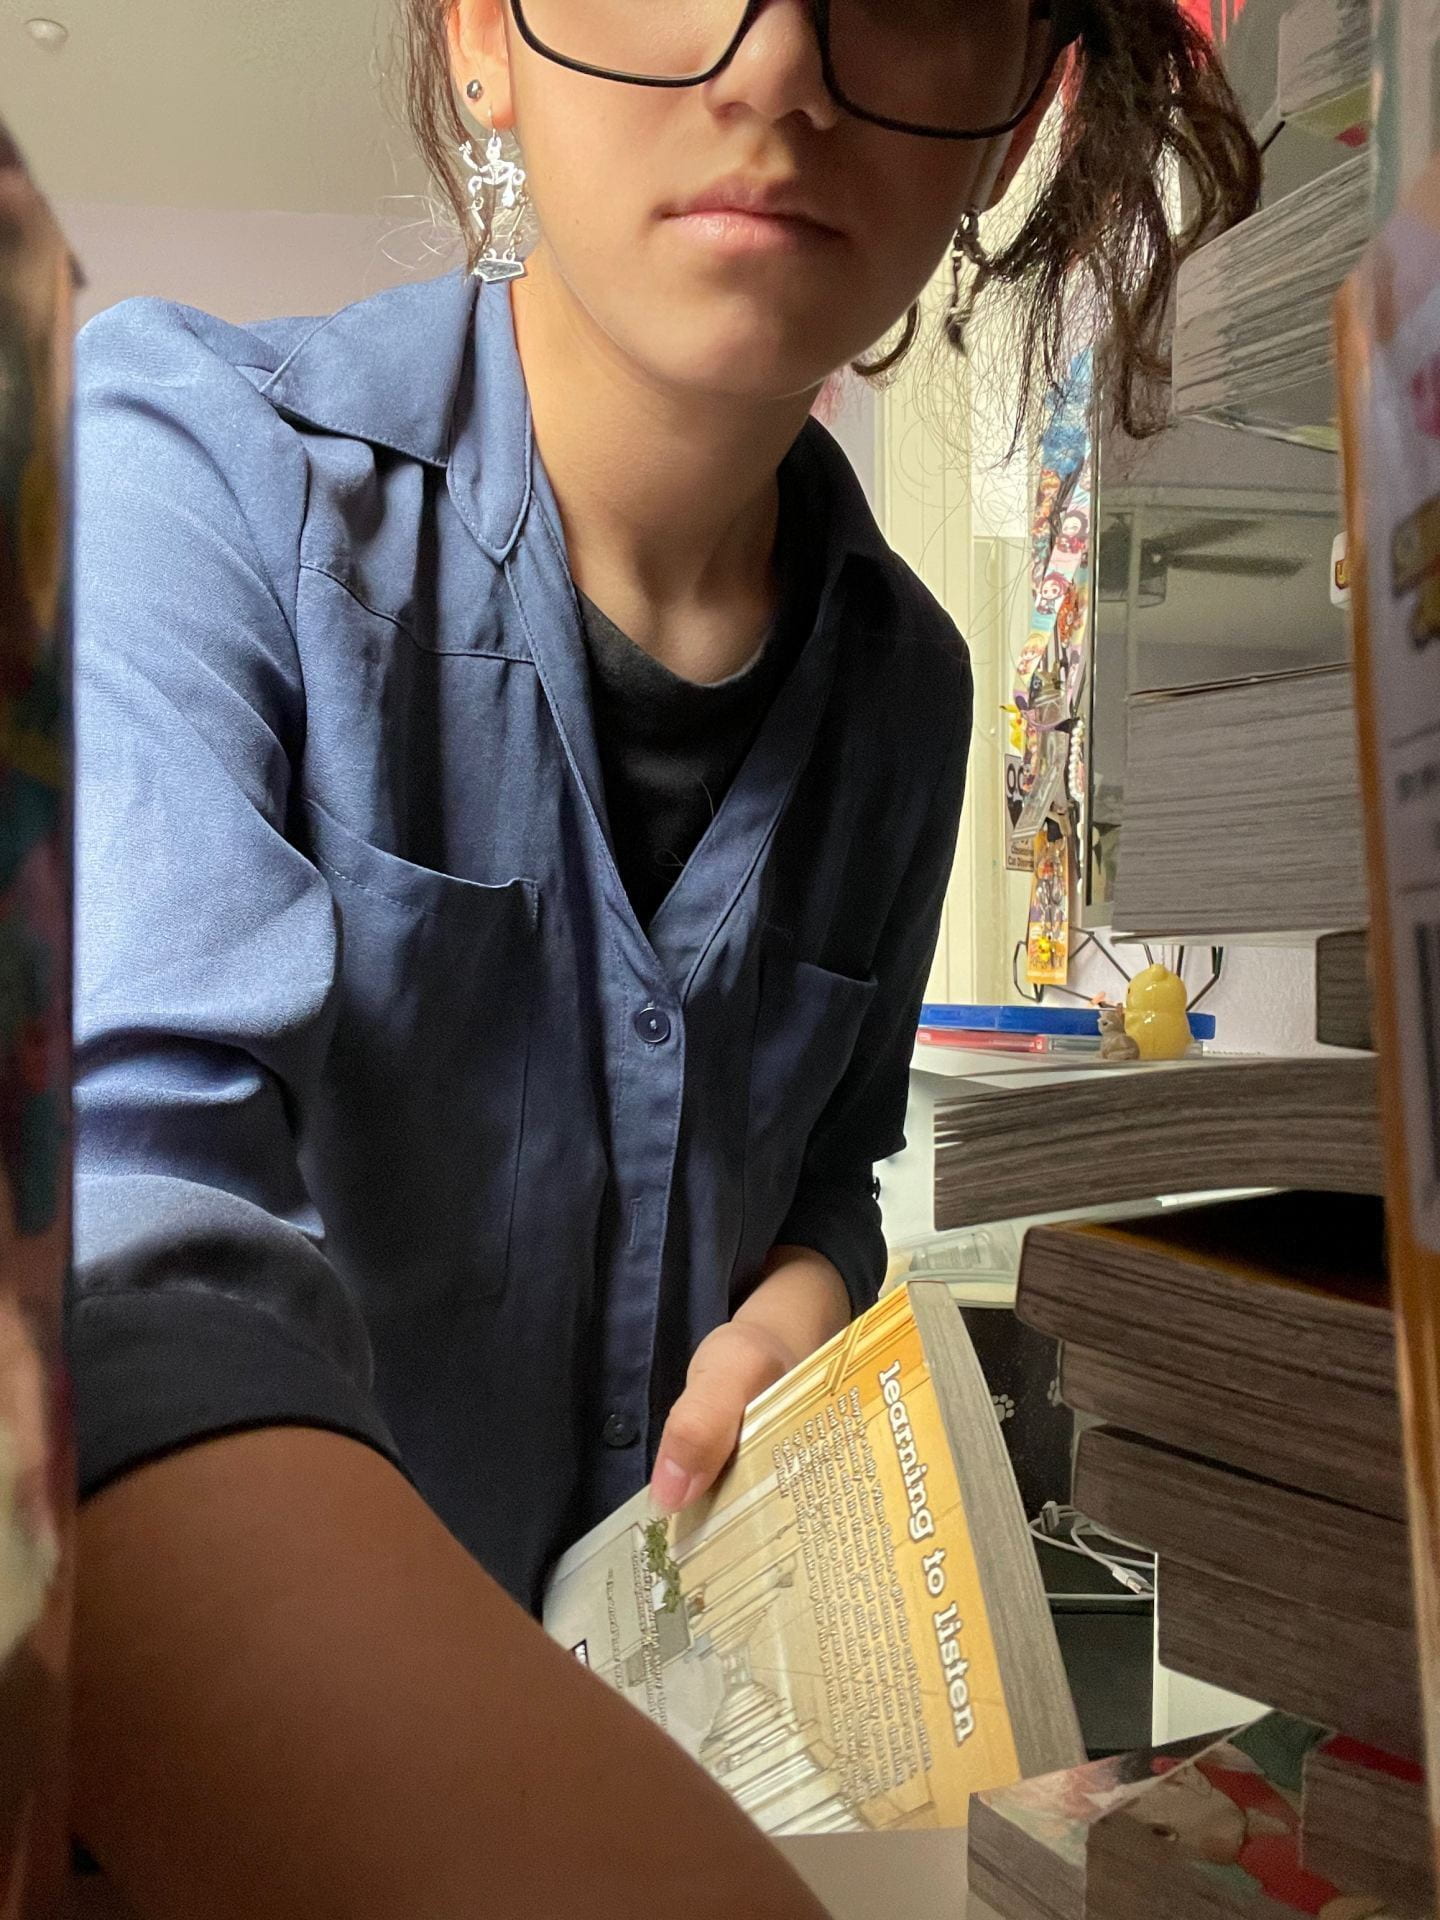
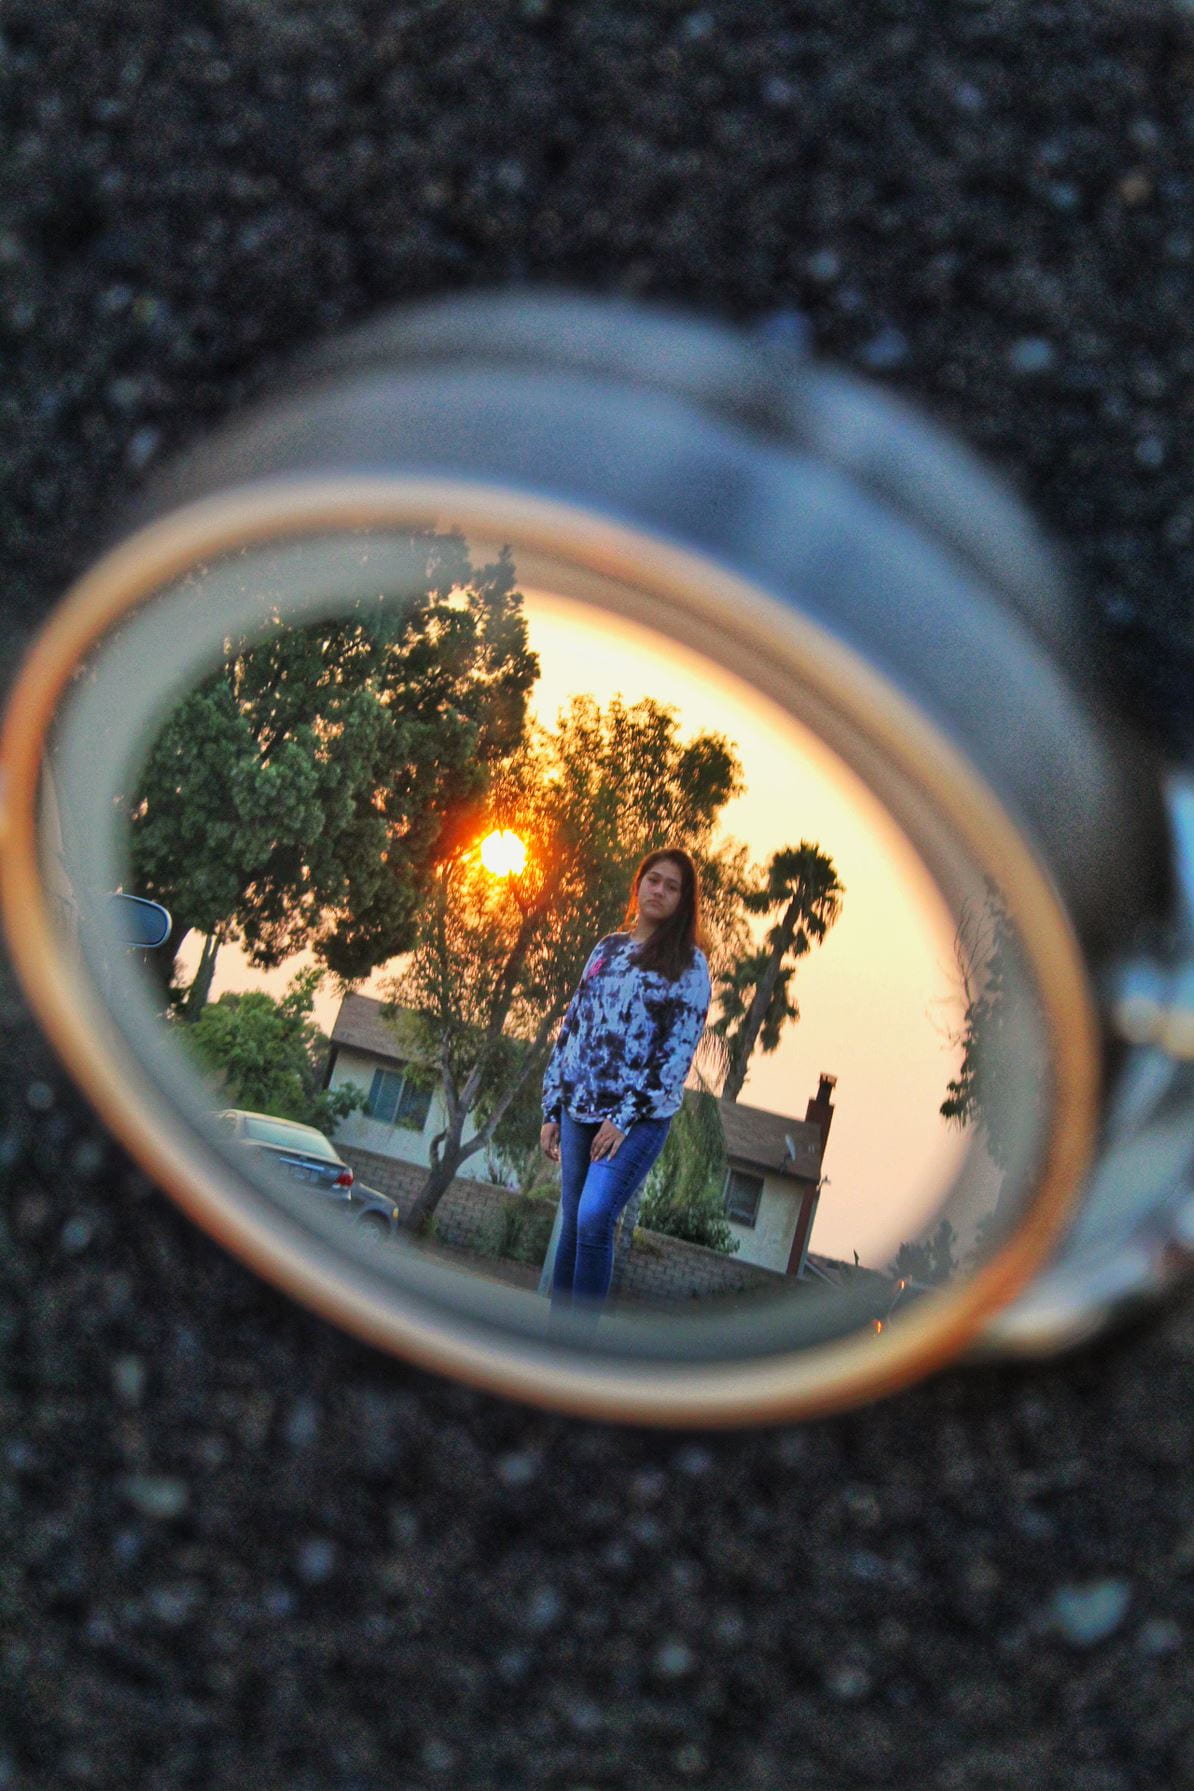
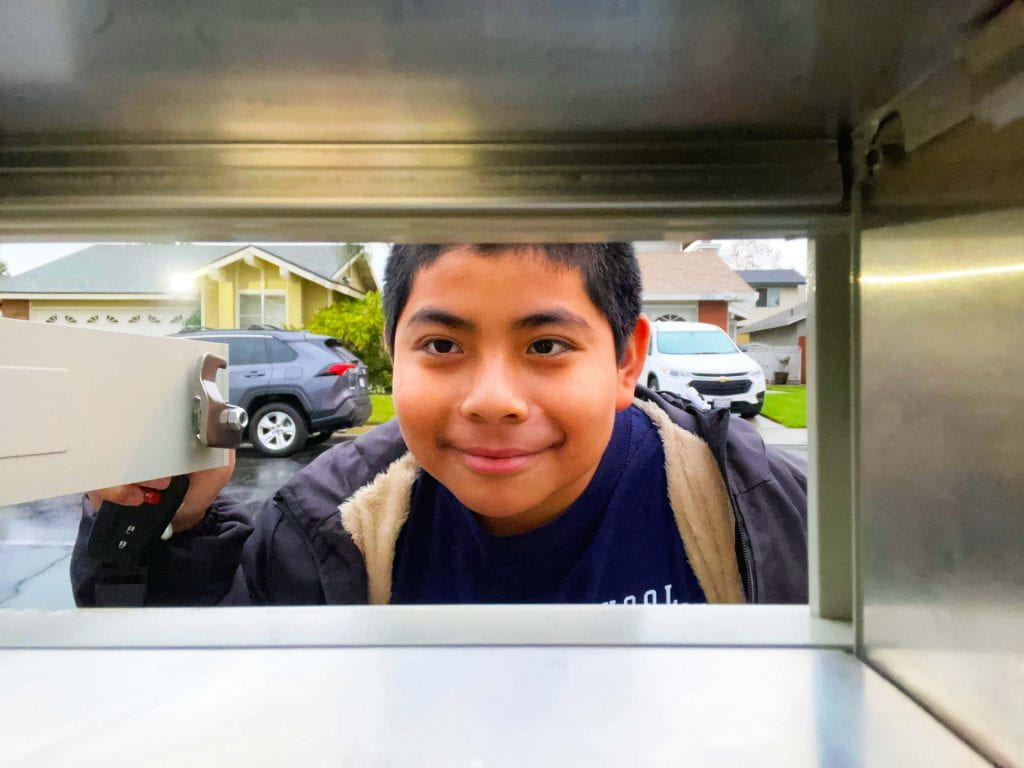
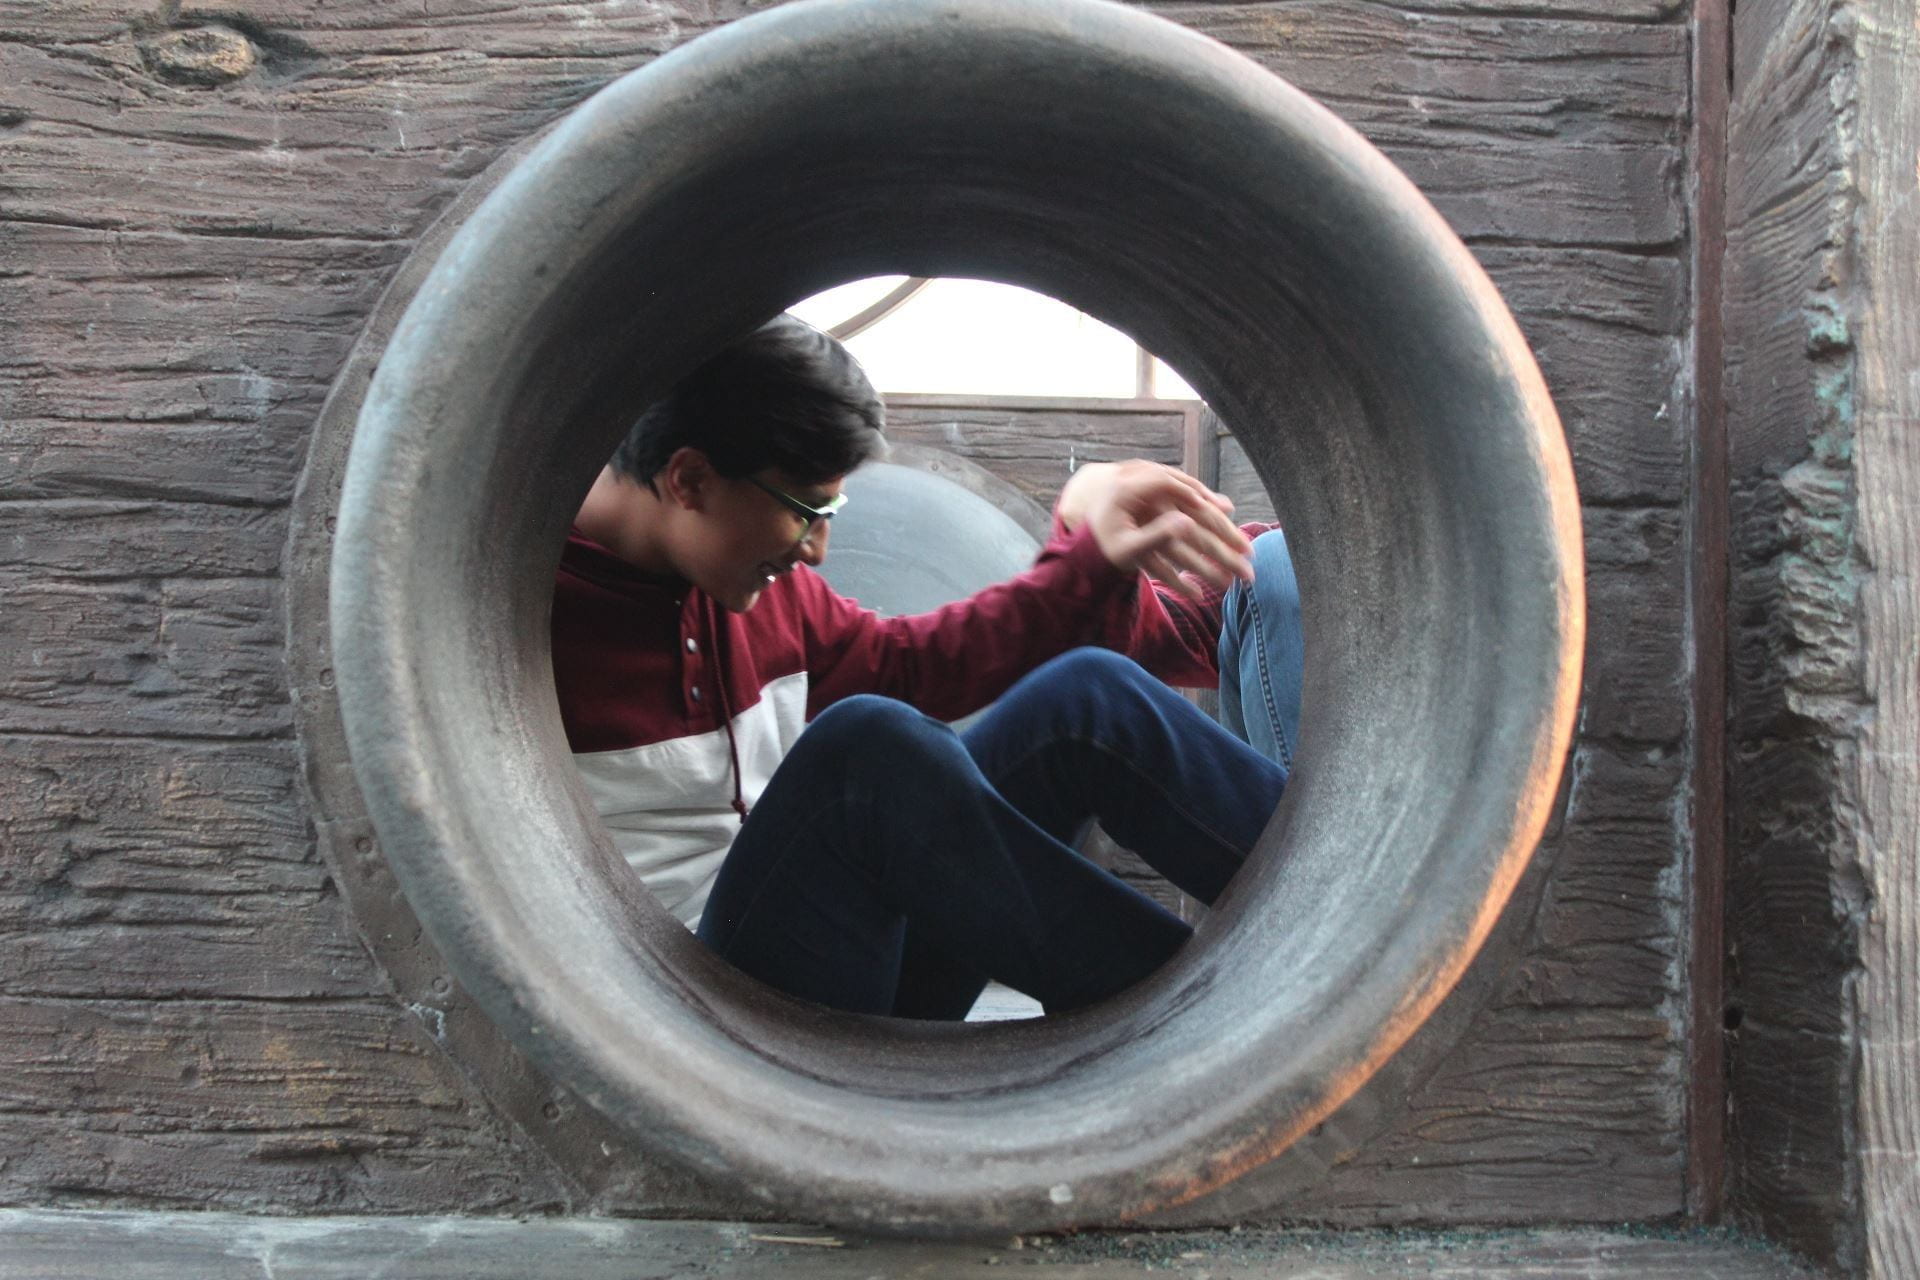
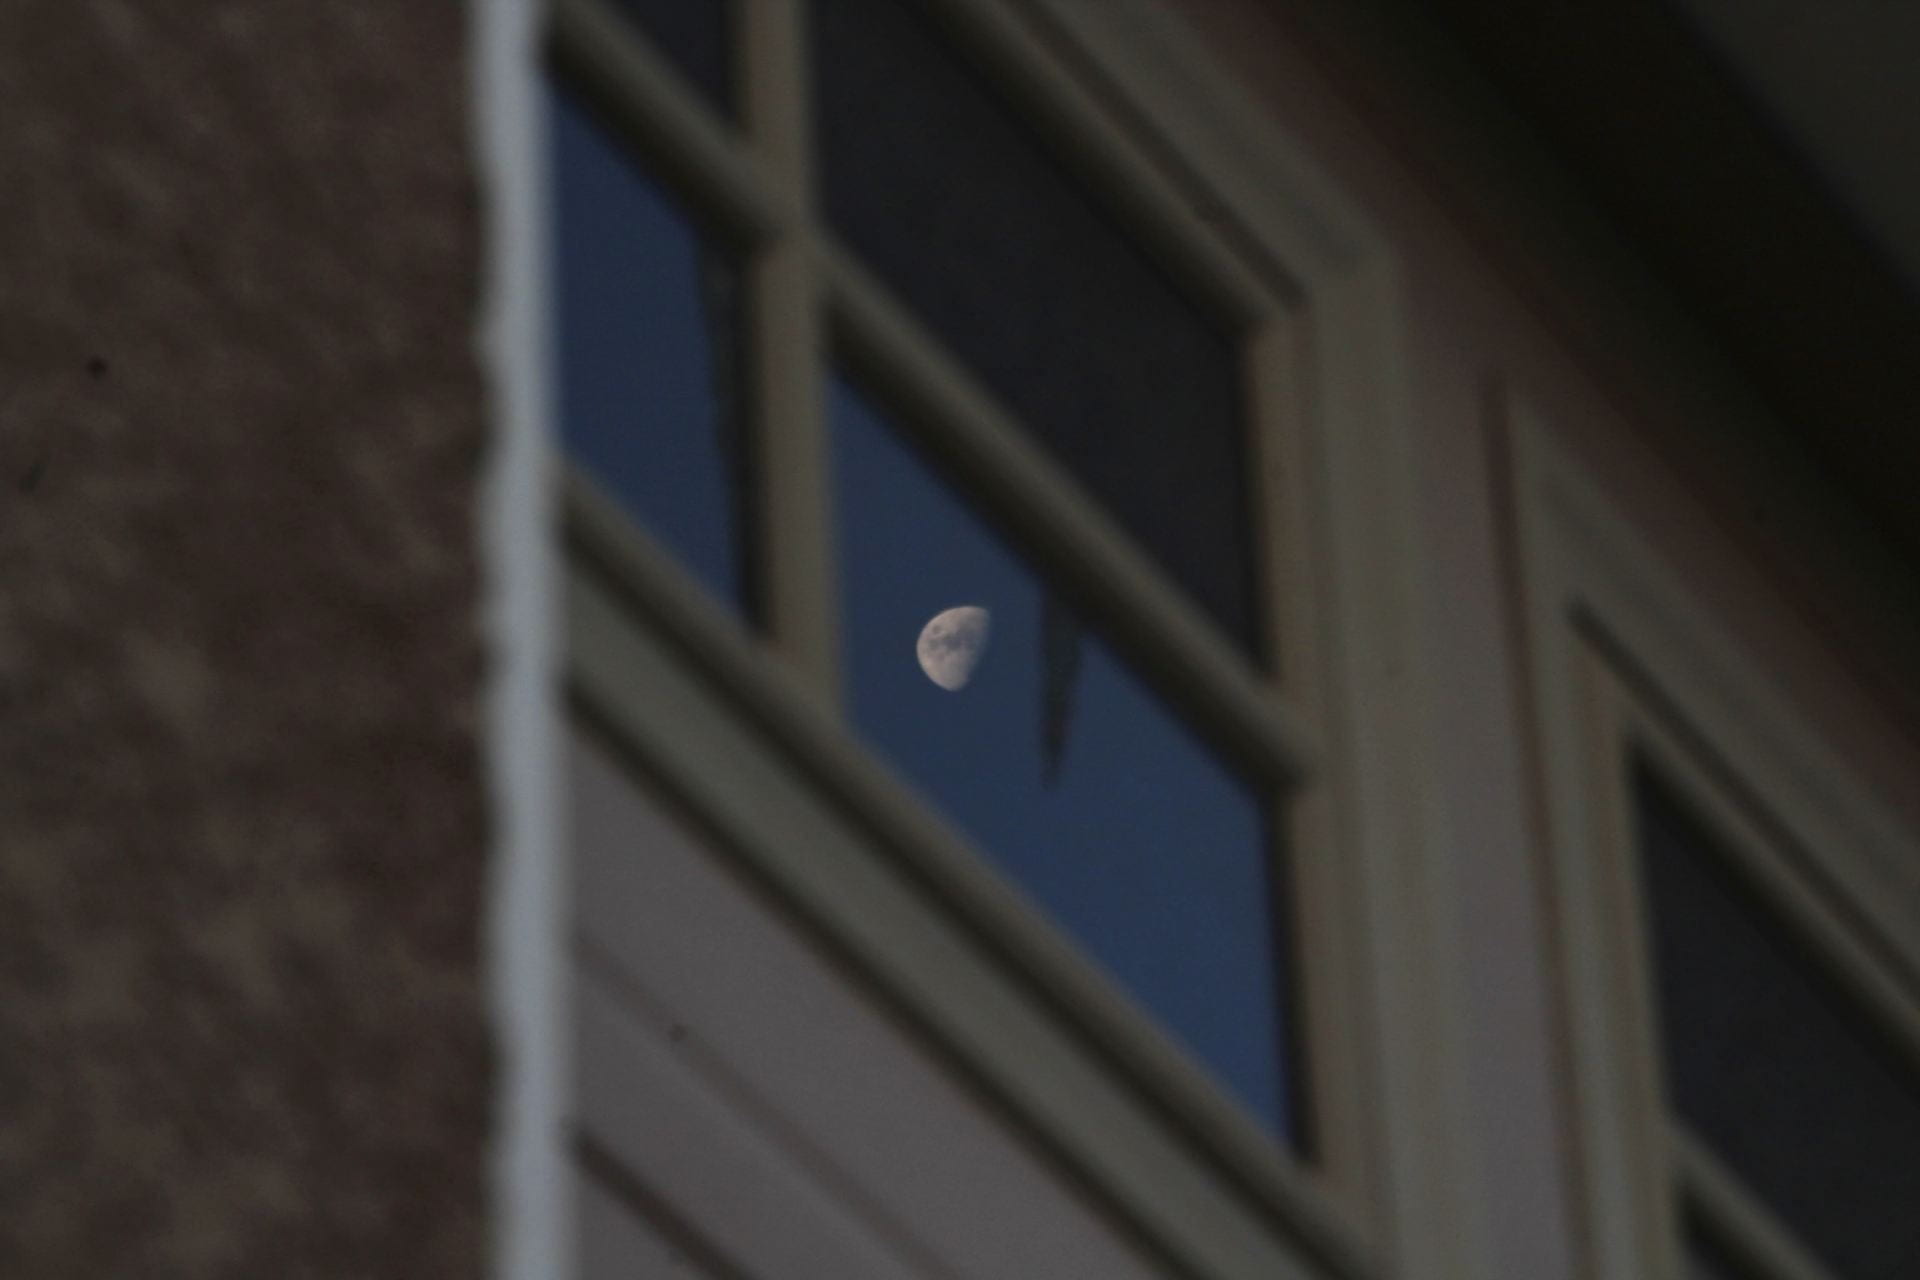
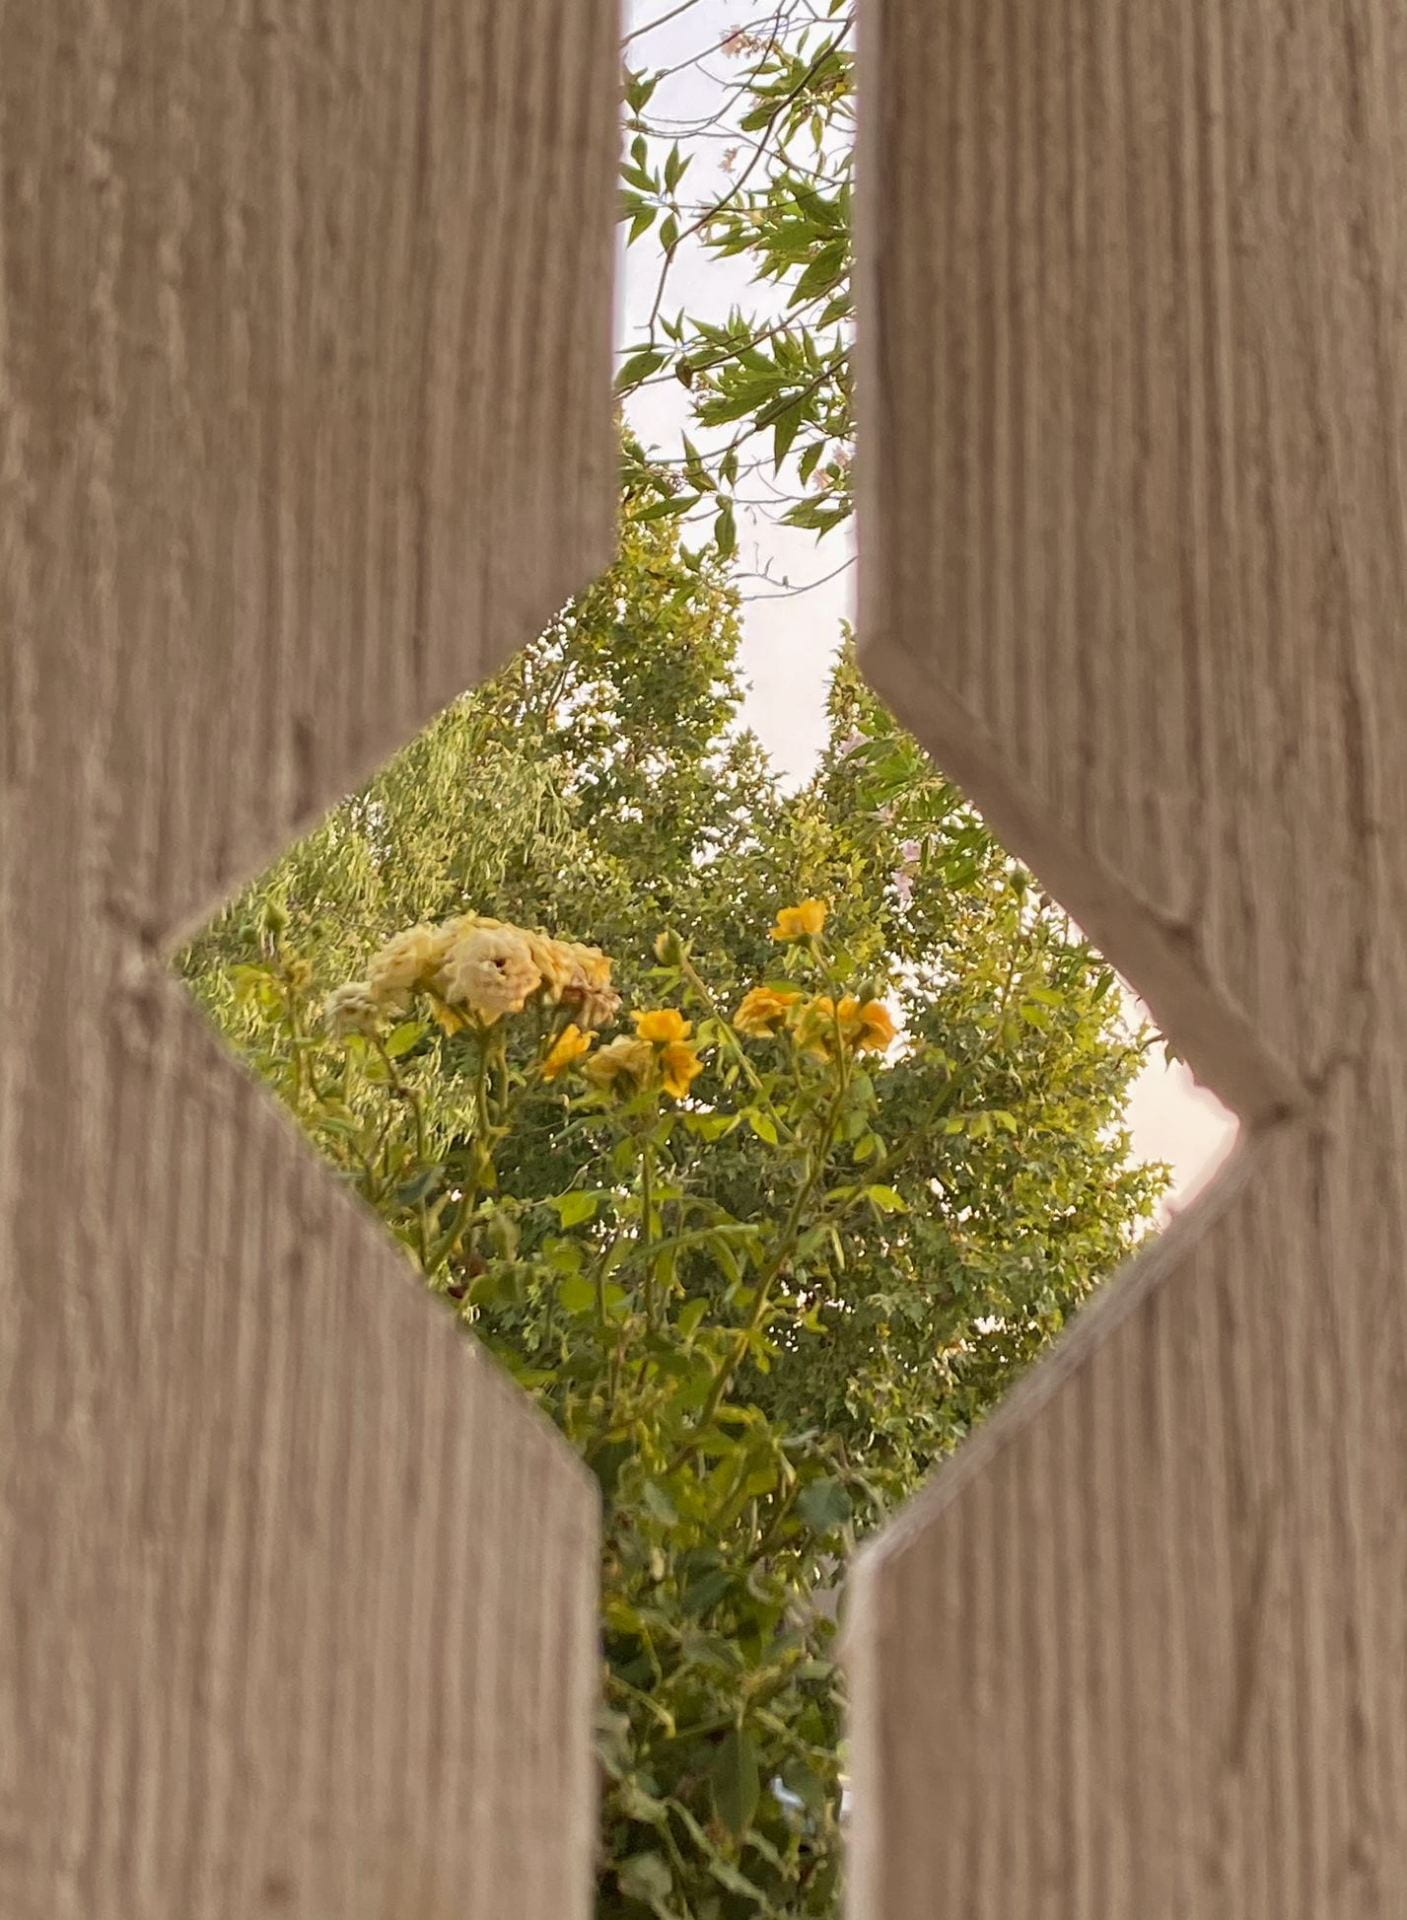
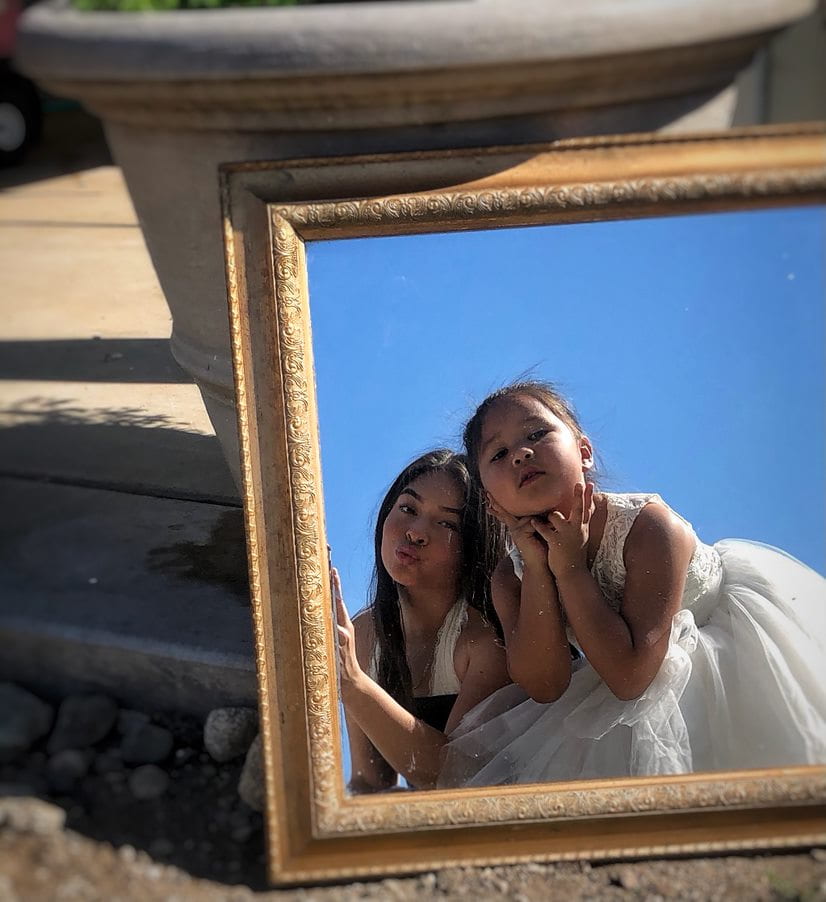
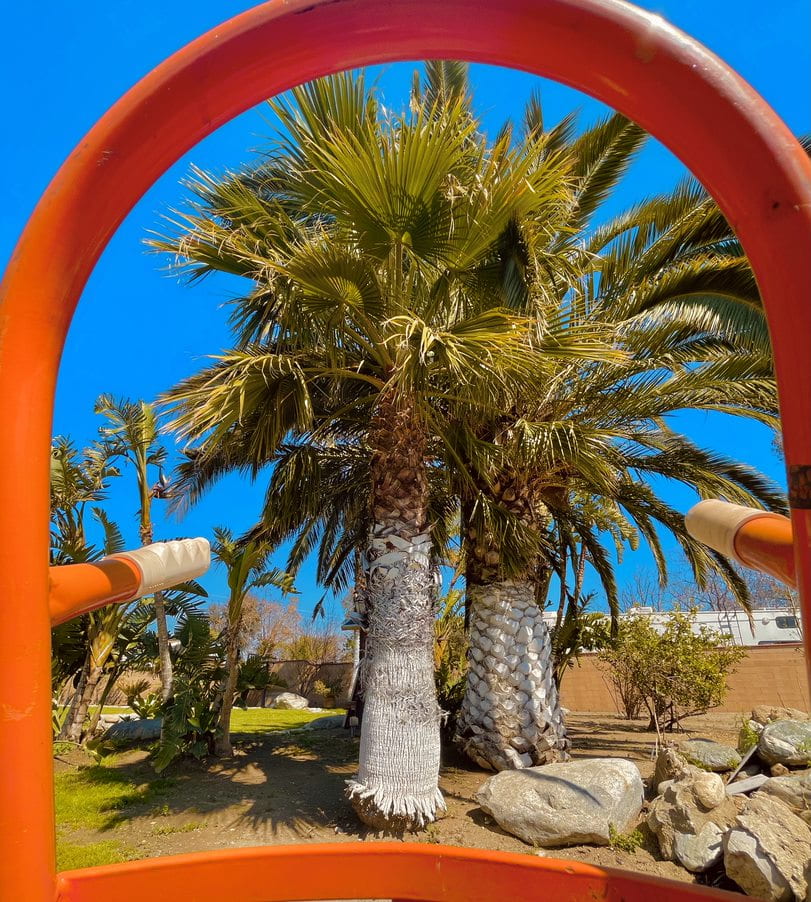
Forced Perspective: Click here for more ideas!
- Take as many photos as it takes to get a successful and believable shot.
- Edit your best one and post along with a gallery with ALL your other attempts.
- Include settings in the captions!

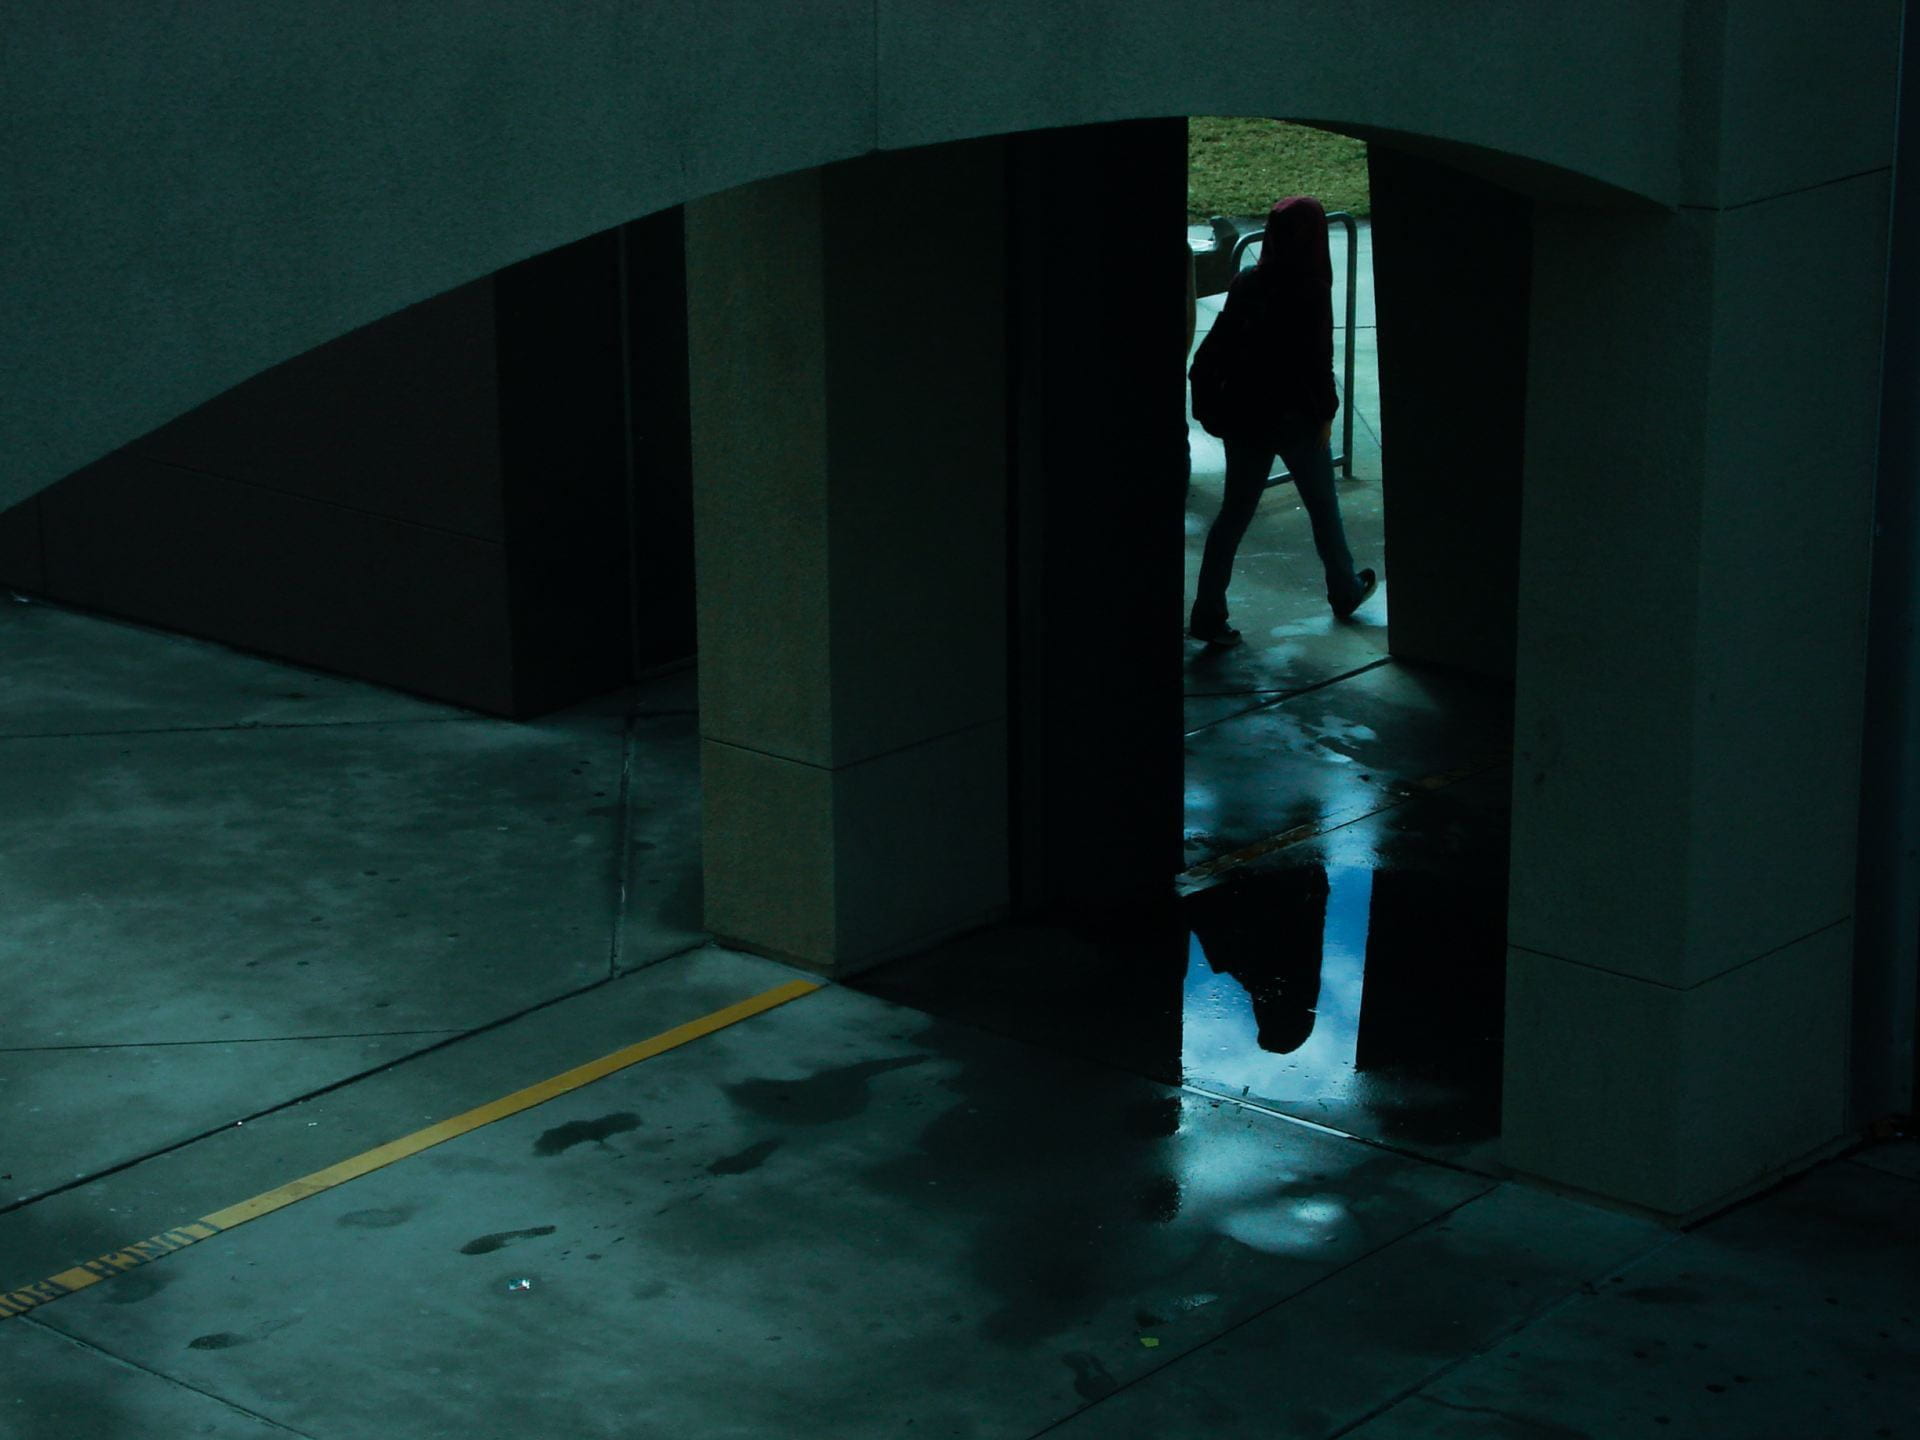
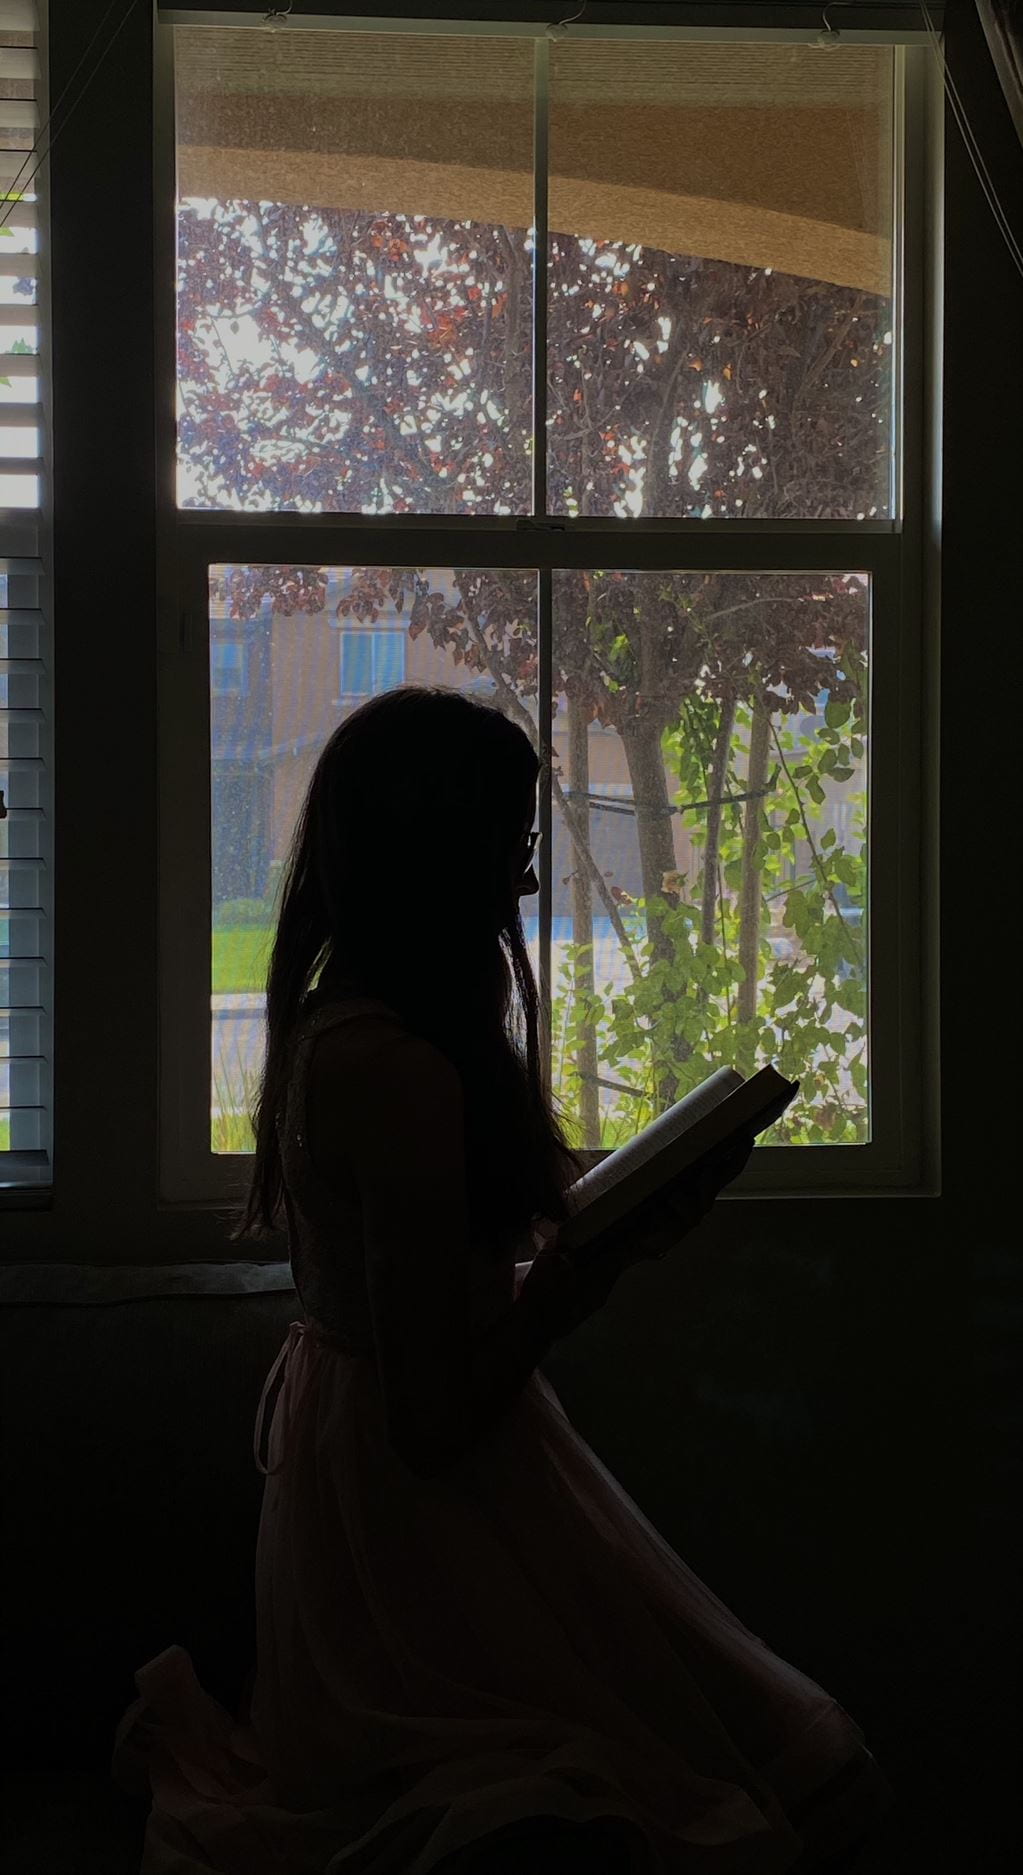
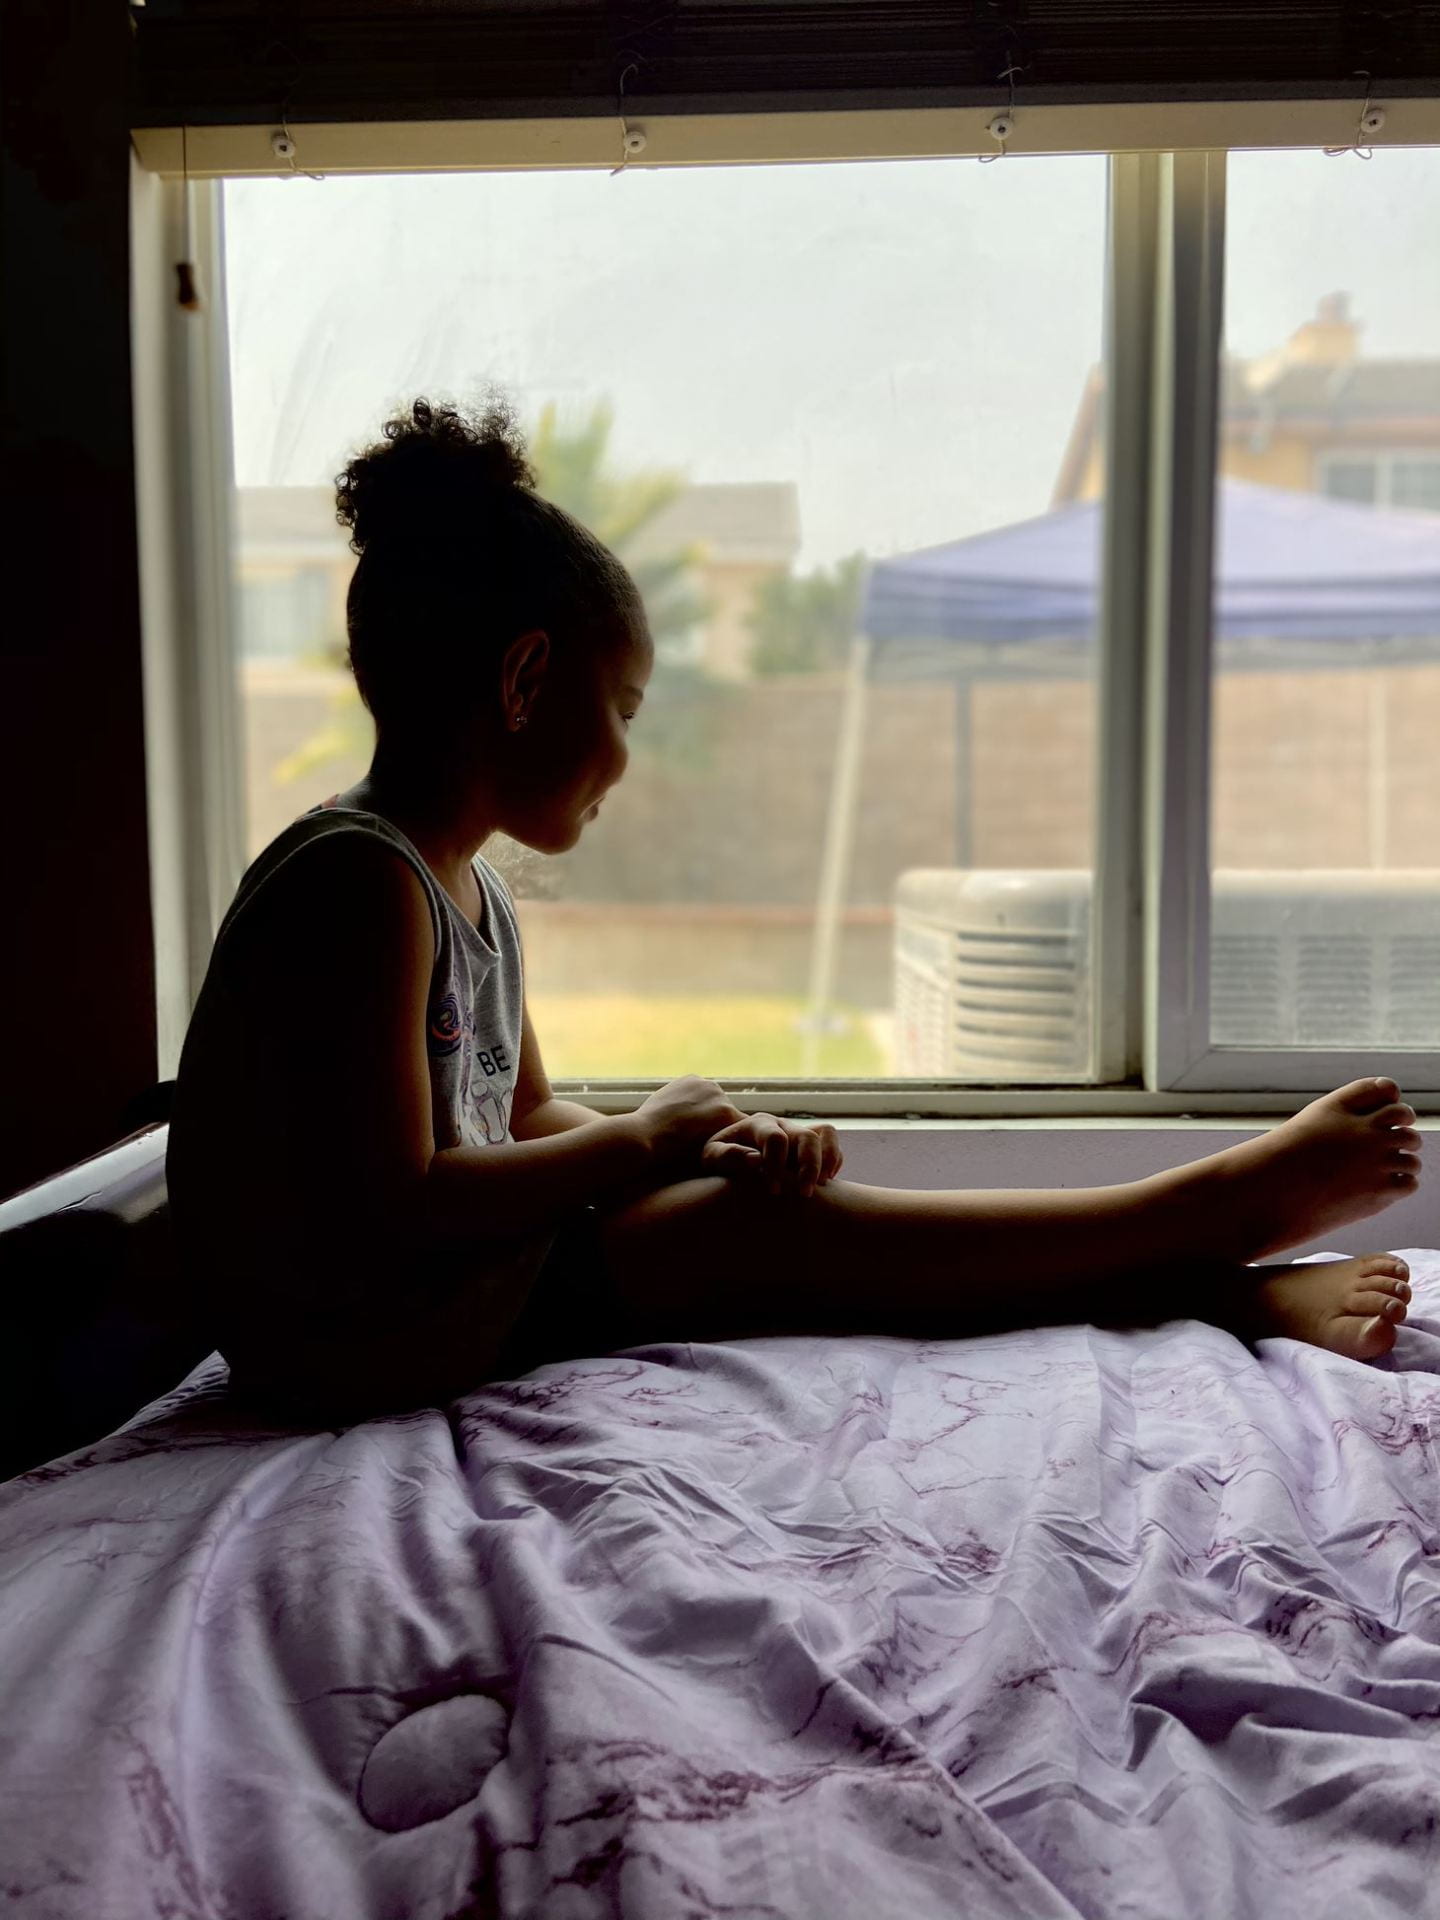
High Key Portraits: Click here for examples..
Click here for light set-up examples
- This one must be done in the class “studio”.
- Take at least 10 photos.
- Choose best one to edit and post, along with a gallery with all your shots. Include settings in the captions!