
Monday 9/28/20: Snapseed Photo Editing
Today we will spend some time going over the editing features in Snapseed.
1.Edit Guava Photo (from this website)
For the first assignment, I simply want you to copy the following steps, using the same photo below. With your phone, click on the “before” photo to enlarge it, press your finger on your screen and select “add to photos” to add it to your camera roll. Use the same exact number on each tool to achieve the same result as me. (It is also included in the files of the assignment on Teams).
Put your before and after on a collage and turn into the Teams assignment: “Edit Photo from Website”.
-
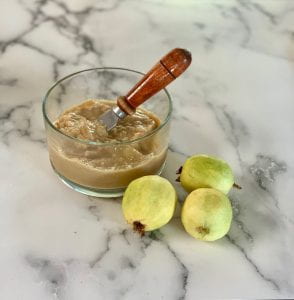
- Before

-

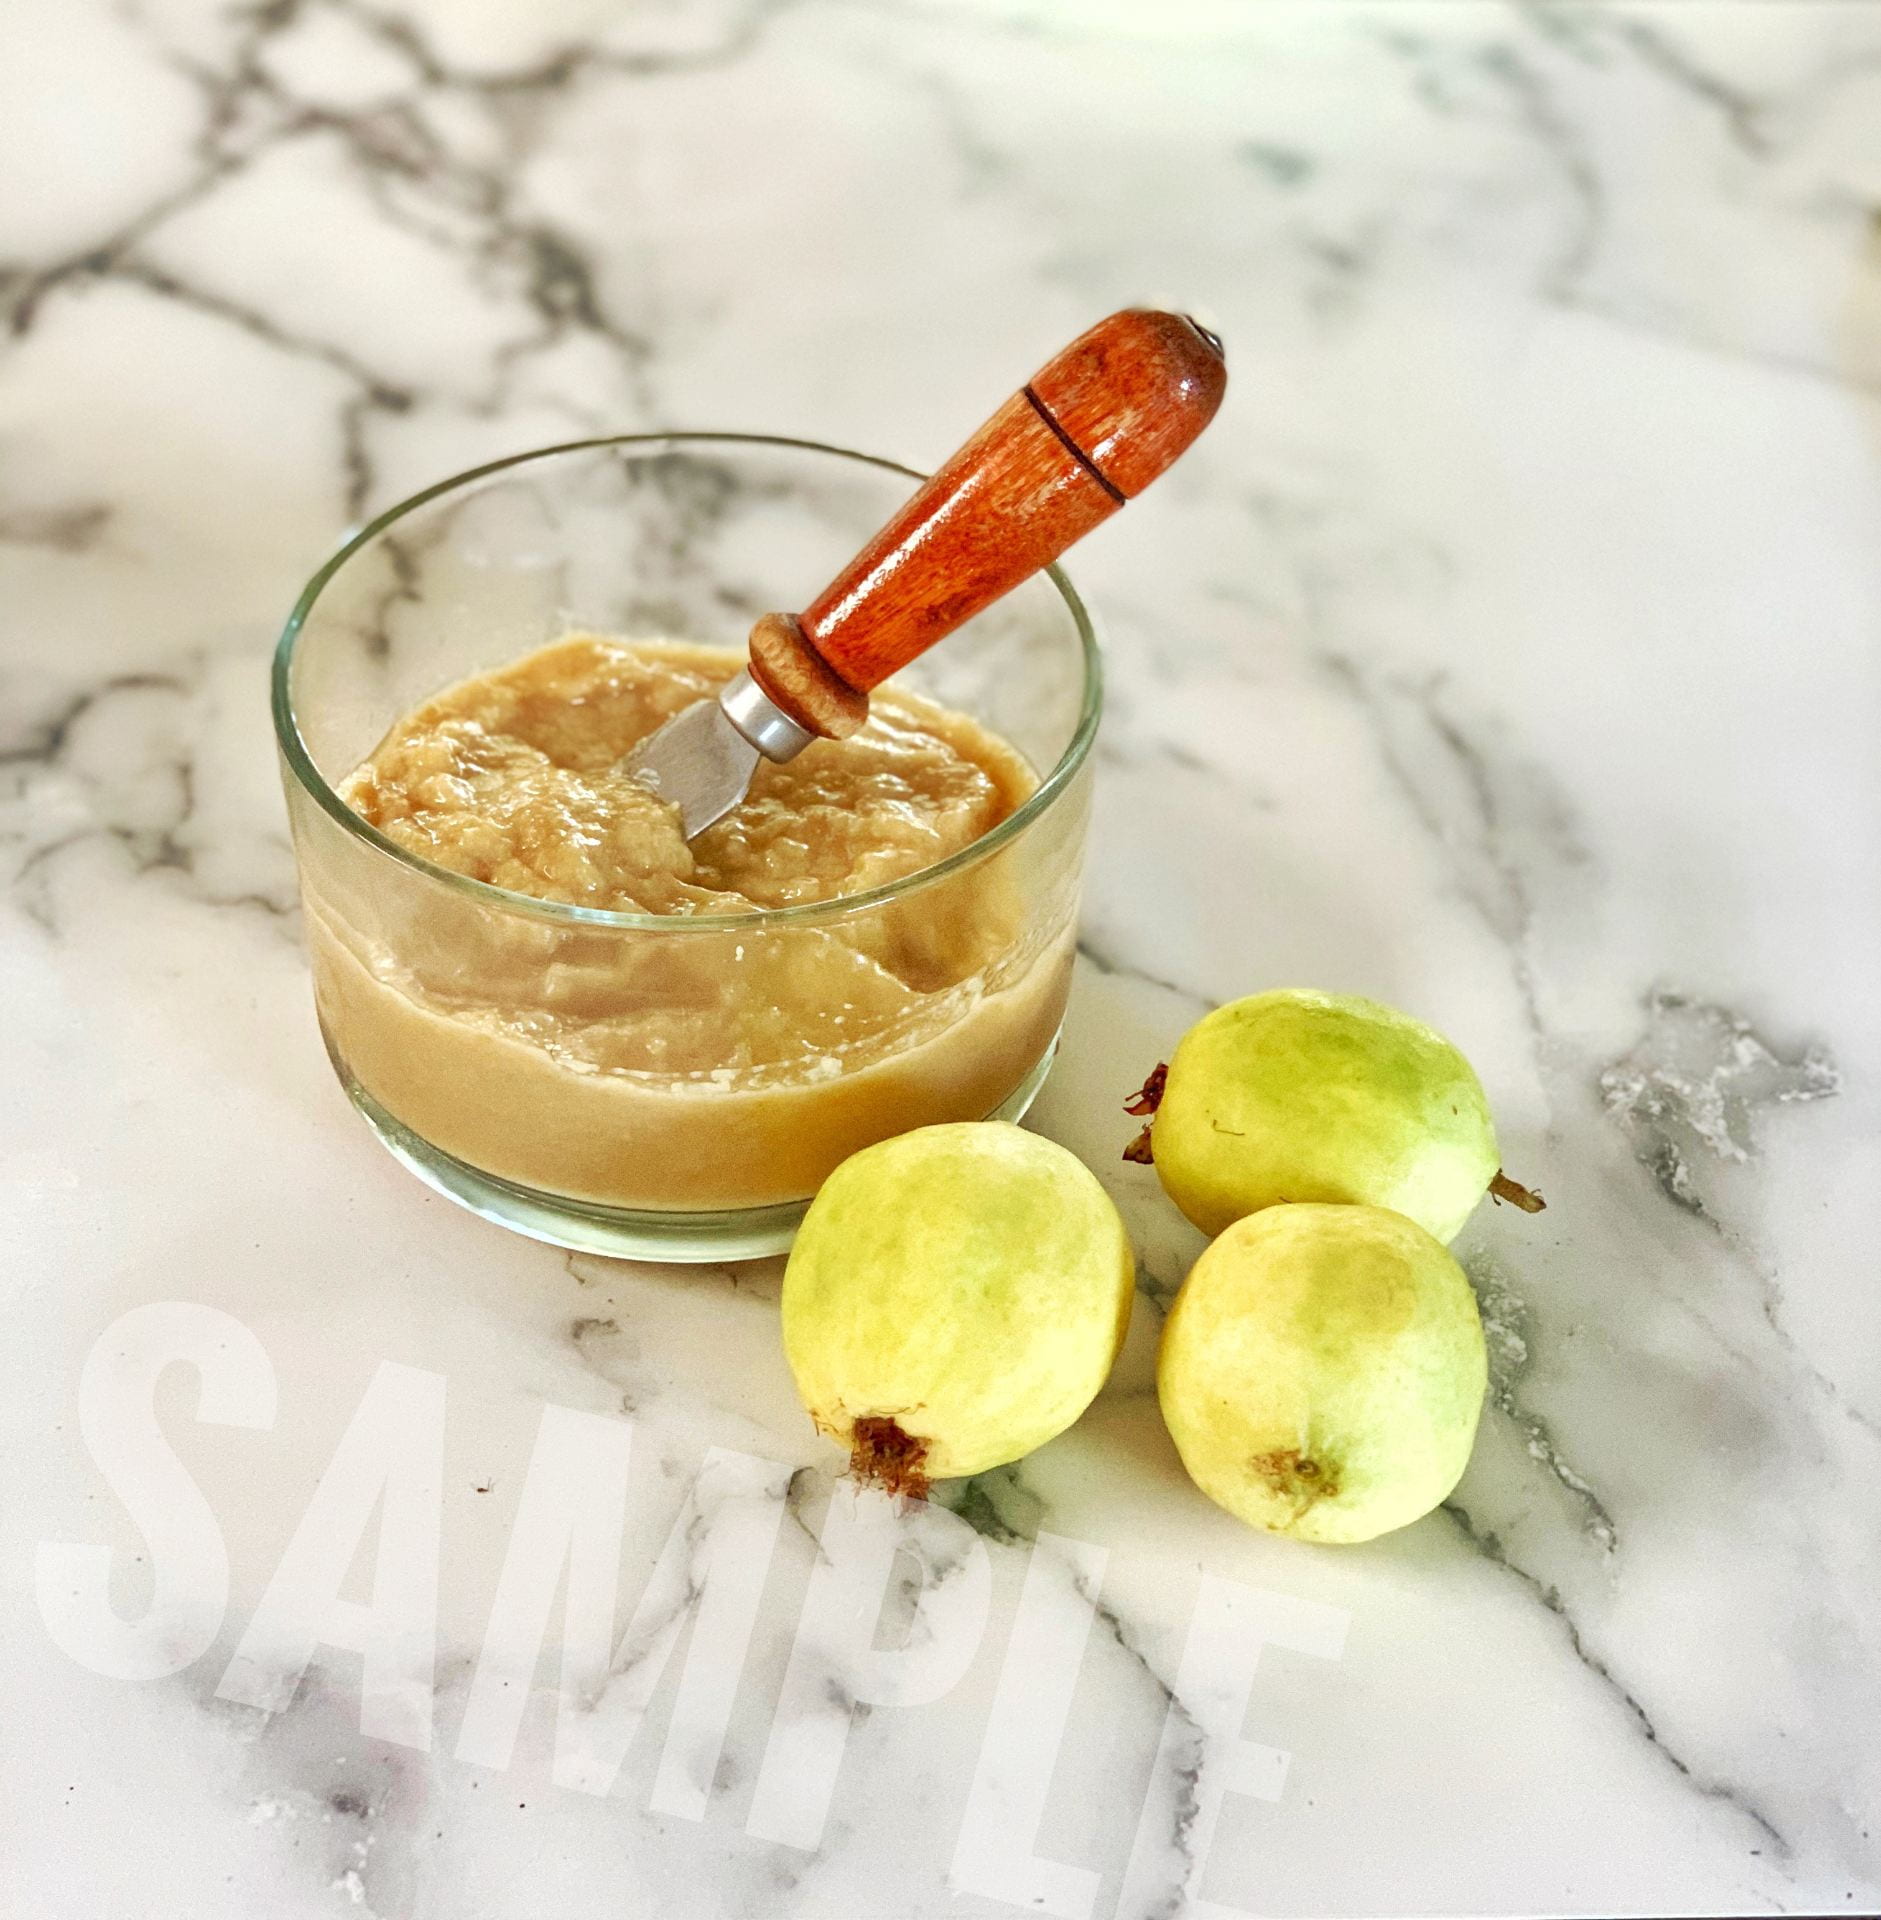
- After
-

- Open Snapseed

-

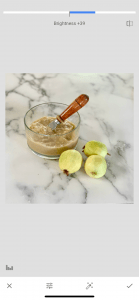
- Open your photo
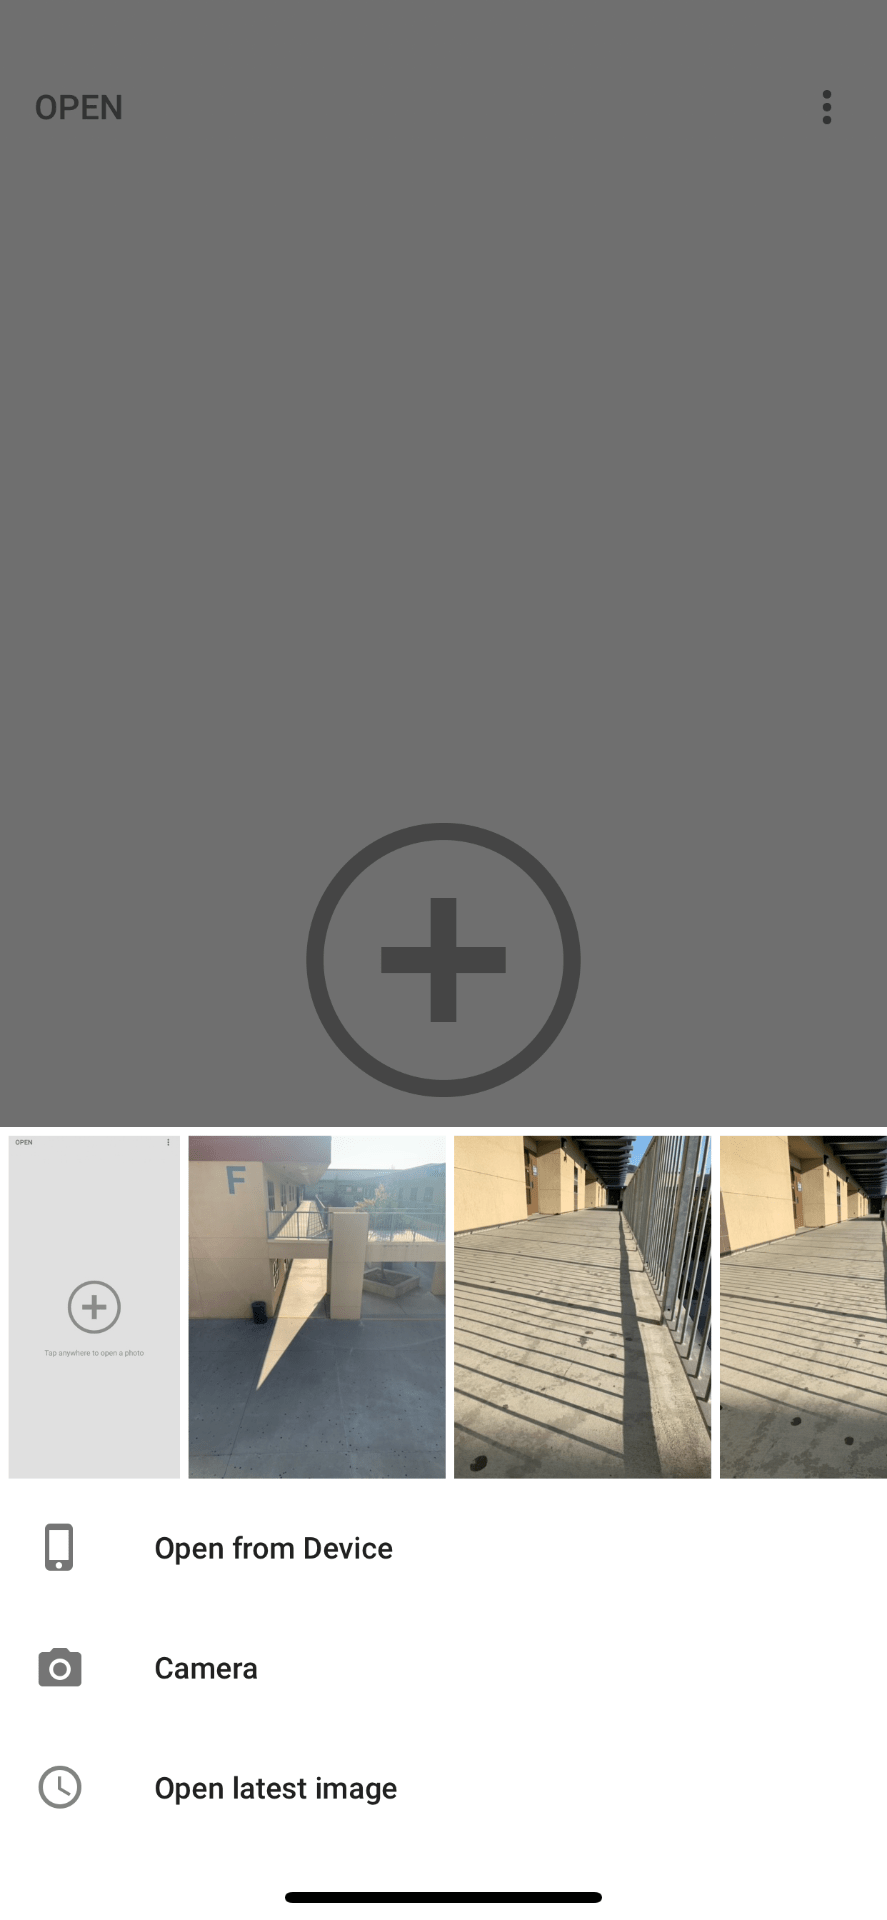
-

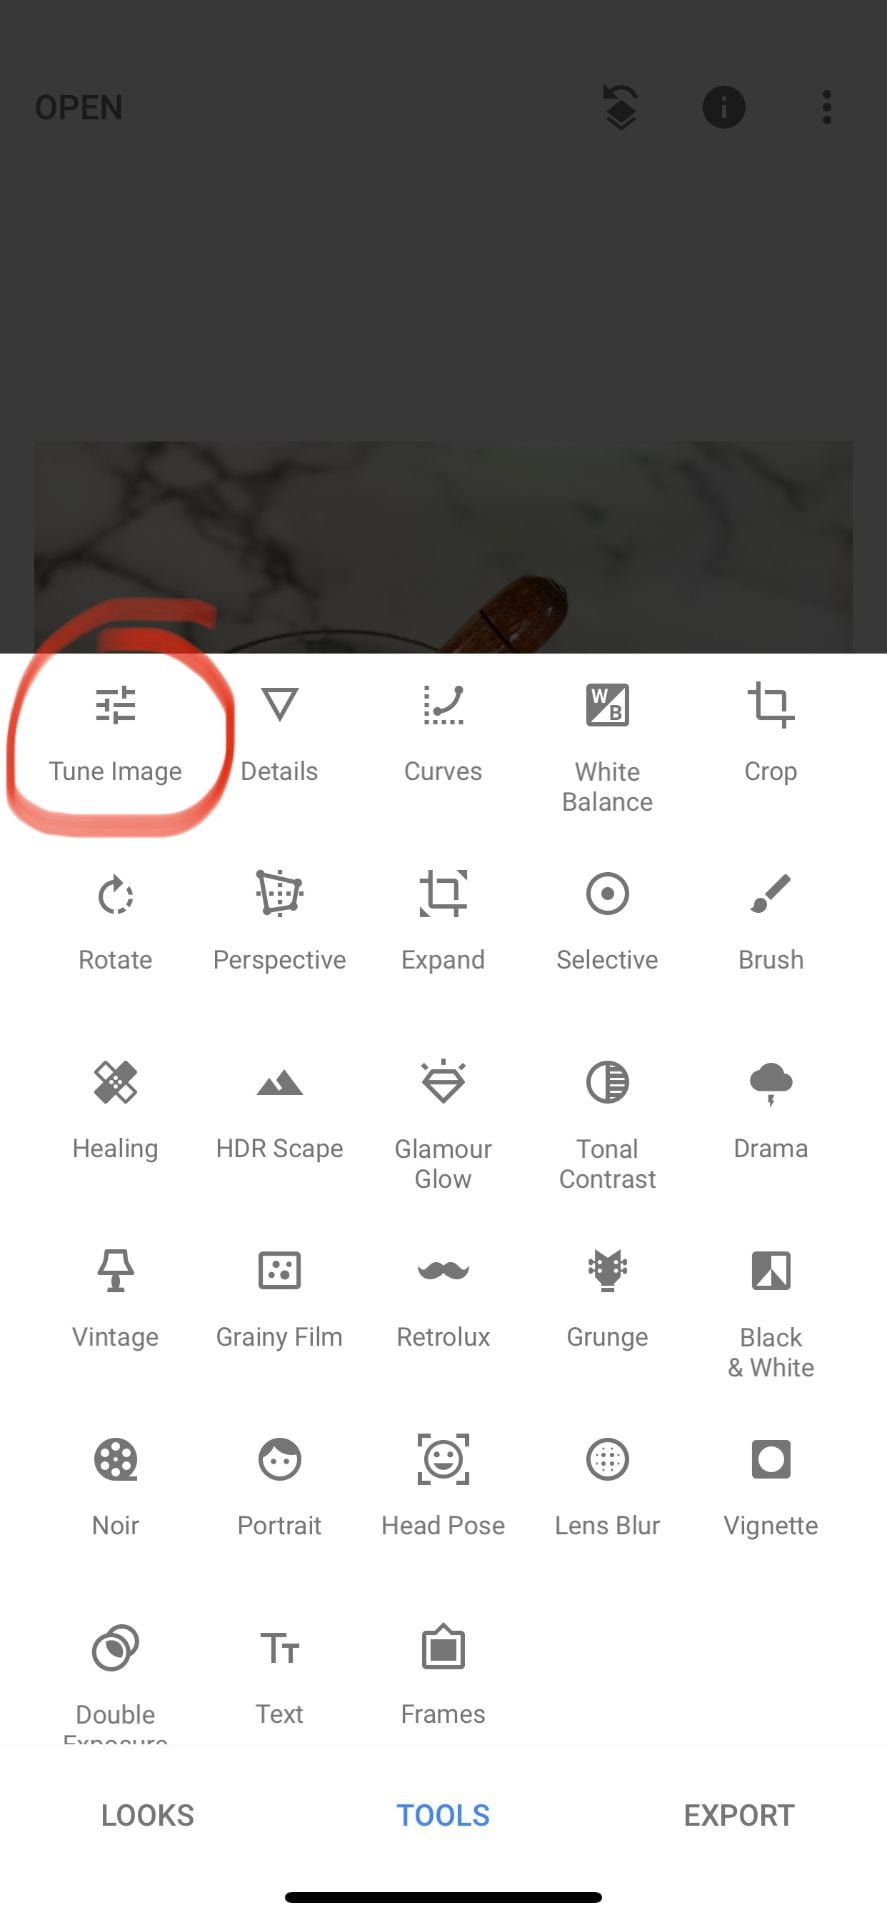
- Select Tools
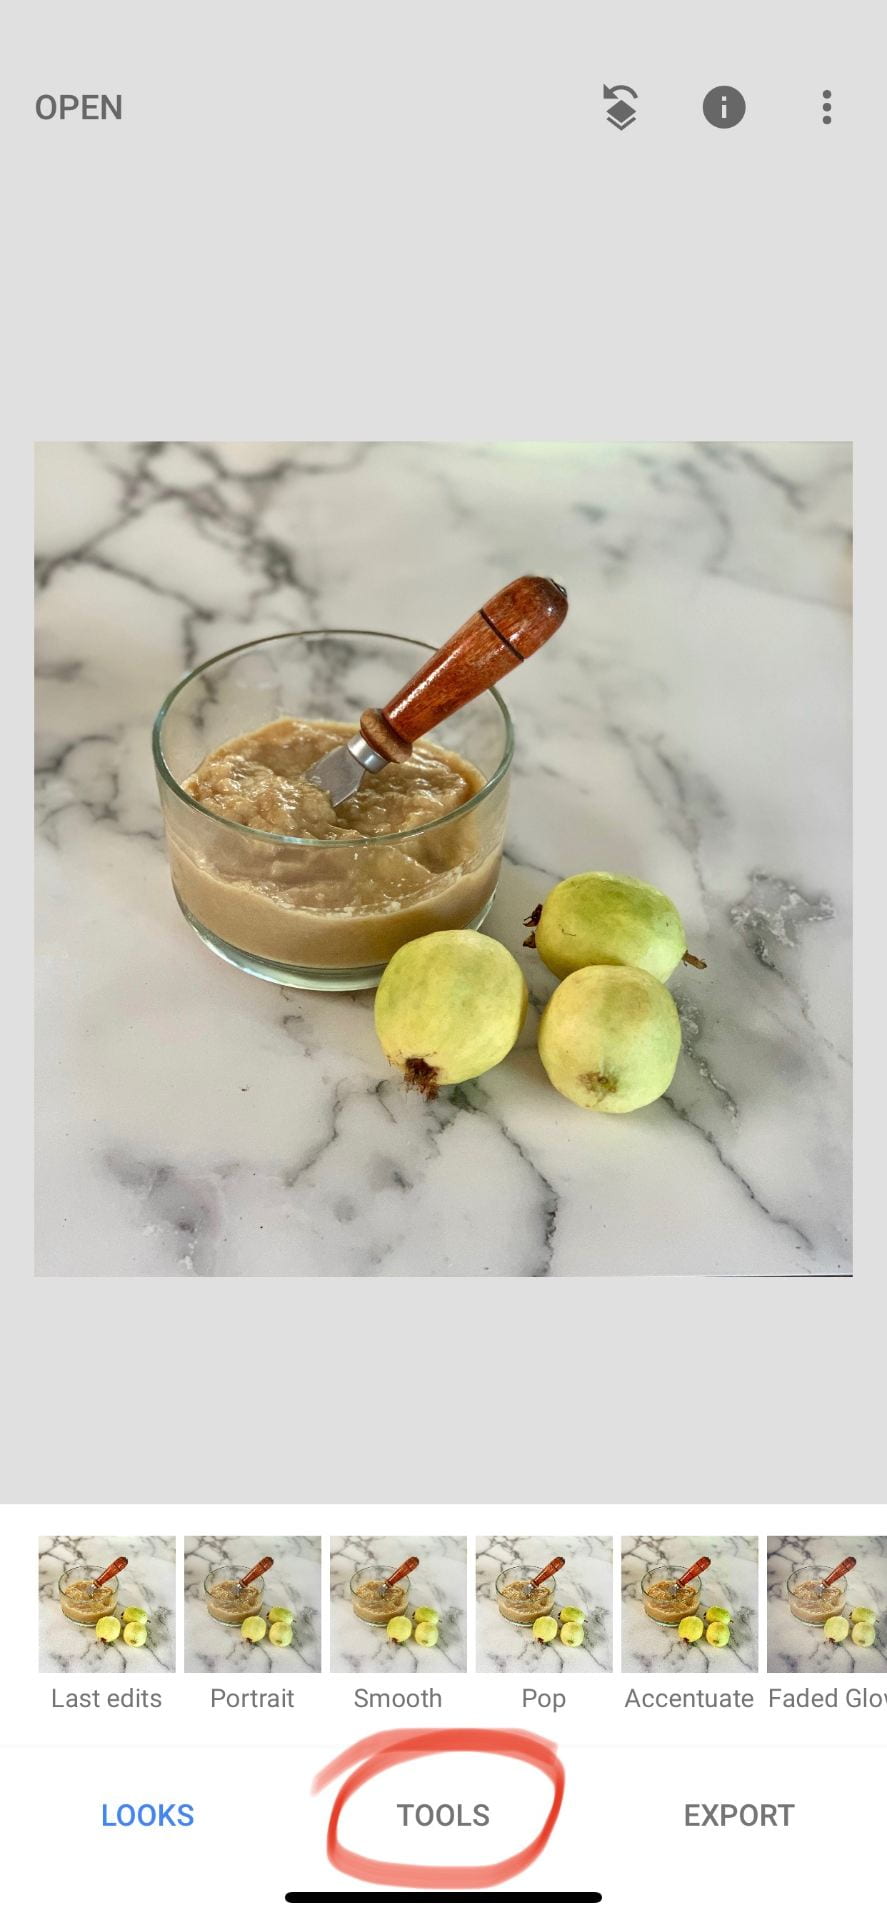
-

- Select Tune Image
-
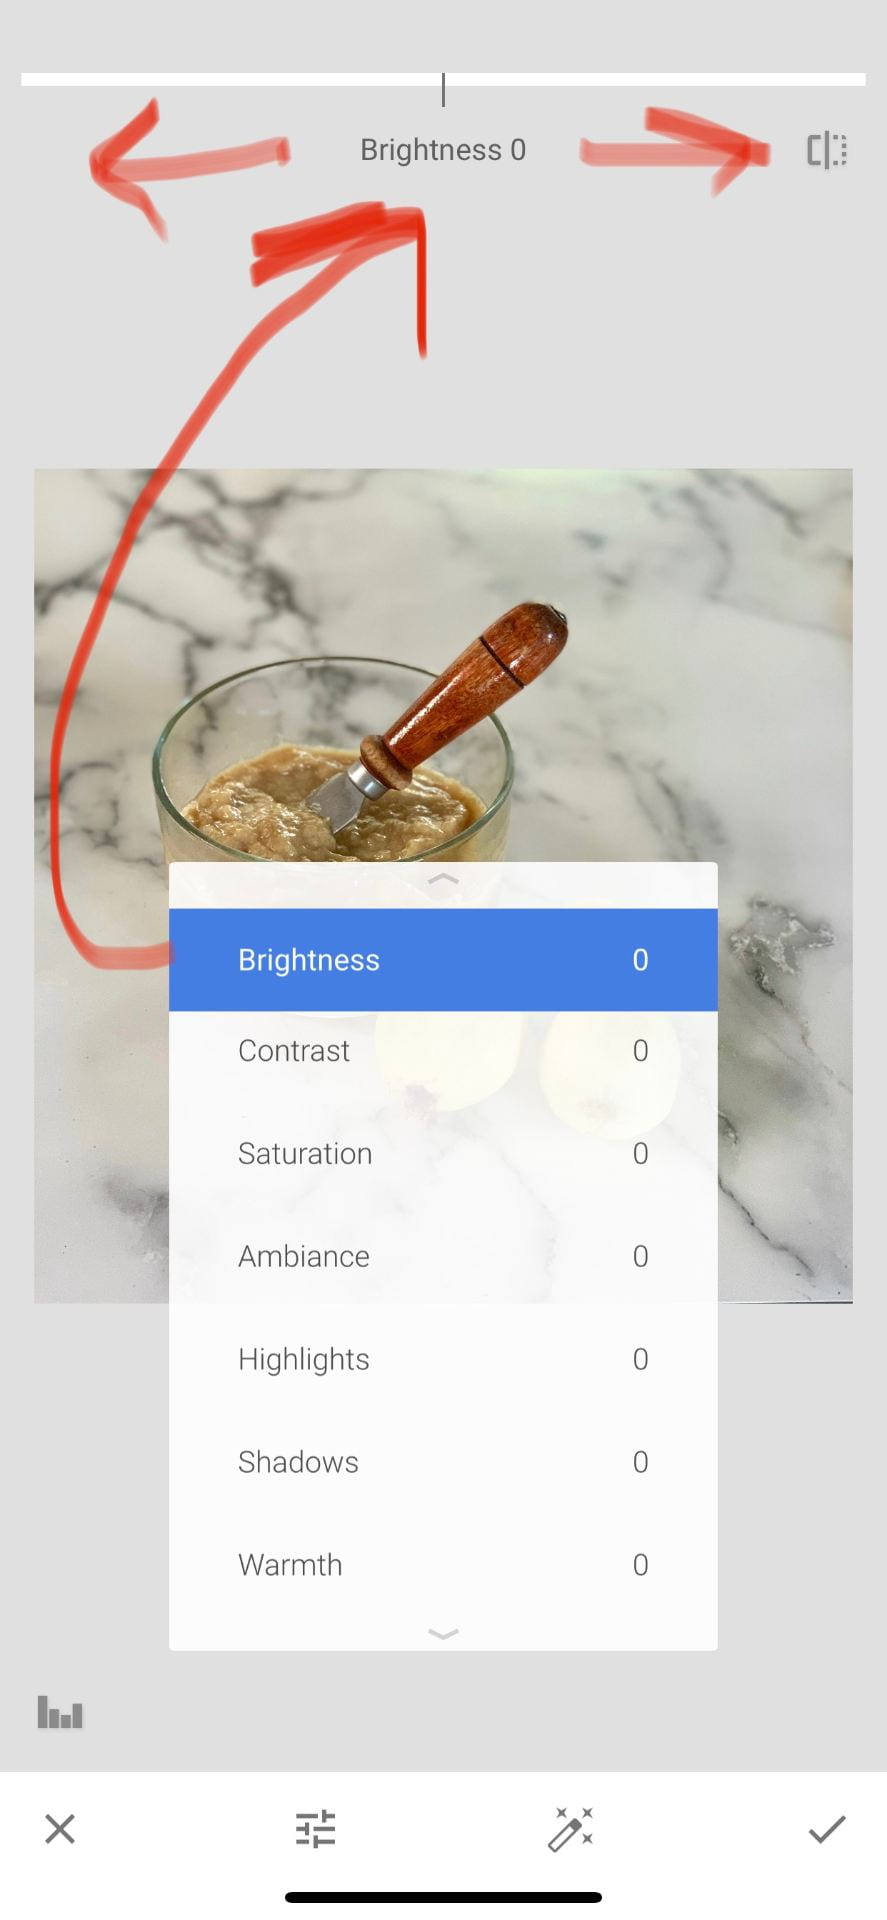
- Start with Brightness

-

- place finger on screen to see options
-
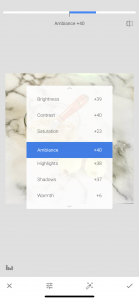
- Then go through each one…

-

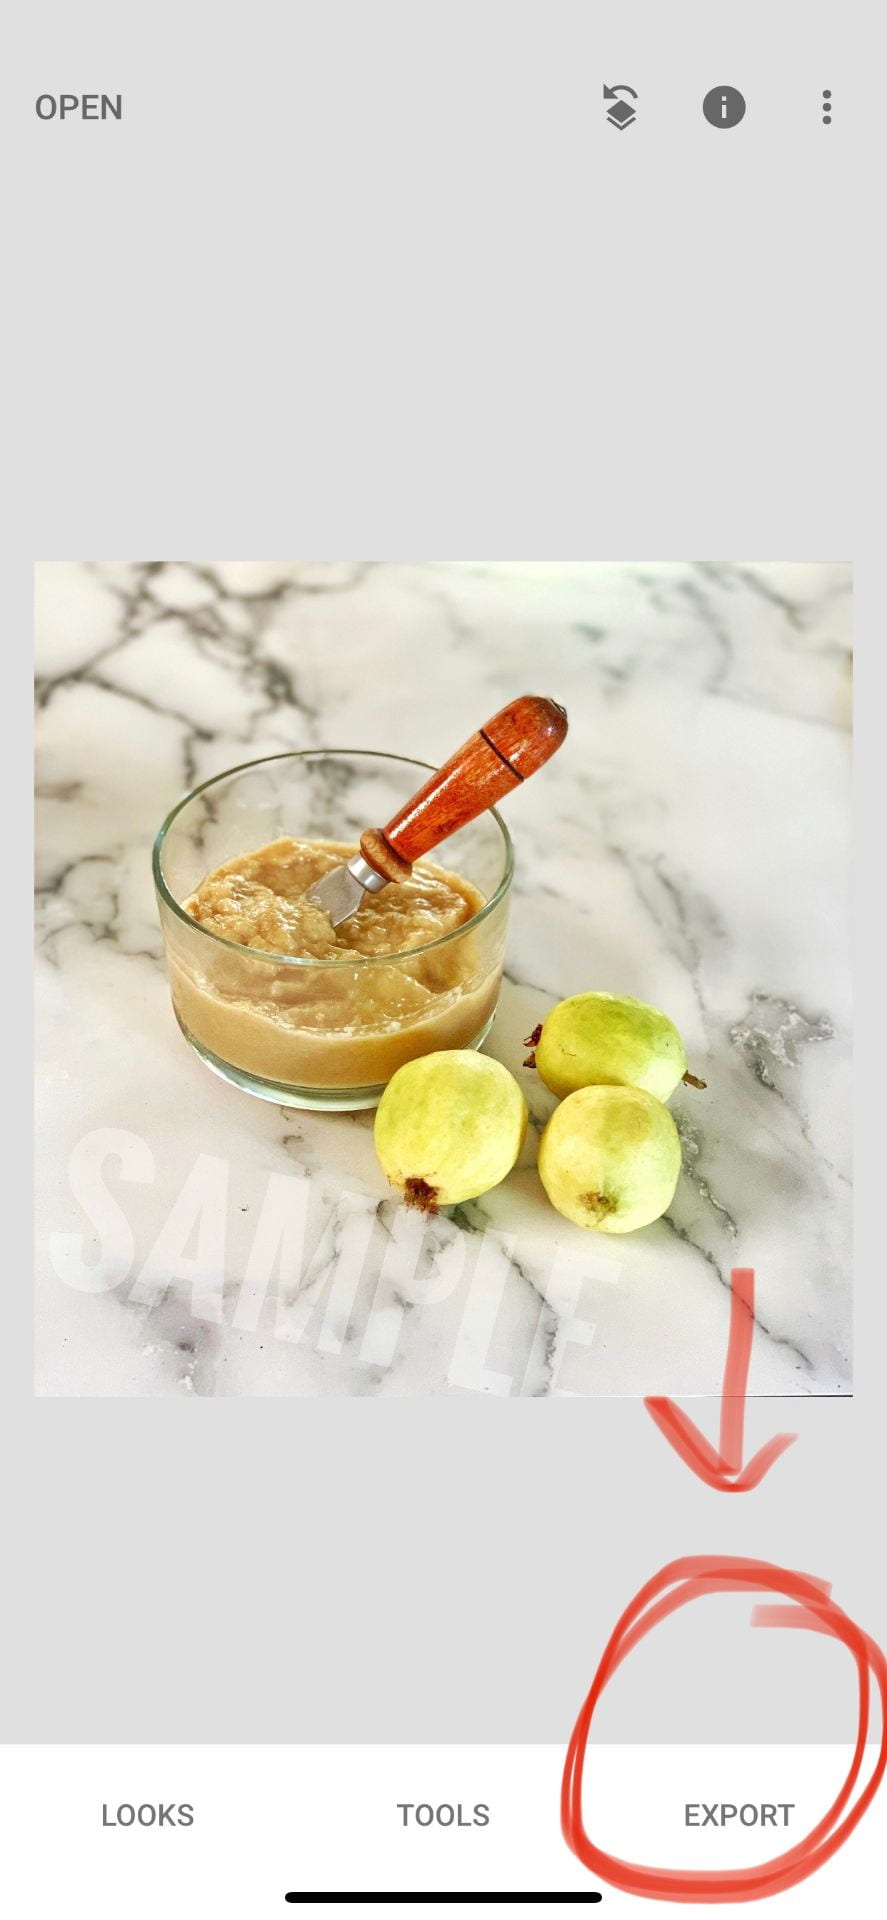
- Check mark if done and select Export
-

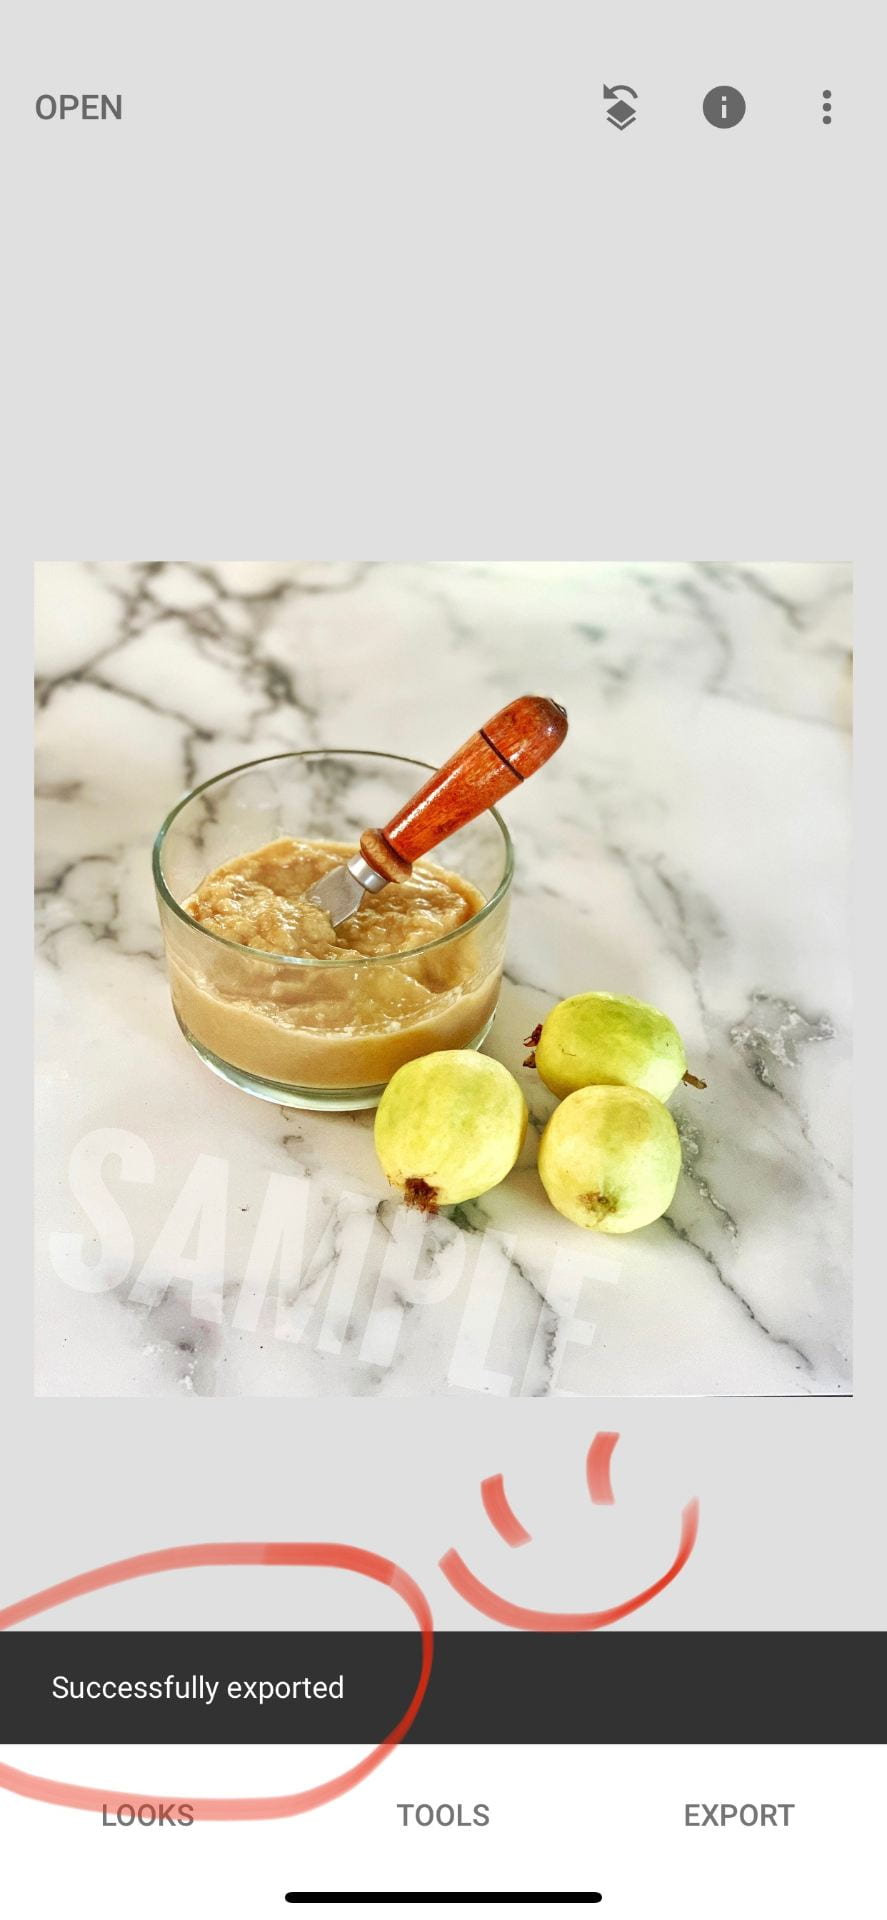
- Export Again

-

- Saved!
2. Edit 6 Photos
Watch this video and use any combination of these editing techniques plus the ones above to edit 6 photos already saved in your camera roll. It can’t be photos already used for a project in this class, though.
Place the before and after photos onto a evenly spaced 12-photo grid collage and turn in on Teams: “Photo Editing Assignment”.