Thursday 10/1/20: How to Create Double Exposure Photography in Snapseed
Today we will practice double exposures using portraits and photos from the Internet.
1.Use your phone to search for black and white portraits to use. You can do a Google Image search for “black and white portraits” or “high contrast black and white portraits”. Find some with white backgrounds!
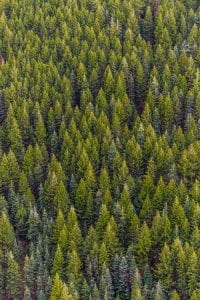
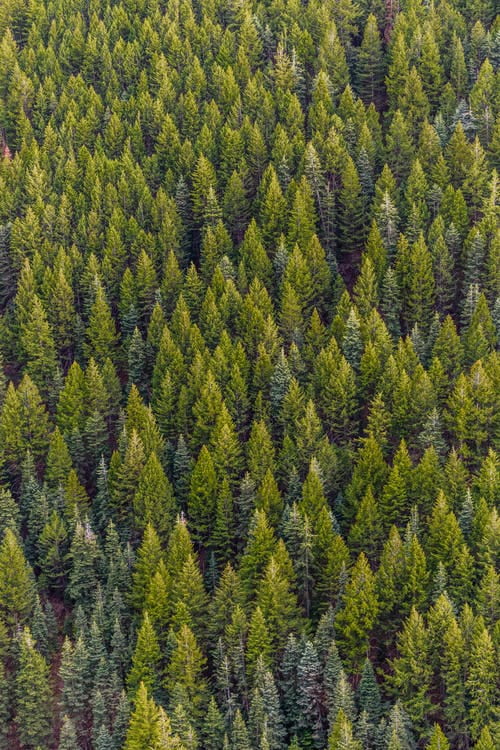
2.Then search for a few landscape photos. I recommend using pexels.com, Barnimages, Pixabay or Stocksnap.
3.After we go through the steps and view a video, you’ll be ready to get started!
Give it a whirl! Have some fun and experiment!
4.Post your best result from today in the “Post Your Questions Here” channel on Teams!
Tomorrow you will need portraits of yourself to use!
-

- Portrait

-

- Open portrait in Snapseed.

-
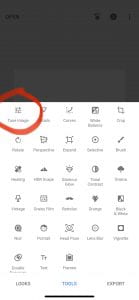
- Tune image: bring down saturation all the way, increase brightness, then increase contrast significantly.
-
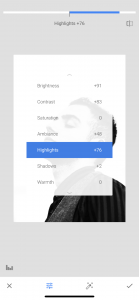
- This photo was already black and white, so I mostly increased brightness and contrast.

-
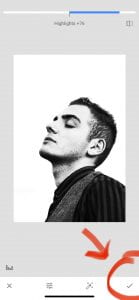
- Click checkmark when done tuning

-
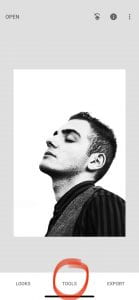
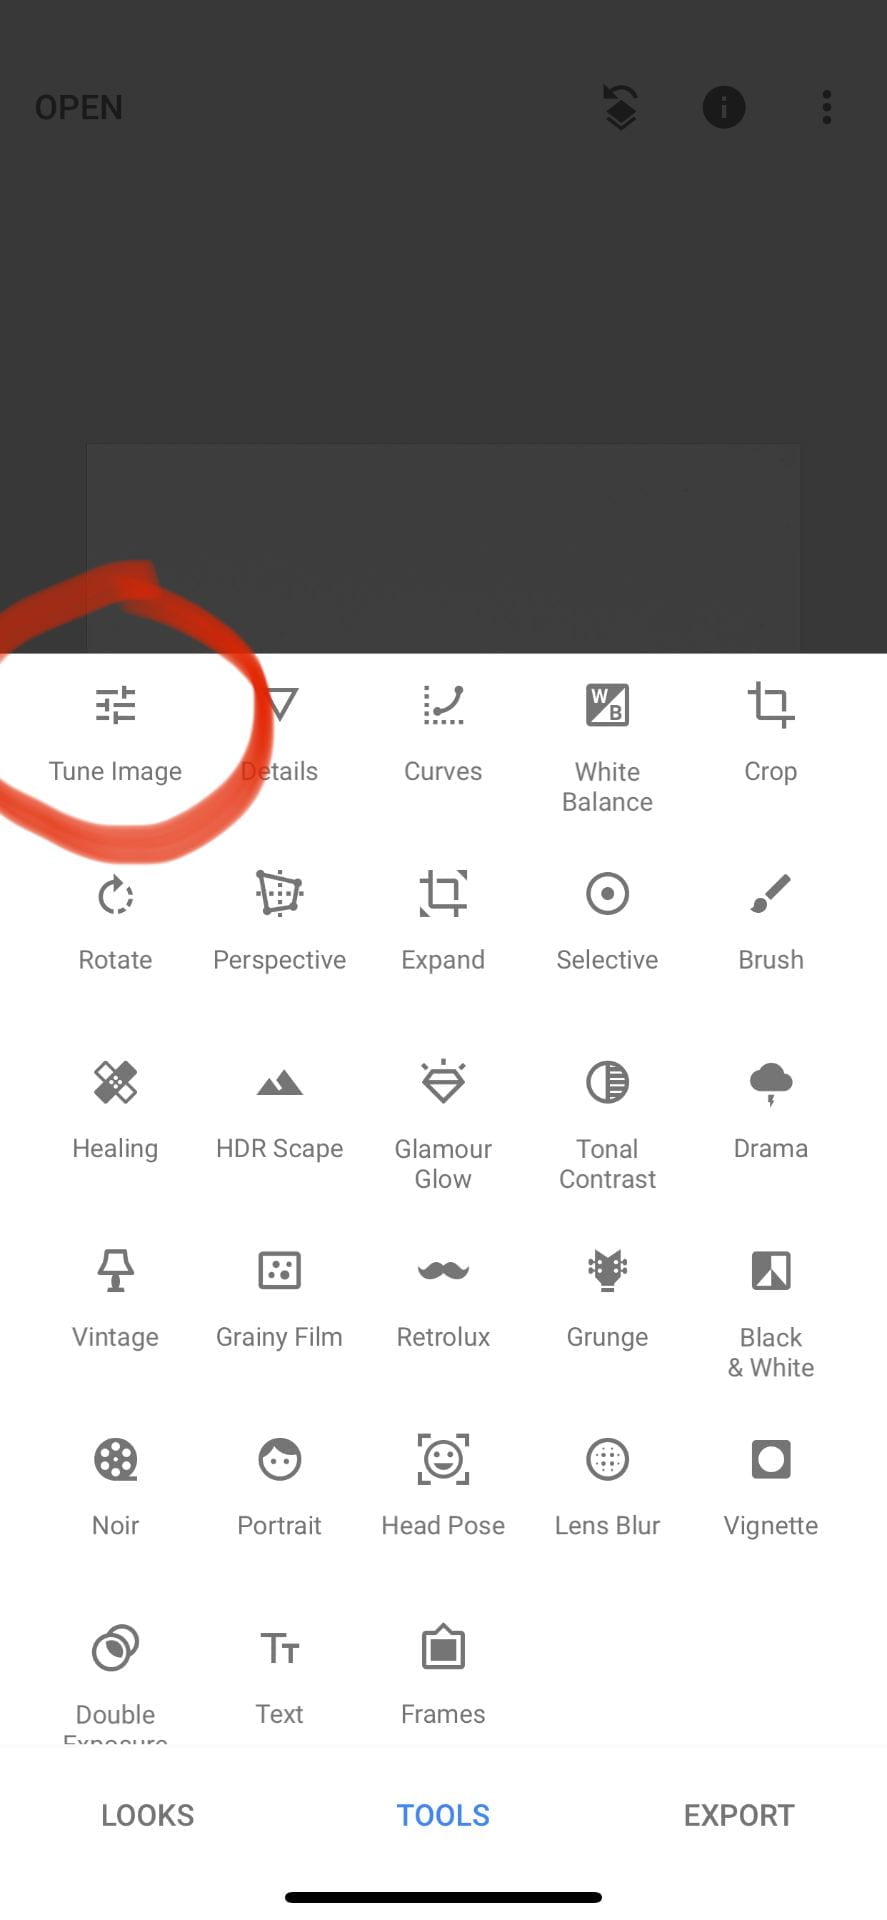
- Go to Tools

-

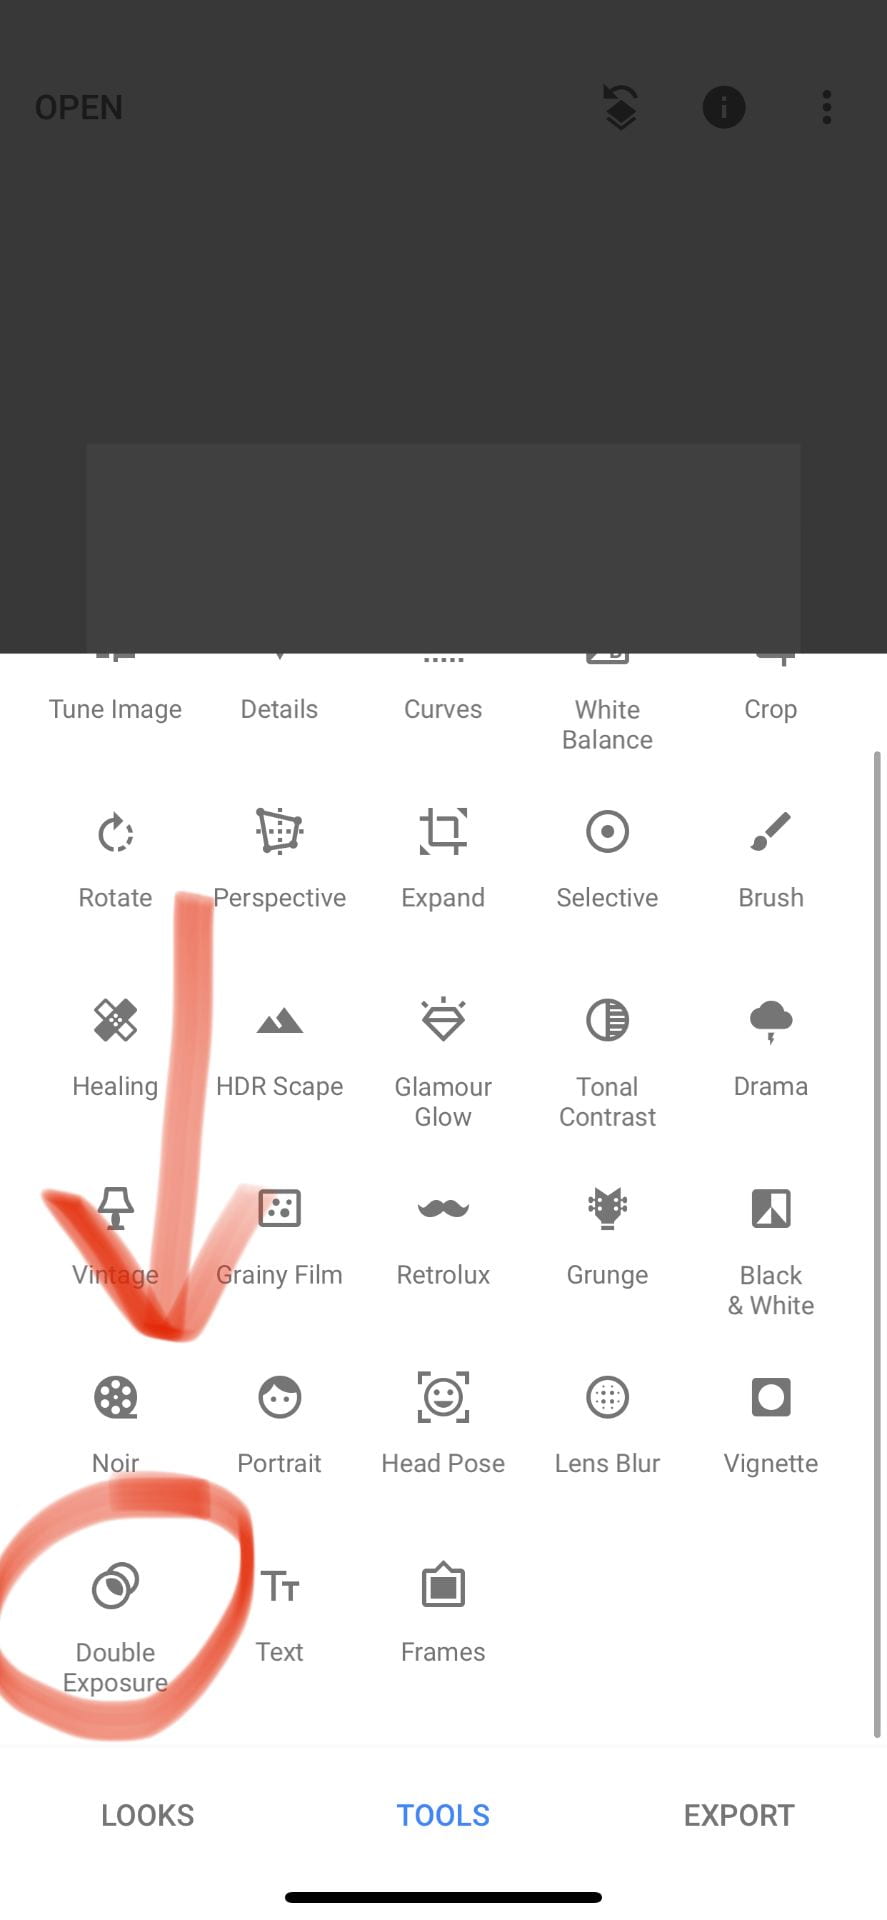
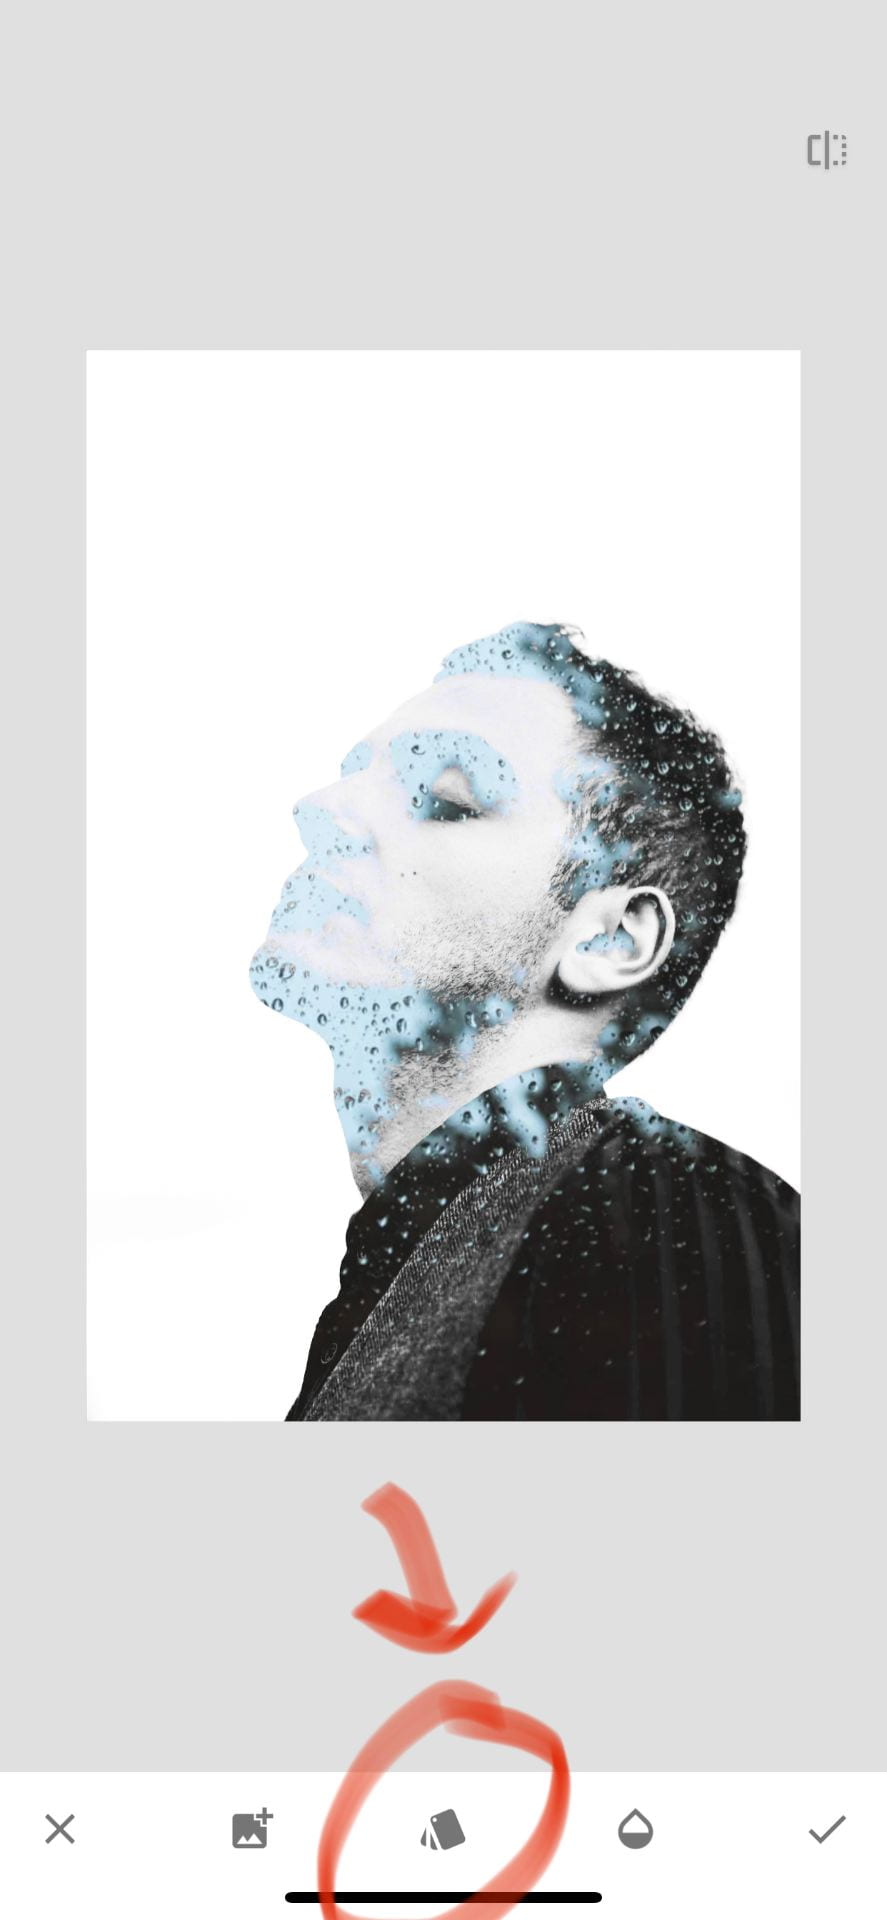
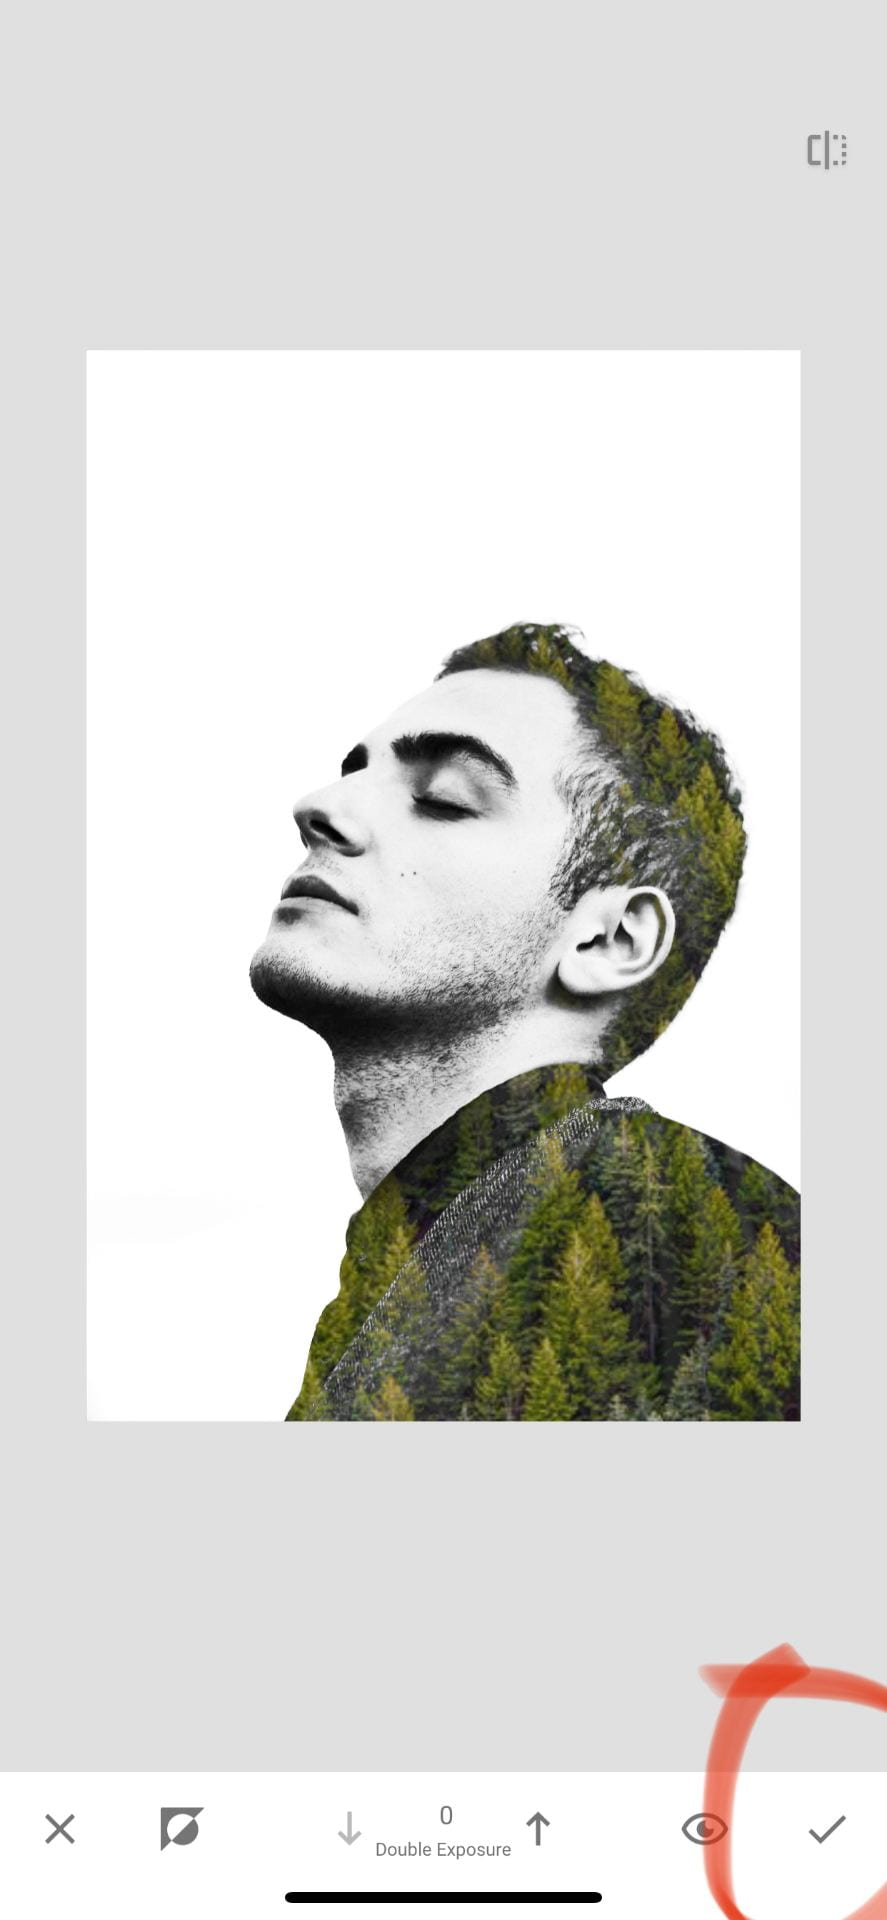
- Select Double Exposure
-
- Add your second image…
-

- Go to the middle icon
-
- These are all different styles

-
- Click checkmark when done.

-
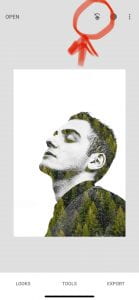
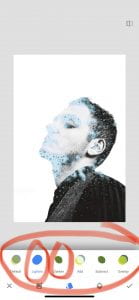
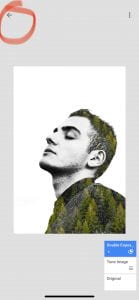
- Click the top icon (squares 2/ arrow).

-
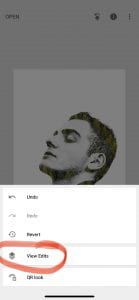
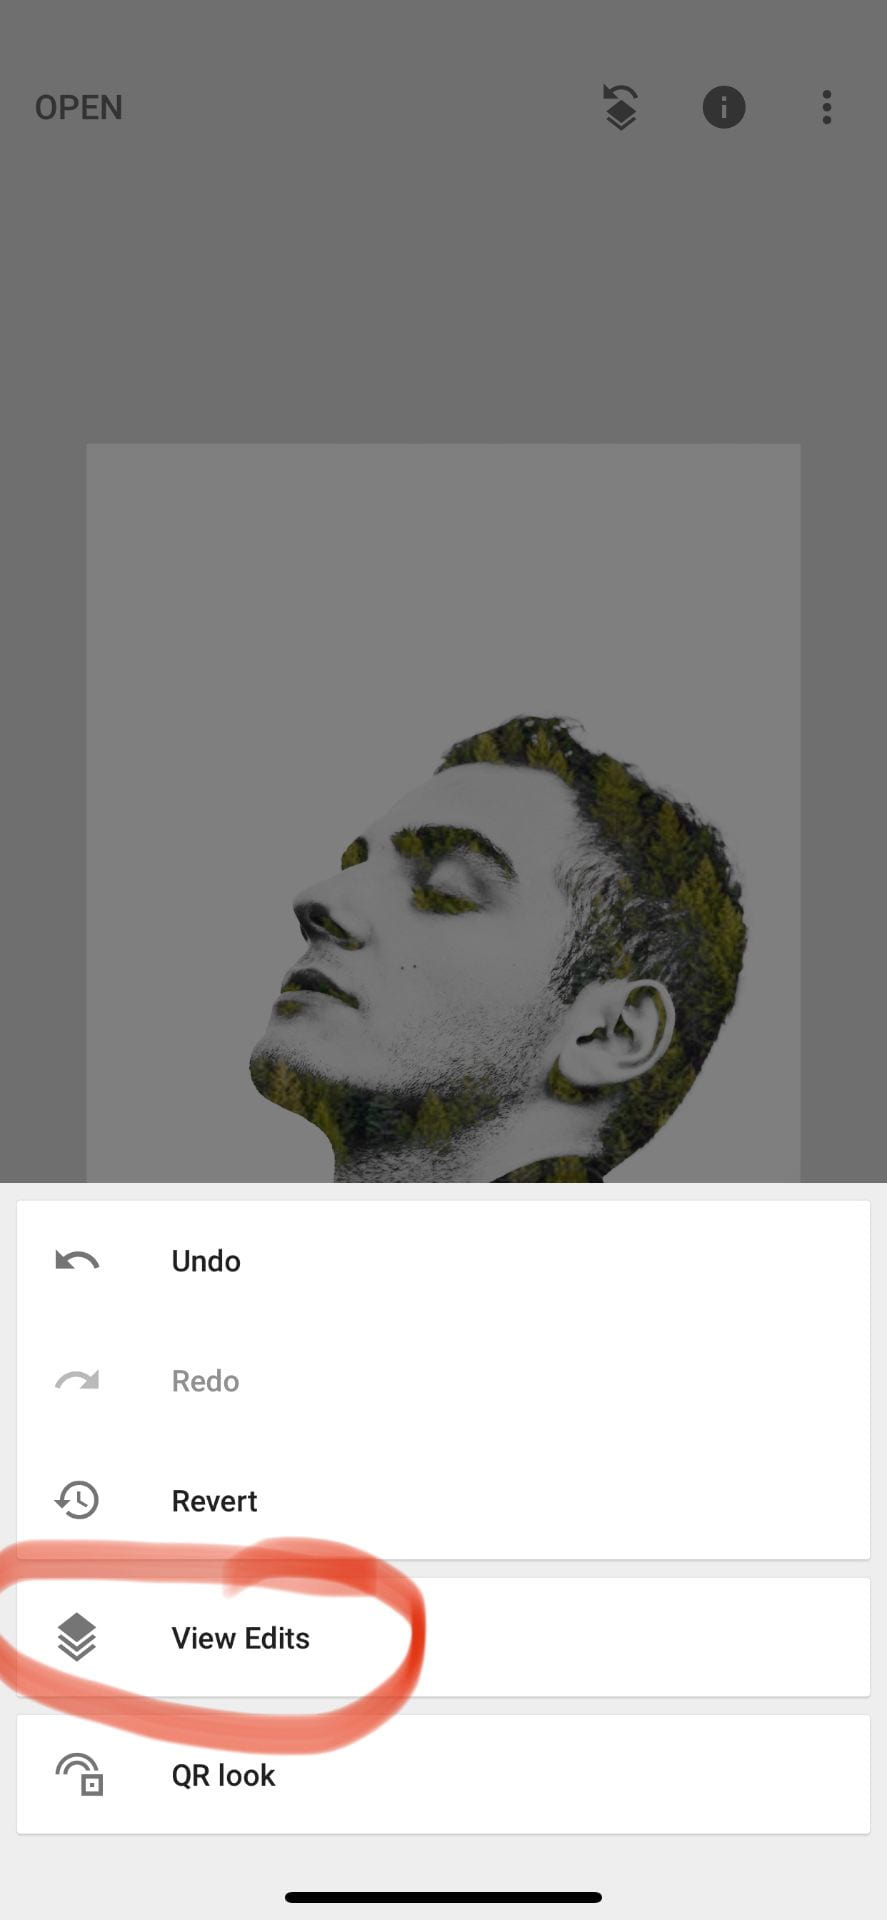
- Click View Edits.
-
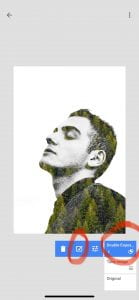
- Select Double Exposure then the brush icon.

-

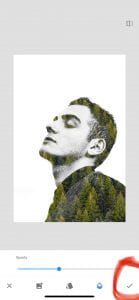
- Use up & down arrows to select how much of landscape to show; brush where you want the landscape, checkmark when done.
-
- Then click the back arrow.

-
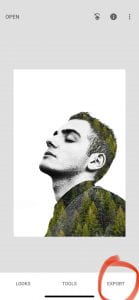
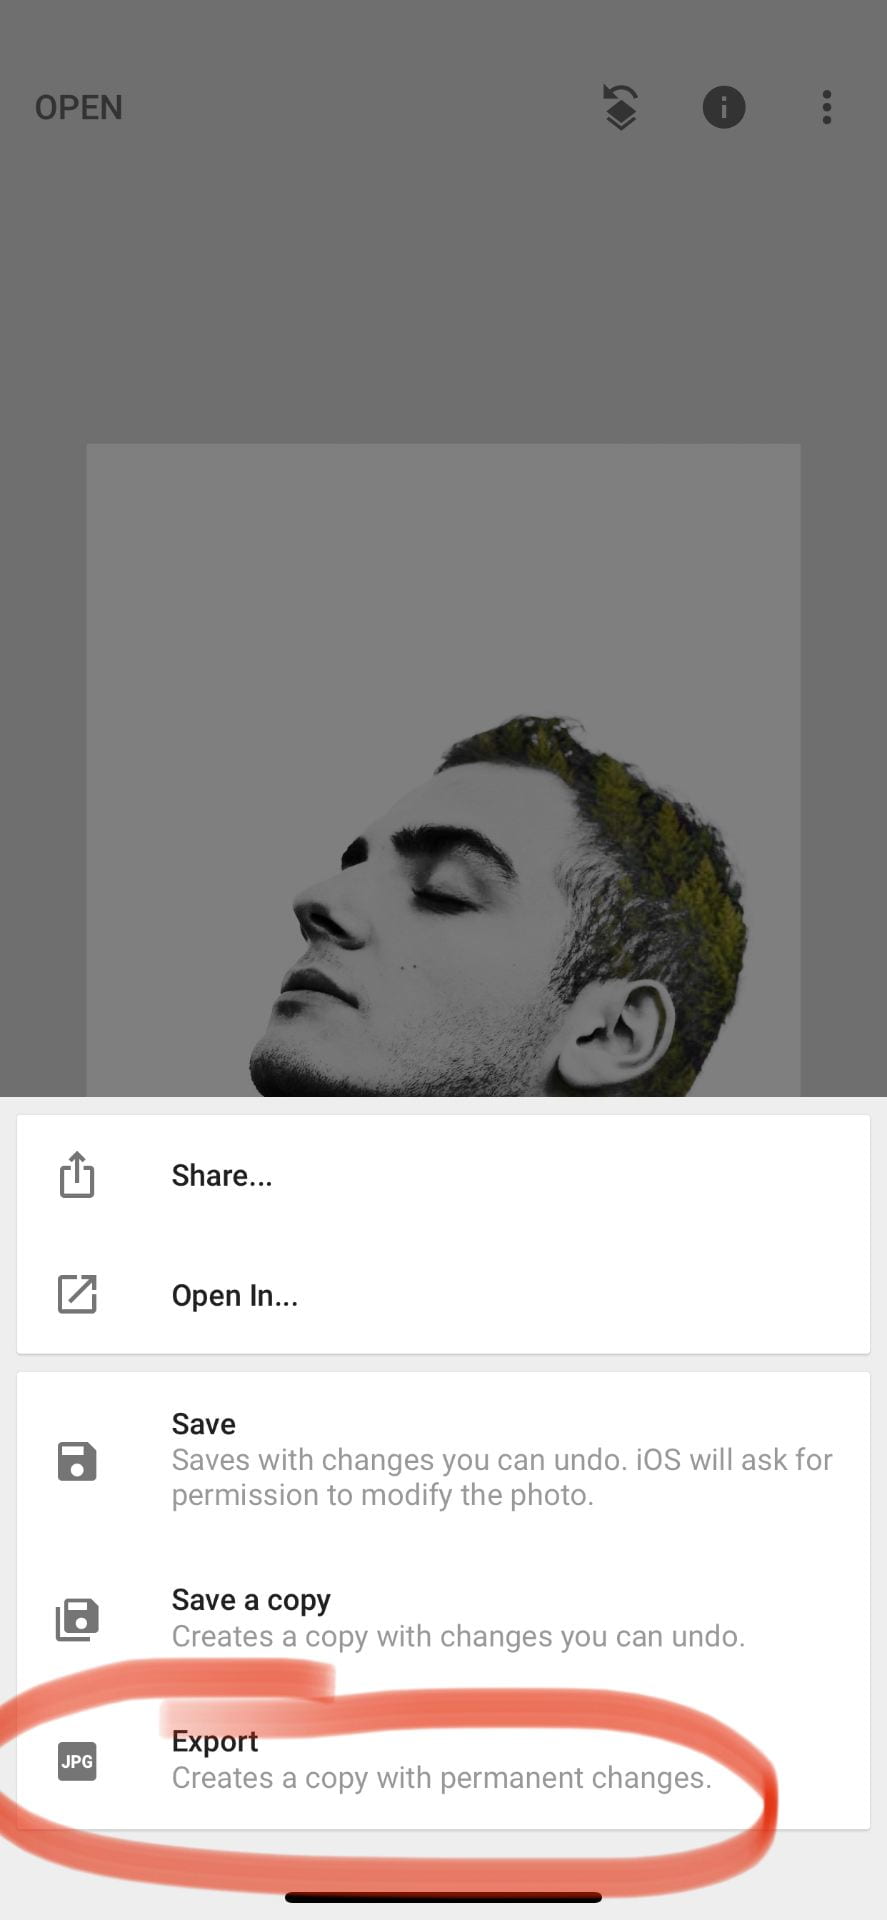
- Export when you’re done.

-
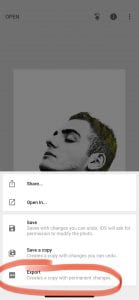
- Export again…