Monday 10/24/22: Super Symmetry (Tessellations) Using Photoshop
Today’s Agenda:
- Complete the Storytelling Blog Post assigned on Friday
- Begin your Tessellations Projects (4 inch and 2 inch)
Creating Tessellations!
Instructions: Create a 4-inch tessellation AND a 2-inch tessellation using two different photos of your own! (One photo per tessellation.)
Post both JPEG Tessellations + their original images as a gallery (medium or full size, not thumbnail) to your blog when you’re done! Check out the student examples gallery below!!
1.First video shows you how to create a blank canvas on Photoshop and how to apply measured guidelines:
*Note: in the video after clicking File>New, I mention you may have the “custom” option but you can also use the “default Photoshop size” option as long as you put the same settings from the video.
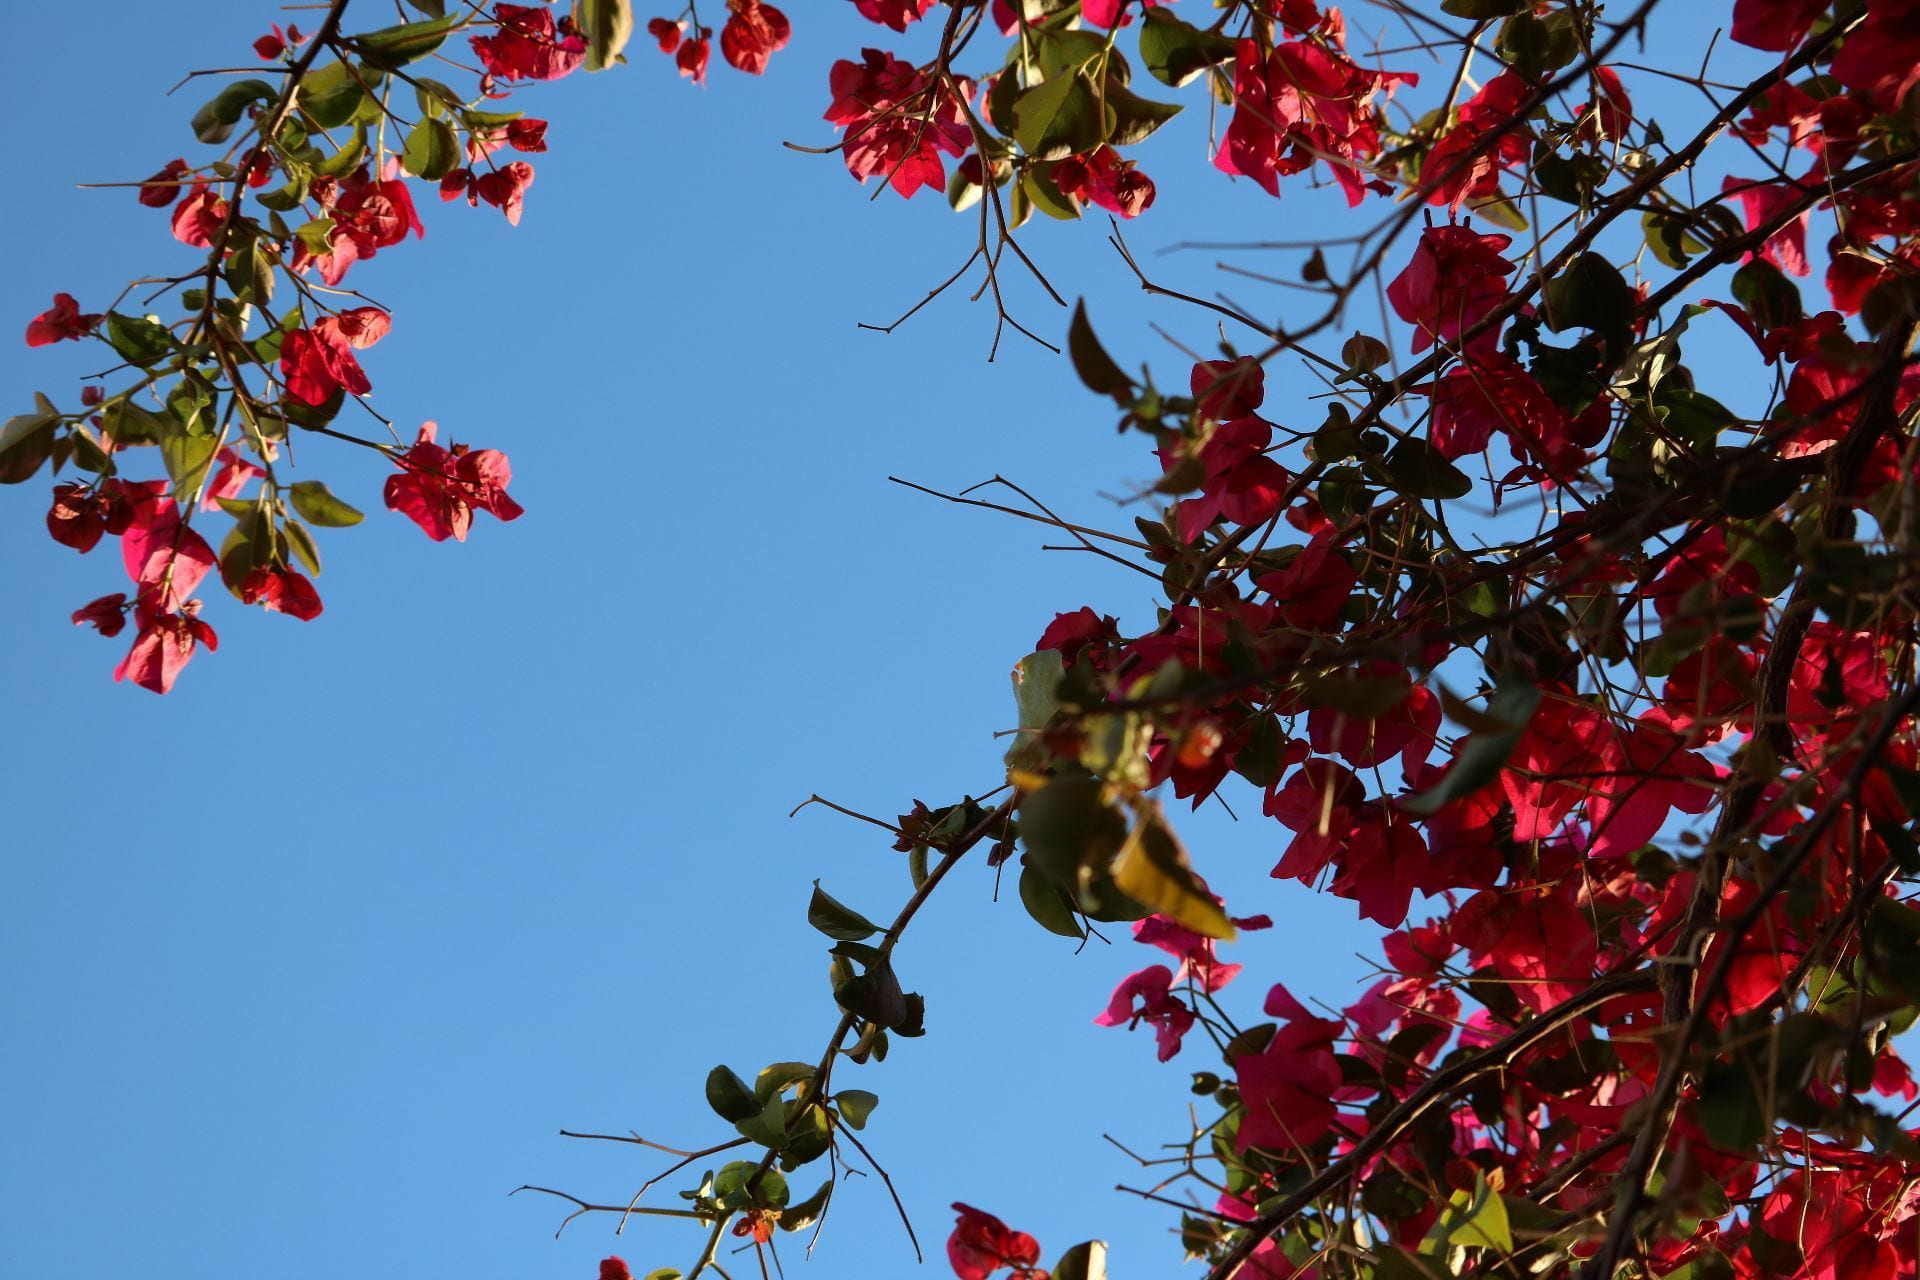
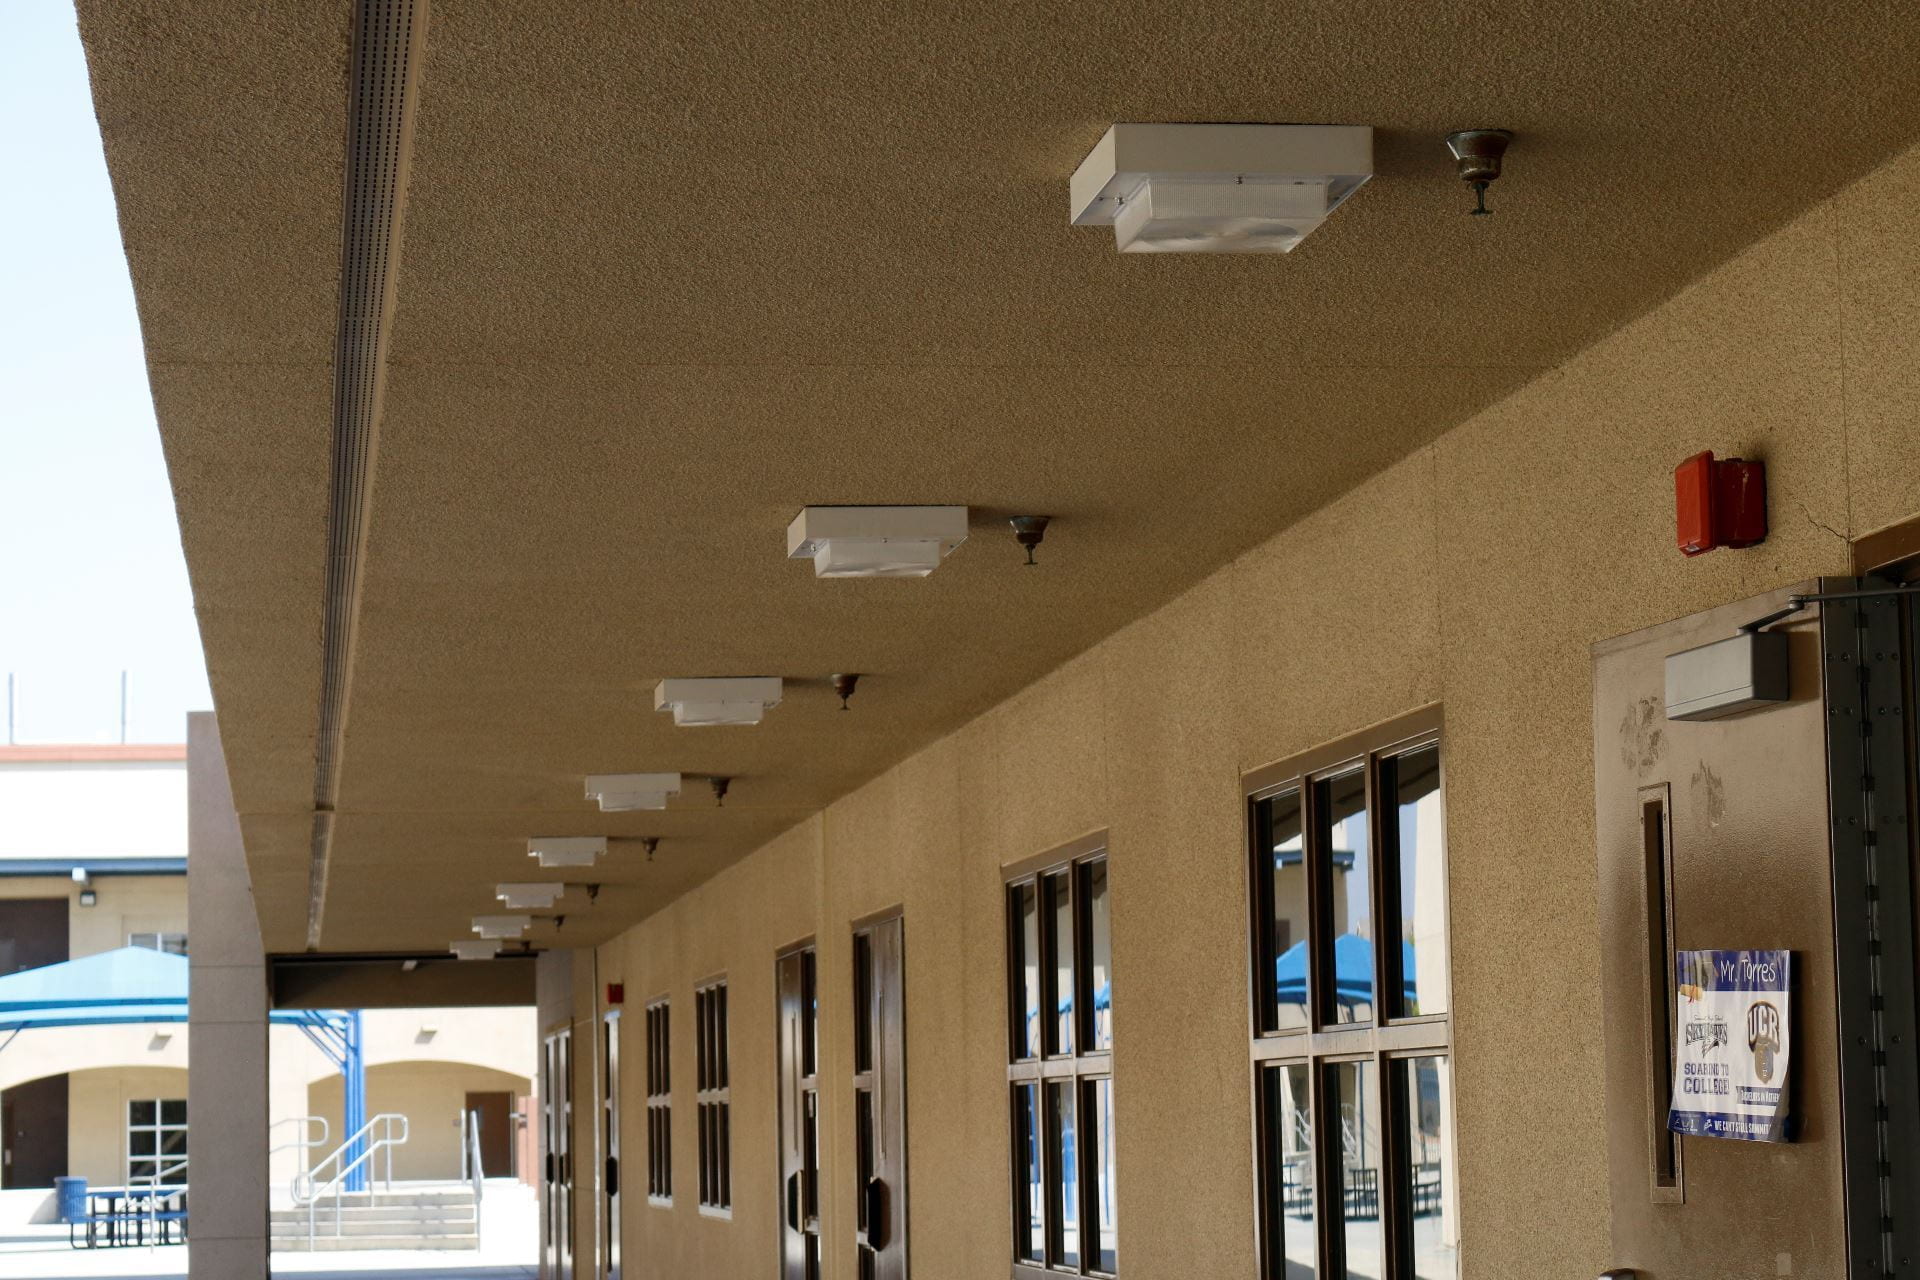
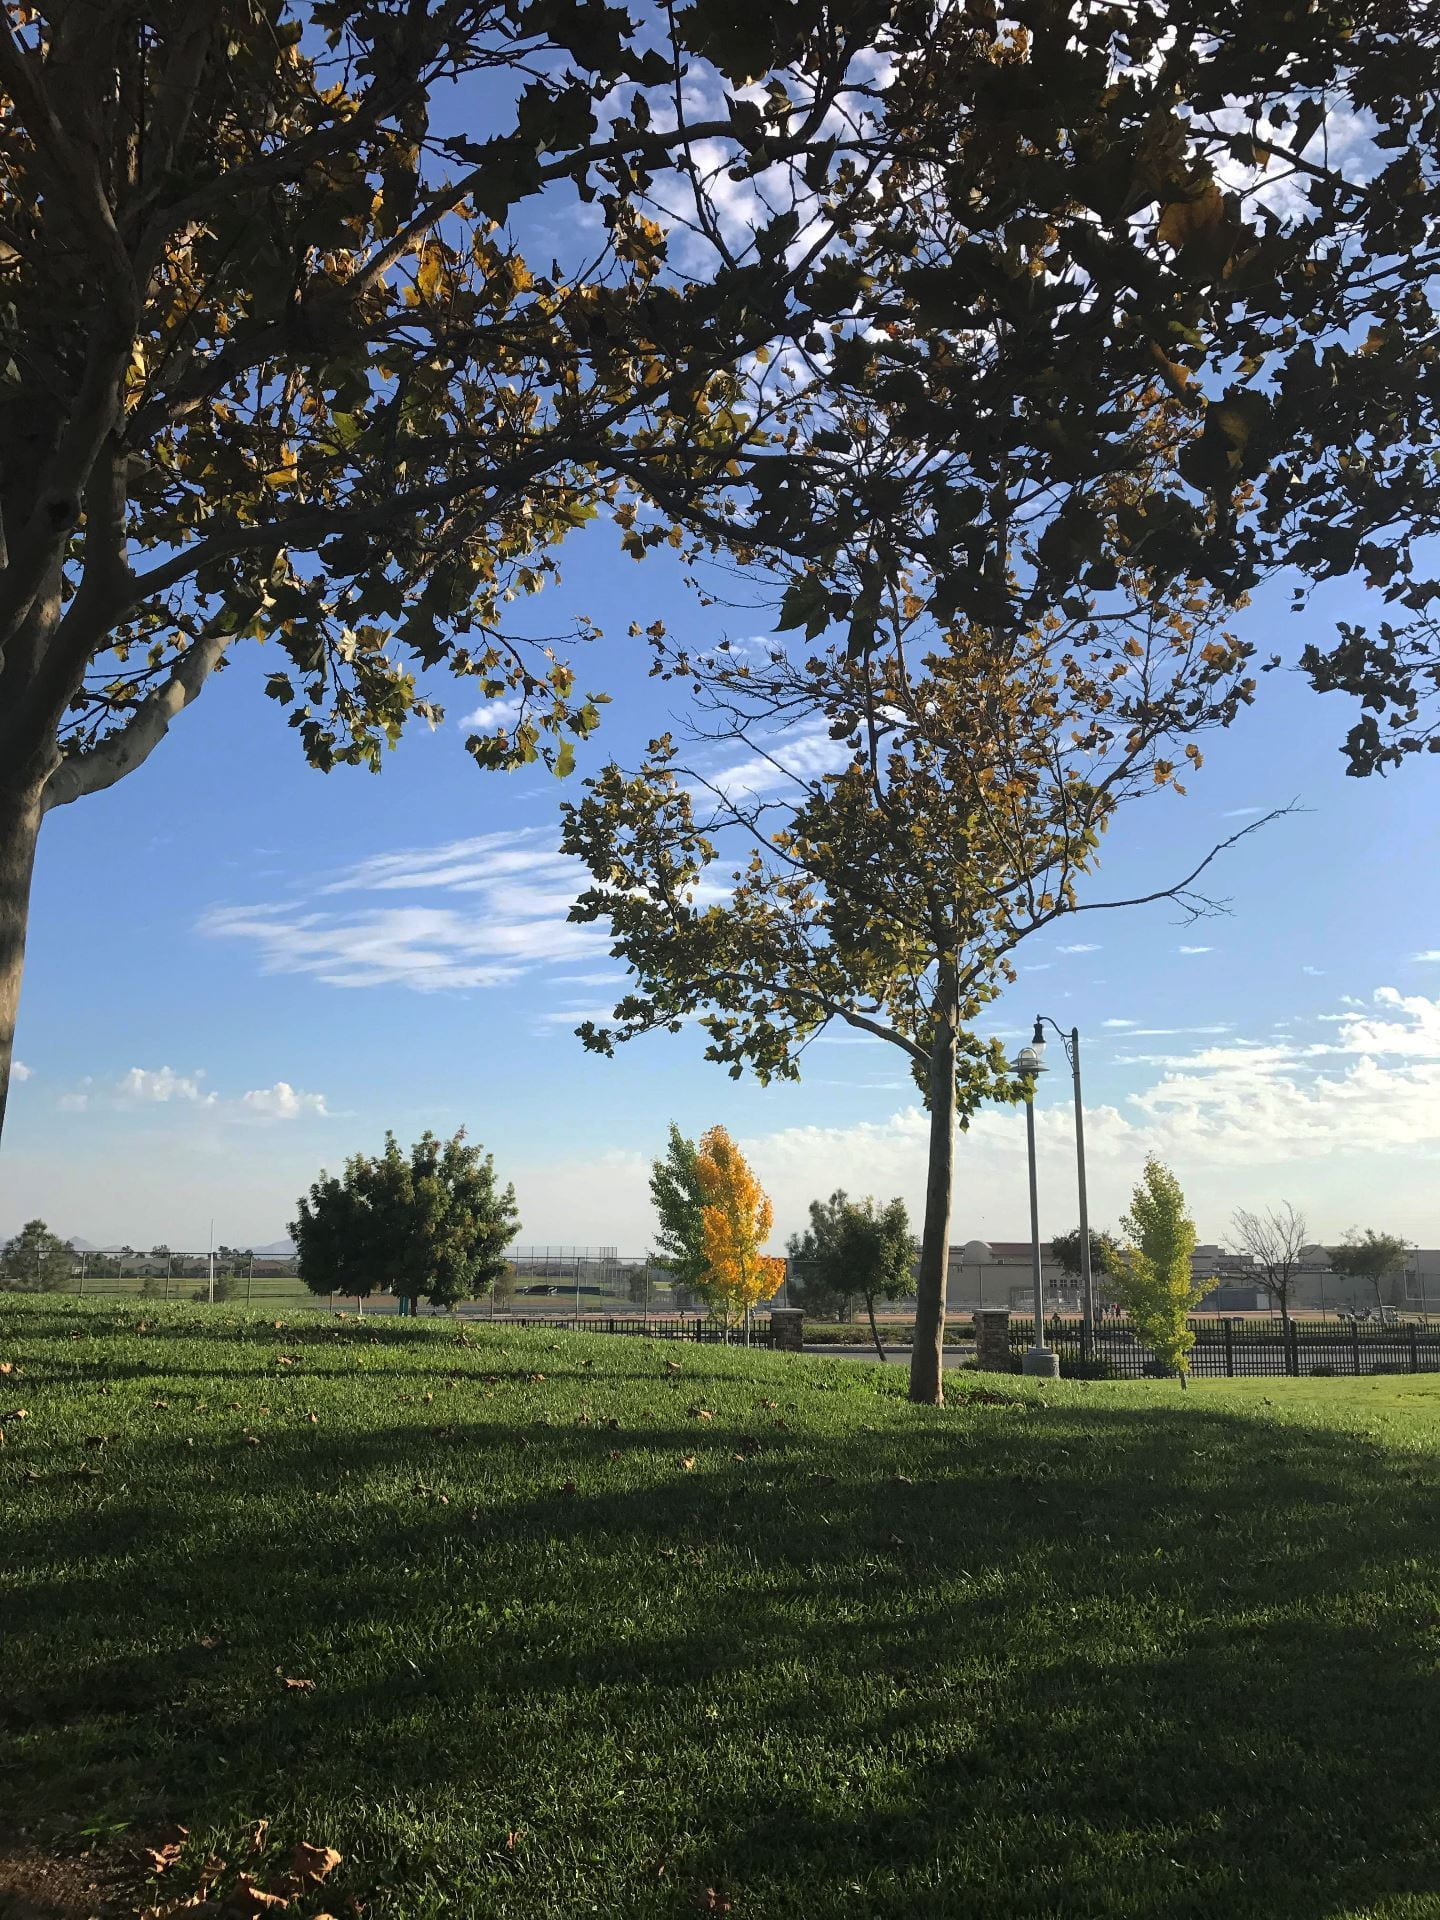
2. This next video shows you how to prepare your photo for the super symmetry tessellation effect! (At the end, I say to export your image, but instead you can just flatten and then Save As…to your OneDrive.) Also, see the note about cropping below the video.
***Note on cropping:
Make sure the “delete cropped pixels” box is checked when you’re using the crop tool. Otherwise, if you drag your cropped image to the canvas, it won’t remain as a square. Click image below for visual:

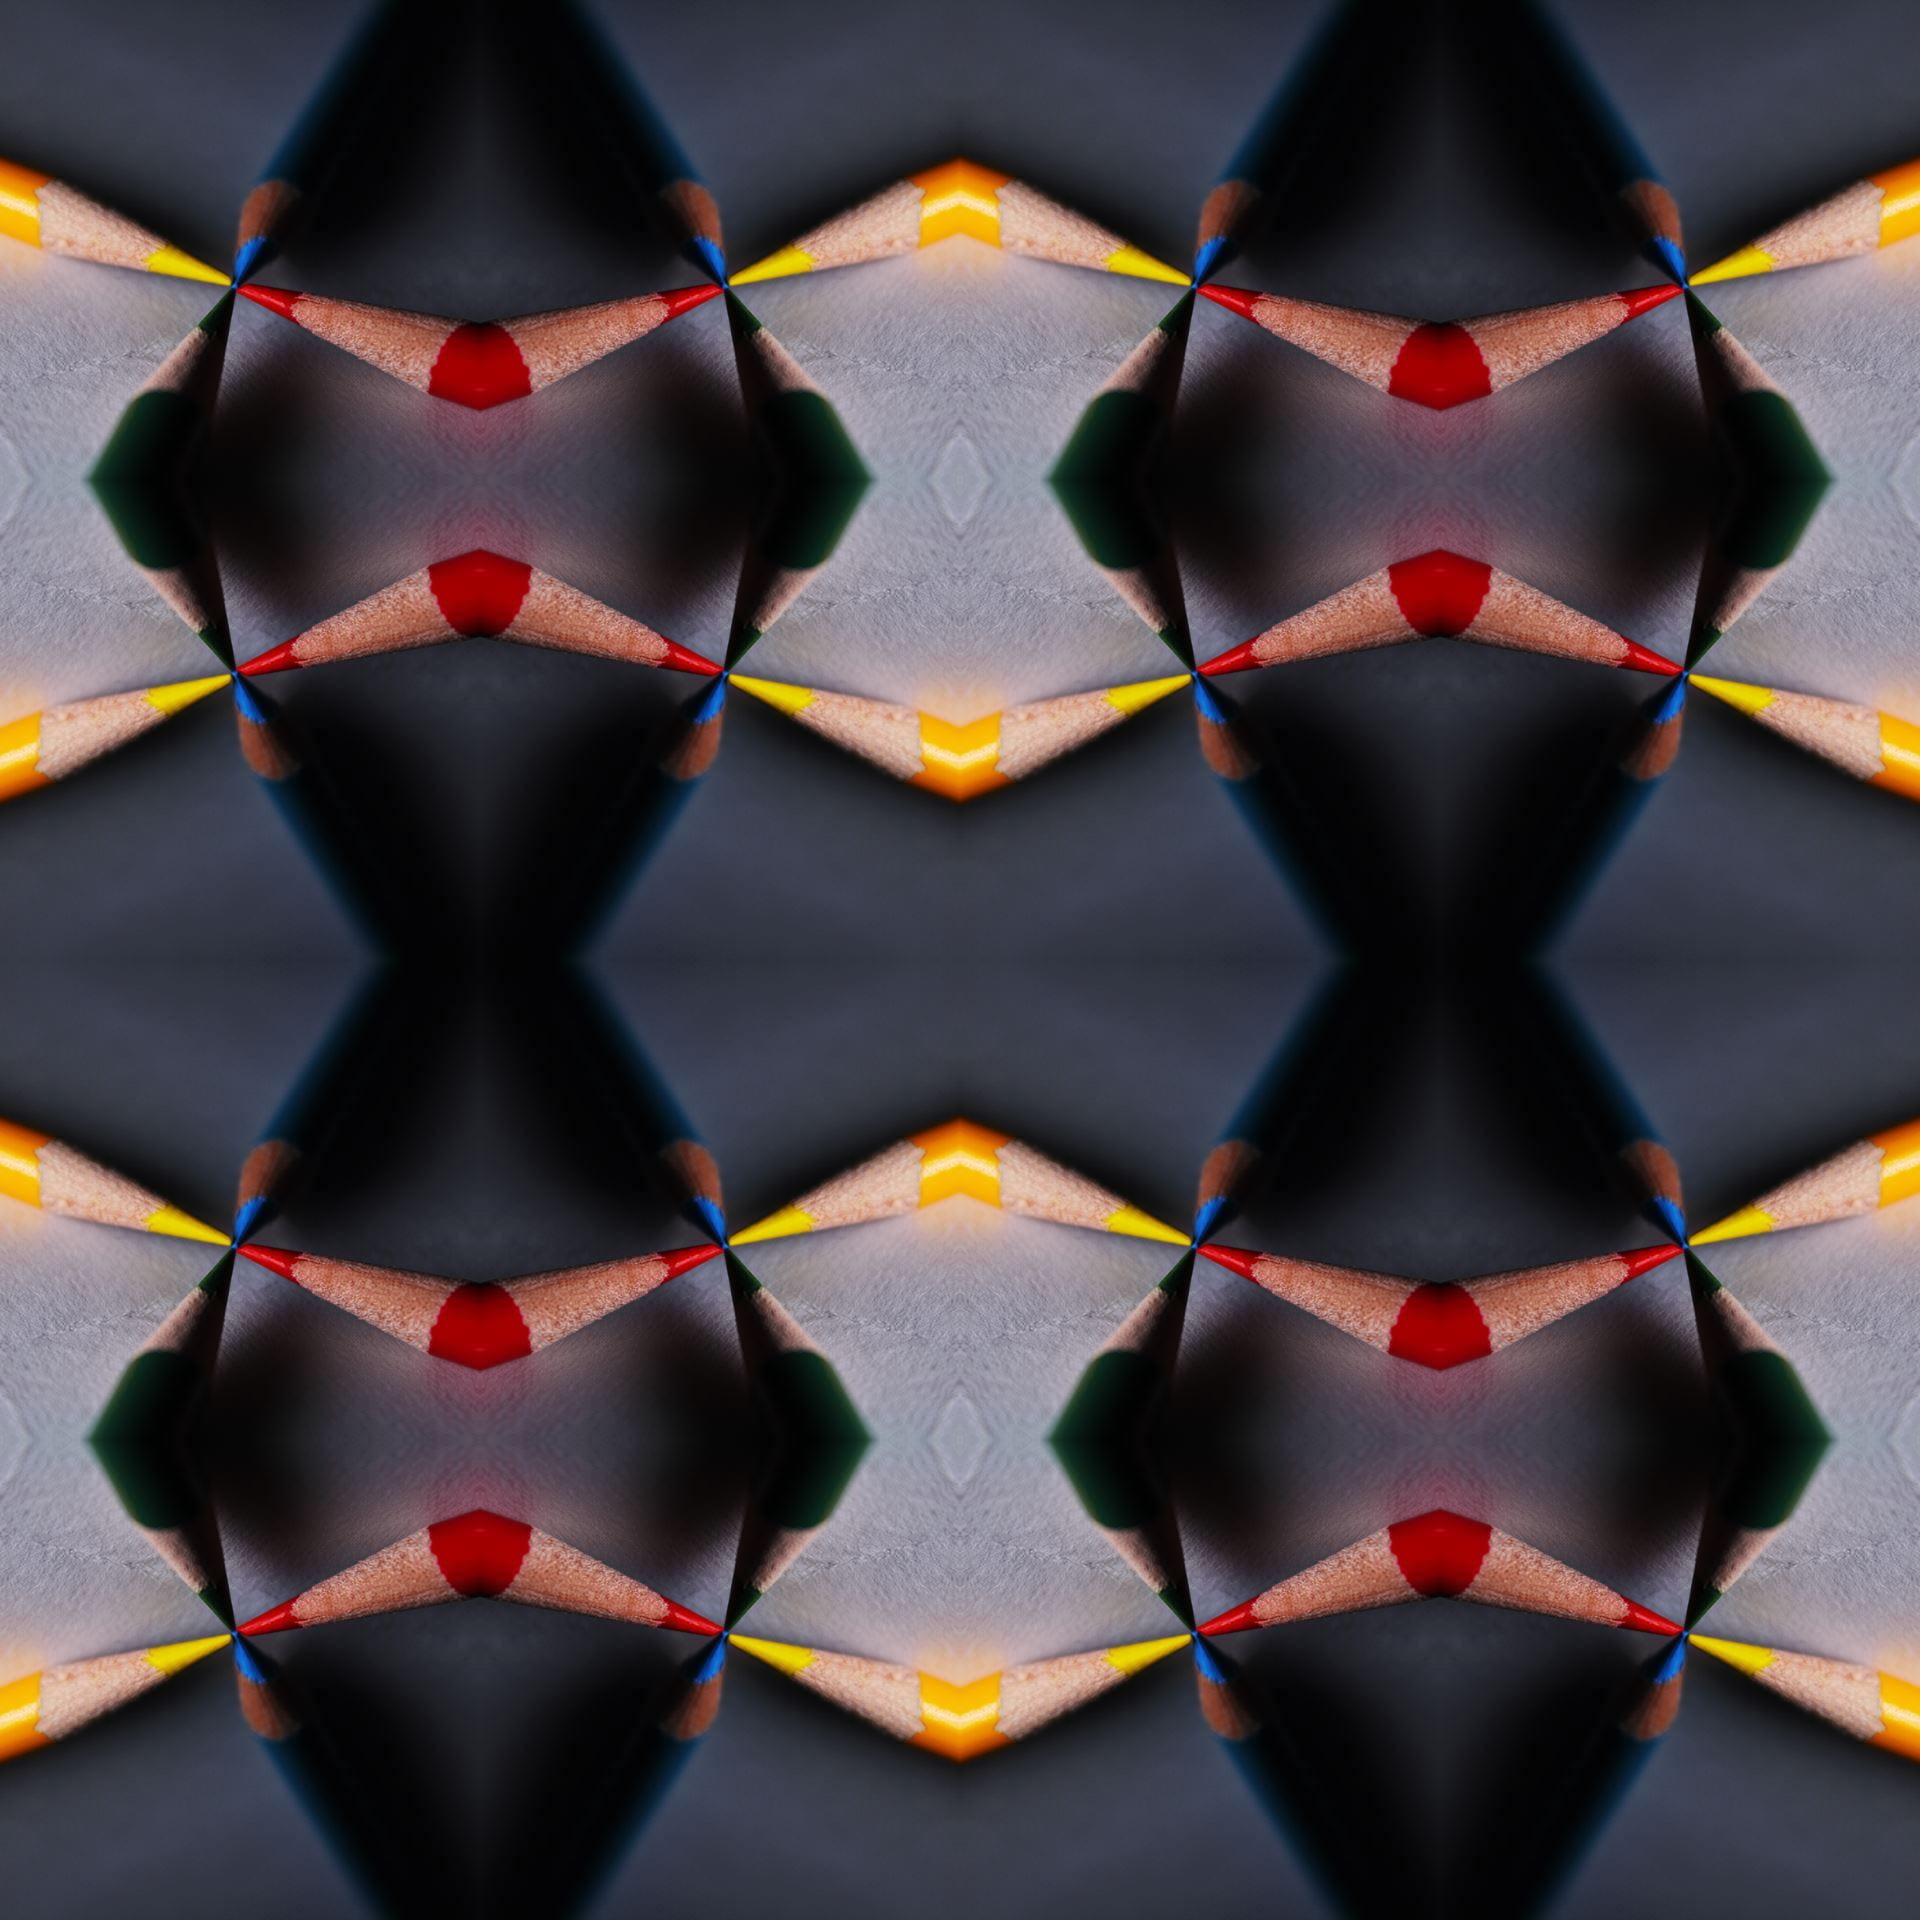
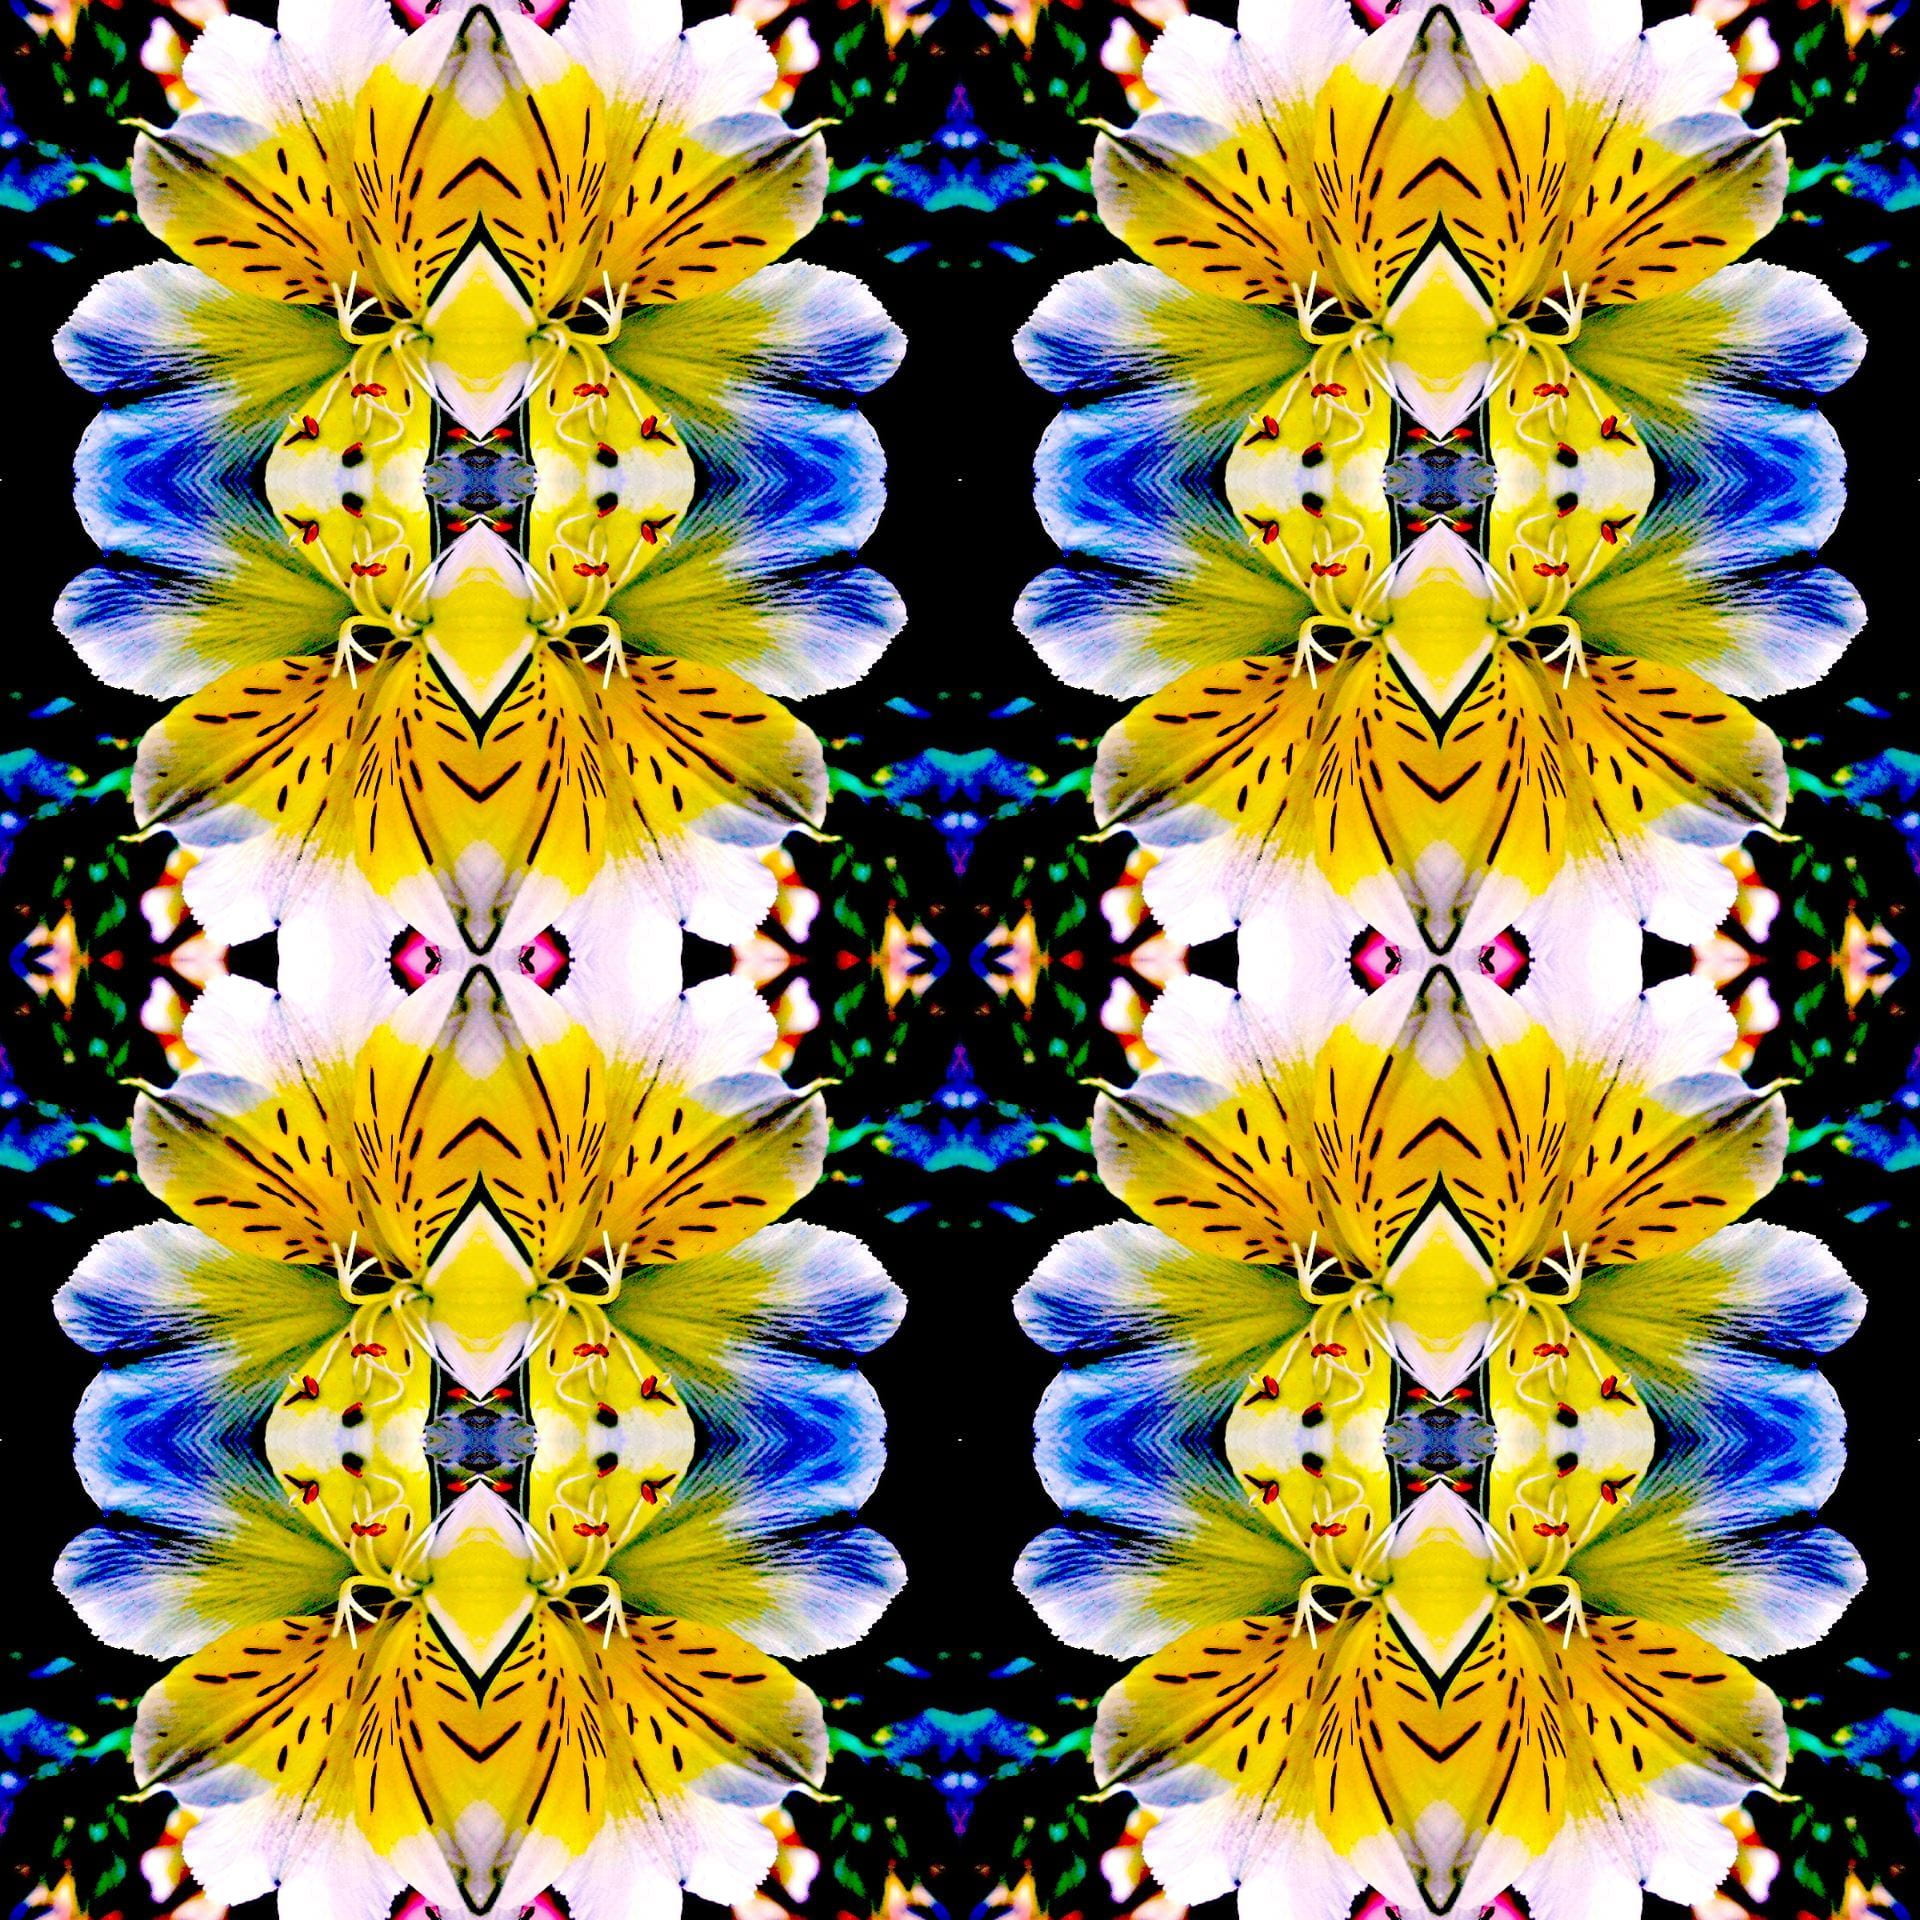
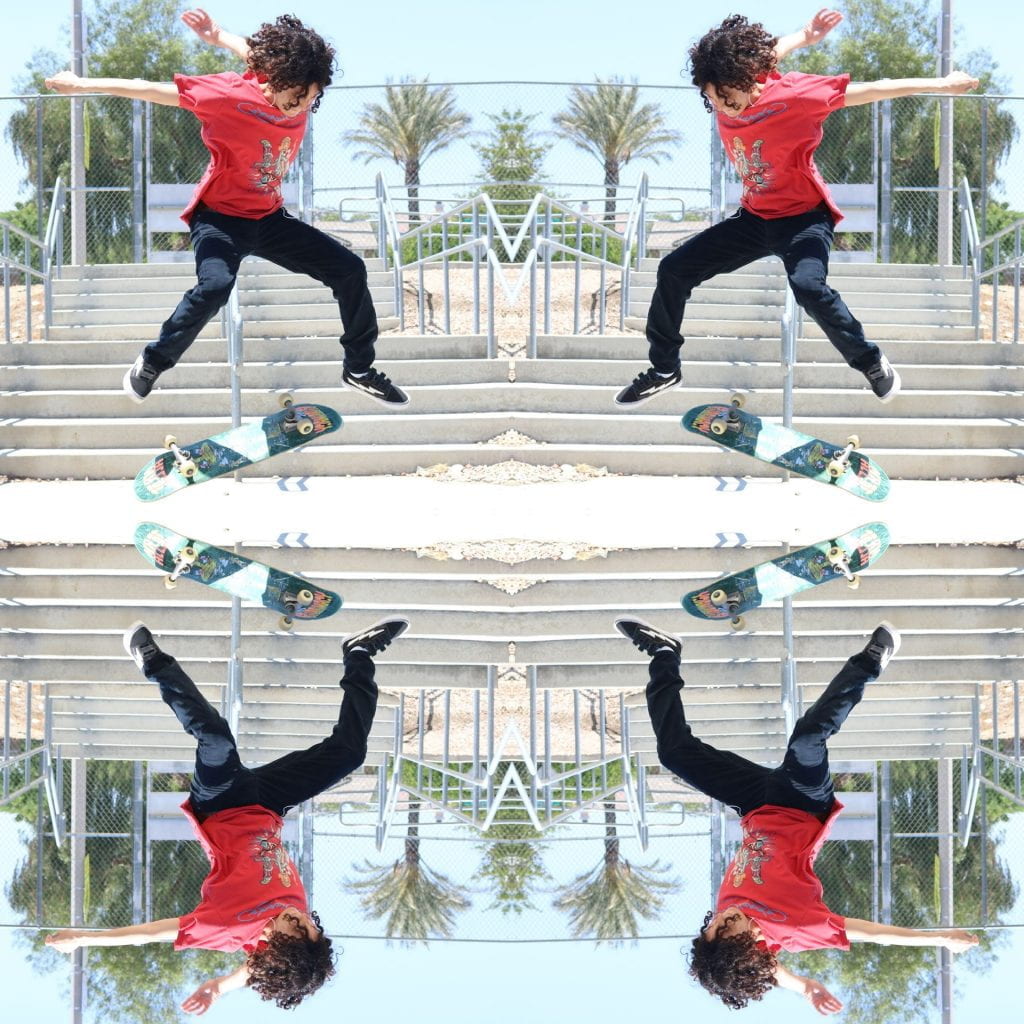
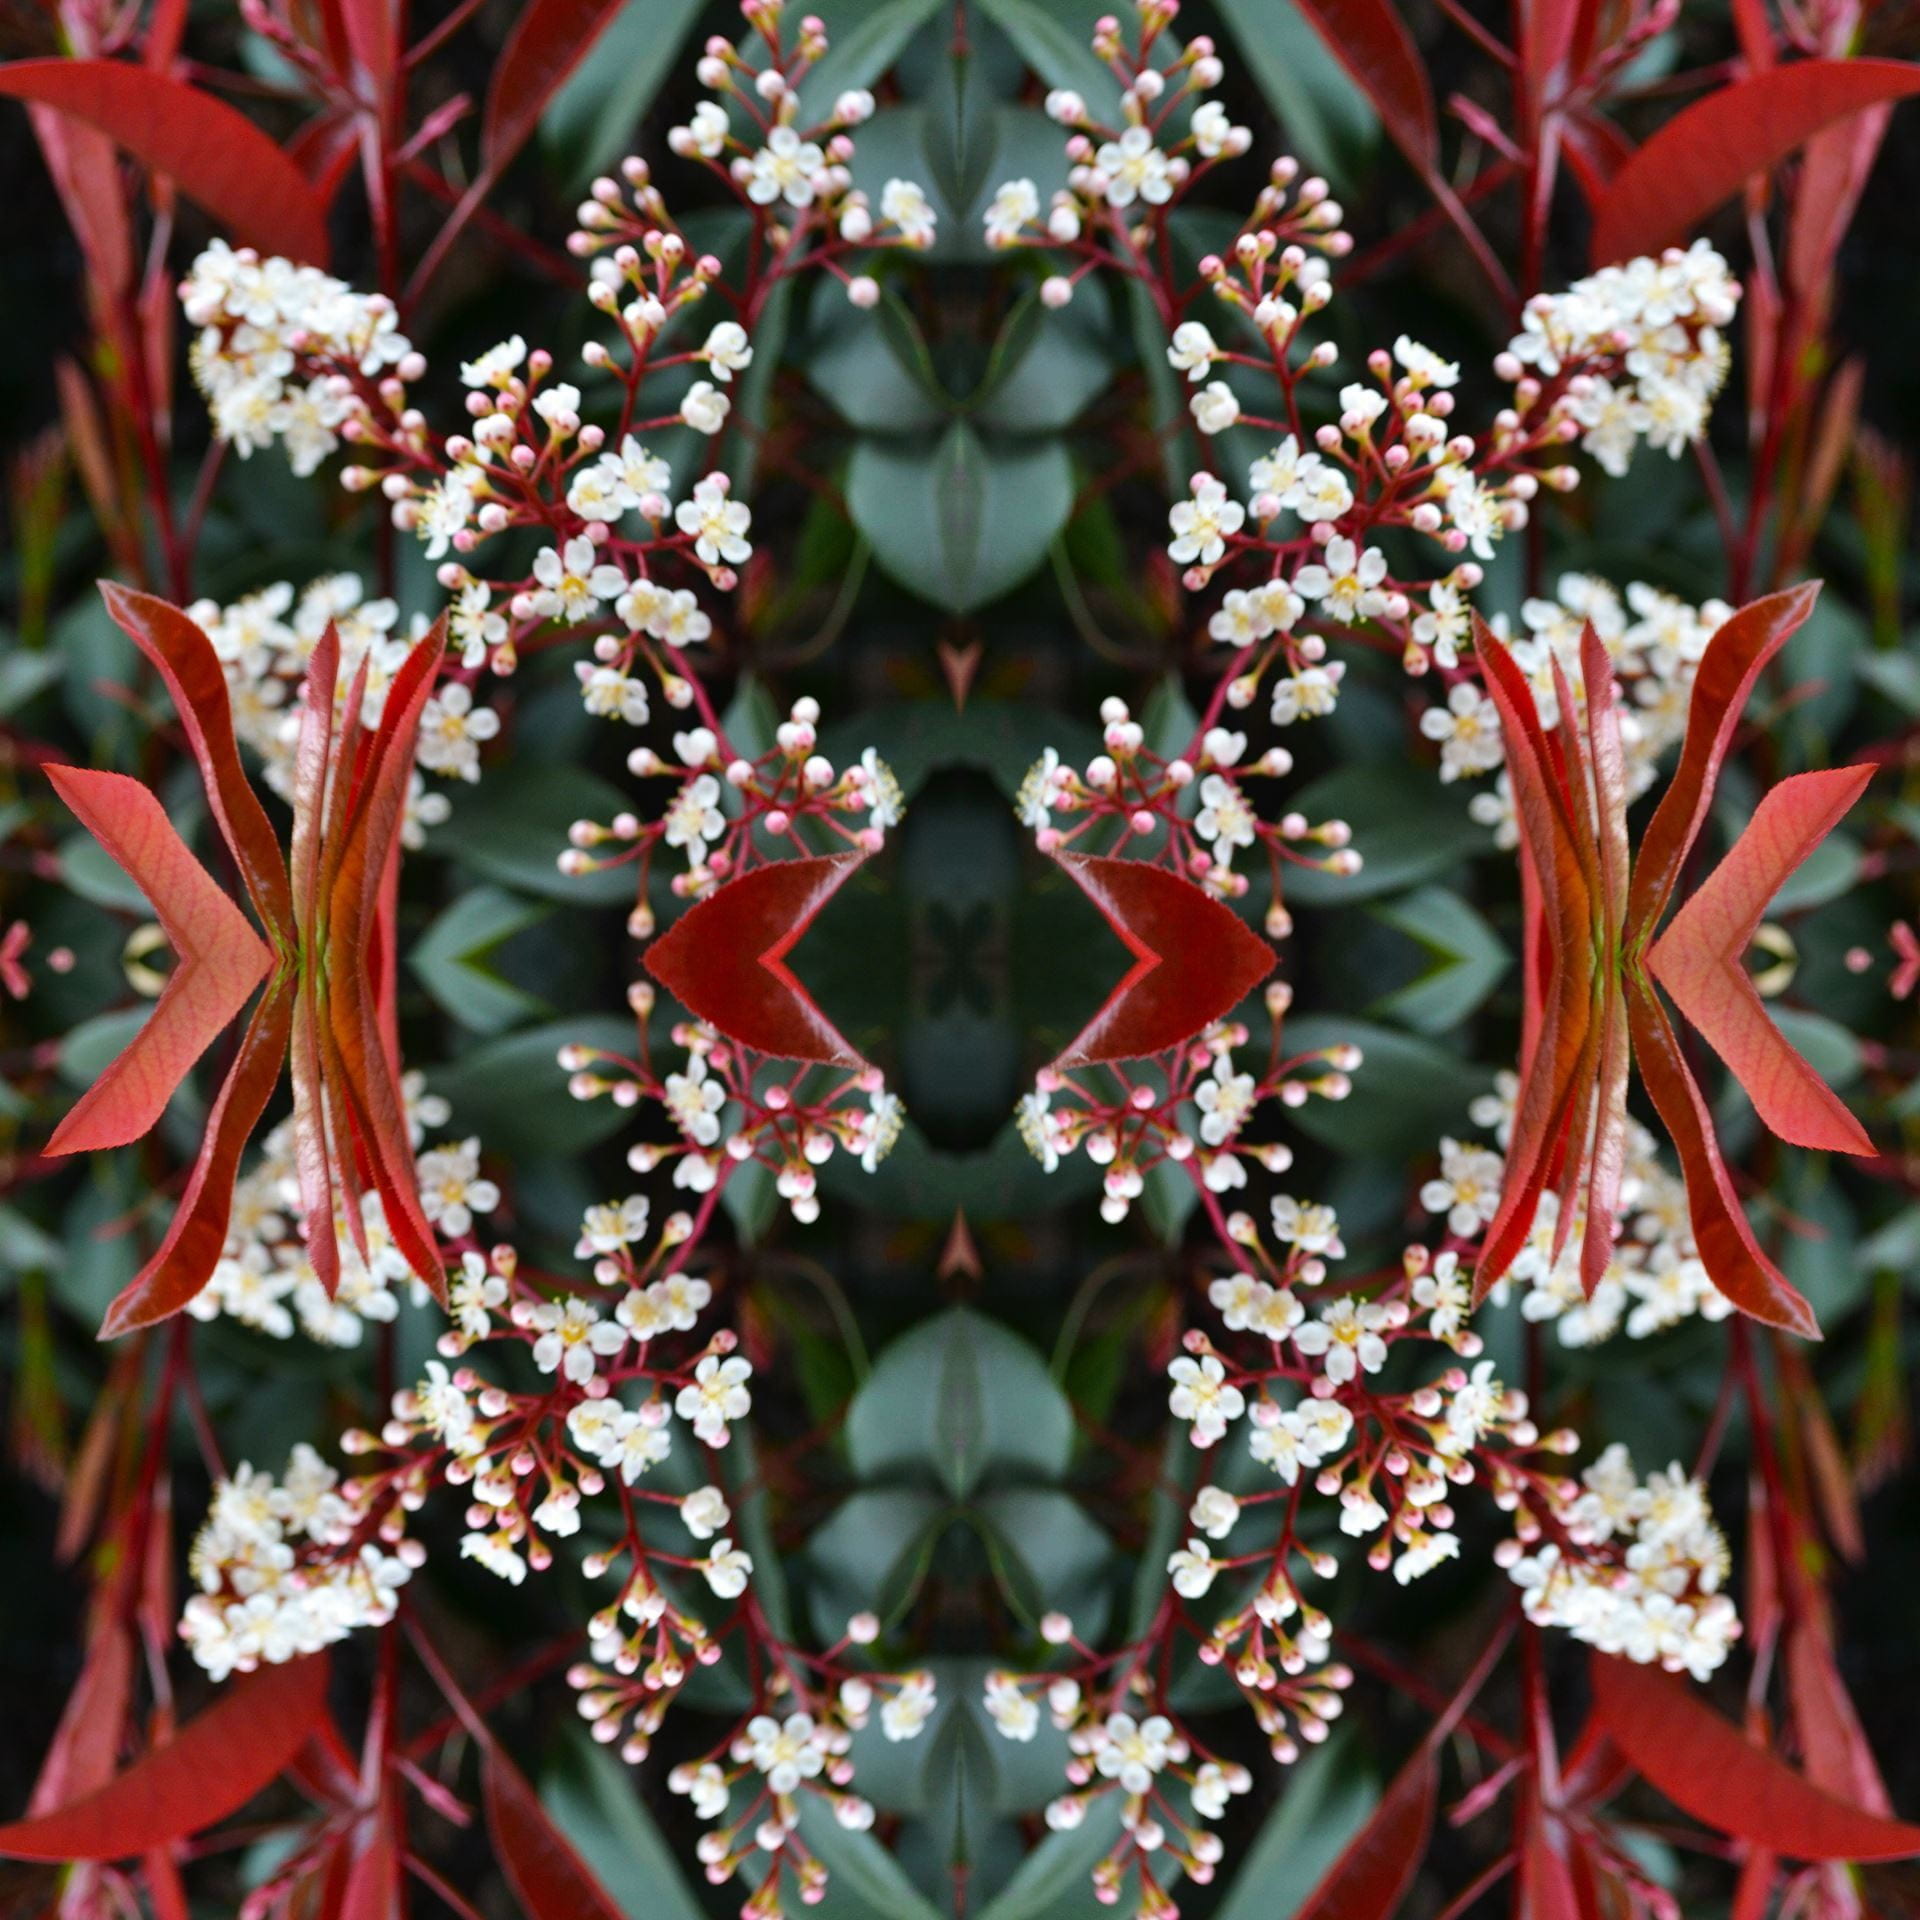
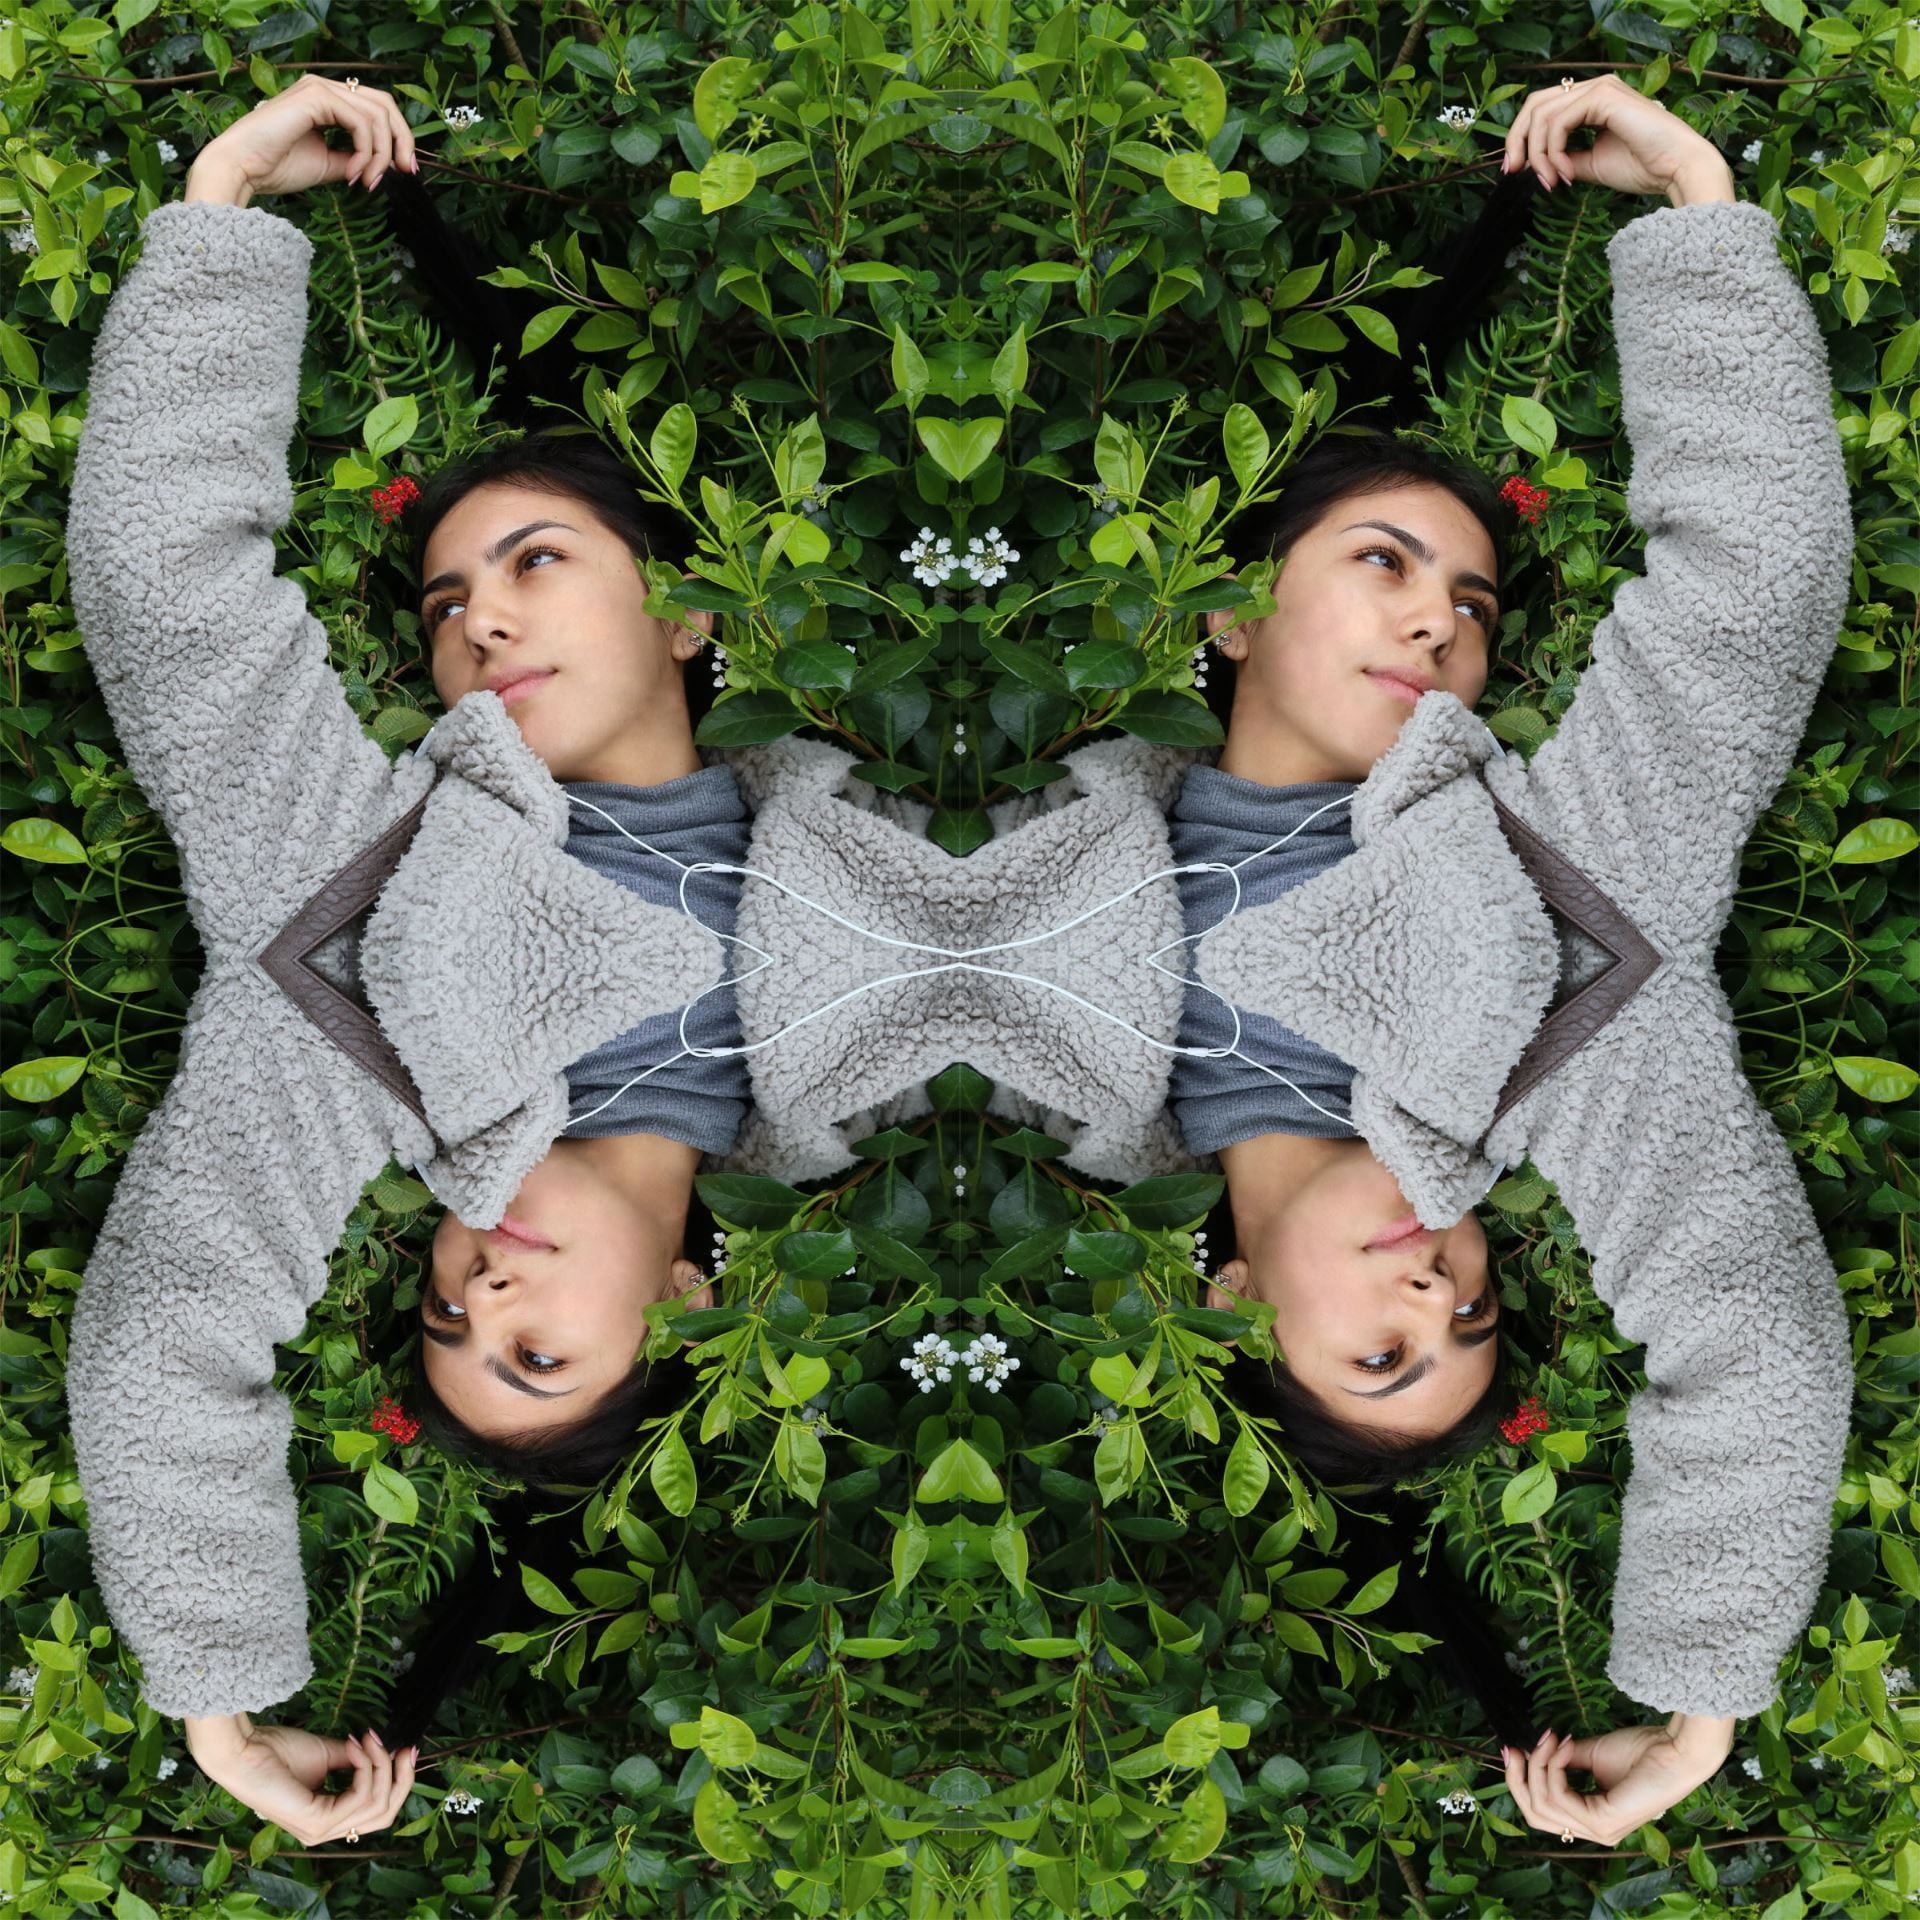
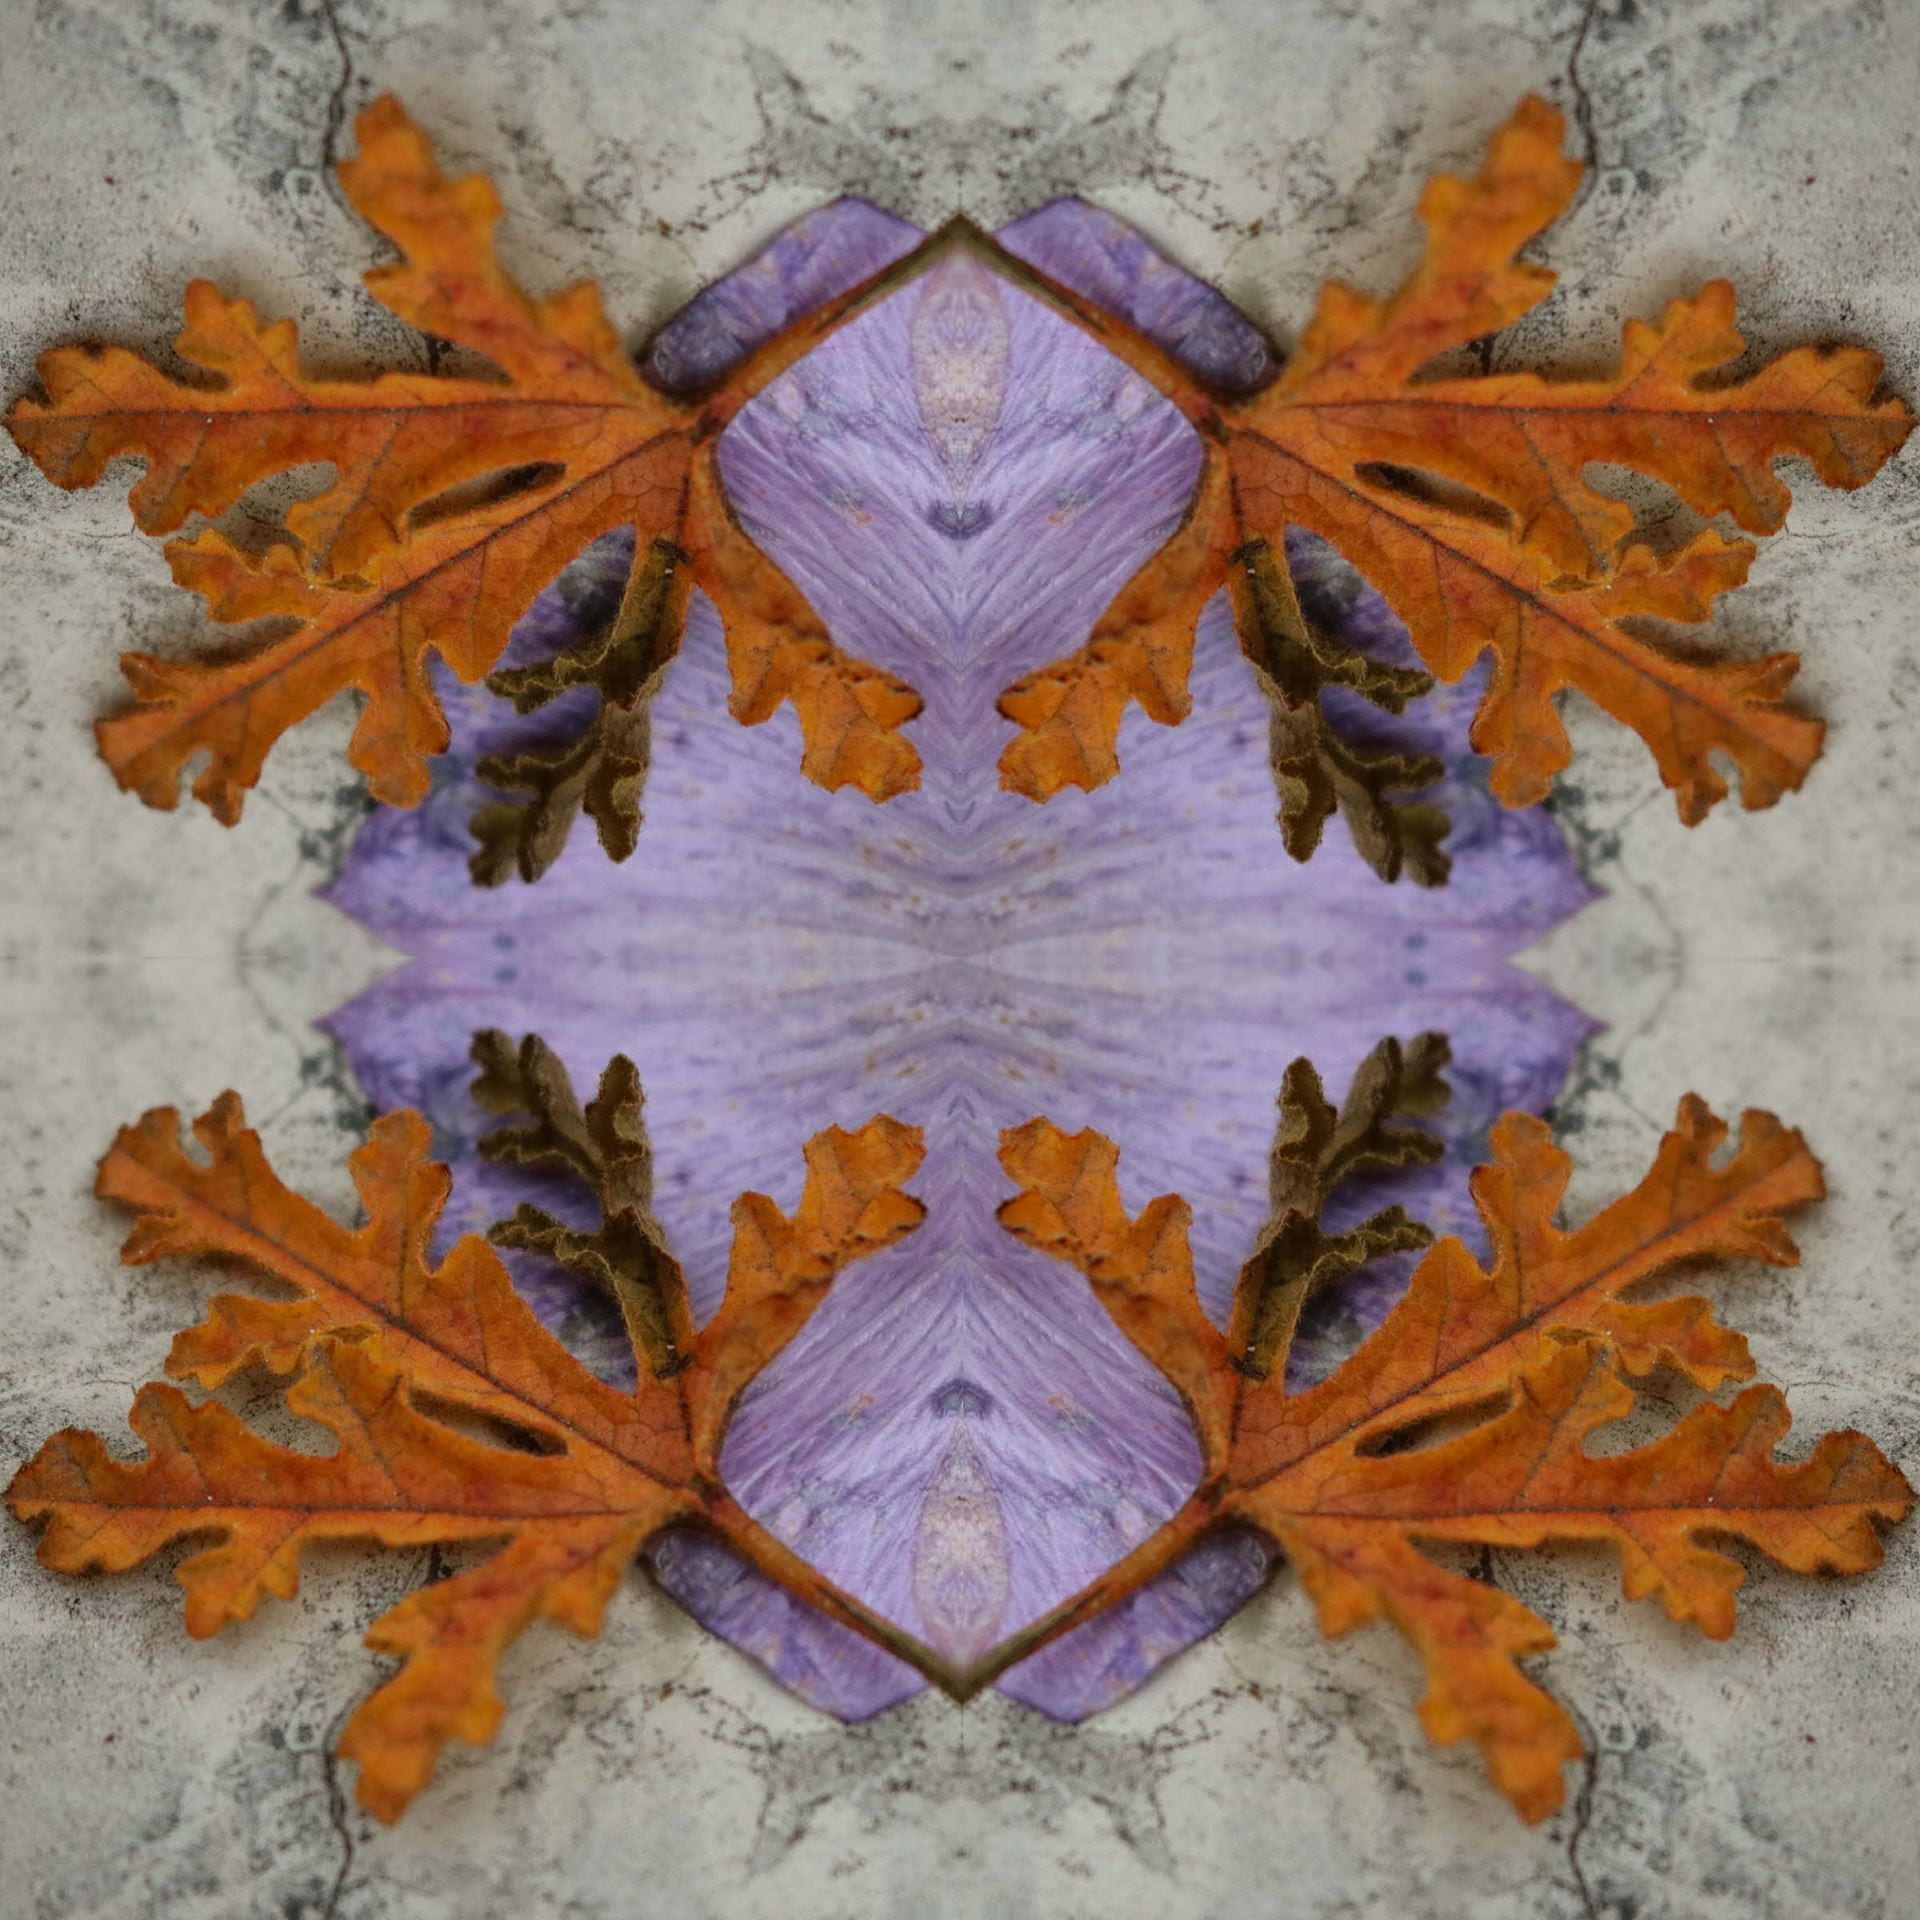
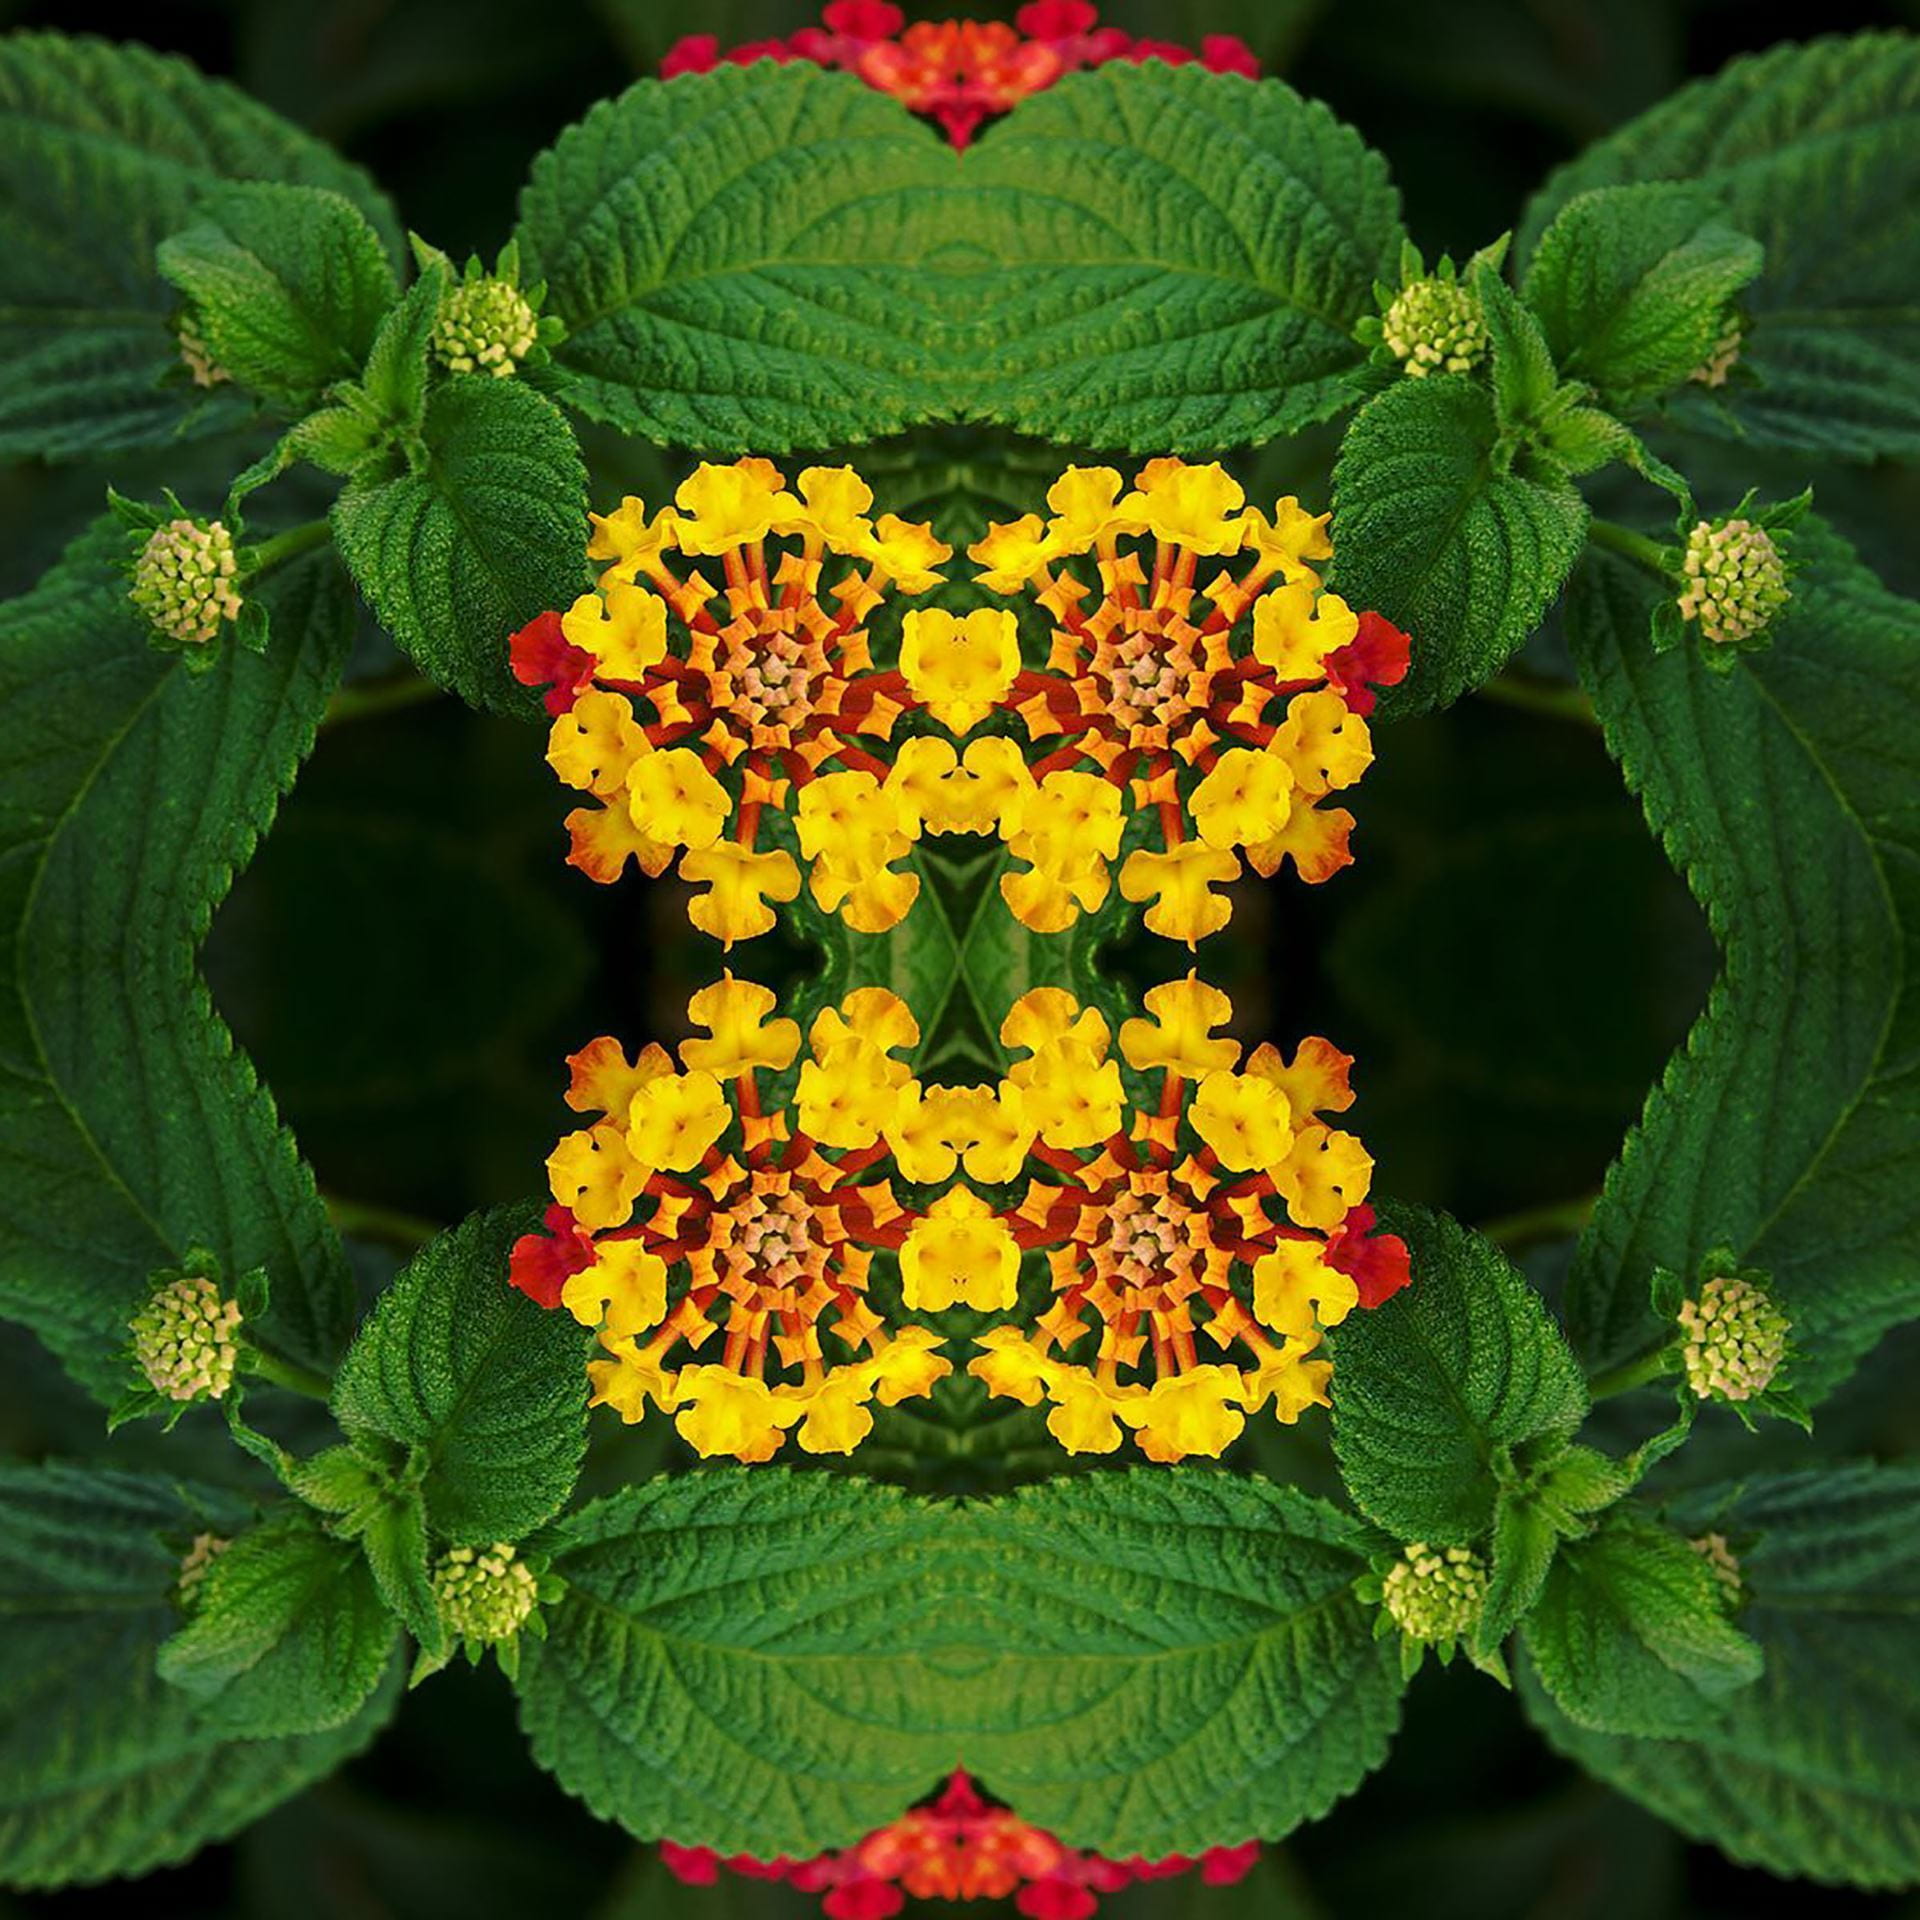
Student examples:

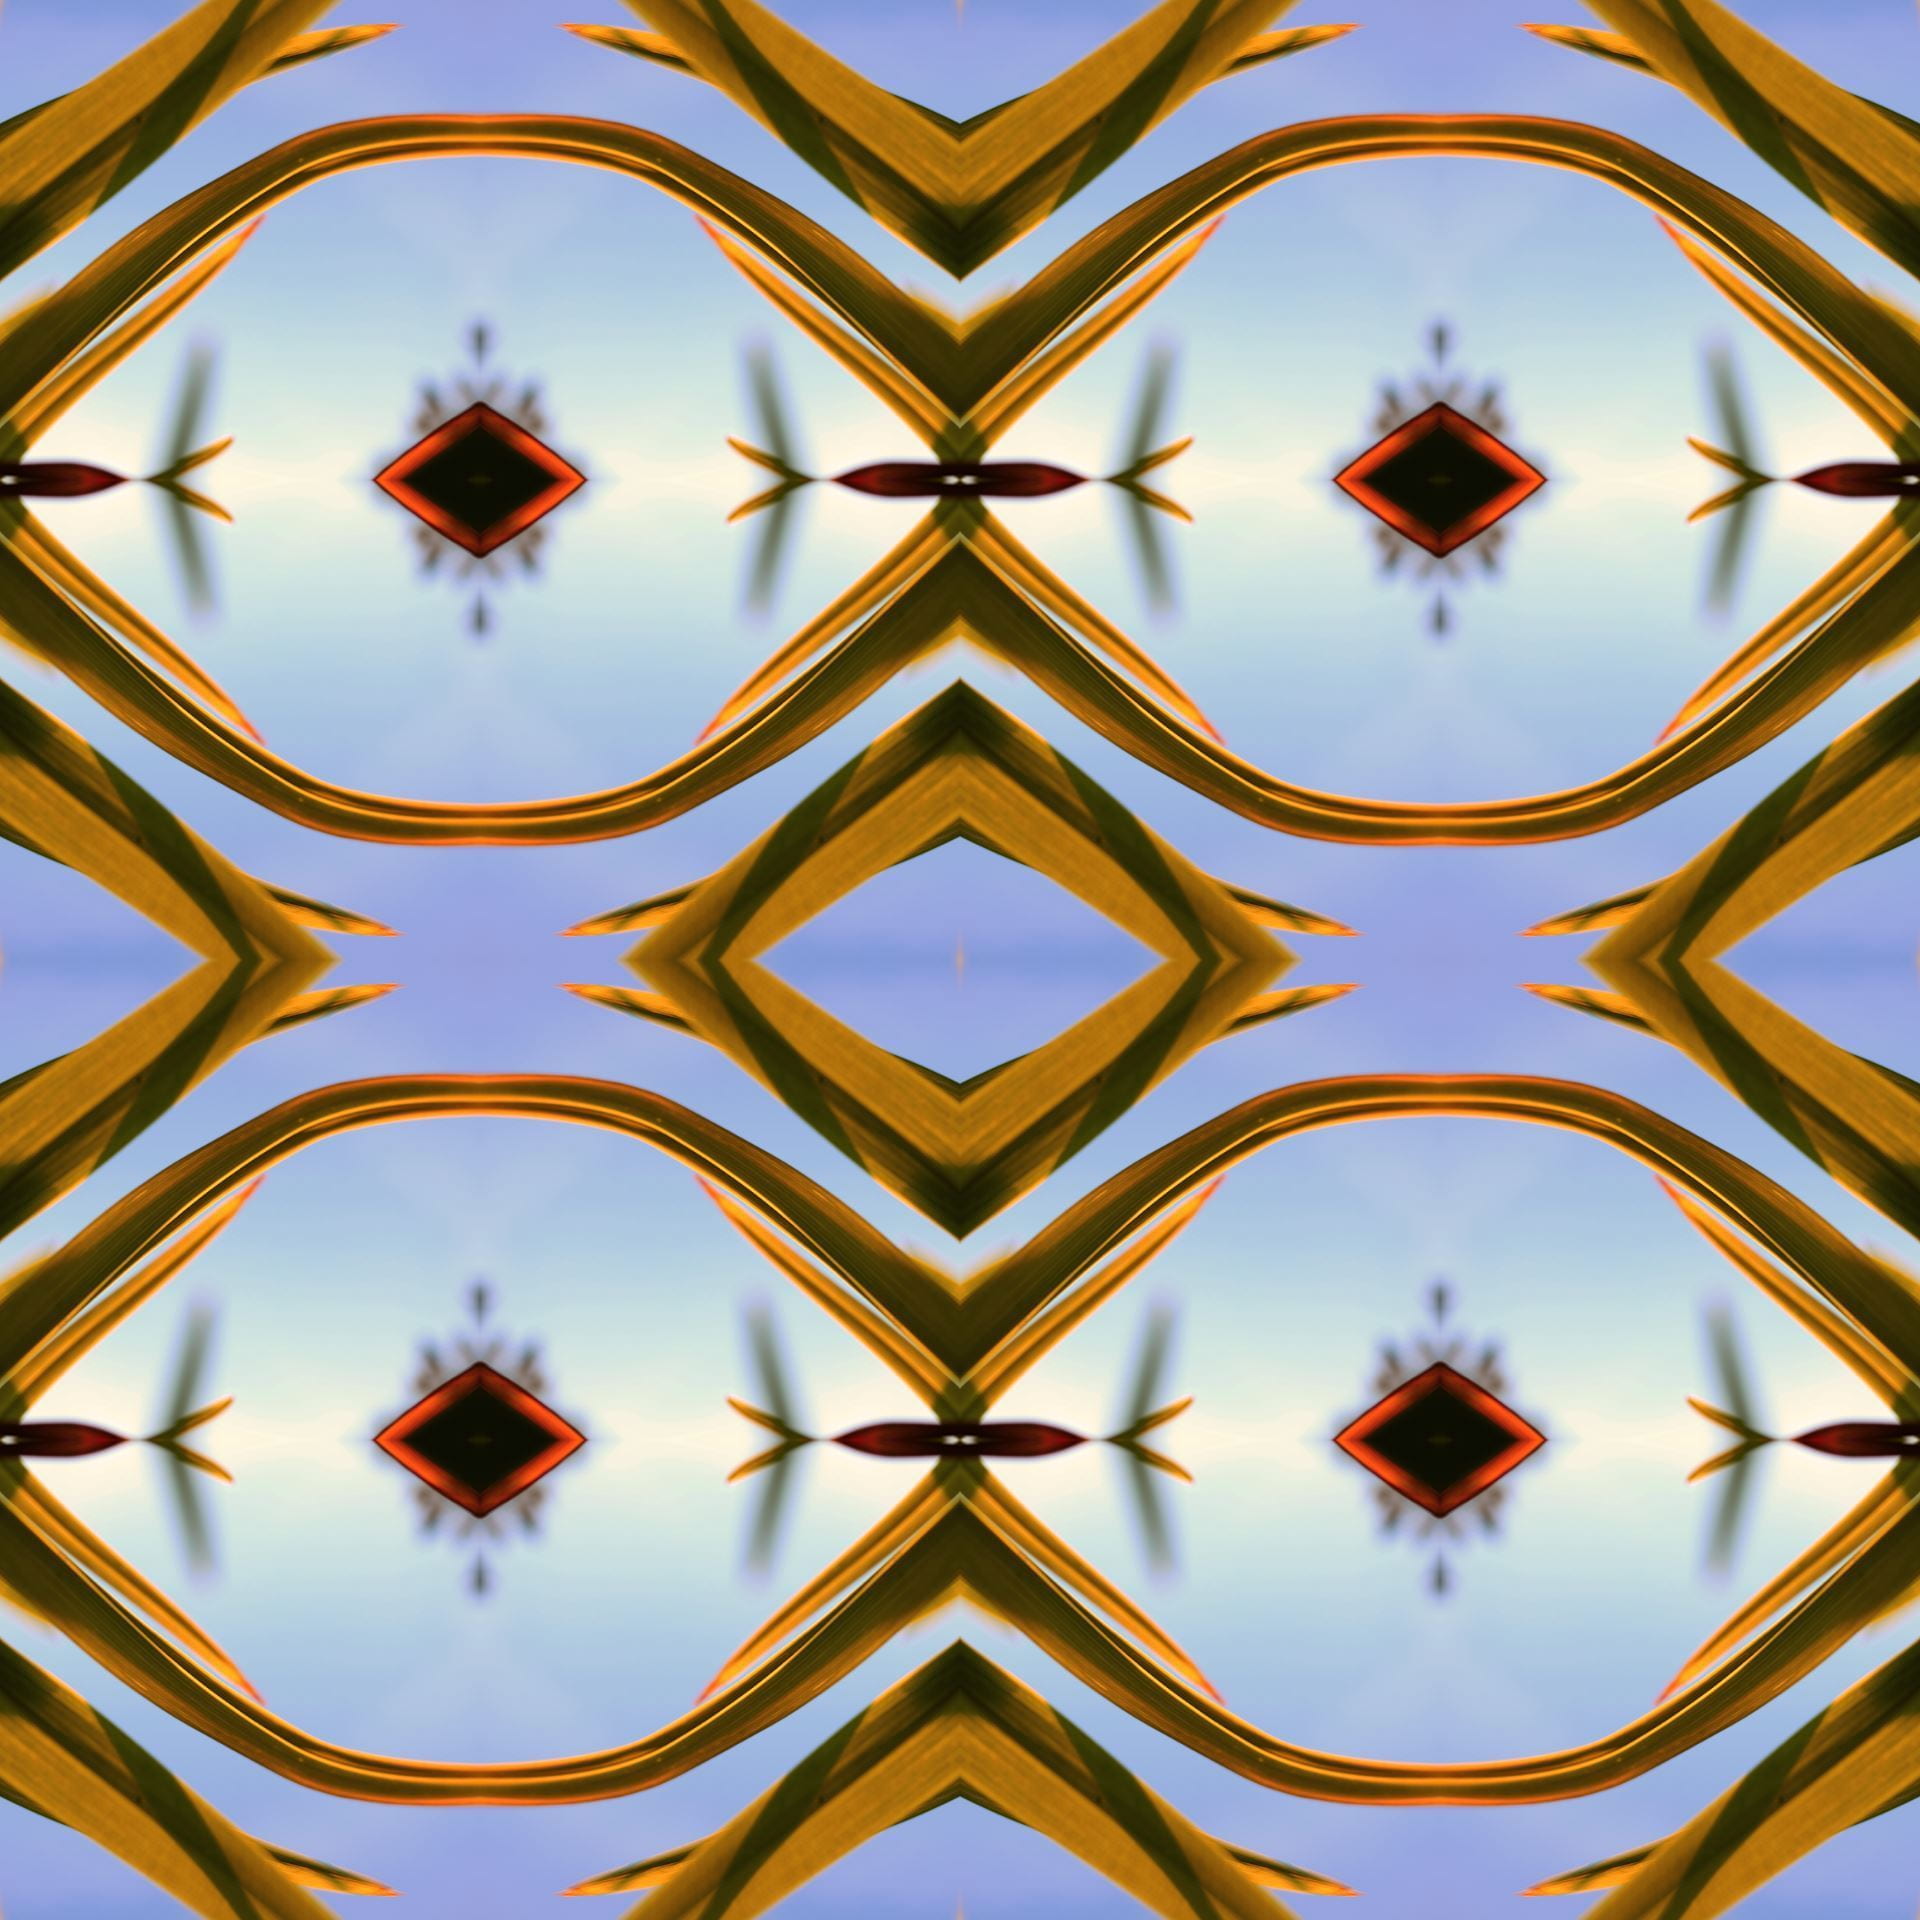
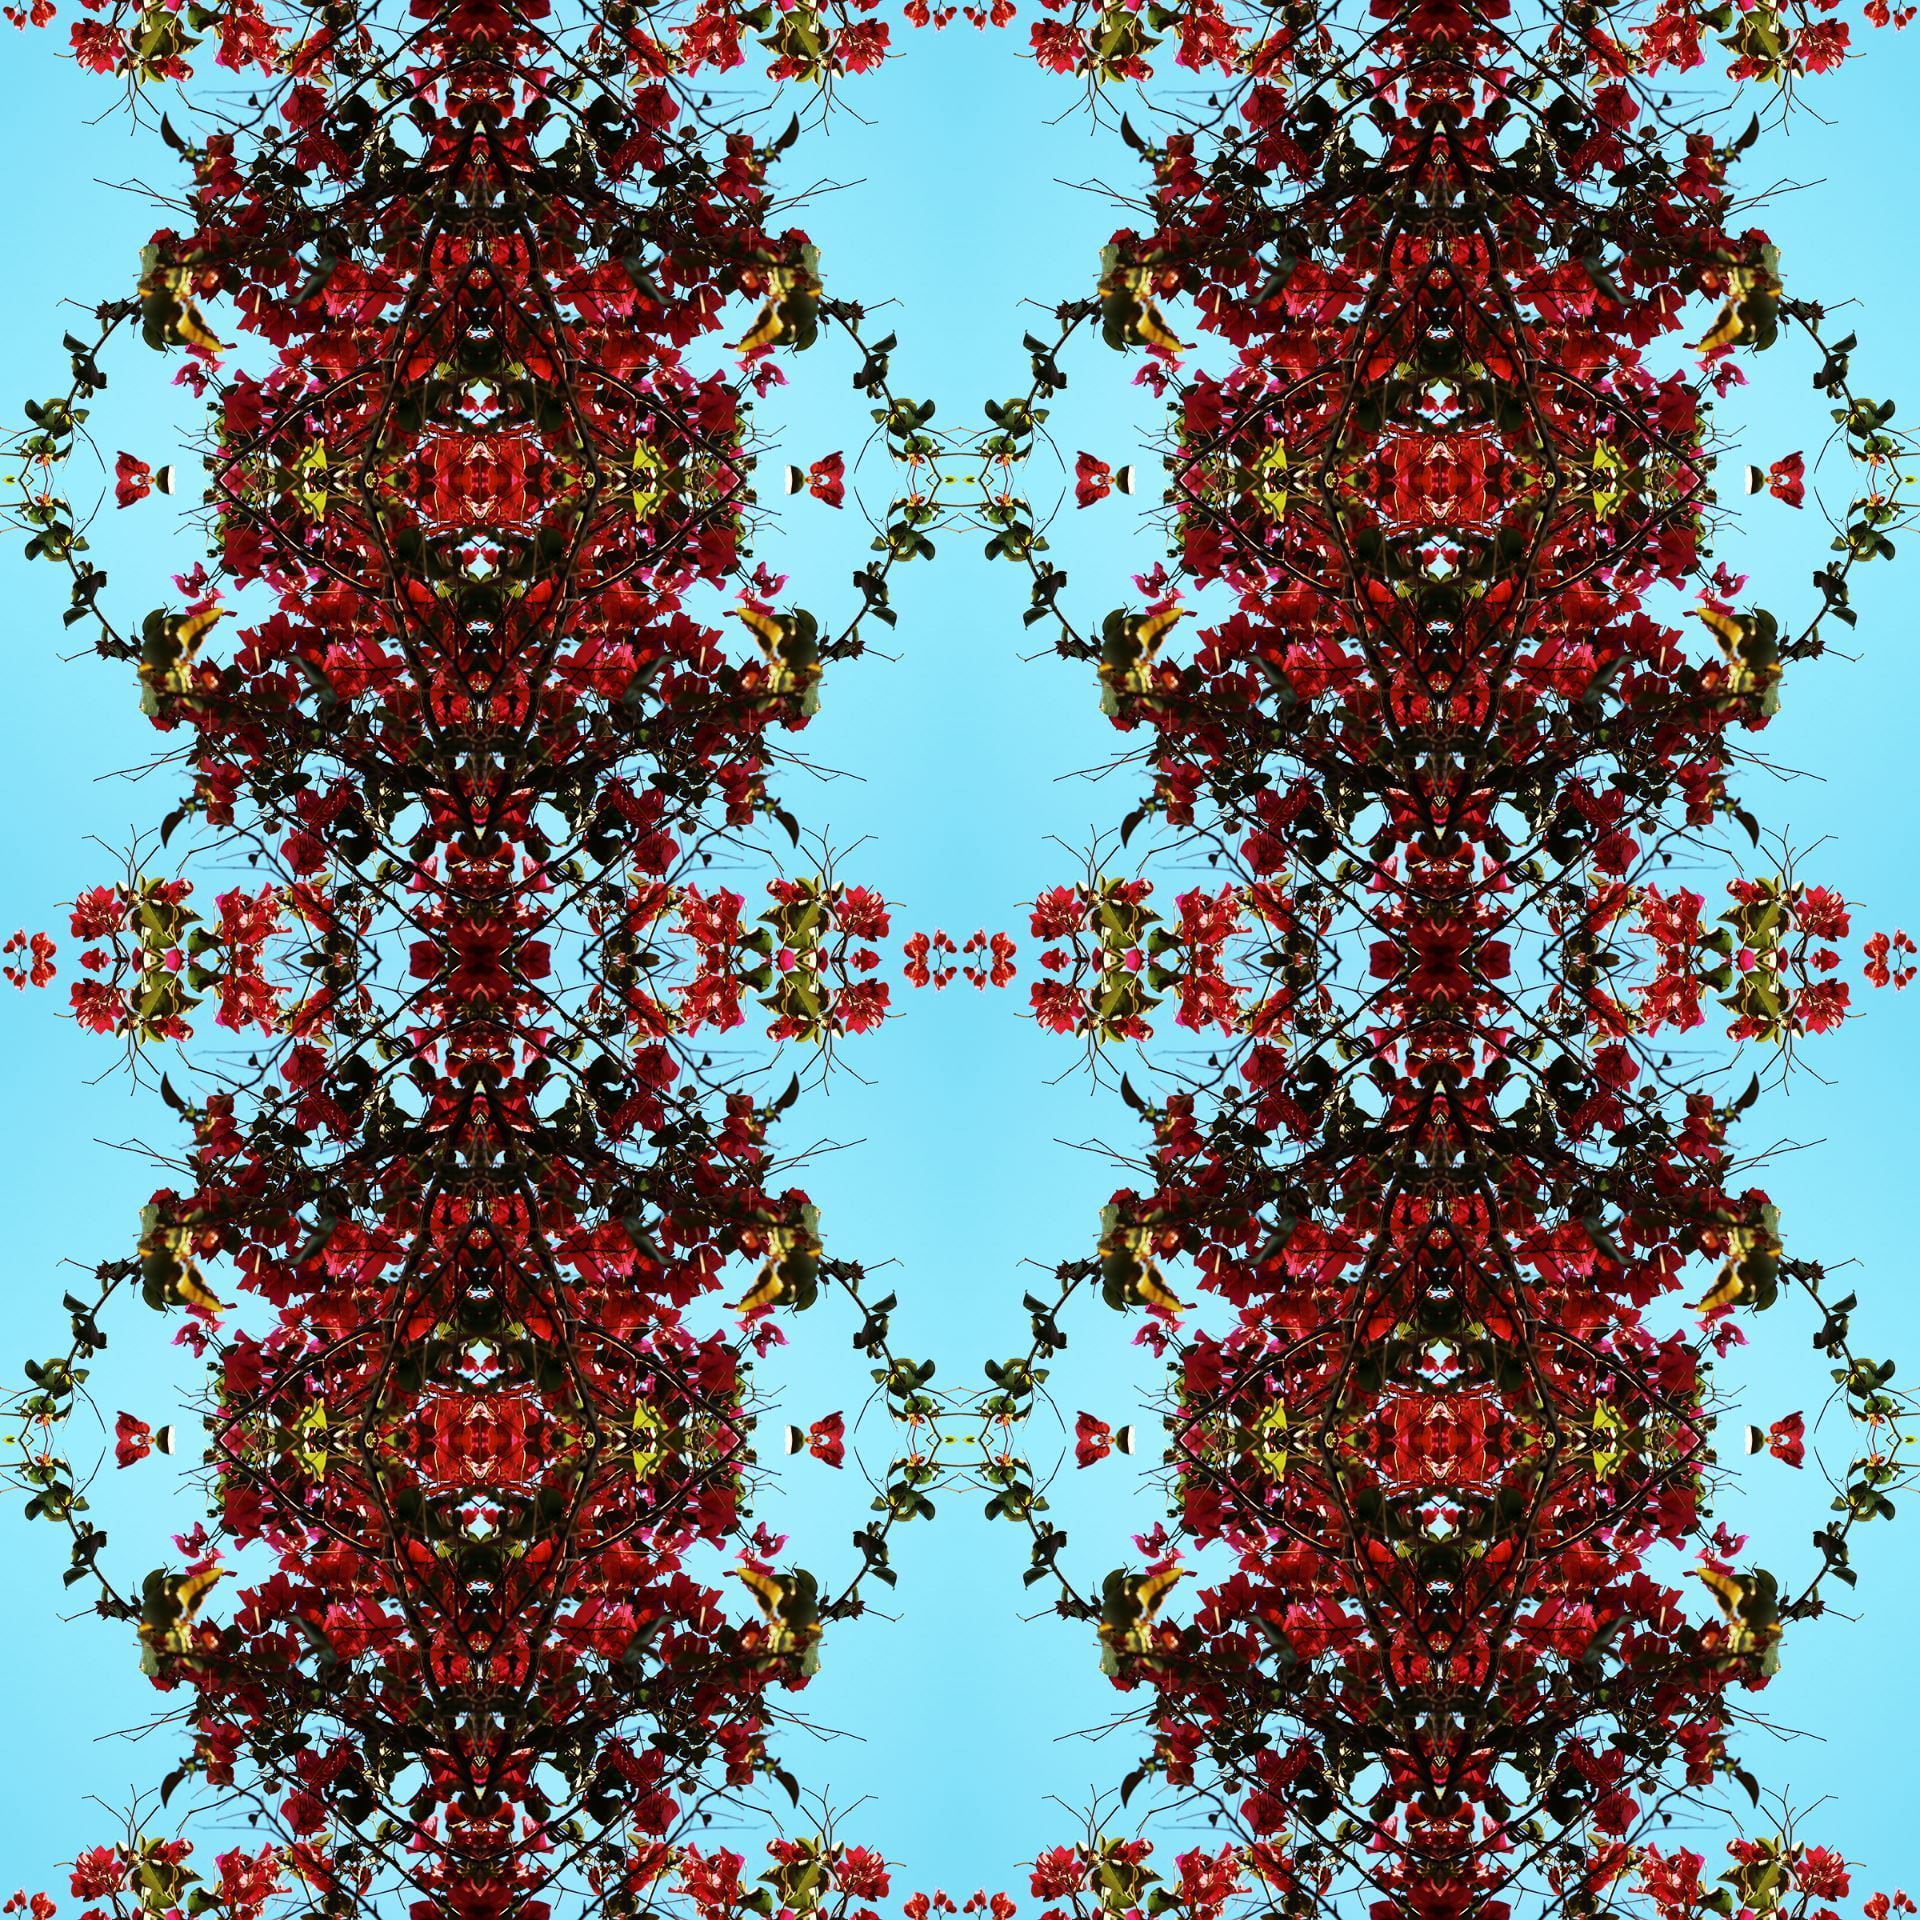
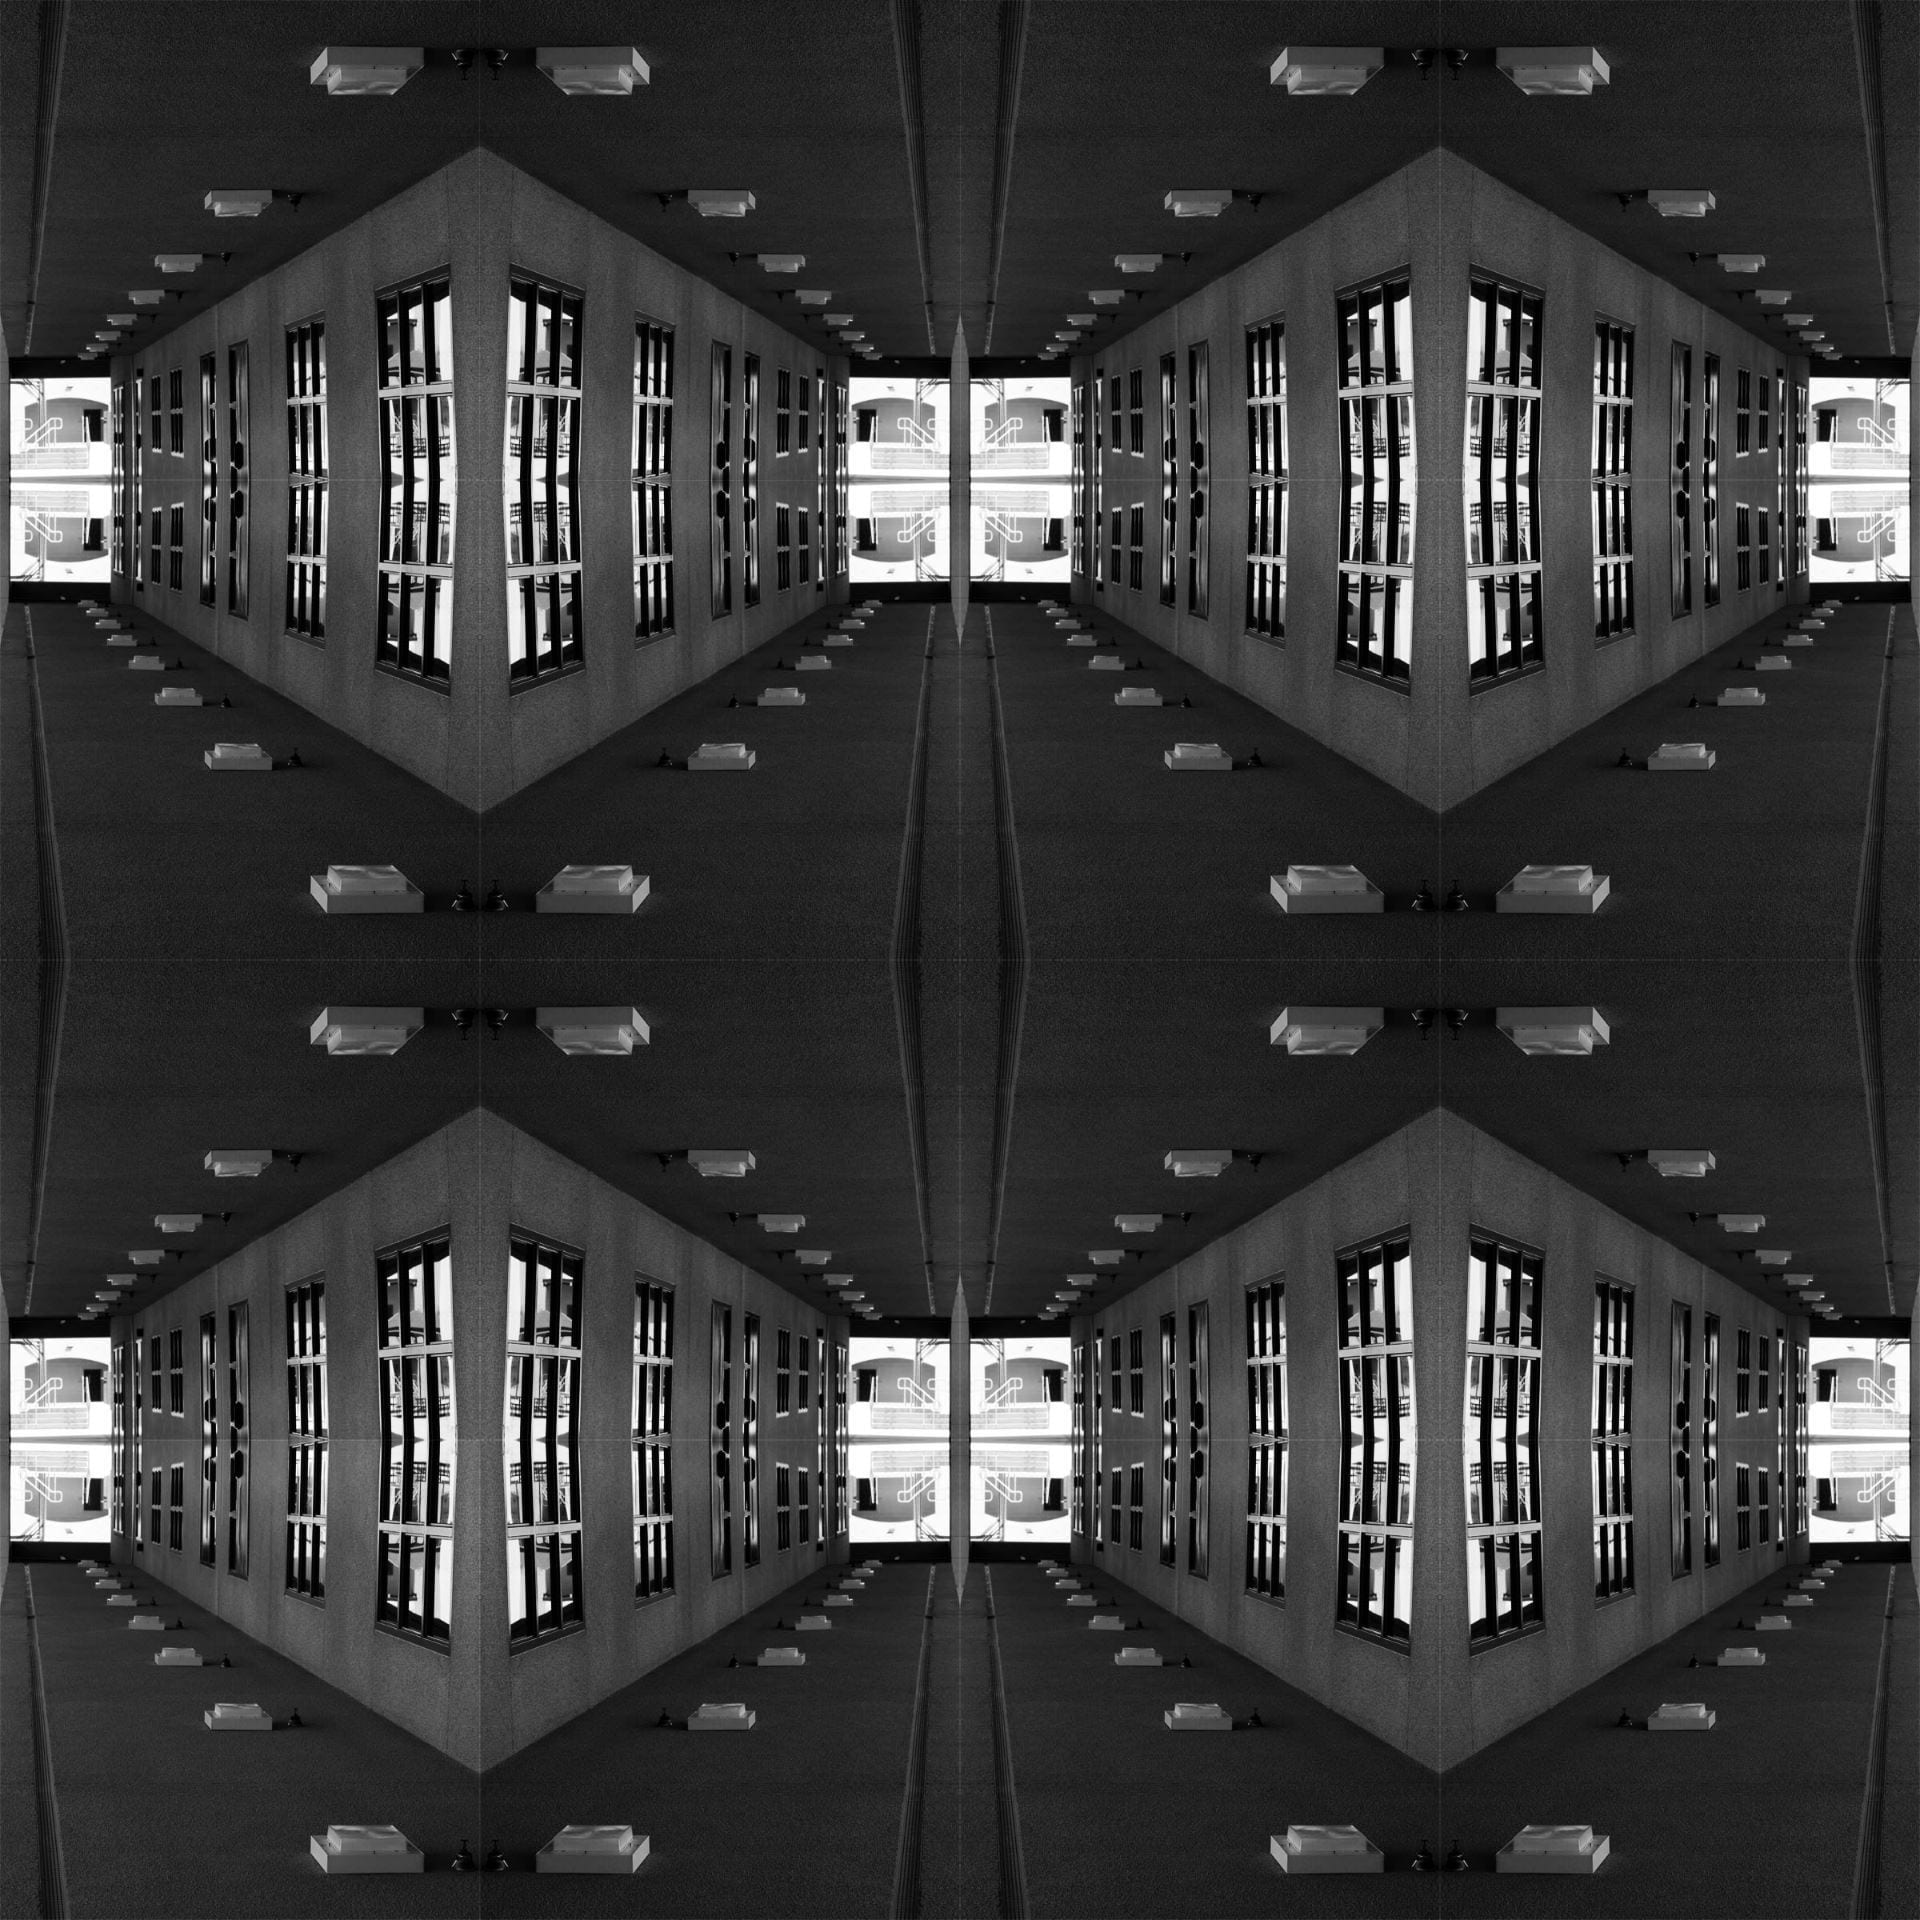

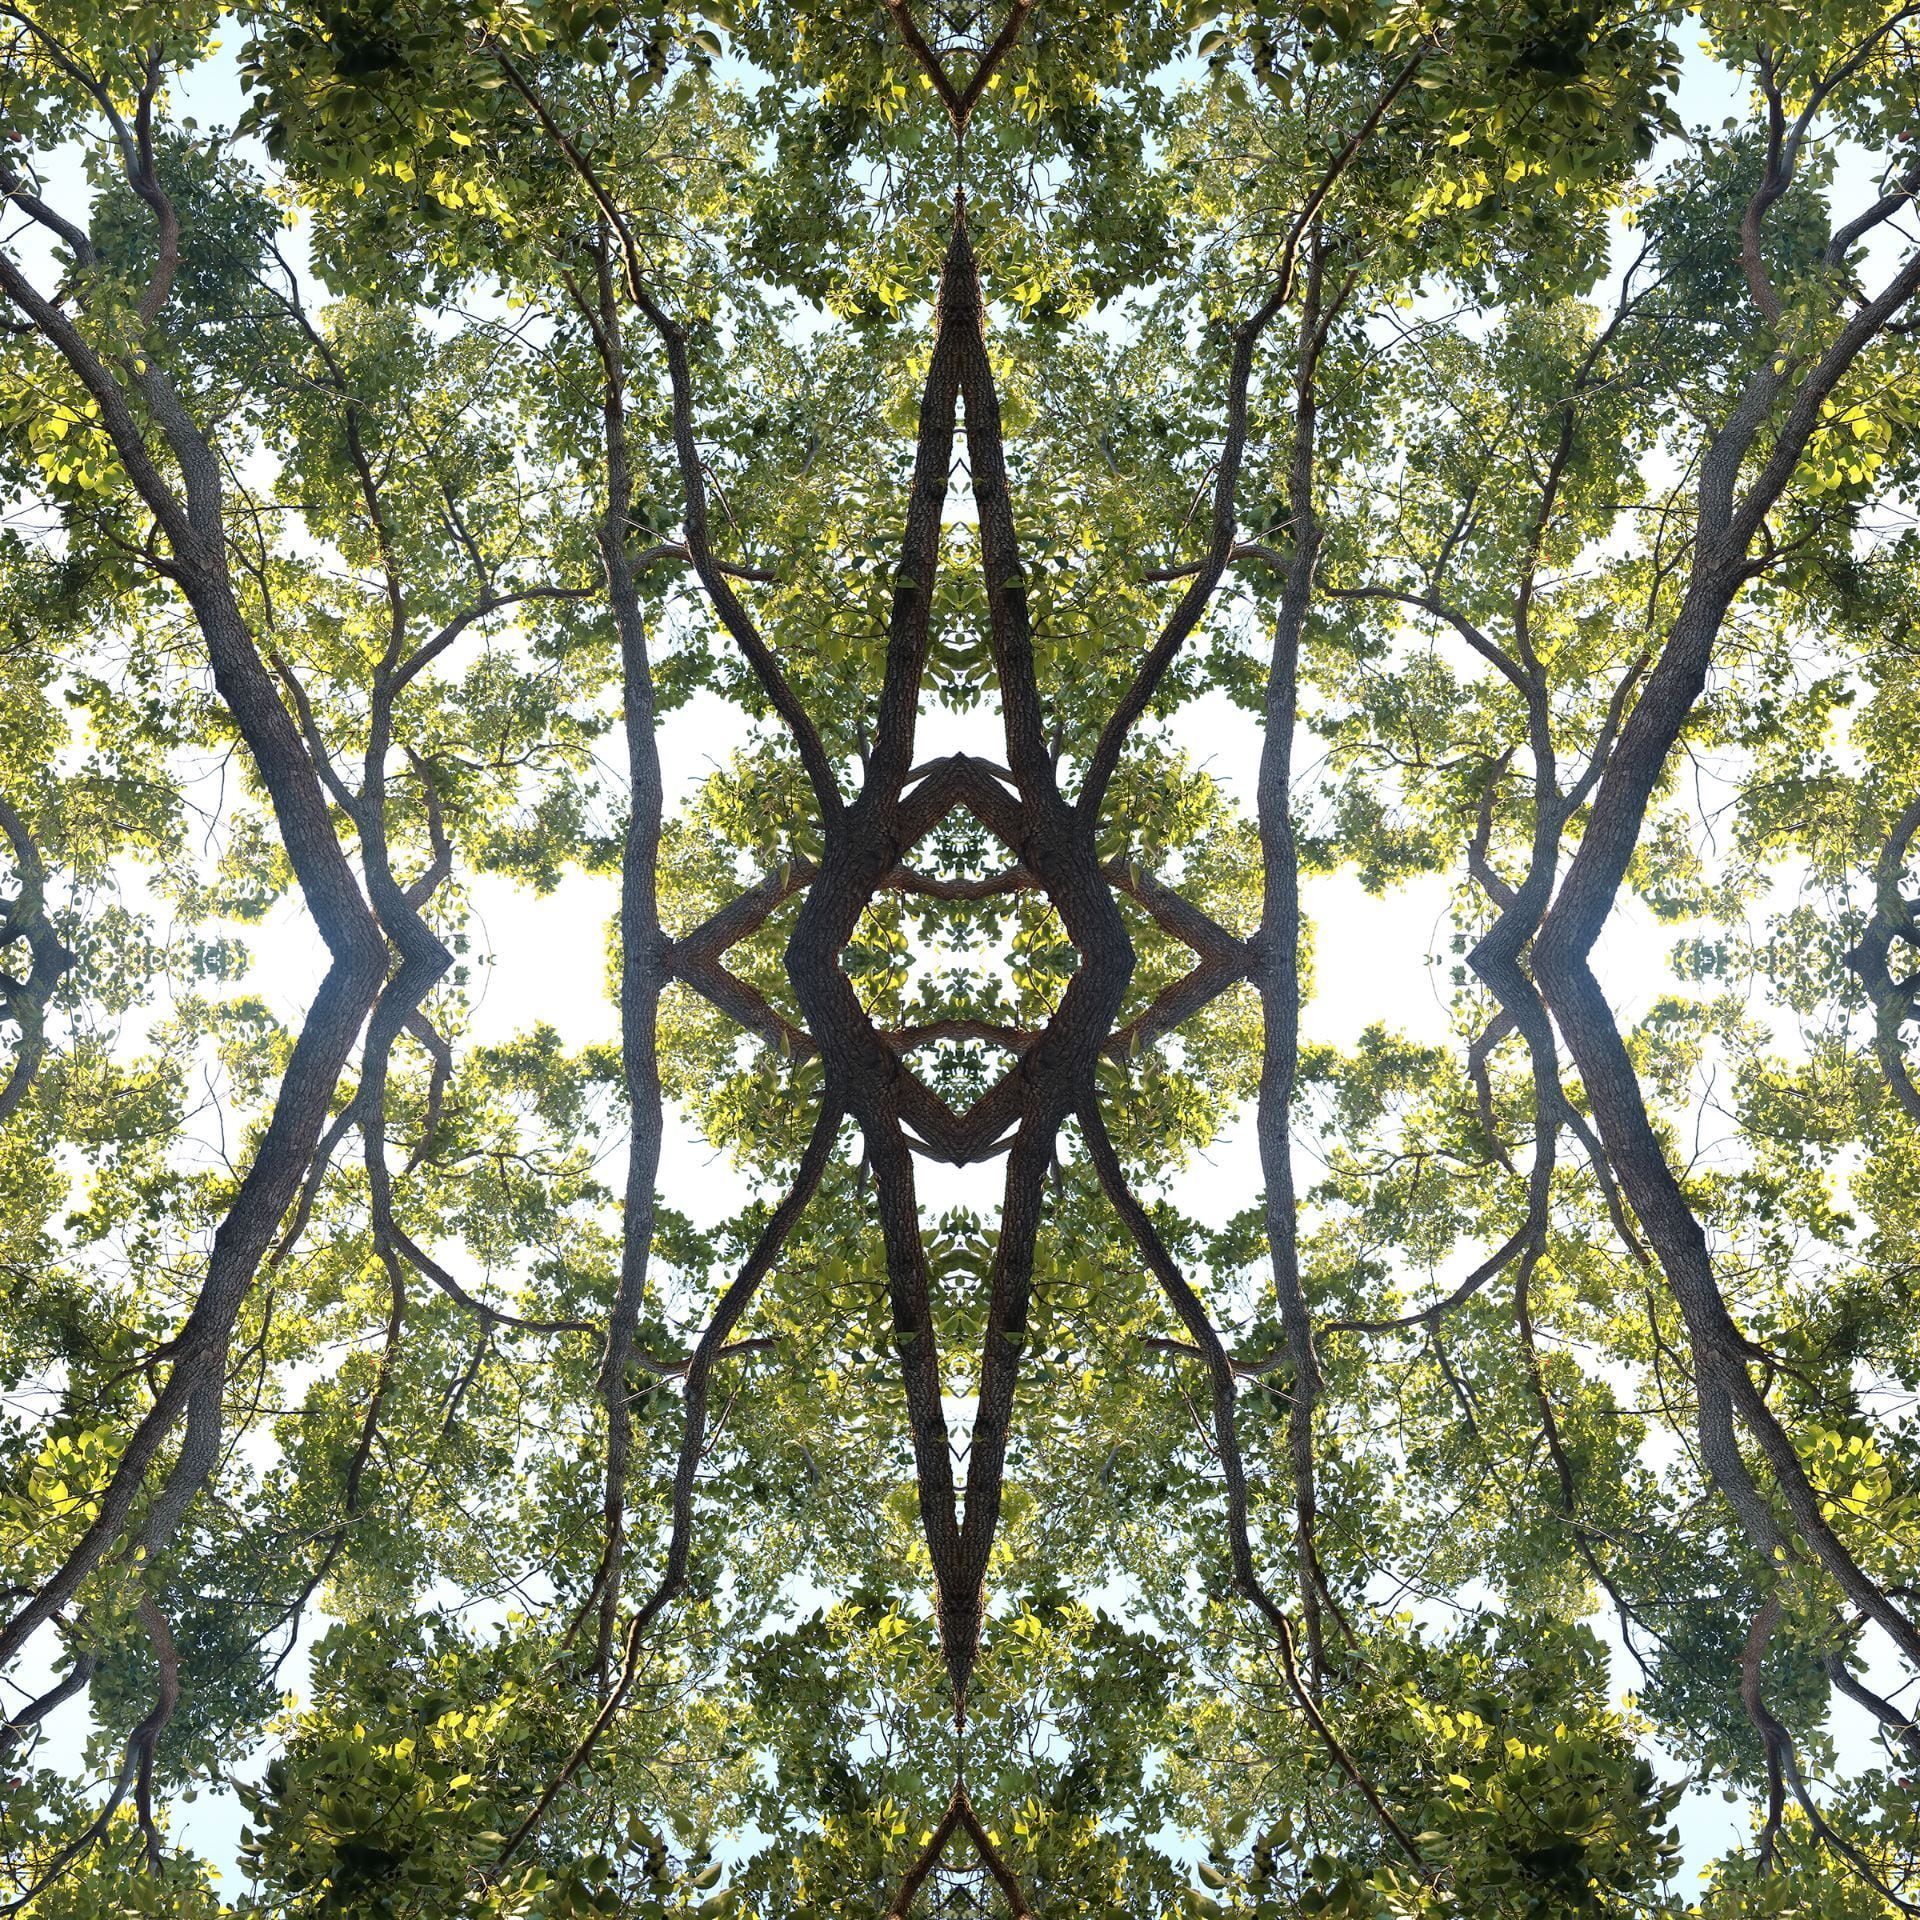

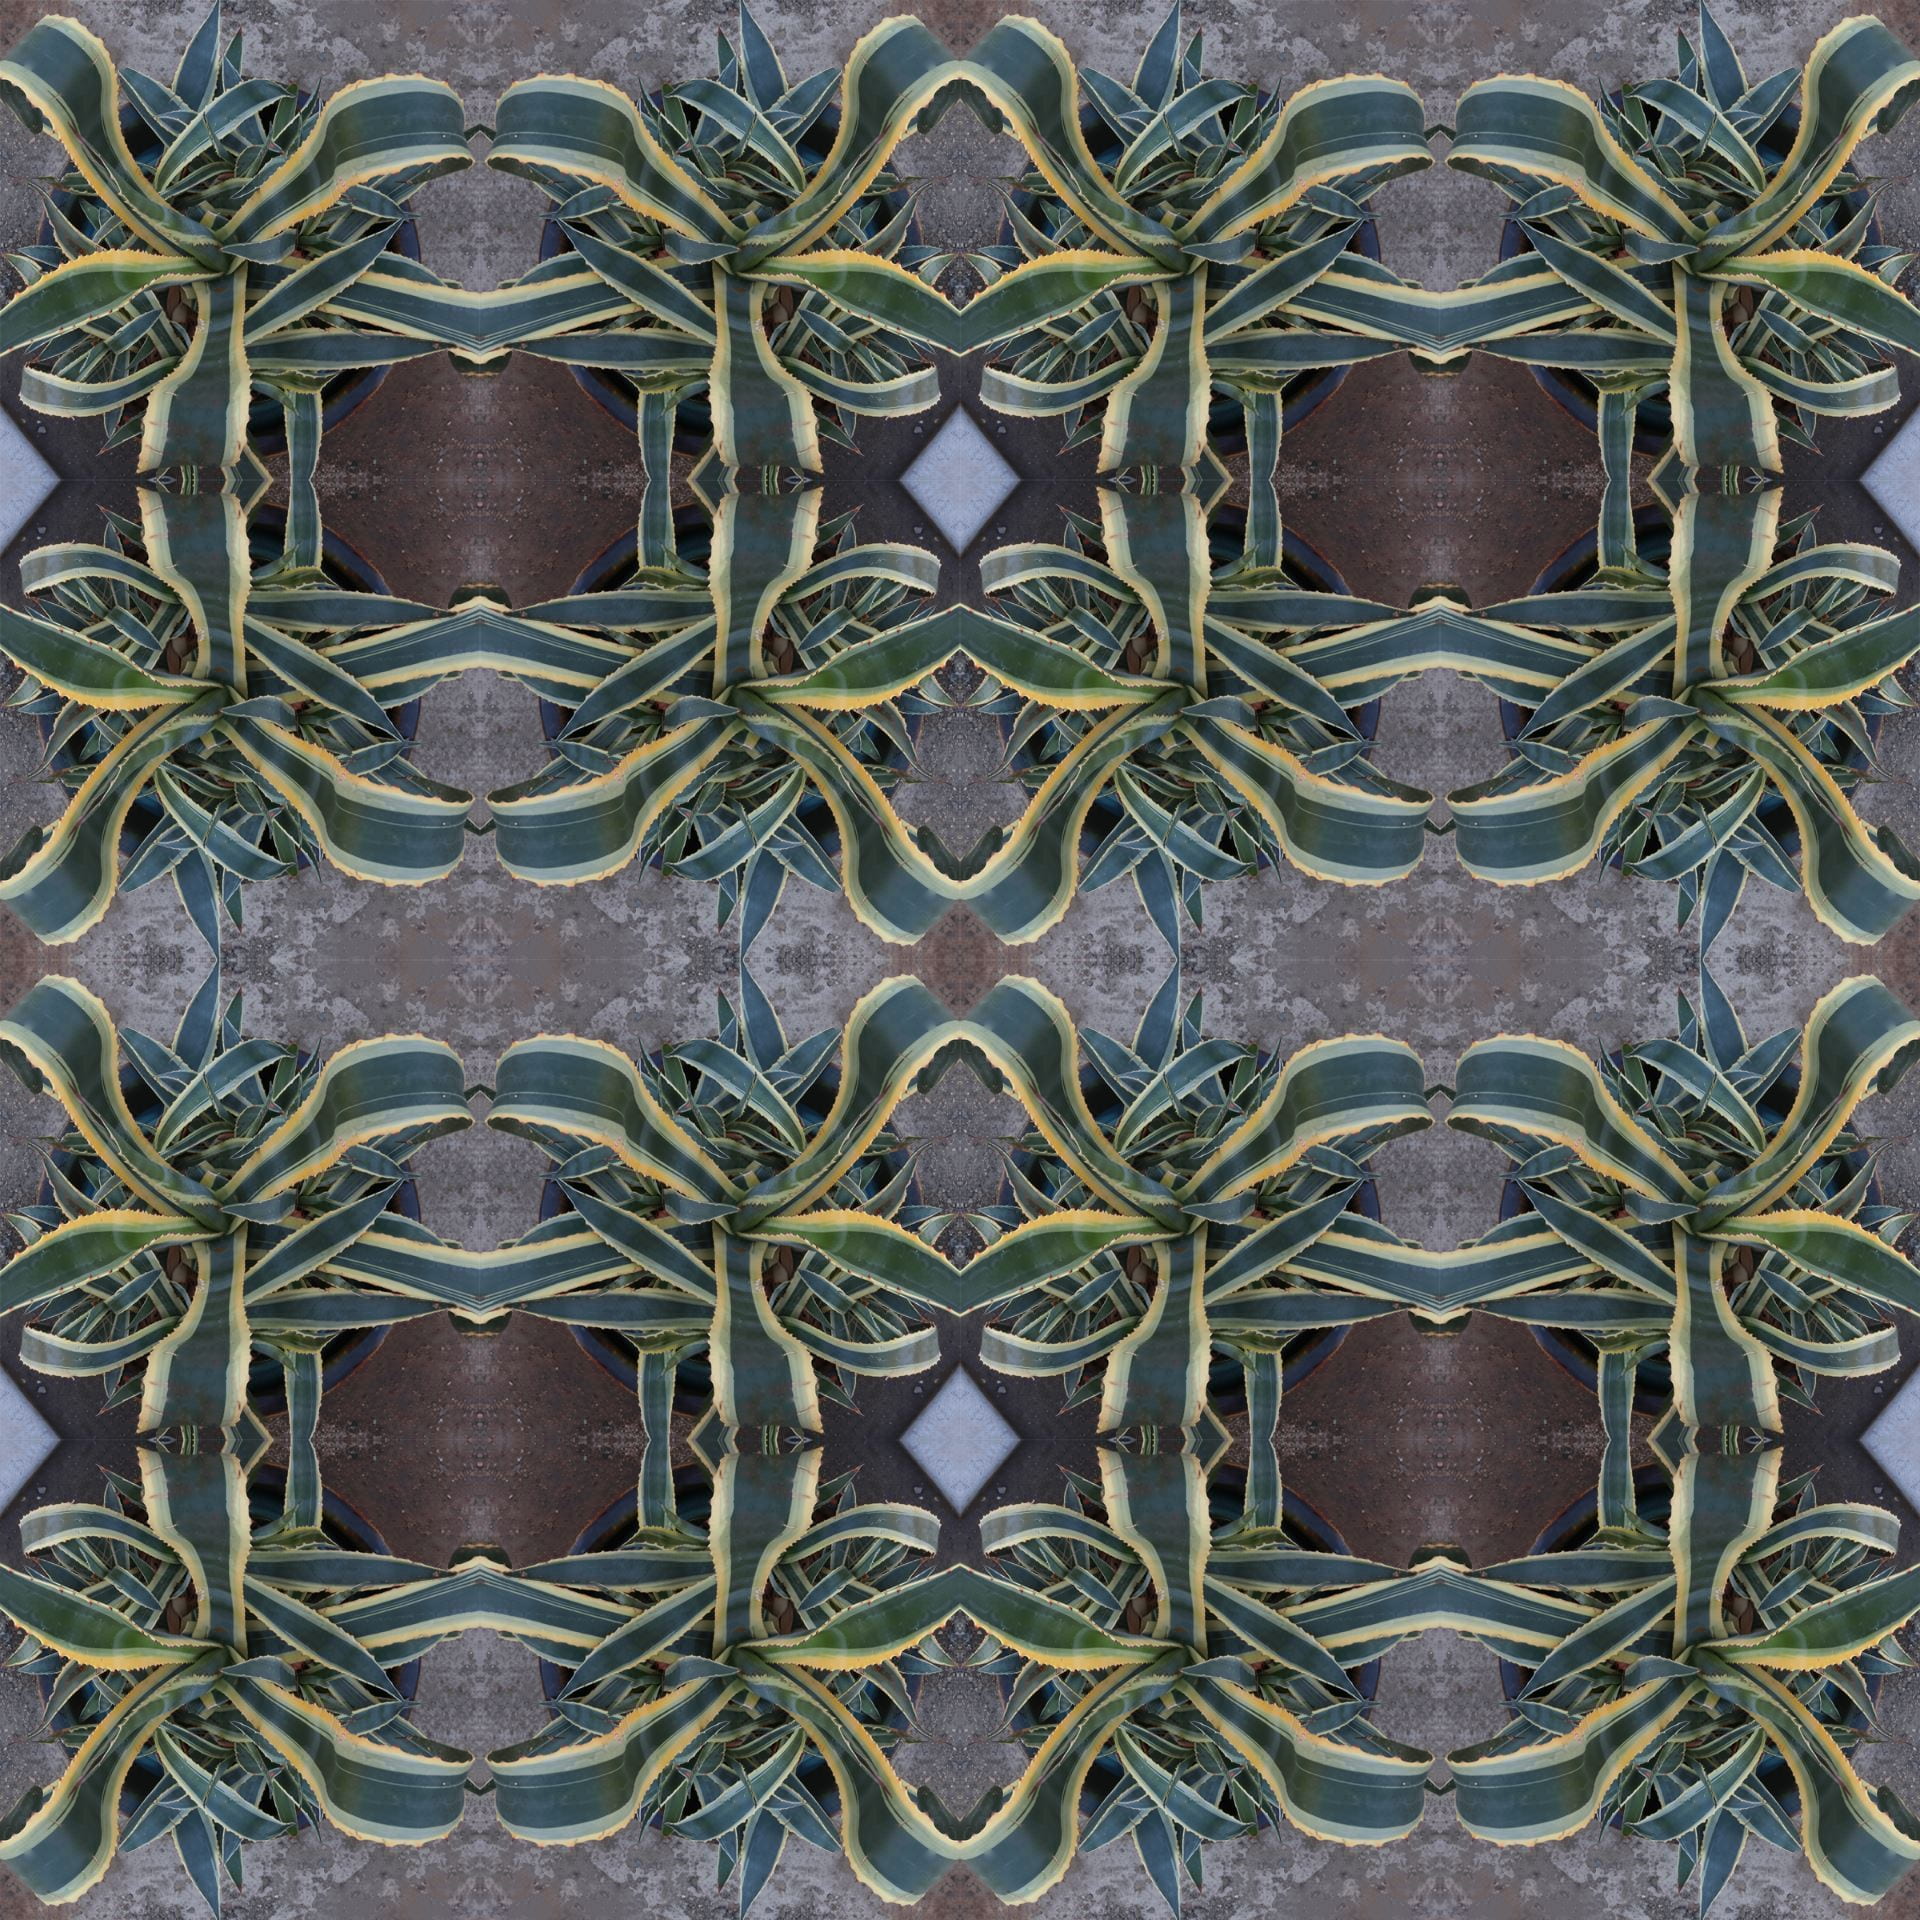


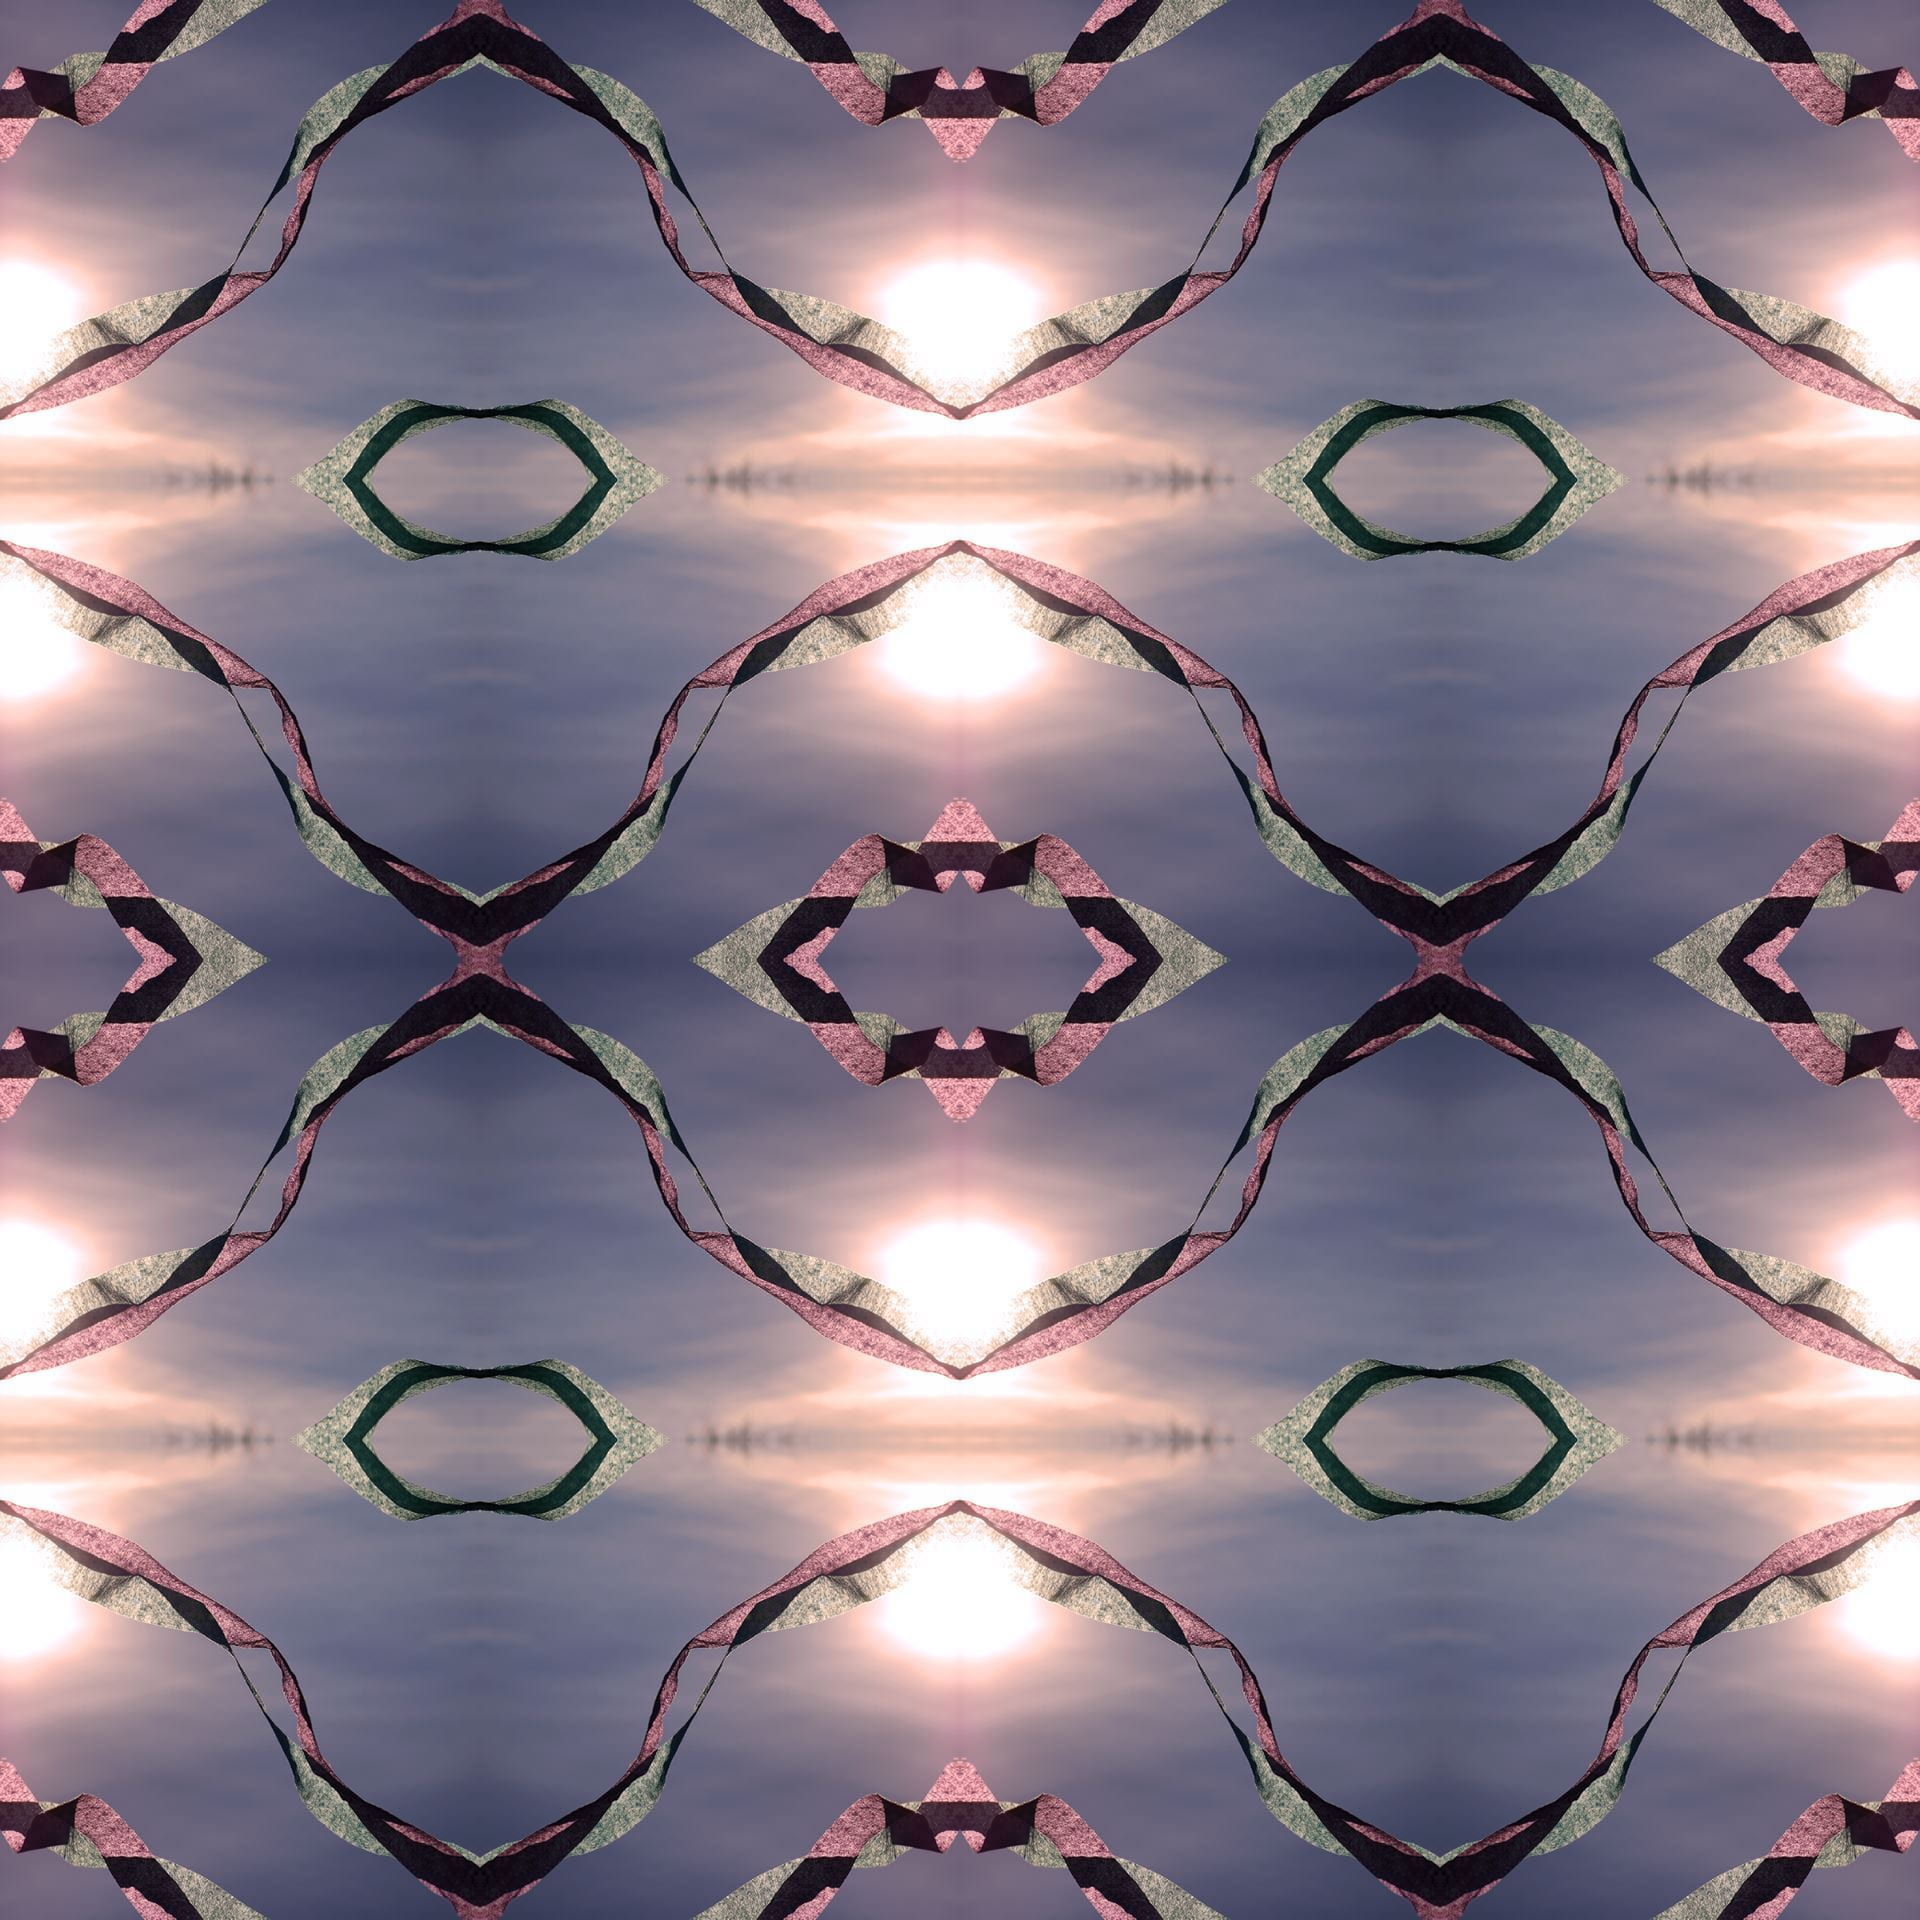
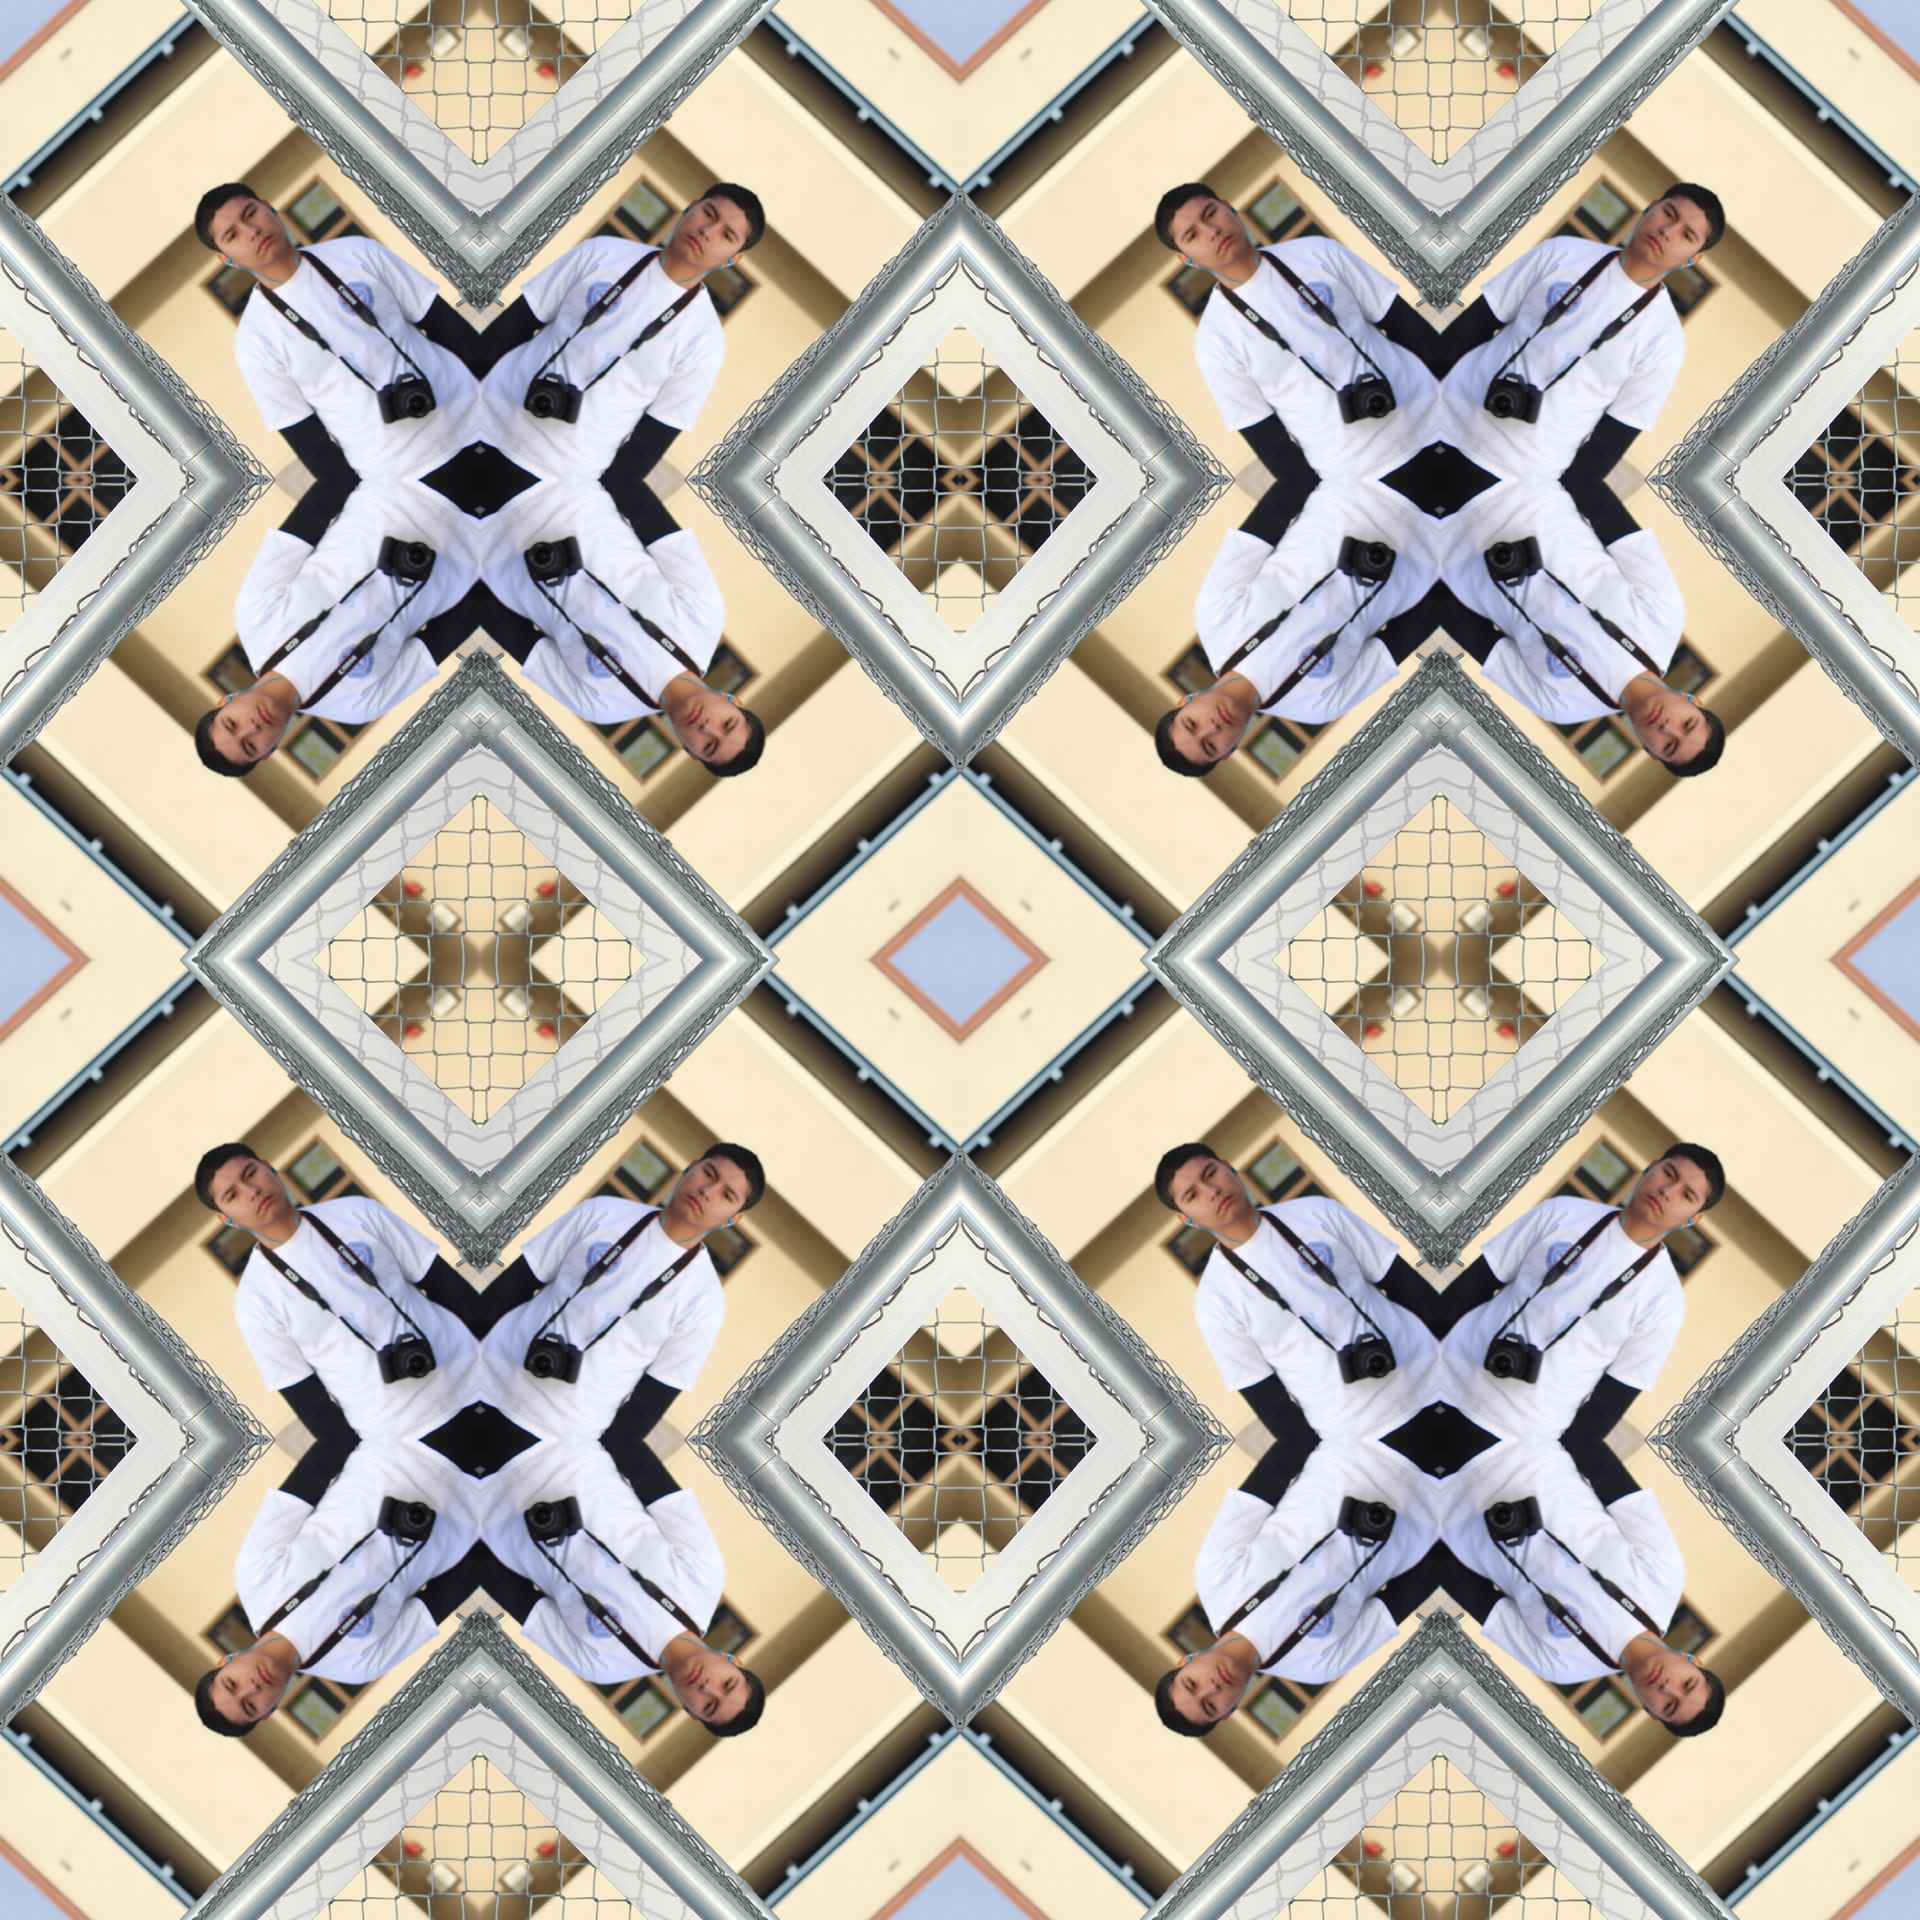
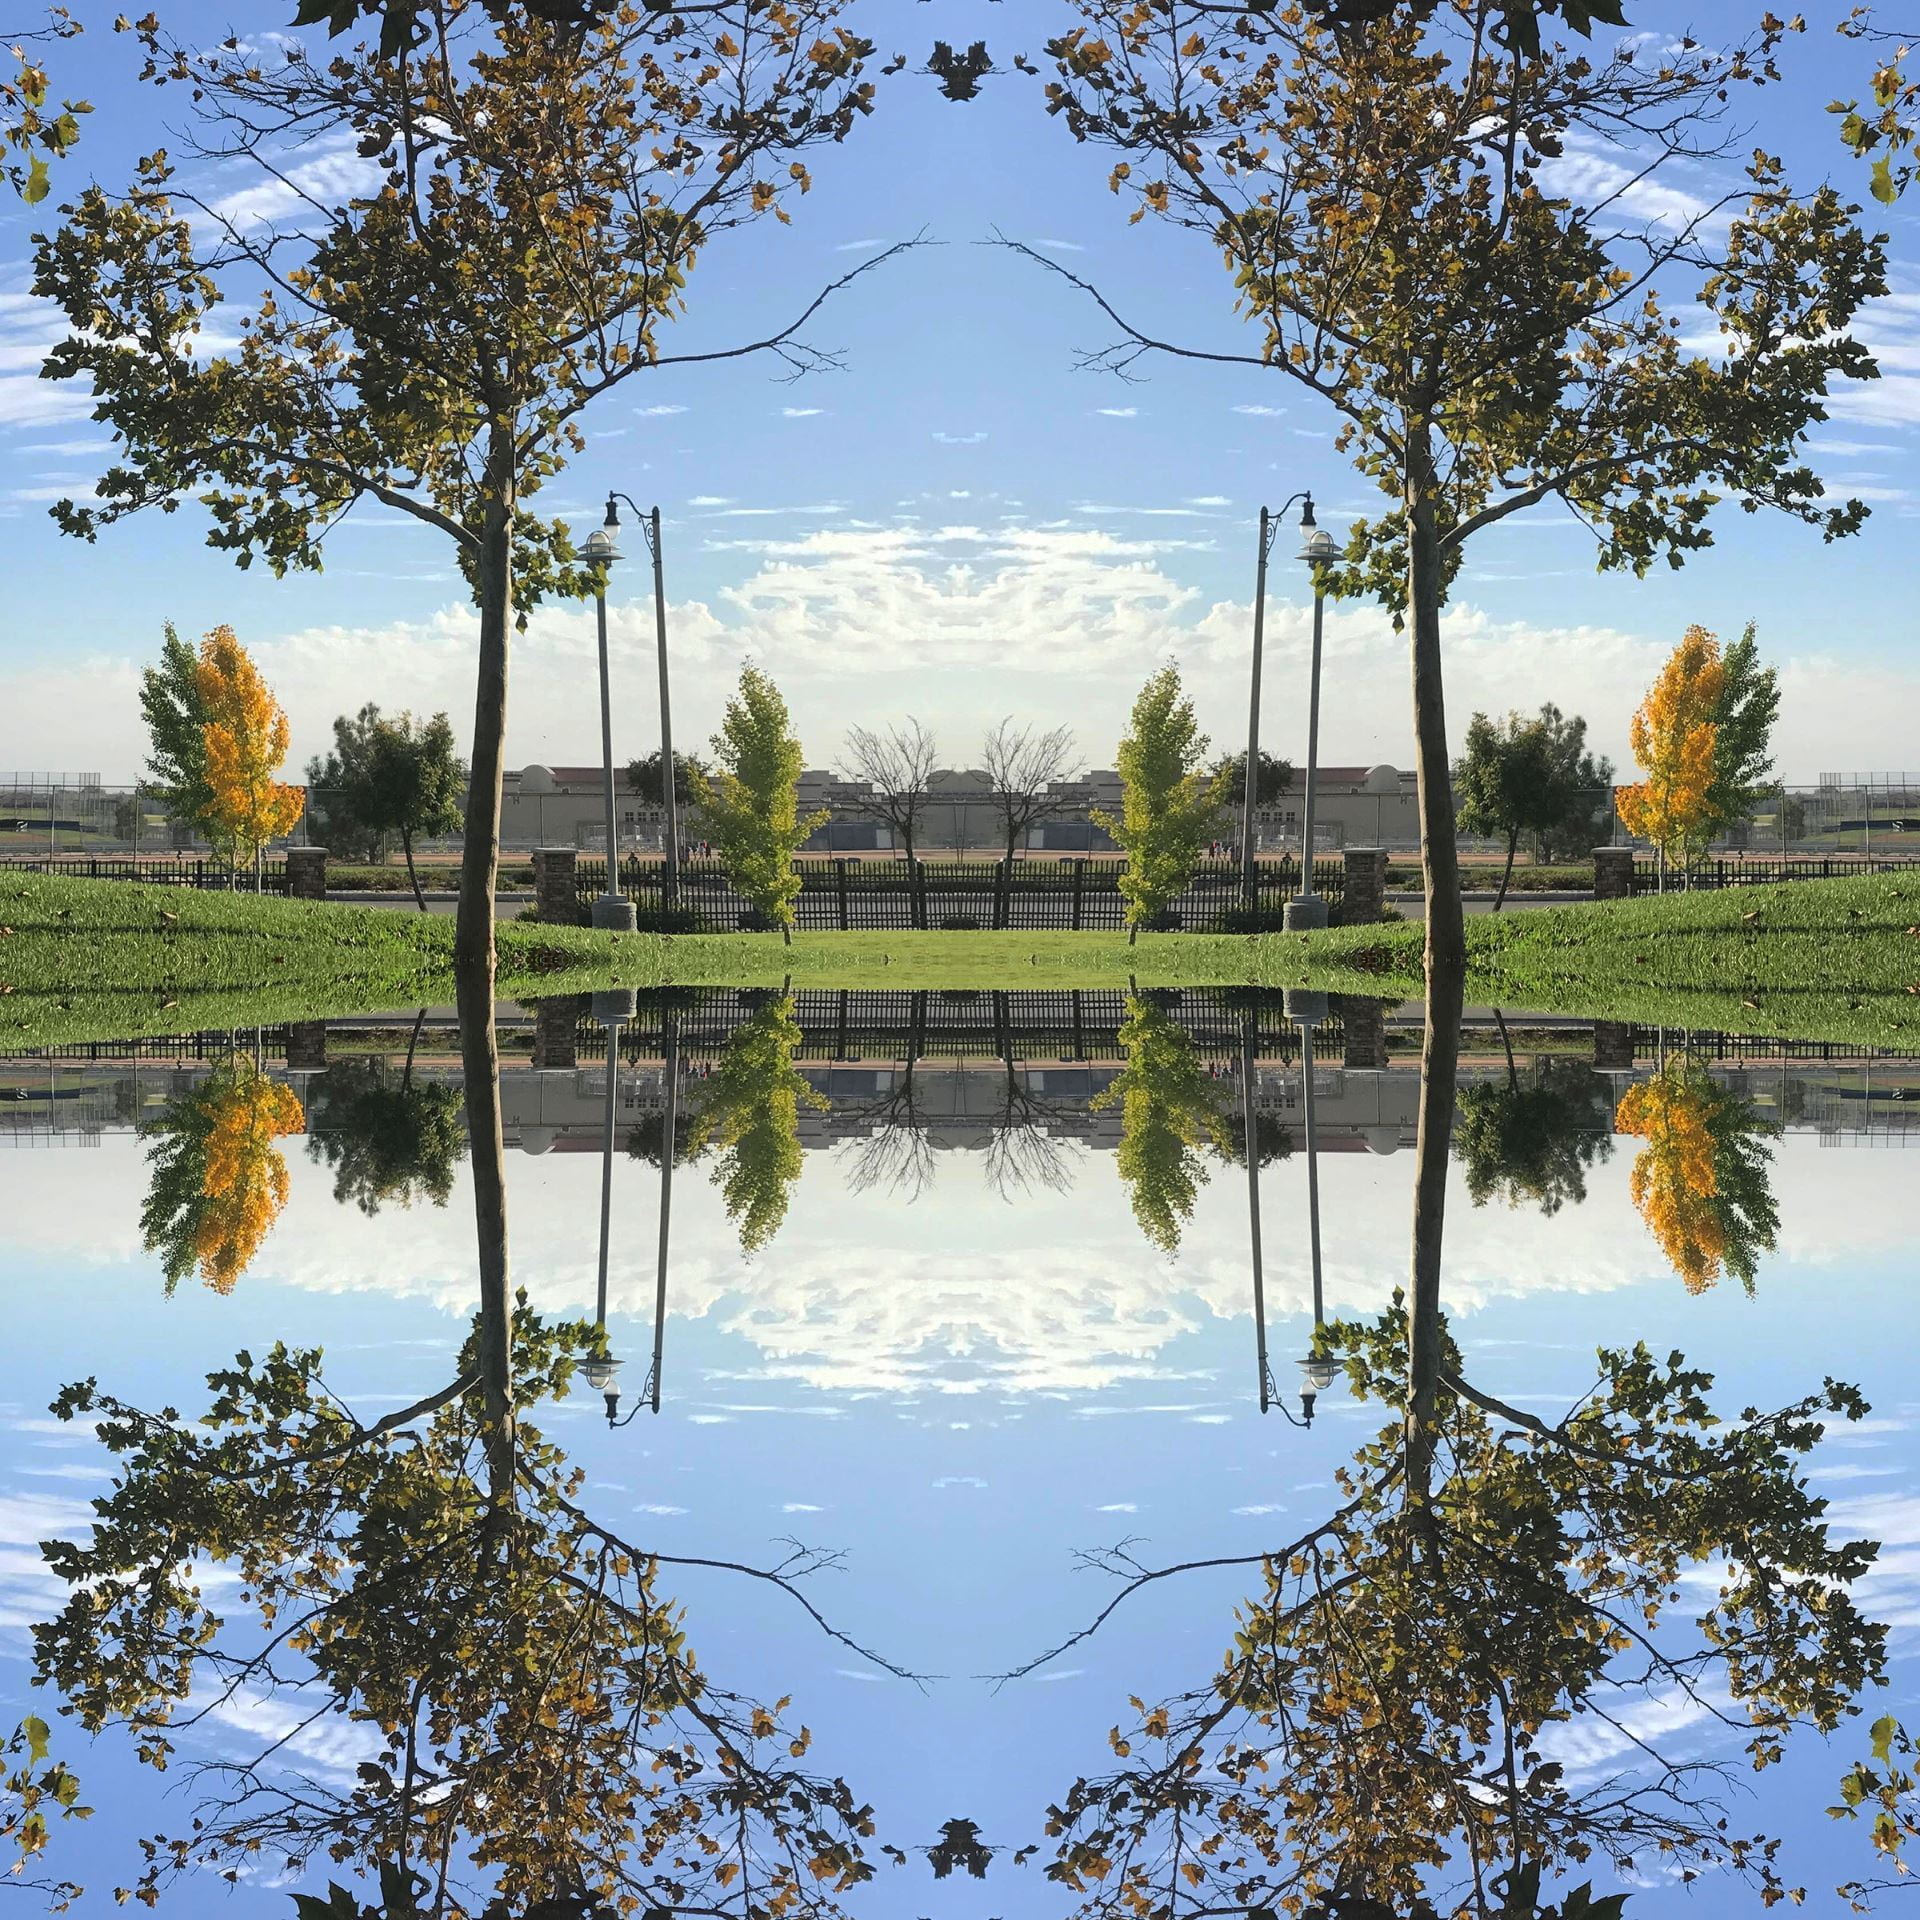

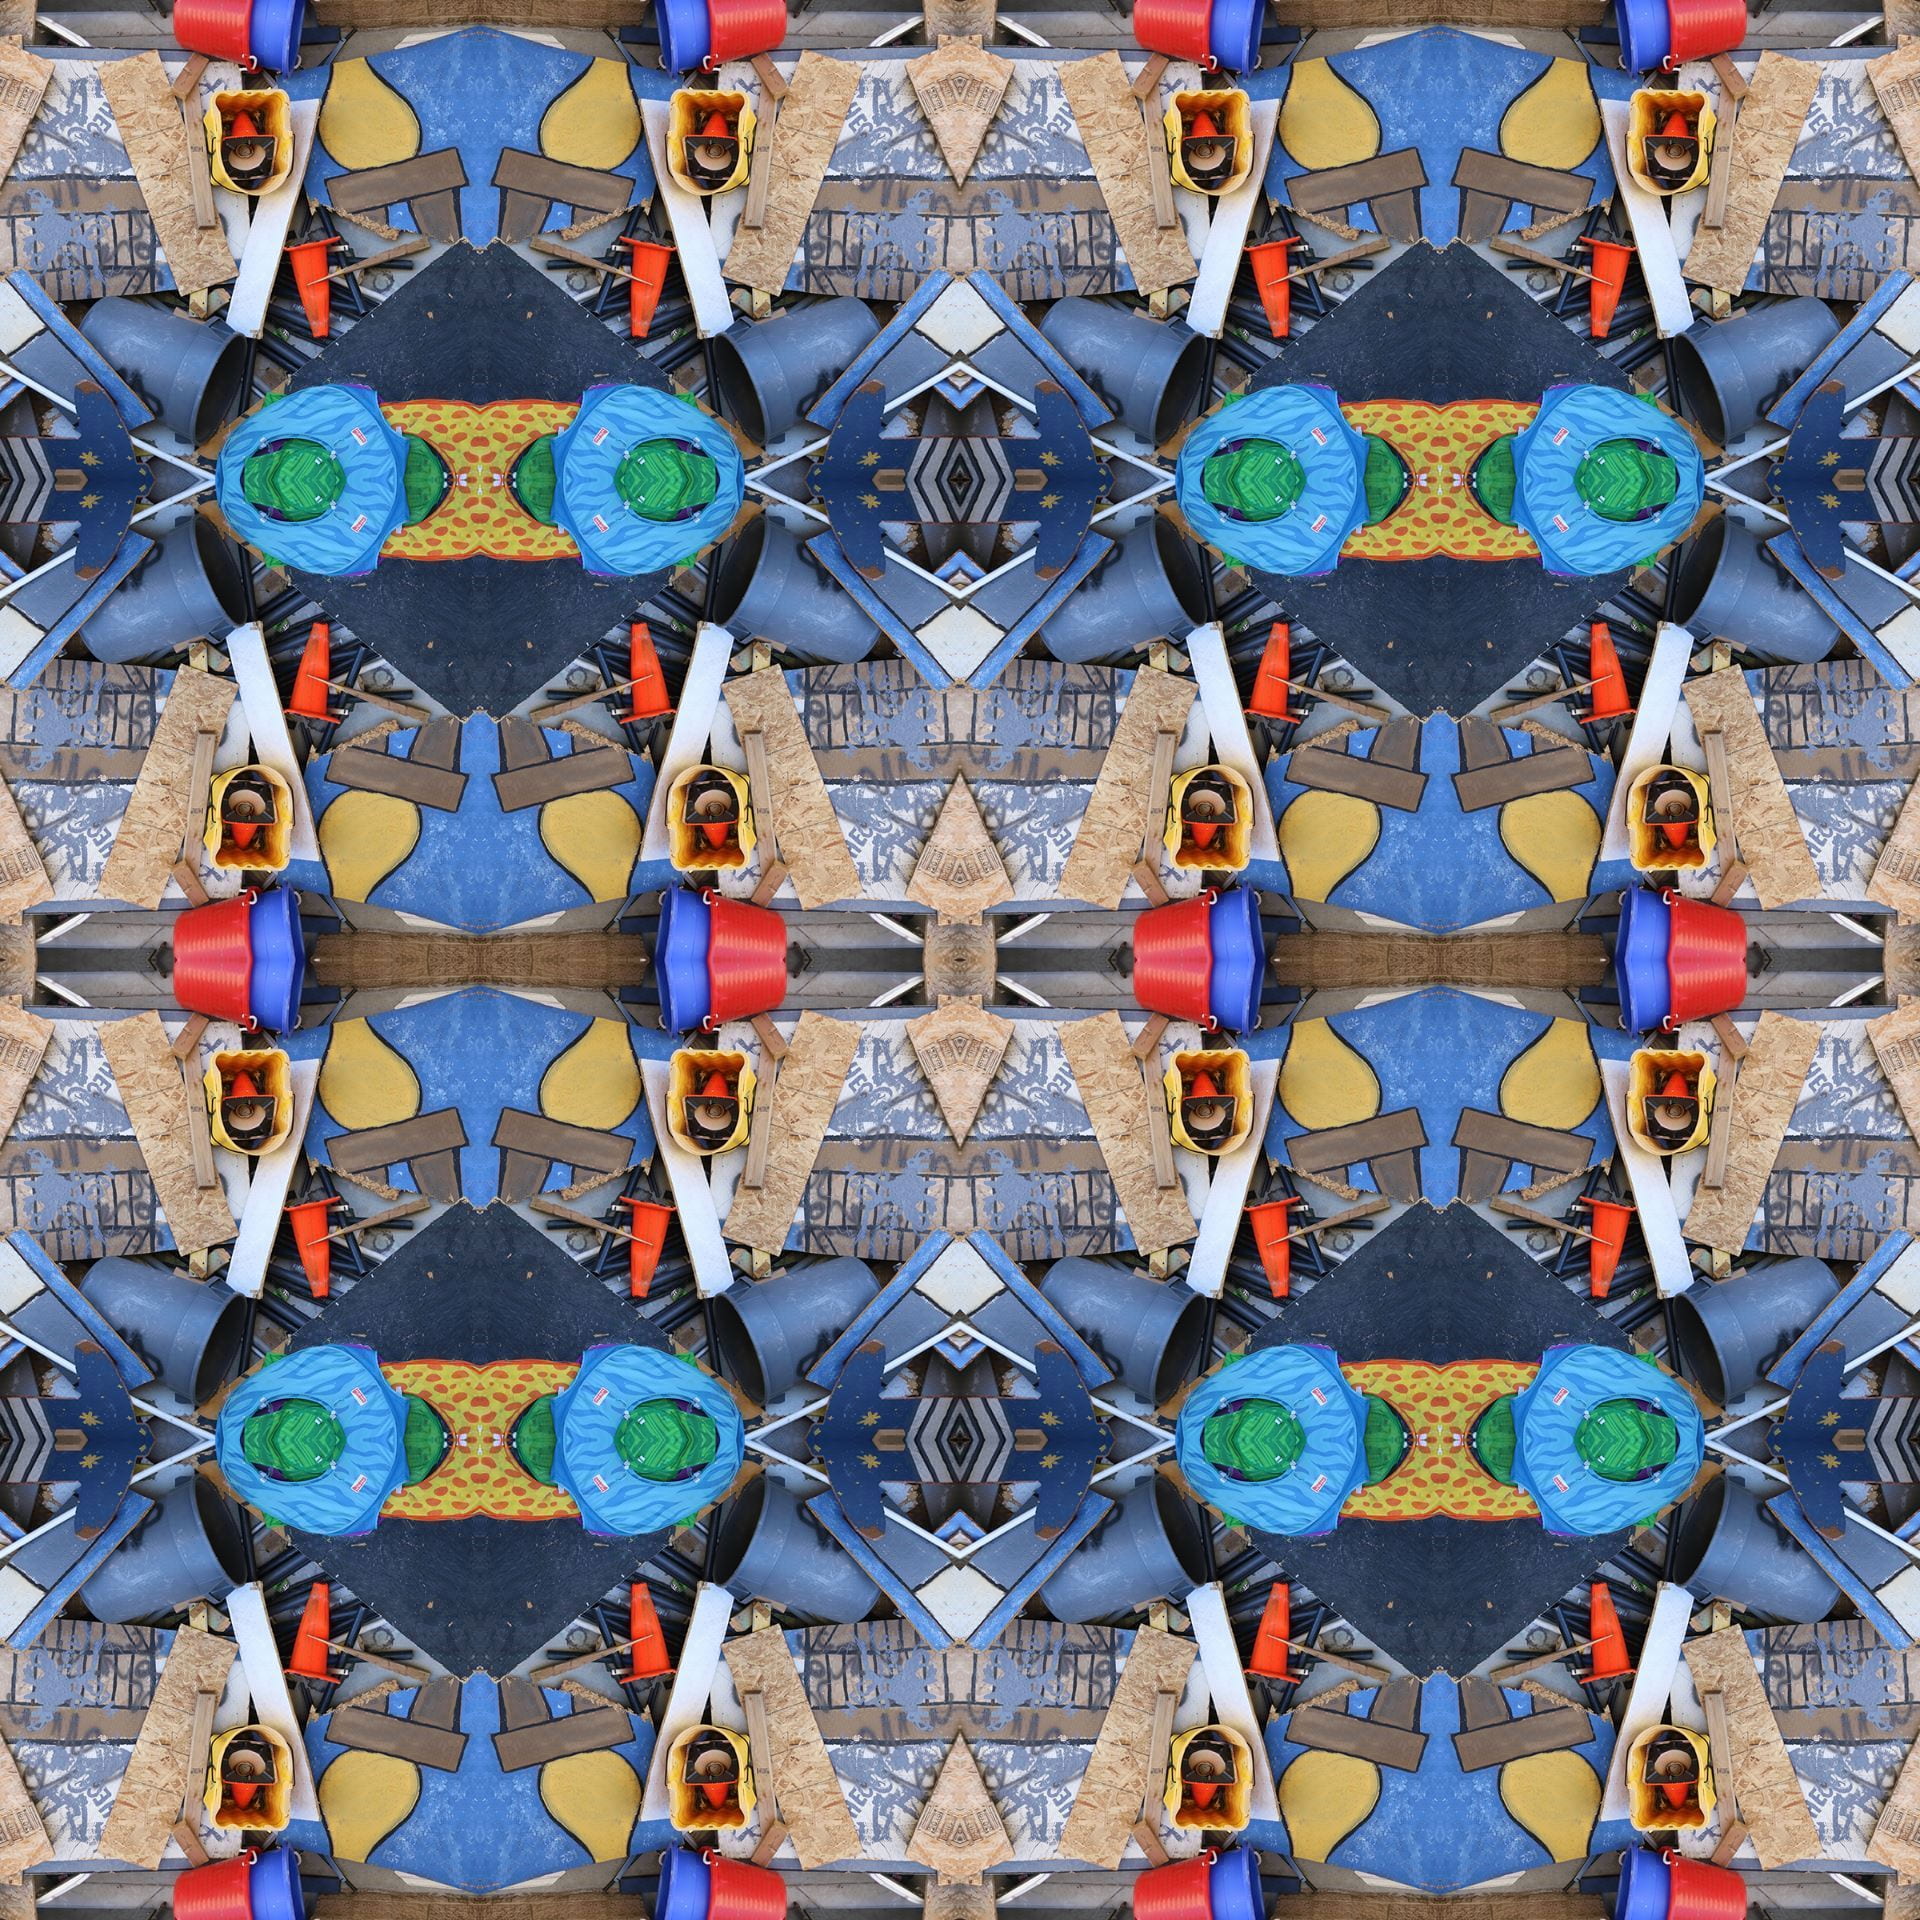

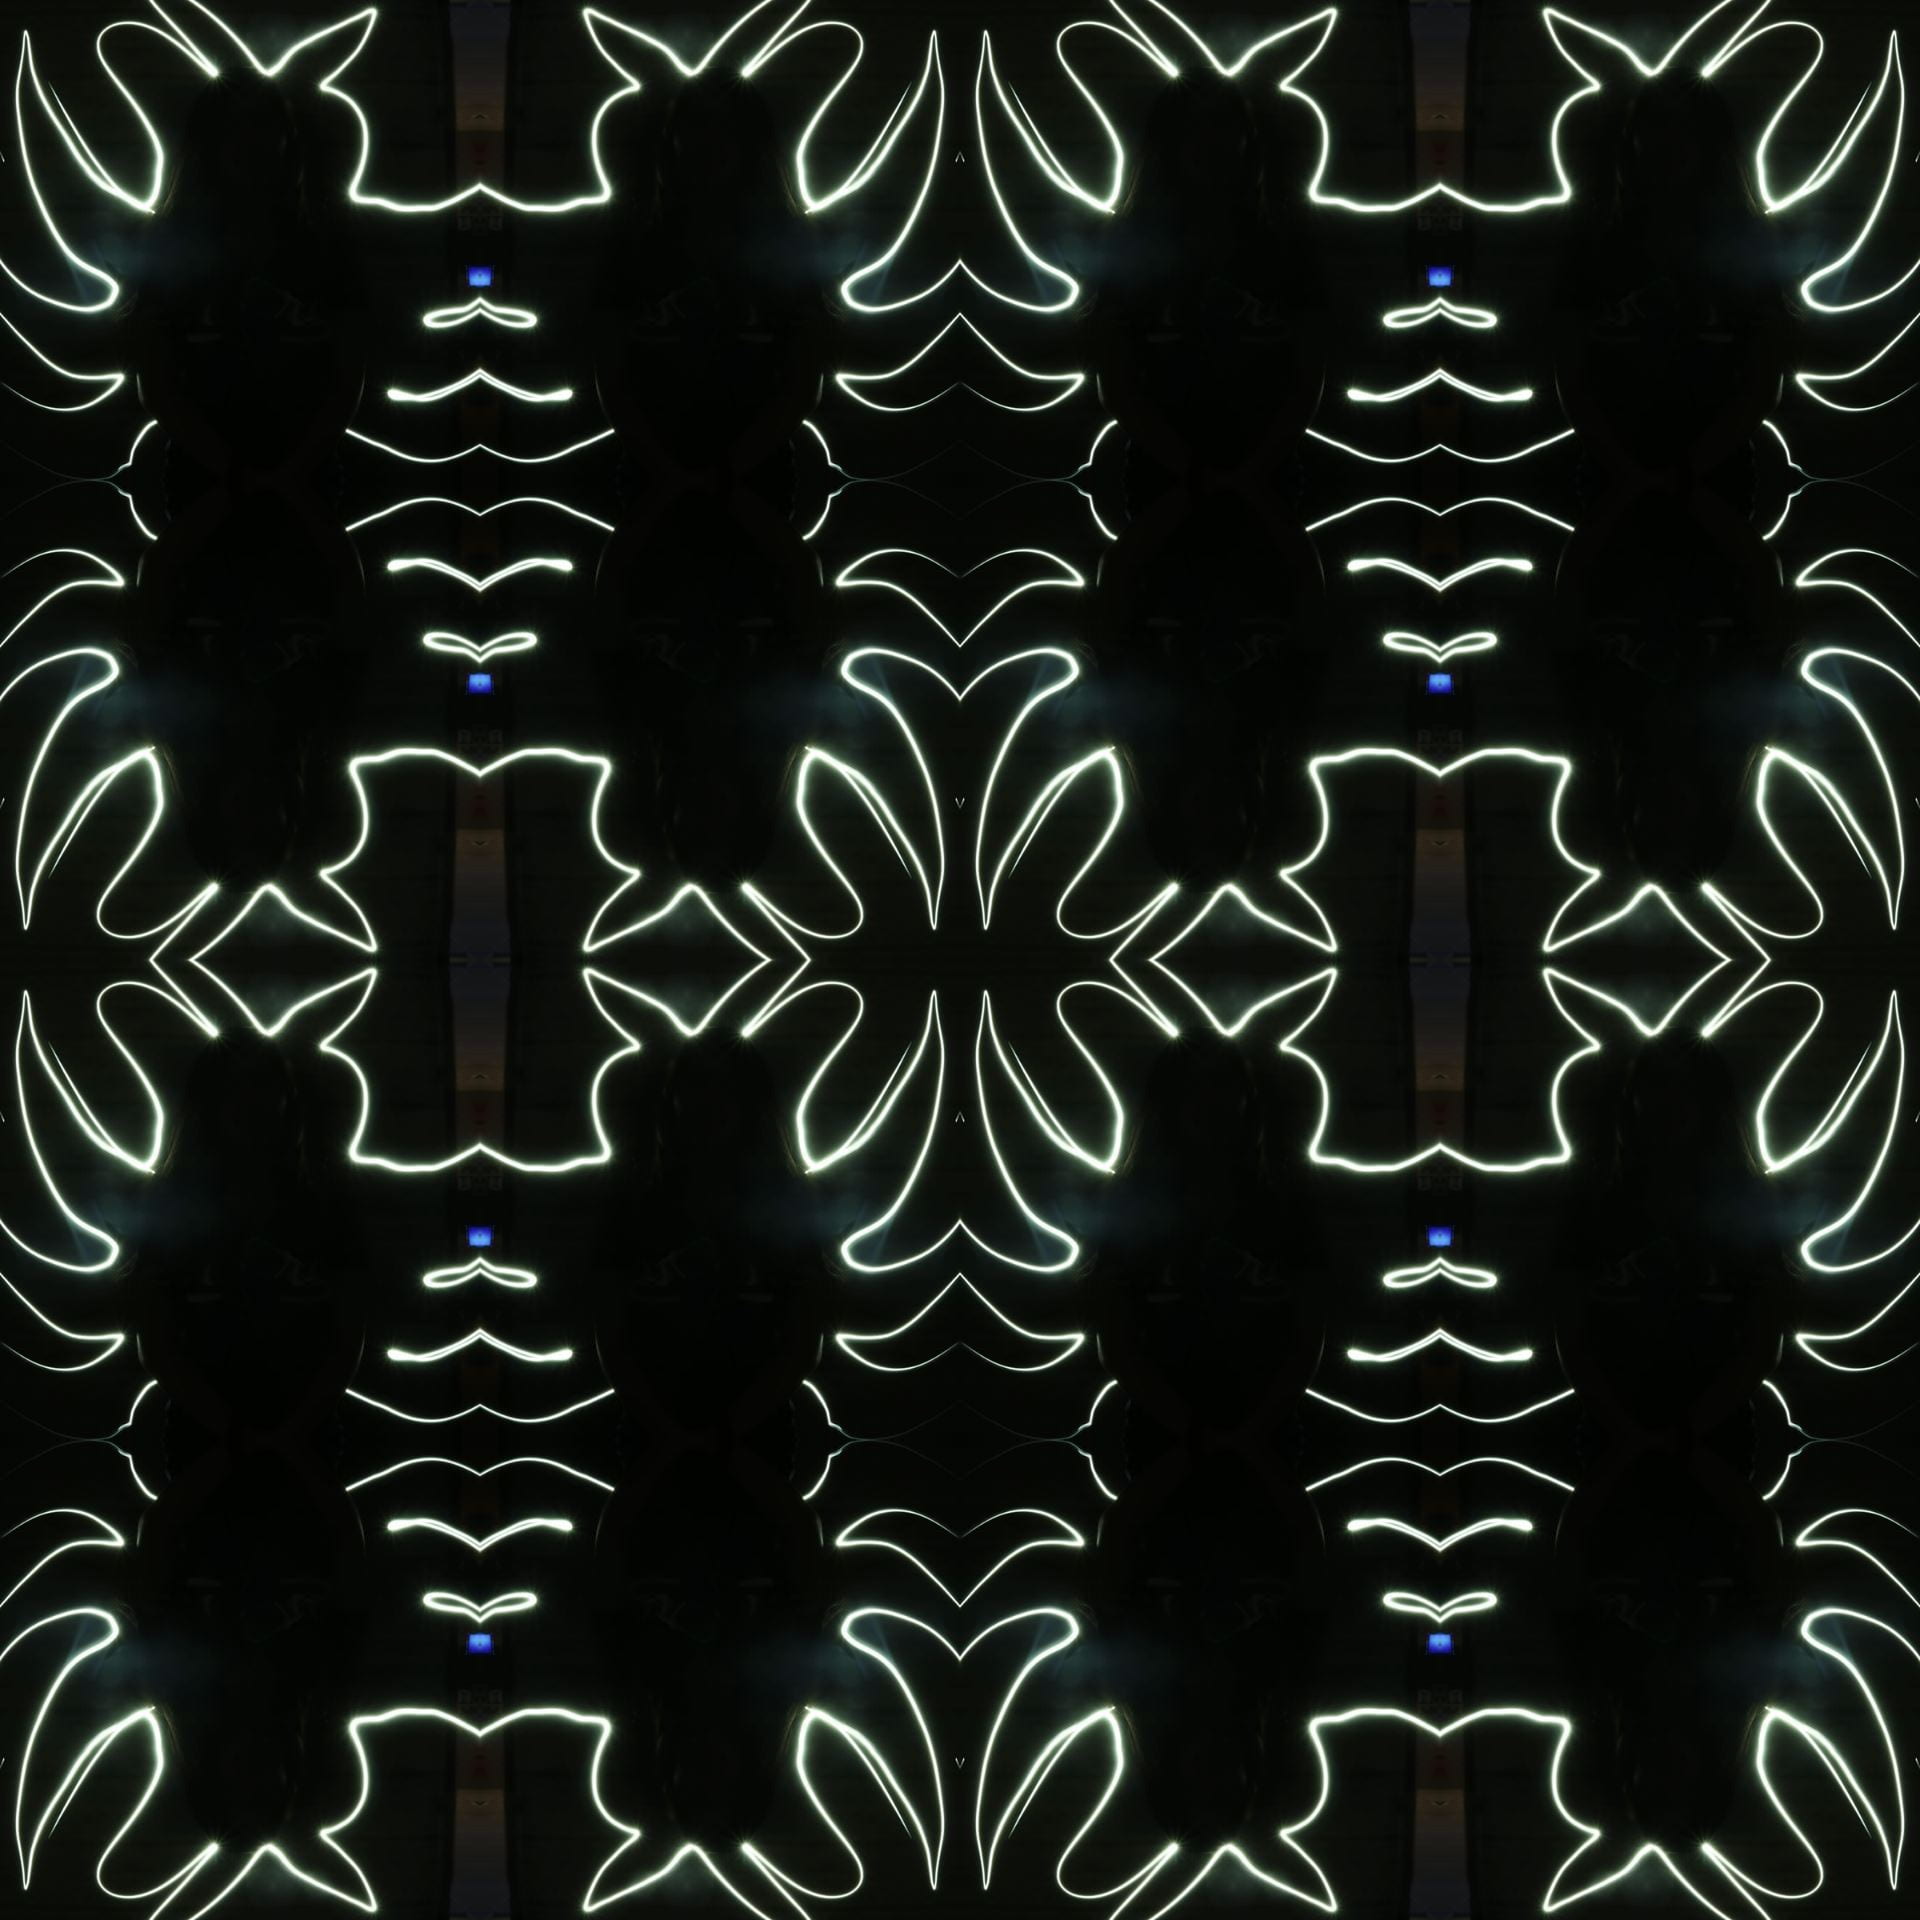

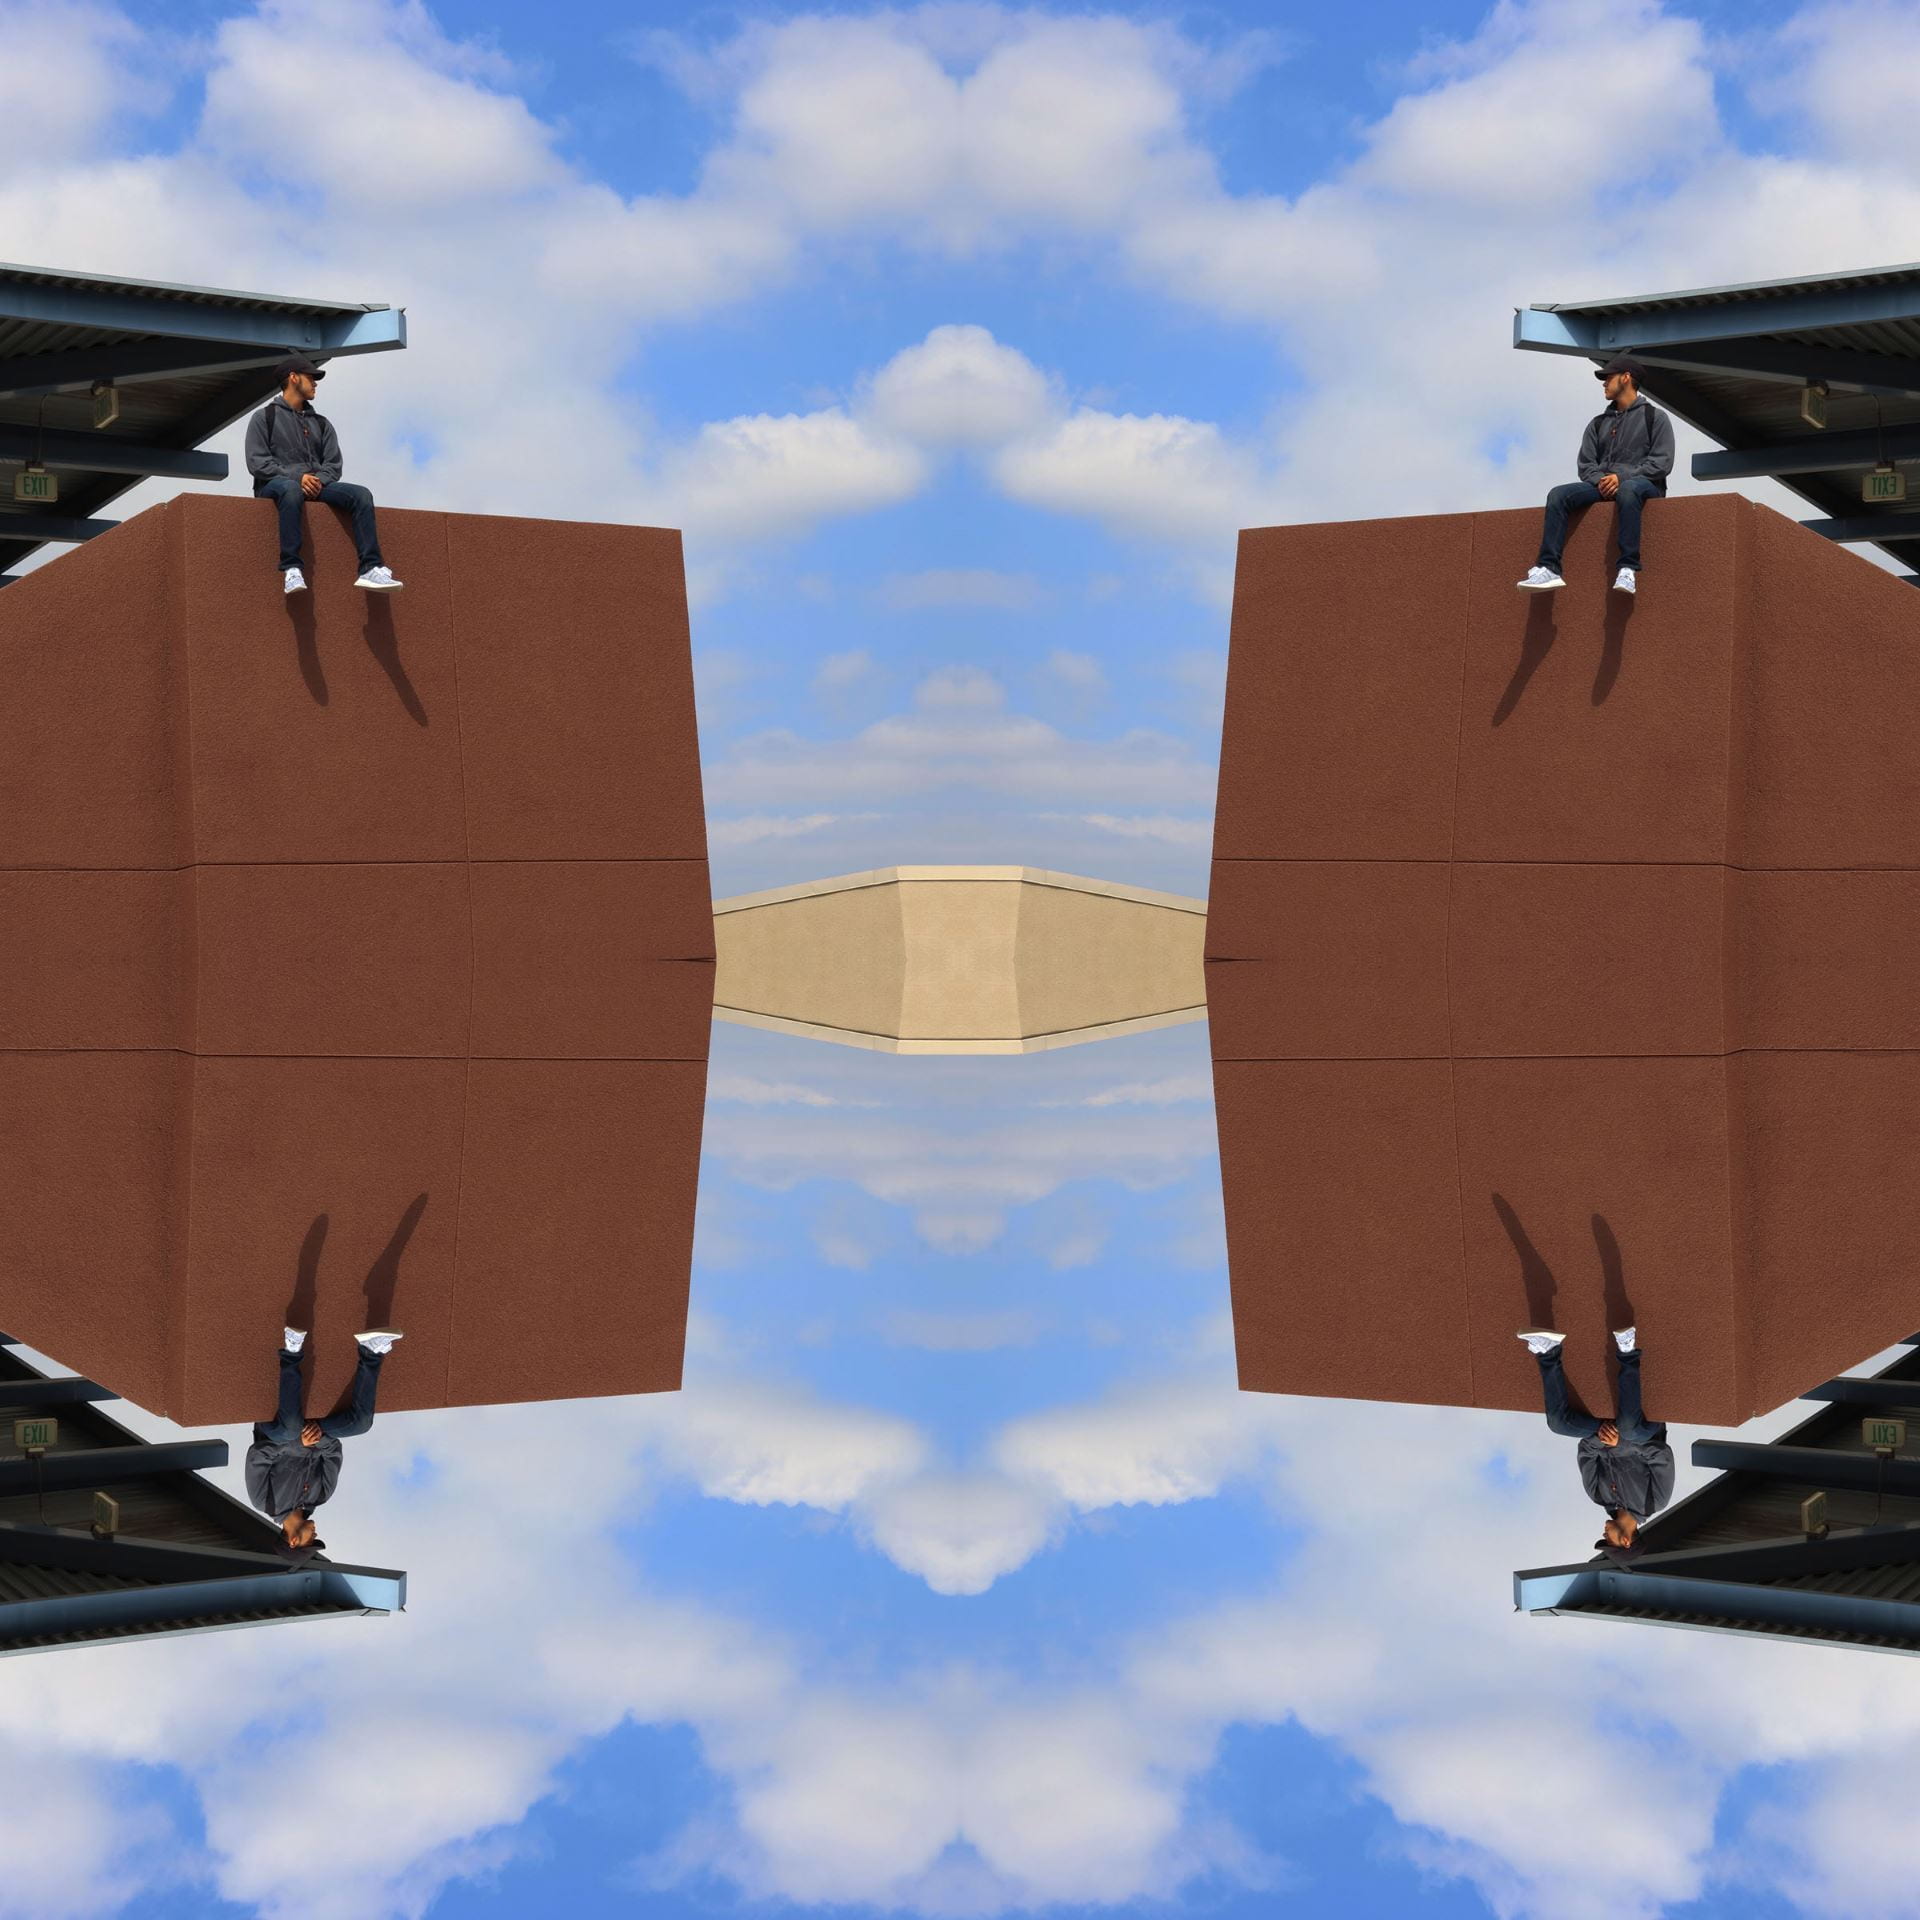
More student examples…I couldn’t help myself…