Photoshop Action Sequence

Google search results for “Photoshop action sequence”
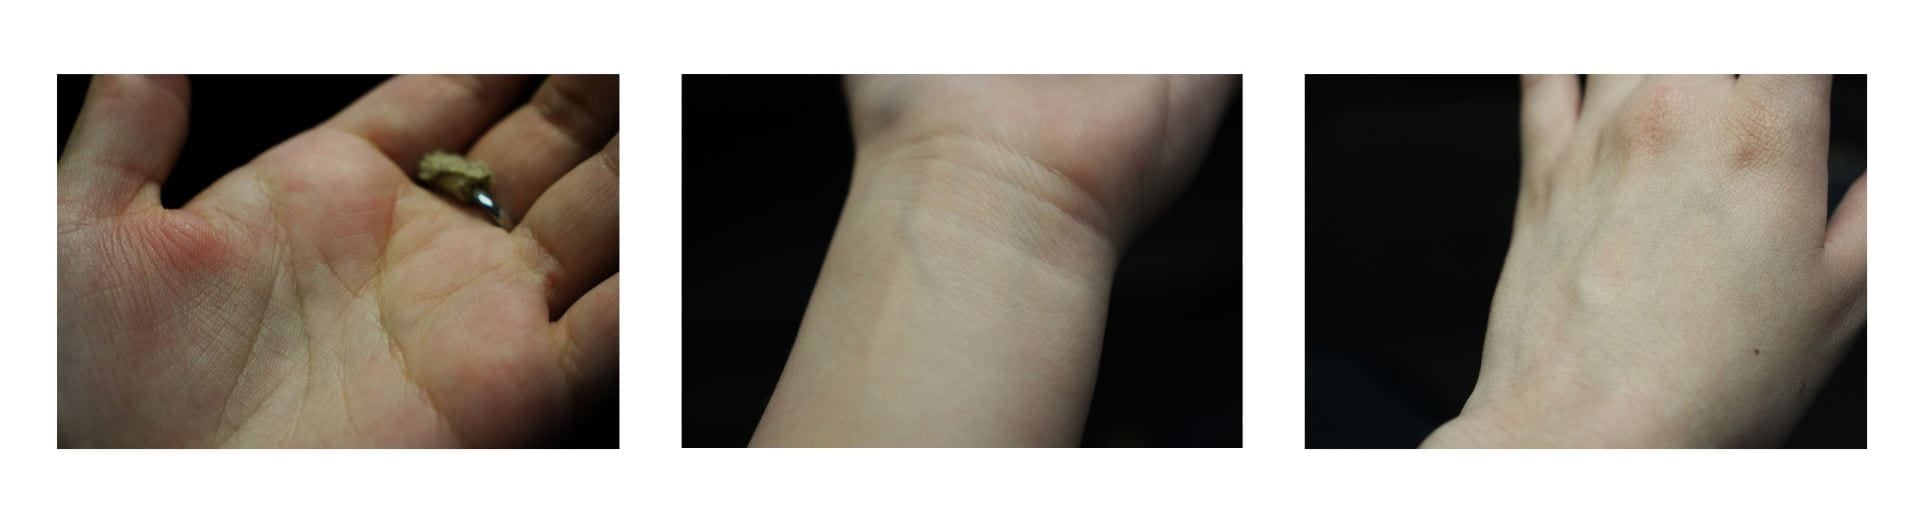
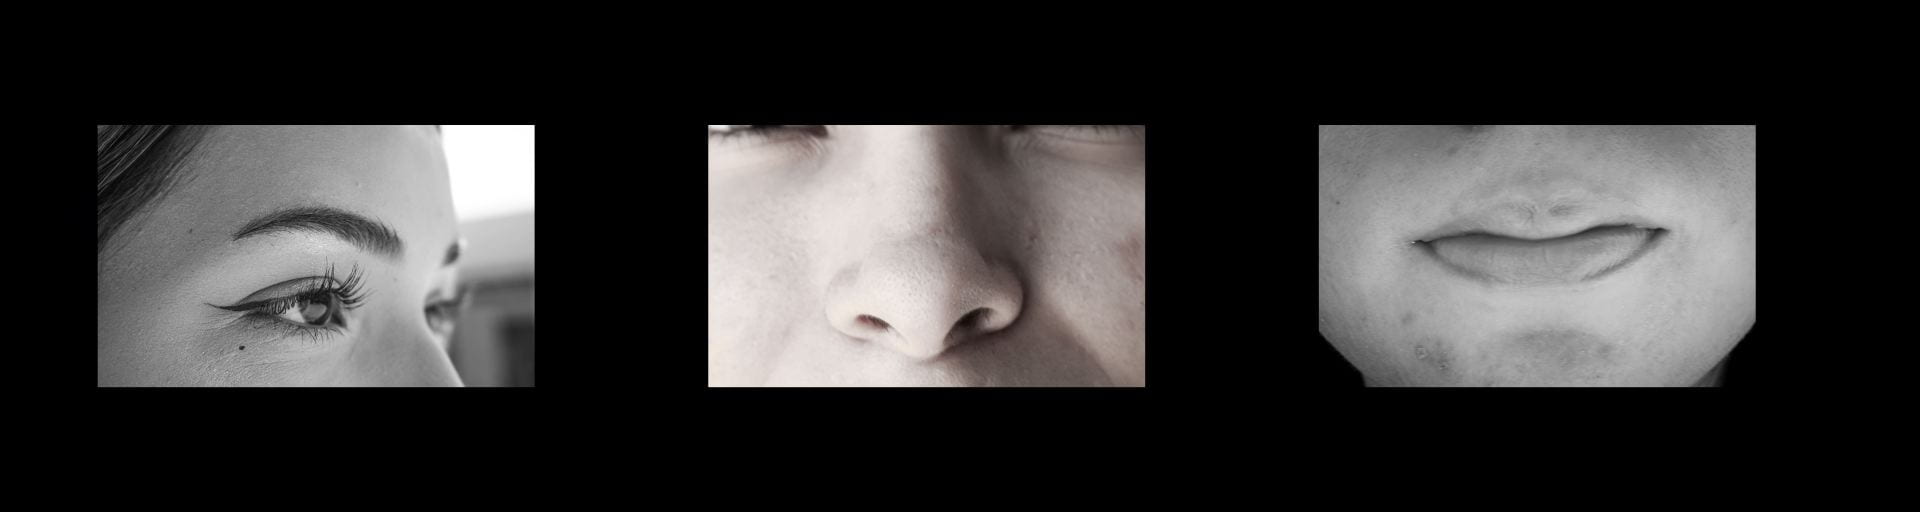
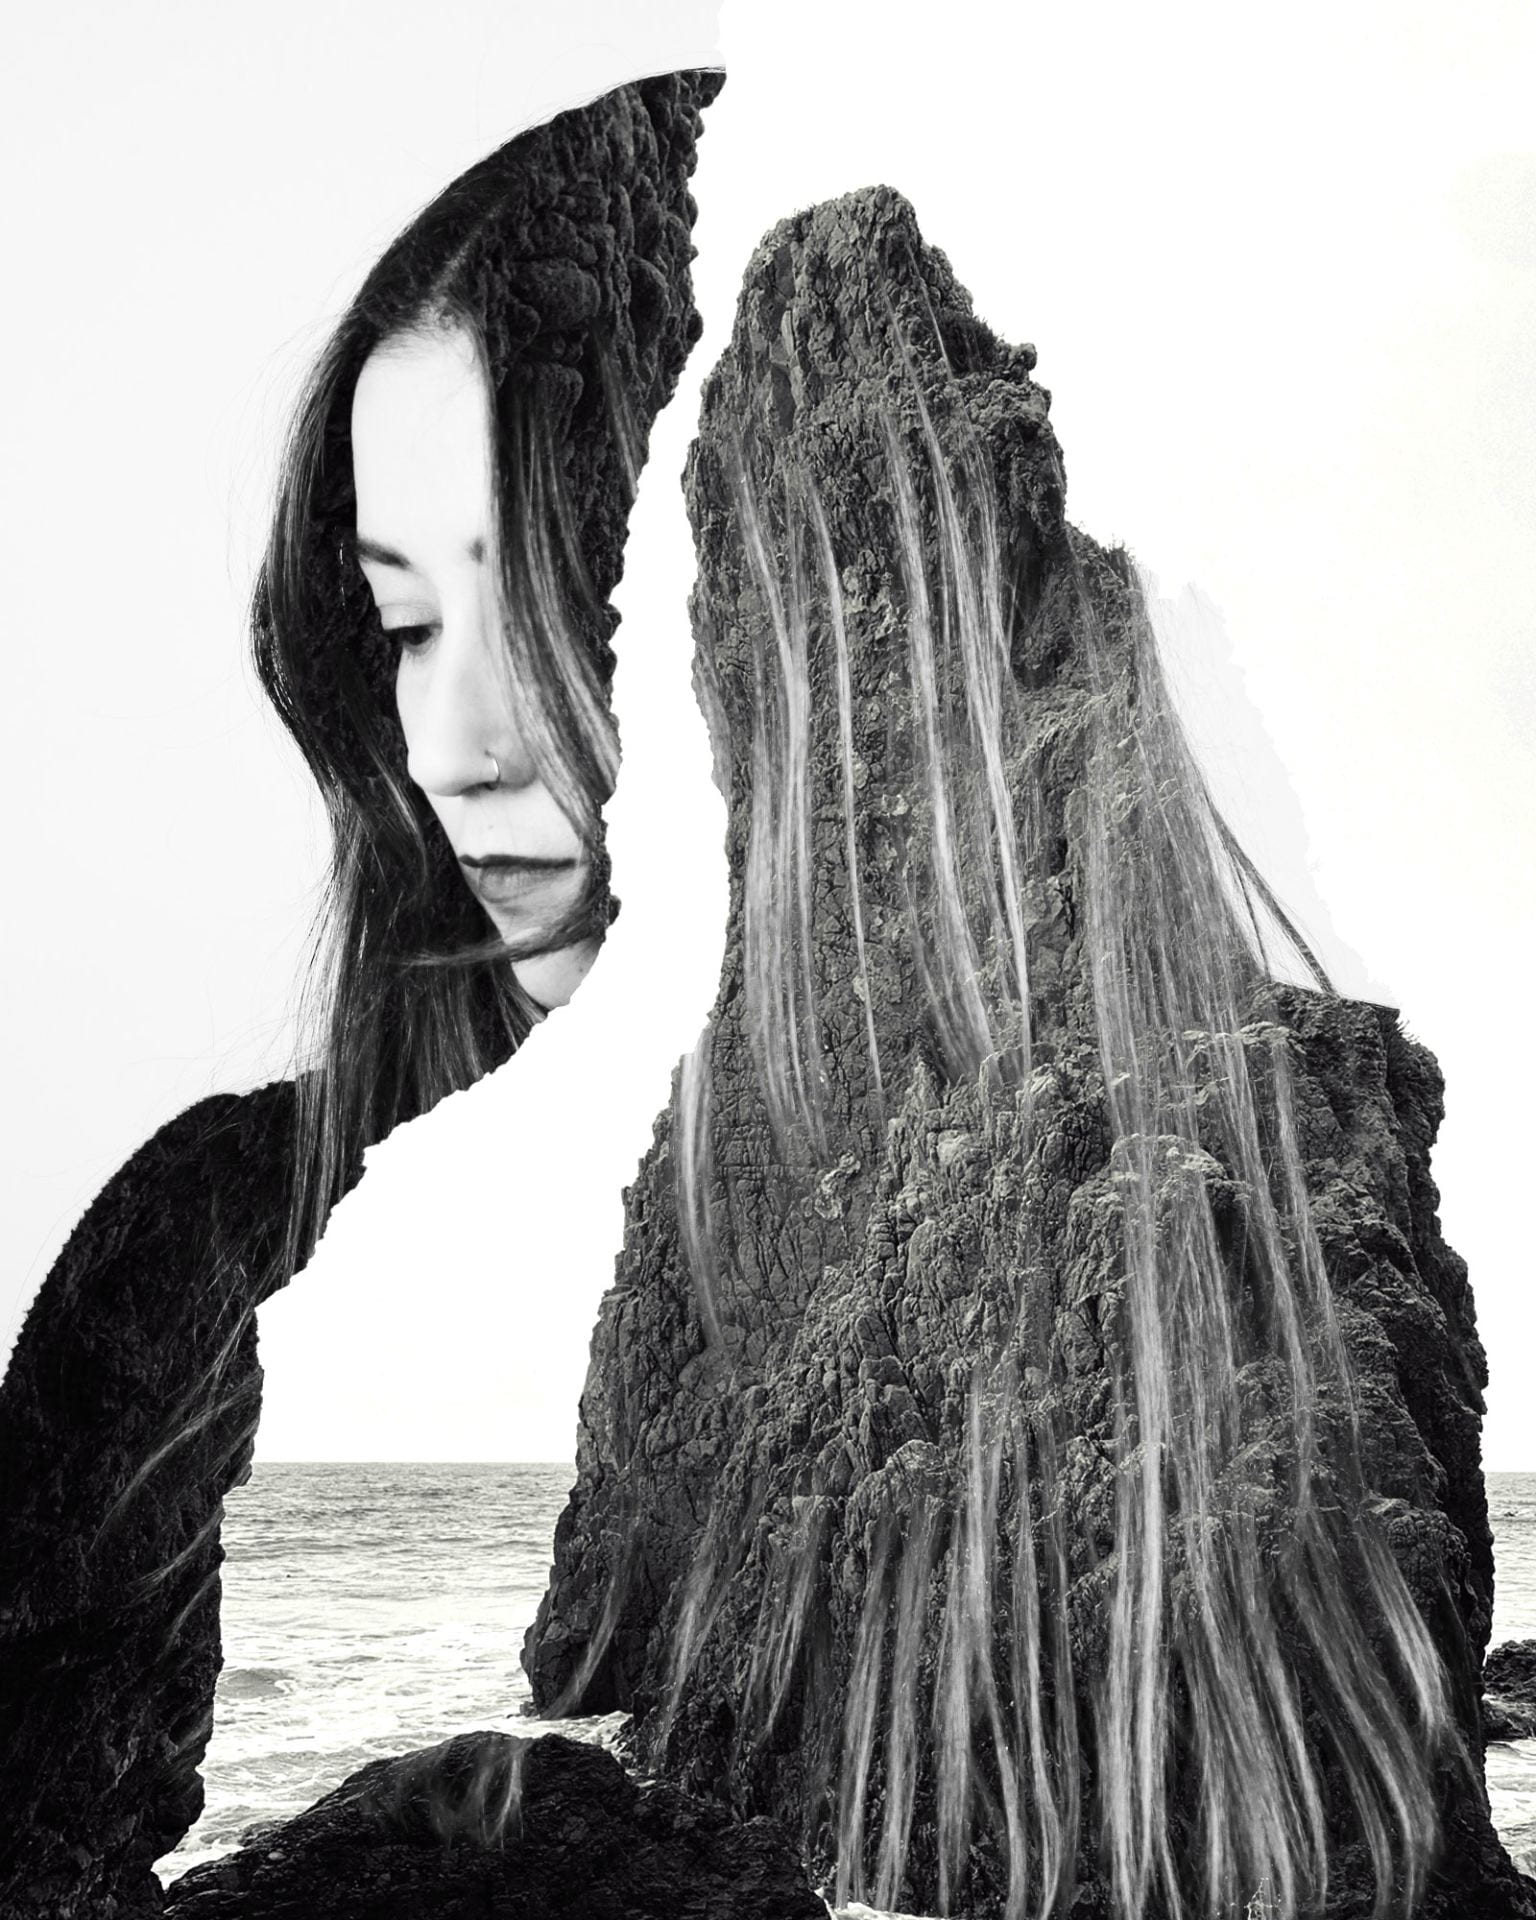
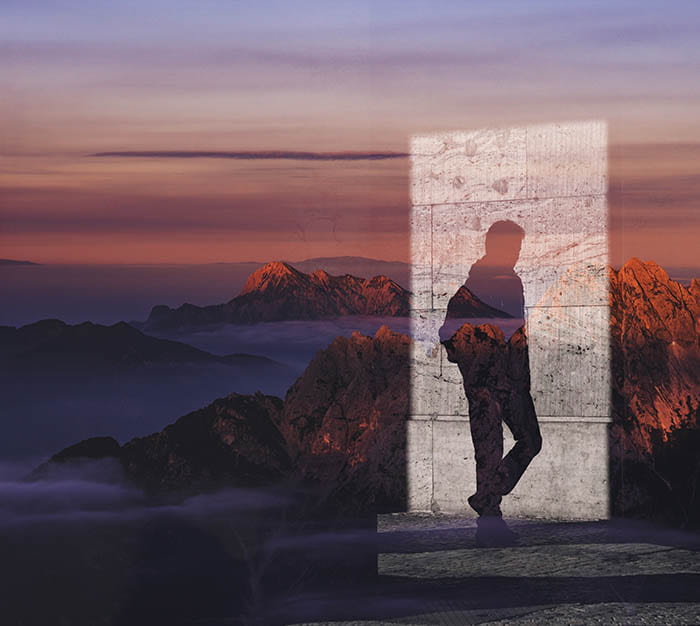
Body Triptych
Triptych is three photos meant to be viewed together. Create one using the theme: “Body”.


Summit High Digital Photography
Follow @SkyHawksPhotography on Instagram! Email: delasa@fusd.net
Photoshop Action Sequence
Google search results for “Photoshop action sequence”
Body Triptych
Triptych is three photos meant to be viewed together. Create one using the theme: “Body”.
Today’s Agenda:


Today’s Agenda:
Portrait Light Patterns Project
First, you can practice the portrait light patterns with group members using window lights. You can even do this without a camera, just so you know how to position your subject to create the shadow patterns you need.
Make one good portrait example for each of the 7 portrait lighting patterns using studio lights.
Everyone takes turns as photographers to get their OWN 7 portrait light patterns using other classmates as subjects.
Edit your 7 portraits to post on your blog with the pattern + camera settings in the captions.
Camera Settings Suggestions:


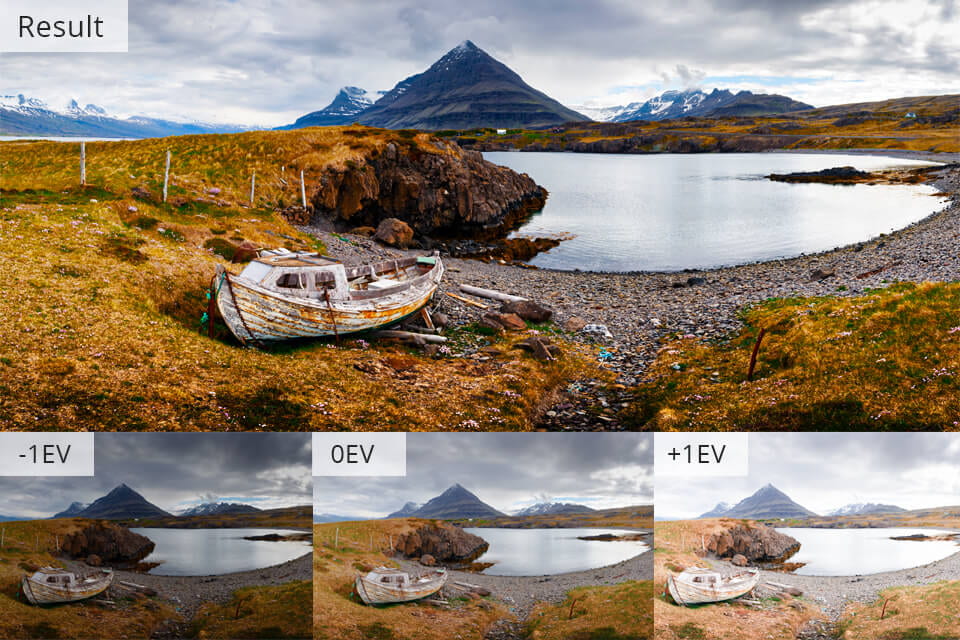
Bracketing in Photography Photo Assignment
Due Friday November 21, 2025

Photograph the following high-contrast scenes using the bracketing technique to create compelling final images.
Photographing Instructions:
https://www.creativeislandphoto.com/blog/exposure-bracketing
Bracketing: How To Take Interior Photos From Good To Great
Bracketing in Photography: The Ultimate Guide
Posting Instructions:


Today’s Agenda:


Objective: to observe the effects of ISO values on a dimly lit scene.
What You’ll Need:
Step 1: The Still Life Set Up
Step 2: The Camera Settings
Step 3: Taking Pictures (one partner at a time)
Take a photo at each ISO VALUE:
100 200 400 800 1600 3200 6400
Step 4:
Step 5:
Create a new post on your blog titled something like, “Autumn Ambiance: An ISO Photo Experiment”.
You can click here to get ISO info or use the video.
Include the following info:
Today’s Agenda:
Portrait Lighting Patterns
Along with the information from the video you watched, you can also use these two sources below as reference for this assignment:
https://www.ppa.com/ppmag/articles/9-types-of-portrait-lighting
4 Common Portrait Lighting Patterns
Create a new blog post titled: Portrait Lighting Patterns
1. In your own words, explain to your viewers what the following portrait lighting patterns look like AND how to achieve them (where do you place the light in relation to subject & camera, etc.). Consider these explanations as notes for yourself to reference later.
2. Next you will need to search for a portrait example for each of the lighting techniques we covered using Google Images. YOU CAN’T USE THE PORTRAIT EXAMPLES IN THE ARTICLES ABOVE! I suggest searching images by typing “studio portrait lighting” or “portrait lighting”.
You may have to use the Snipping Tool if the photo you saved doesn’t upload to Edublogs. Save them to your OneDrive-change their file name to the pattern it shows.
Add your portrait examples to your blog post. Upload them as a gallery making sure to caption each portrait with the light pattern it demonstrates and always change the link to media file. Columns 4, size thumbnail.
Turn in the link to you blog post in Teams.
Today’s Agenda:


Macro Photography PowerPoint with Tips & Tricks!
Project Due Monday Nov. 17th

What you’ll need:
In addition to the blog post instructions below, add a brief explanation to your viewers about what macro photography is and summarize 8 of the tips shared from the PowerPoint (there are more than 10 tips to choose from).


How to Check Your Camera Settings on Saved Photos


Due Tuesday Nov. 18th (scroll down for posting instructions)

Create the following types of portraits with your group. This is a group effort, so you will collaborate to get the best results. Take turns in each role: photographer, subject, assistant.
Each group member needs to save all the photos taken from the SD card after each shoot (not email!) and each of you will post to your own blog.
You will need to post the best 2 portraits from each technique to post along with their unedited ‘before” photo.
The techniques correspond to the videos you watched!
The first video shows this technique! Place your subjects in open shade for this one.
Flash is on the camera but directed at reflector to bounce onto subjects.
This would be ideal when the lighting outside is a little dimmer (overcast or sunset). So for now, find some shady areas.
Besides the video, you can also use these article tutorials:
Outdoor Flash Photography Tips for Natural or Dramatic Portraits
Beginner’s Guide to Flash Photography – Tips, Tricks and Lessons
You may need to use the long flash cord or the remote trigger for this one.
The third video showed the technique, but here’s the article tutorial as well:
https://glyndewis.com/blog/2021/8/4/the-invisible-black-background
Create ONE organized blog post that will showcase all the photos above.
I recommend using 3 separate photo galleries (link to media file, columns 2, medium size).
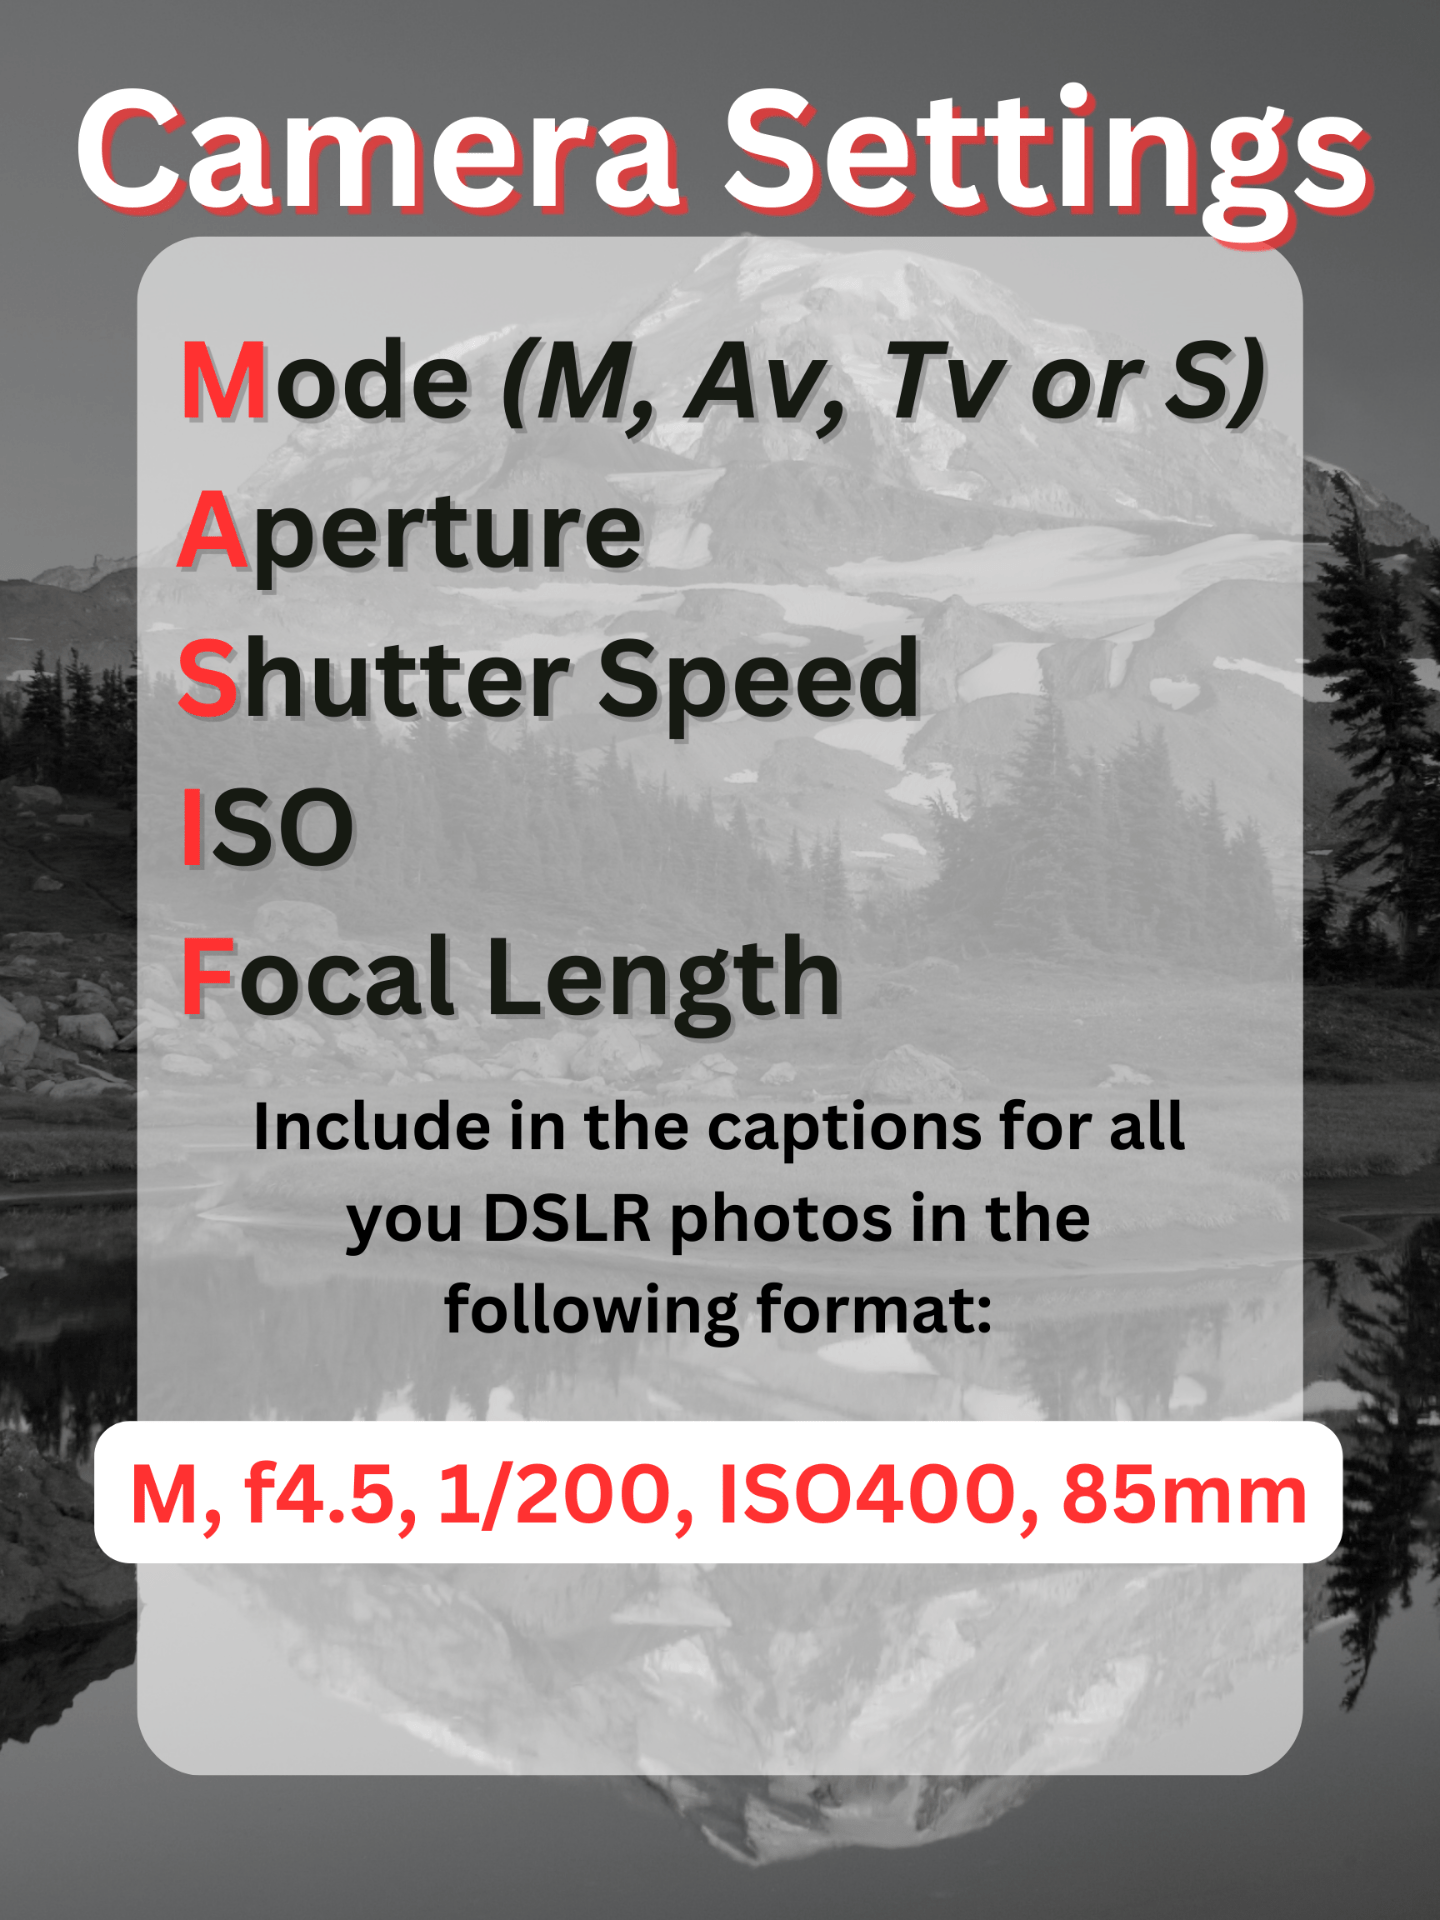
Be sure to indicate which series is which. Caption each photo with the camera settings used and add the word “before” and “after”. PLEASE list your settings in the following format or lose points!
For example:
Then add a gallery with your 4 photos: two portraits with flash next to their corresponding “before” portrait with no flash. Use 2 columns to have the before & after side by side.
