Begin this AFTER you submit your 10 Lightroom Tutorials!
Practice LR Editing w/ Your Own Photos!
Instructions:
You will need to select 5 of your own COLOR photographs to edit in Lightroom. It can be any photos in your camera roll or any photos from your Elements of Art project. If these 5 photos are not already in the same folder in your OneDrive, create a new one called “5 photos to edit”.
For each photo, you will create 3 different edited versions in Lightroom so you can see how one photo can be edited in various ways, sometimes editing can really transform an image!
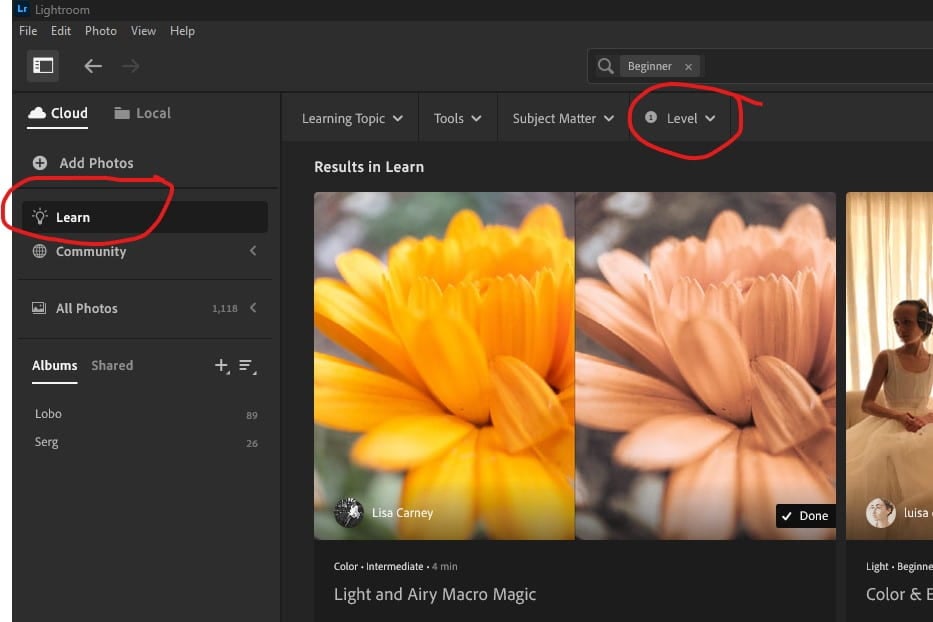
- Open Lightroom–>Click on Add Photos.
2. You will get a pop up to get to the photos on your computer. Open your new folder then SELECT ONLY ONE photo at a time for this assignment. Click Review for Import.

3. In Lightroom you will make sure the photo is check marked and click “Add 1 photo”.
4. Right click on the photo box at the bottom and select Duplicate 1 photo. Do this again so you have 3 copies total:


5. Edit each image differently to change up the look, aesthetic, or mood. Stick to the Light, Color, and Effects categories only. Also use the crop tool to tighten photos or to straighten them!
6. Once you edit each one so they all have a different style, you will select all three and go to the share icon towards the top right. Select JPG (Large). In the pop up, select the folder where you have the originals and save them there:


7. Now repeat these steps for the next 4 photographs!
To turn in:
8. Create a new blog post titled, “Practicing Lightroom Editing w/ My Photos” or “My 5 Photo Edits”.
9. Insert a separate gallery for each photo so that each gallery has 4 photos total (the original + its 3 edits). Don’t forget to change the gallery settings: Link to= Media file (always!), columns=4, size= thumbnail.
10. Repeat this for the next 4 photos you edited.
11. Publish and turn in the link to Teams! Yay!
Sample gallery (you will have 5 of these in your blog post):