Posted in Advanced Photo Assignments, Pathway Block

Shutter Drag Experiments

Shutter Drag Experiments

What is shutter drag??

“Dragging the shutter” is a technique in which you combine the stop-action of a flash with a slow shutter speed.

It also requires movement created by the subject or movement of the camera by the photographer.

Instructions:

You will need a group to collaborate with.

Using the techniques observed in the assigned Edpuzzle videos, create a series of shutter drag photographs with the help of your group members.

Everyone takes a turn as photographer.

Everyone will save all the photos from their group’s SD memory card.

*Suggested* settings:

  • Manual Mode
  • ISO 200
  • Aperture f-stop: around f8f12
  • Shutter speed 1/10, 1 second, or 2 seconds
  • For flash: try various output levels
Posted in Photo 1 Assignments

Forced Perspective Photography

Forced Perspective Photography

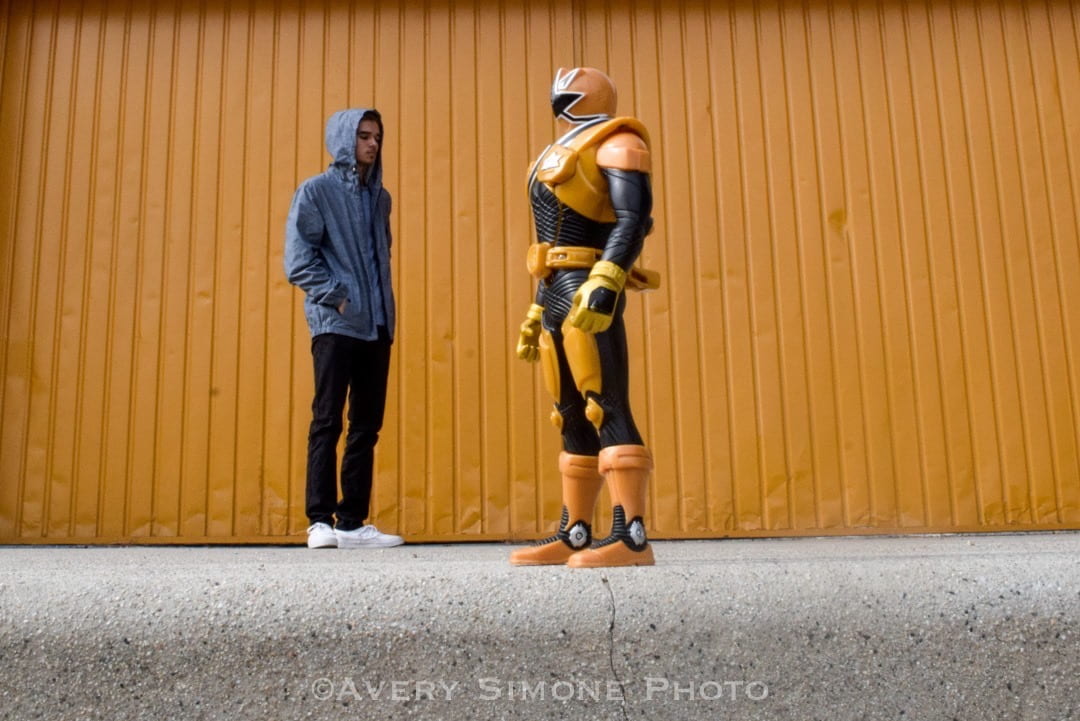
What is forced perspective?  How is it achieved?

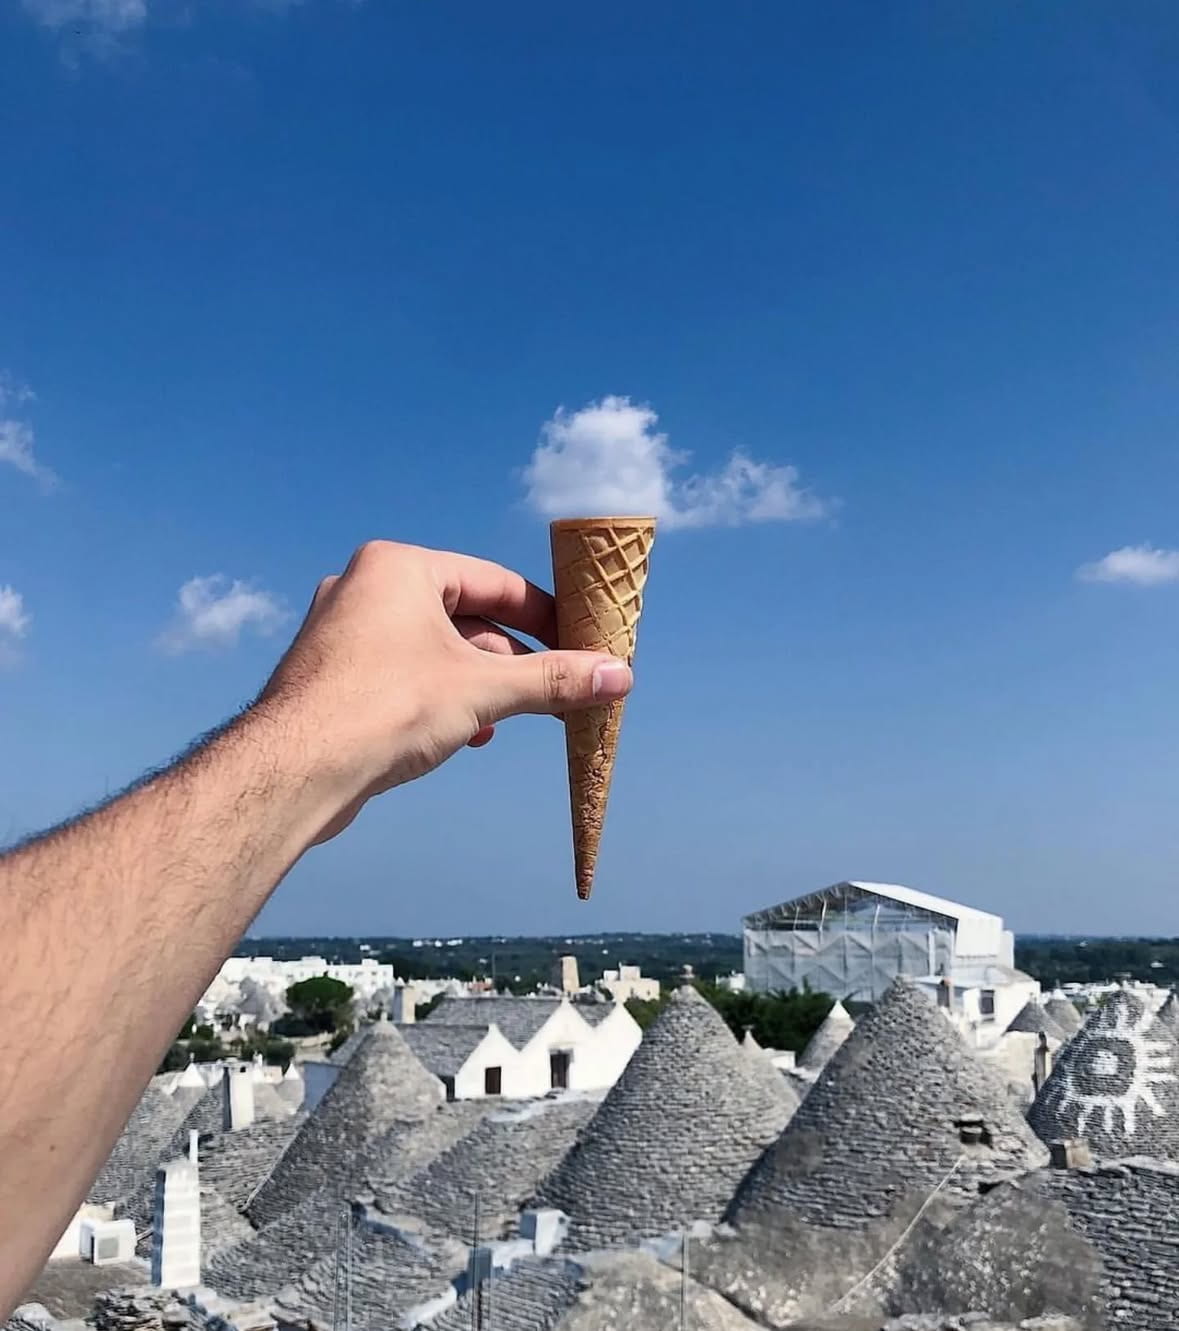
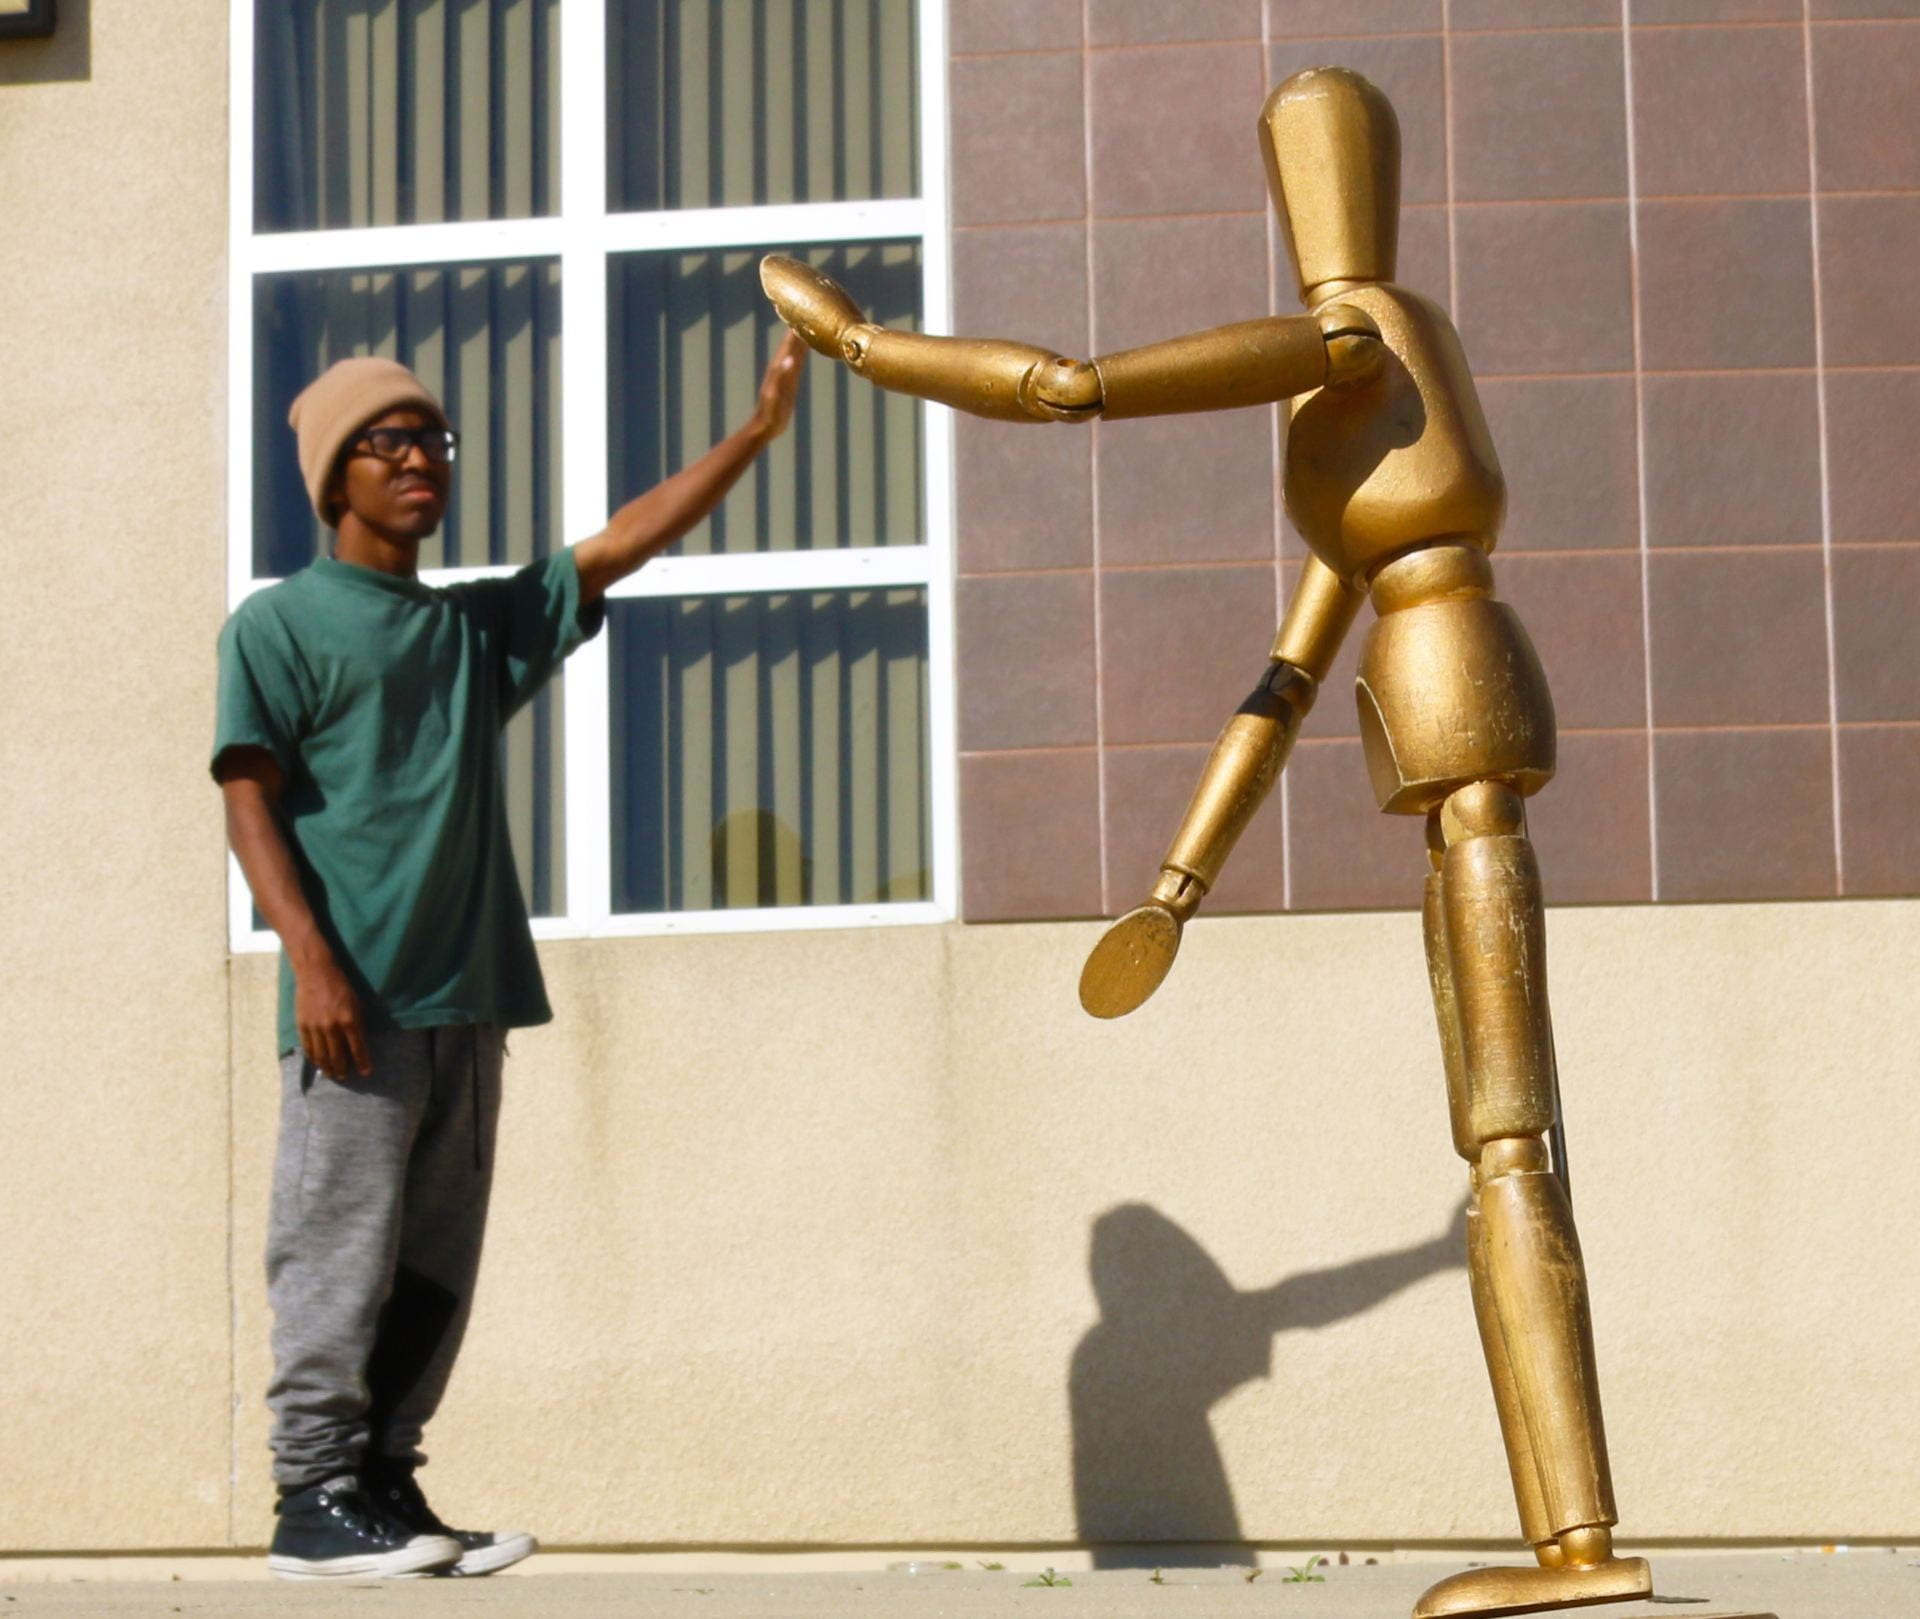
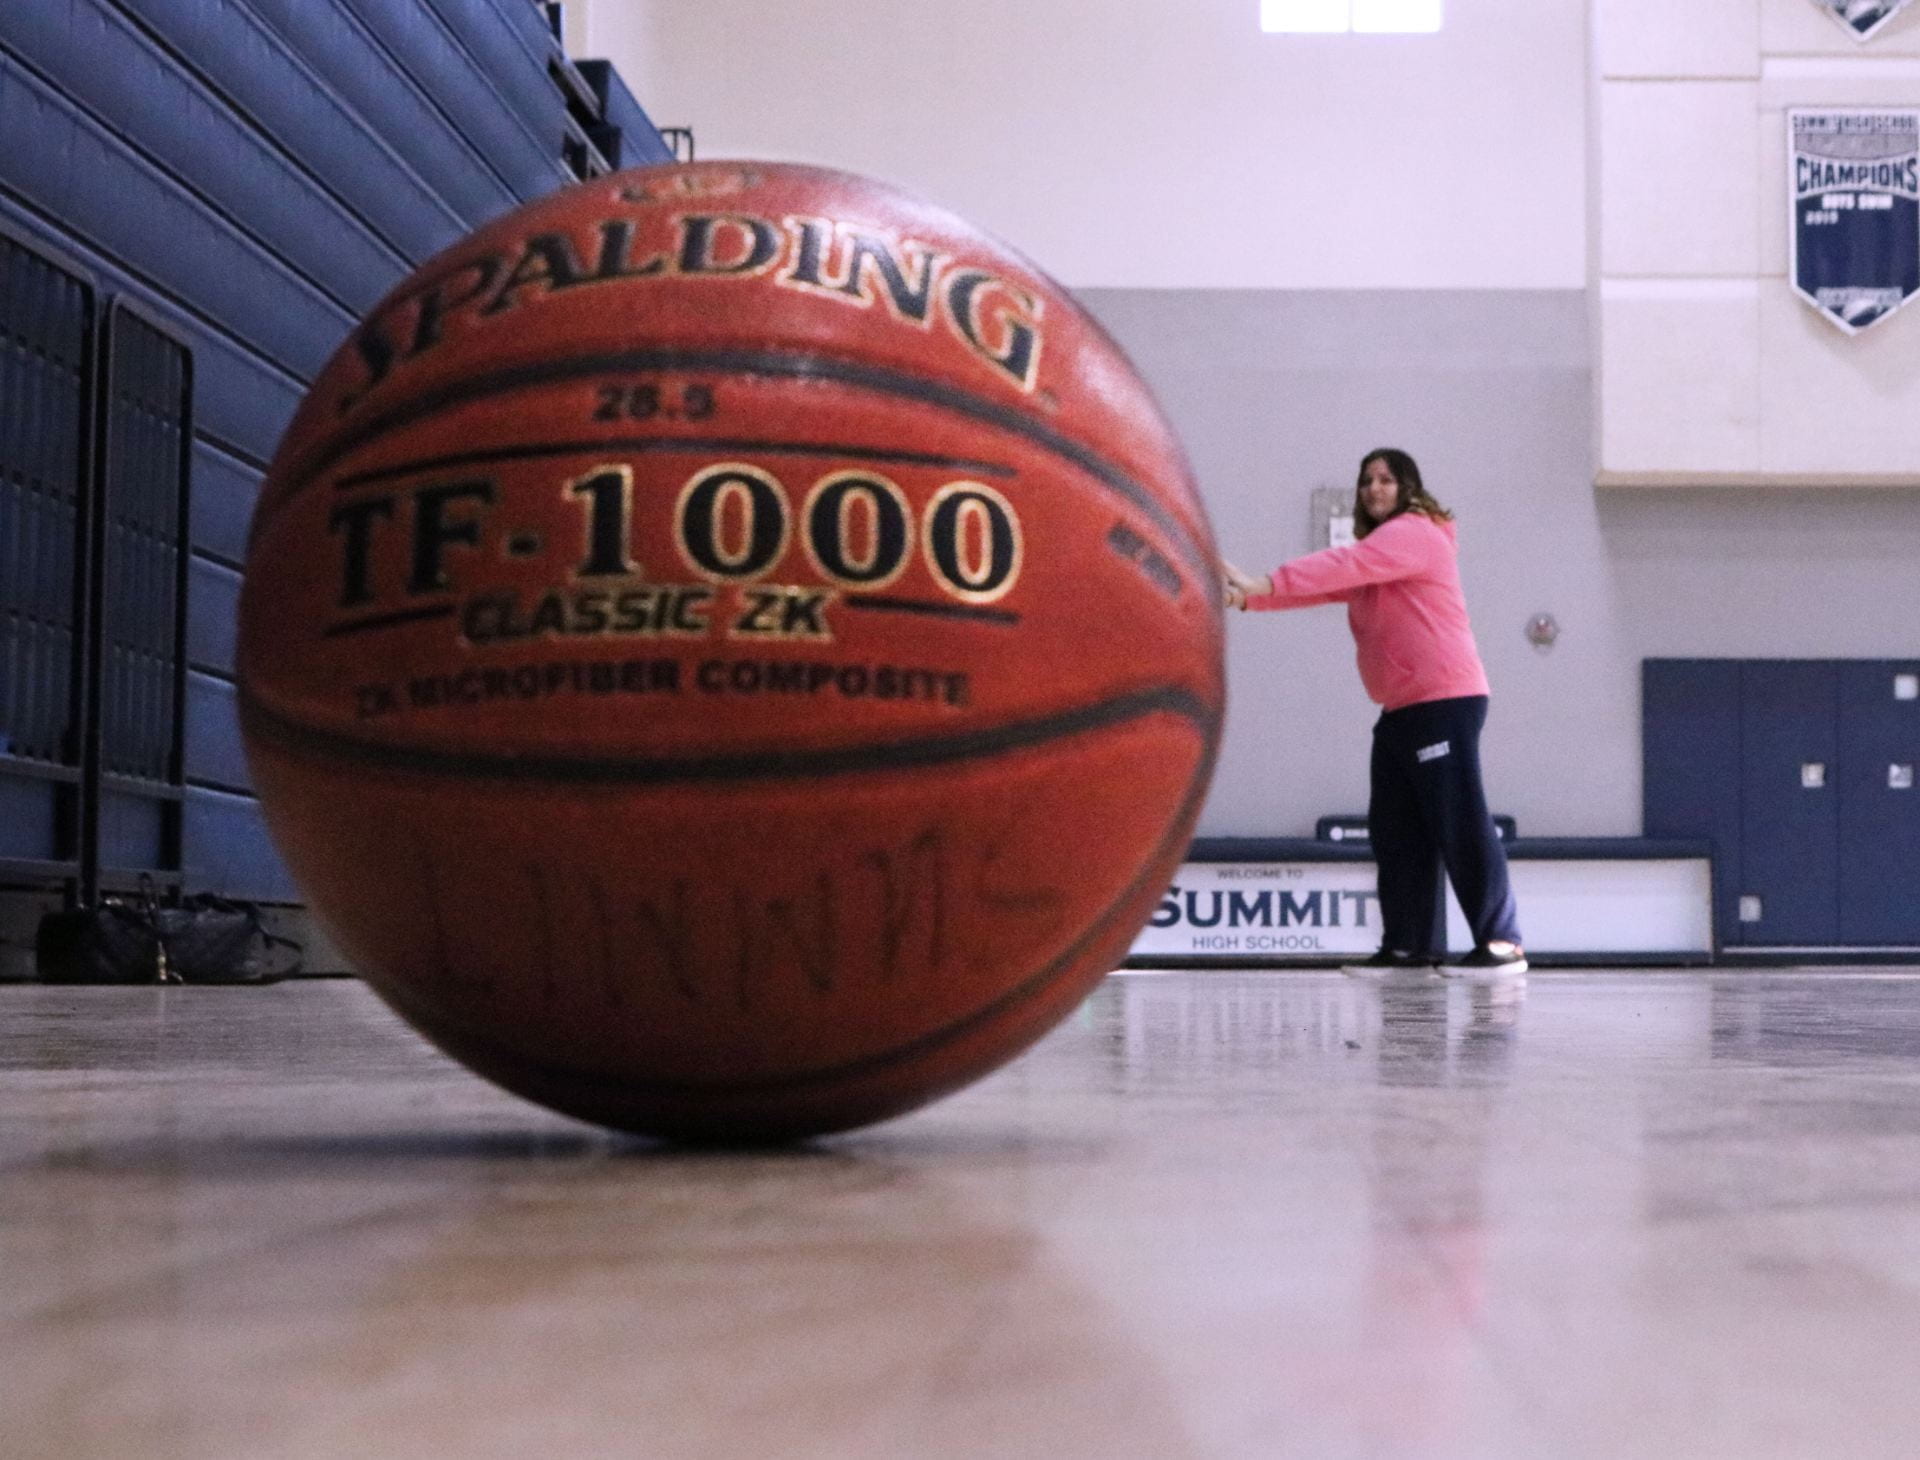
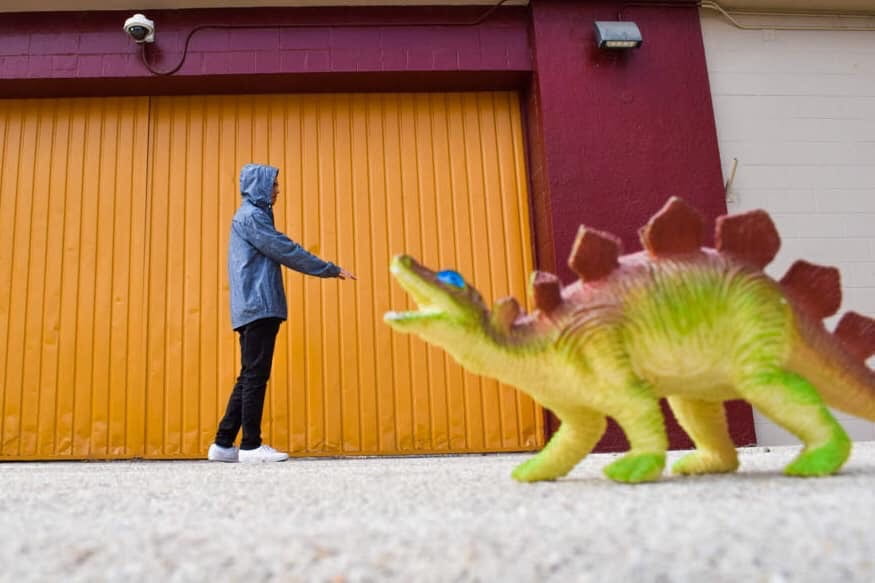
Forced perspective is a technique which employs in-camera optical illusions to make an object appear farther away, closer, larger or smaller than it actually is. It manipulates human visual perception through the use of scaled objects and the correlation between them and the vantage point of the spectator or camera.

It requires STRATEGIC CAMERA ANGLES & GREAT DEPTH OF FIELD!

 Instructions:

You will be assigned a group to work with. Brainstorm some fun ideas to try together. Save all the photos you take in the process (don’t delete the “bloopers”)! Everyone needs to save all photos straight from the SD card.

Settings tips:

  • AV Mode with higher aperture f-stop value (around f8-f16)
  • ISO Automatic or ISO 400
  • Manual Focus on the lens (MF)

Greater depth of field requires using a higher f-stop number. Aim to focus somewhere in between the foreground and background elements. But the goal is to get everything in focus and it’s not easy! Check out more tips in the screenshot below!

Posting Instructions:

  1. Create a blog post titled: Forced Perspective Photography.
  2. Include an explanation of what Forced Perspective Photography is and how to achieve it.
  3. Edit your group’s BEST result and post individually. Link to media file, size large. Include the camera settings in the caption.
  4. Type a paragraph reflection explaining how it could be improved.

Professional examples:

Student Examples:

Posted in Pathway Block

Super Symmetry Using Photoshop

Today’s Agenda:

  • Check your grade on Q! Progress reports due this Friday!
  • Complete past due work.
  • Begin Super Symmetry Project! Due by Monday.

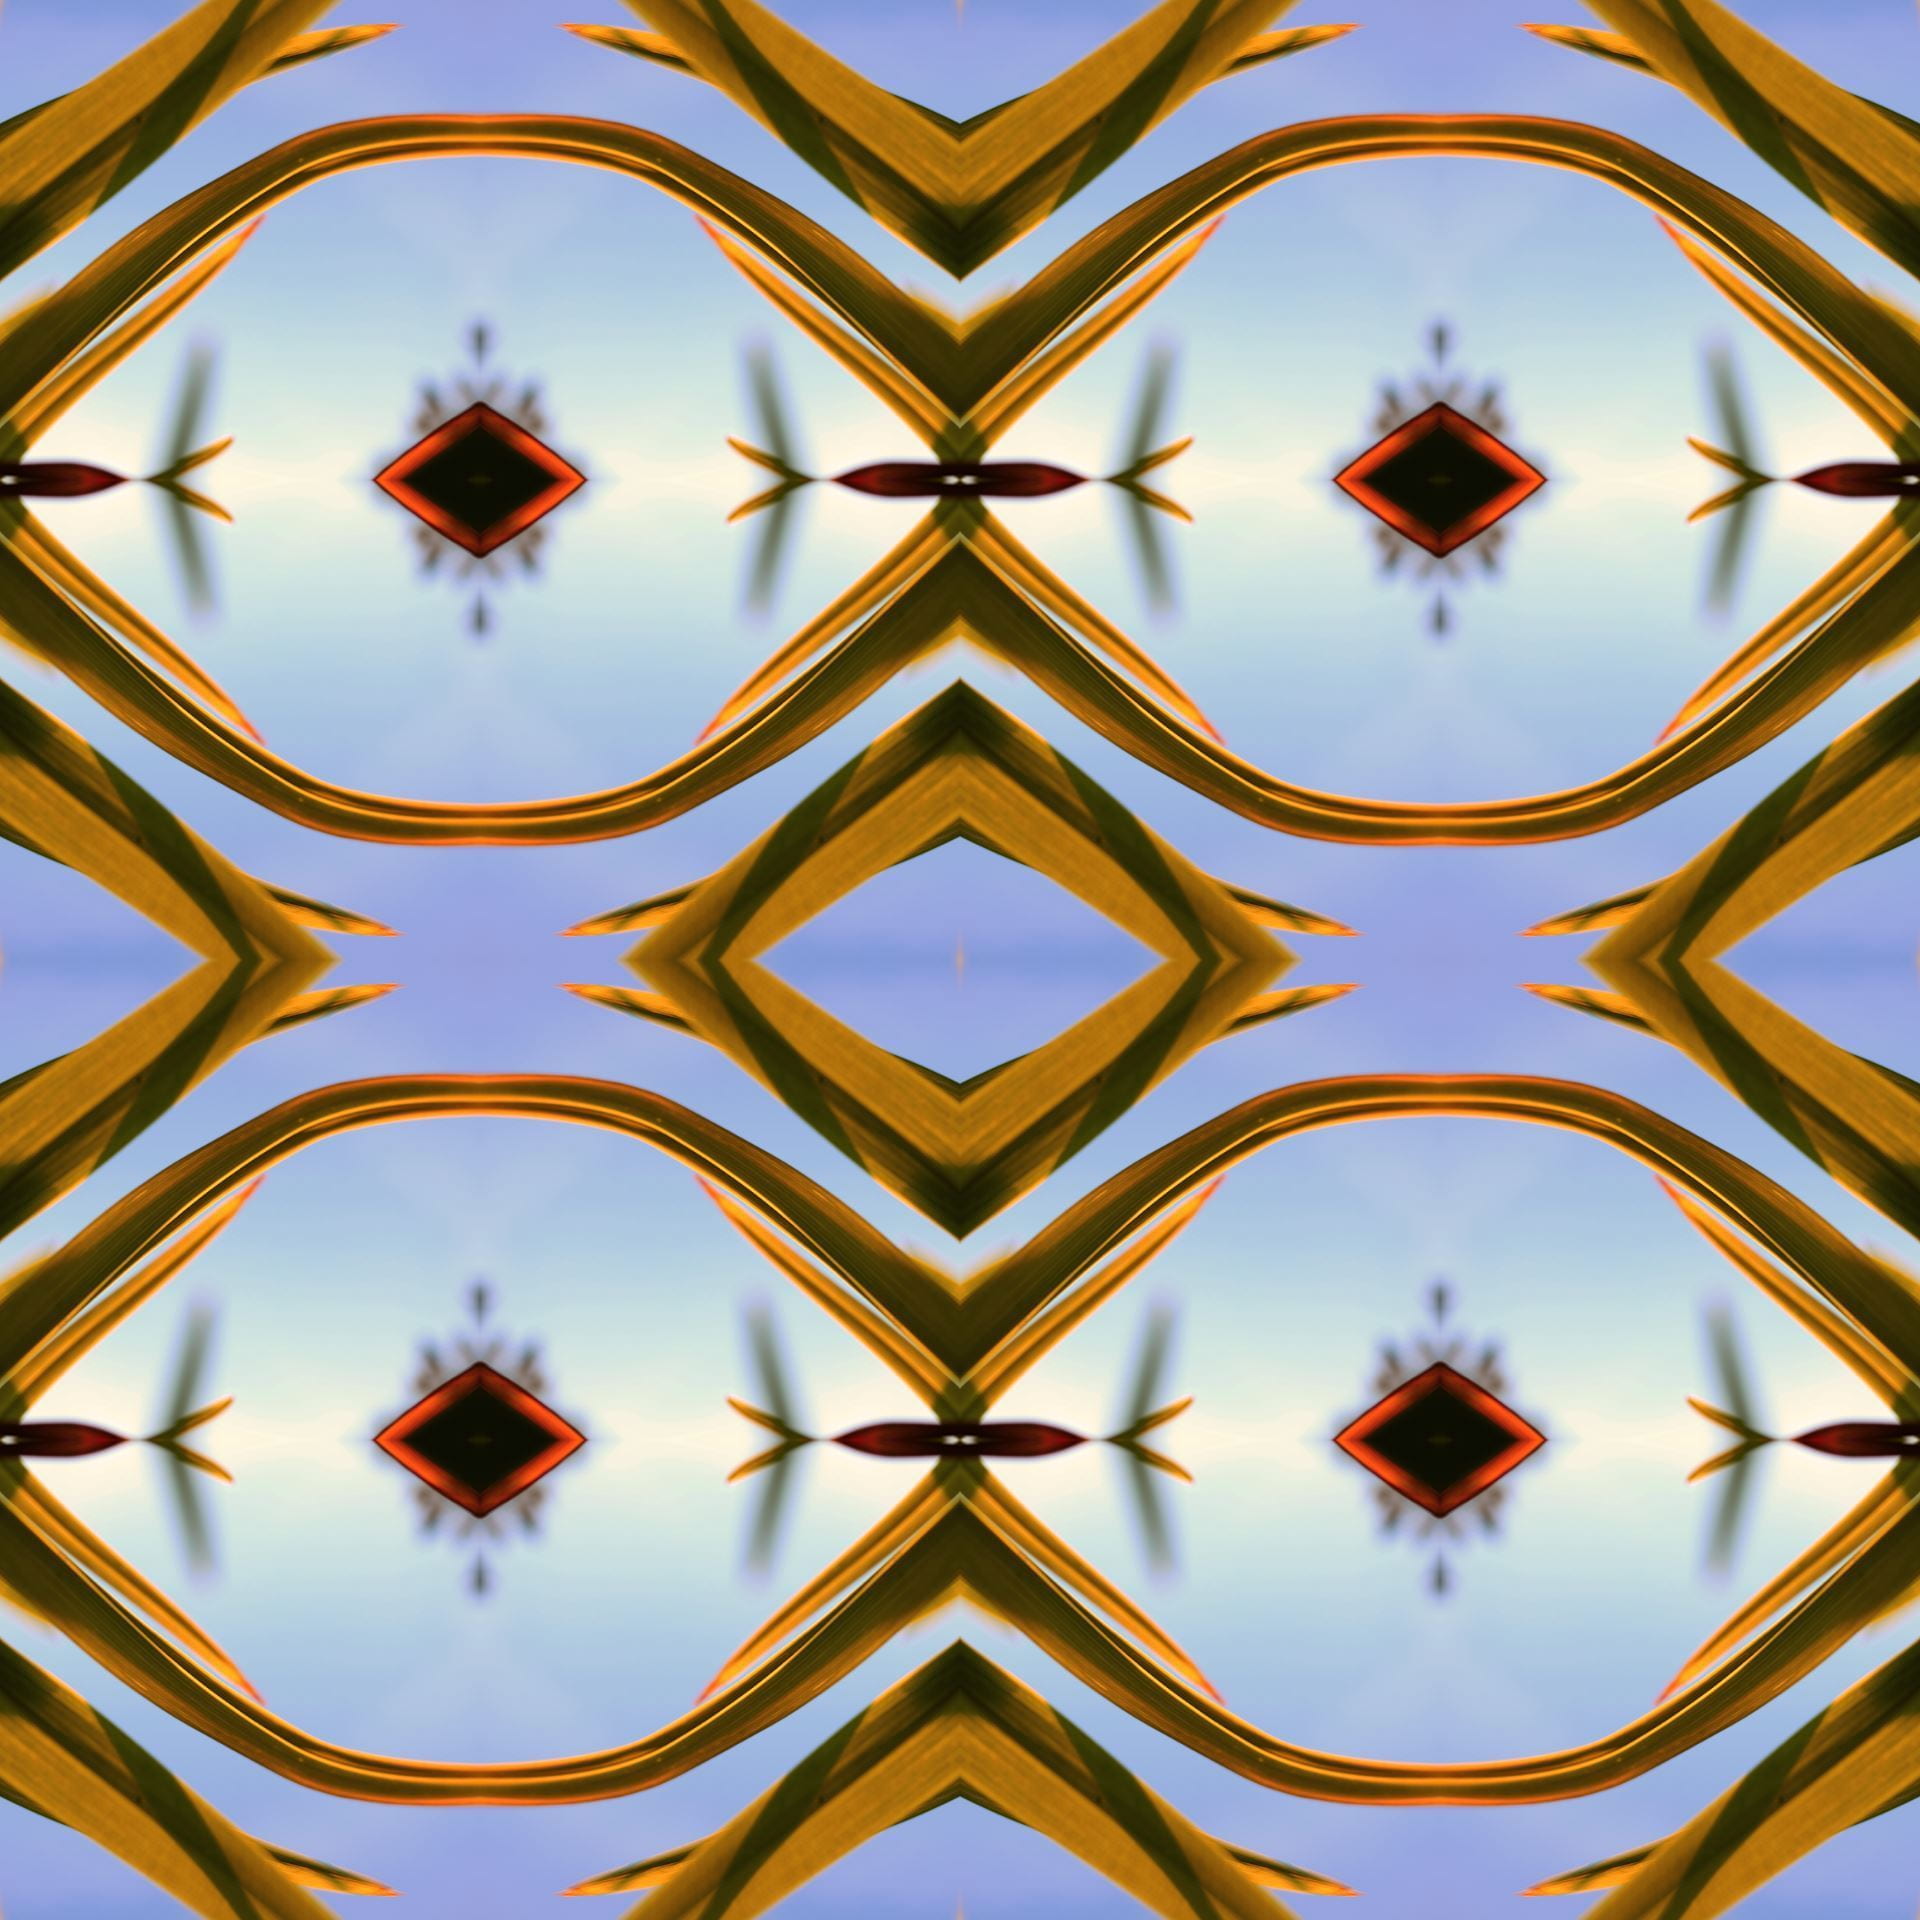
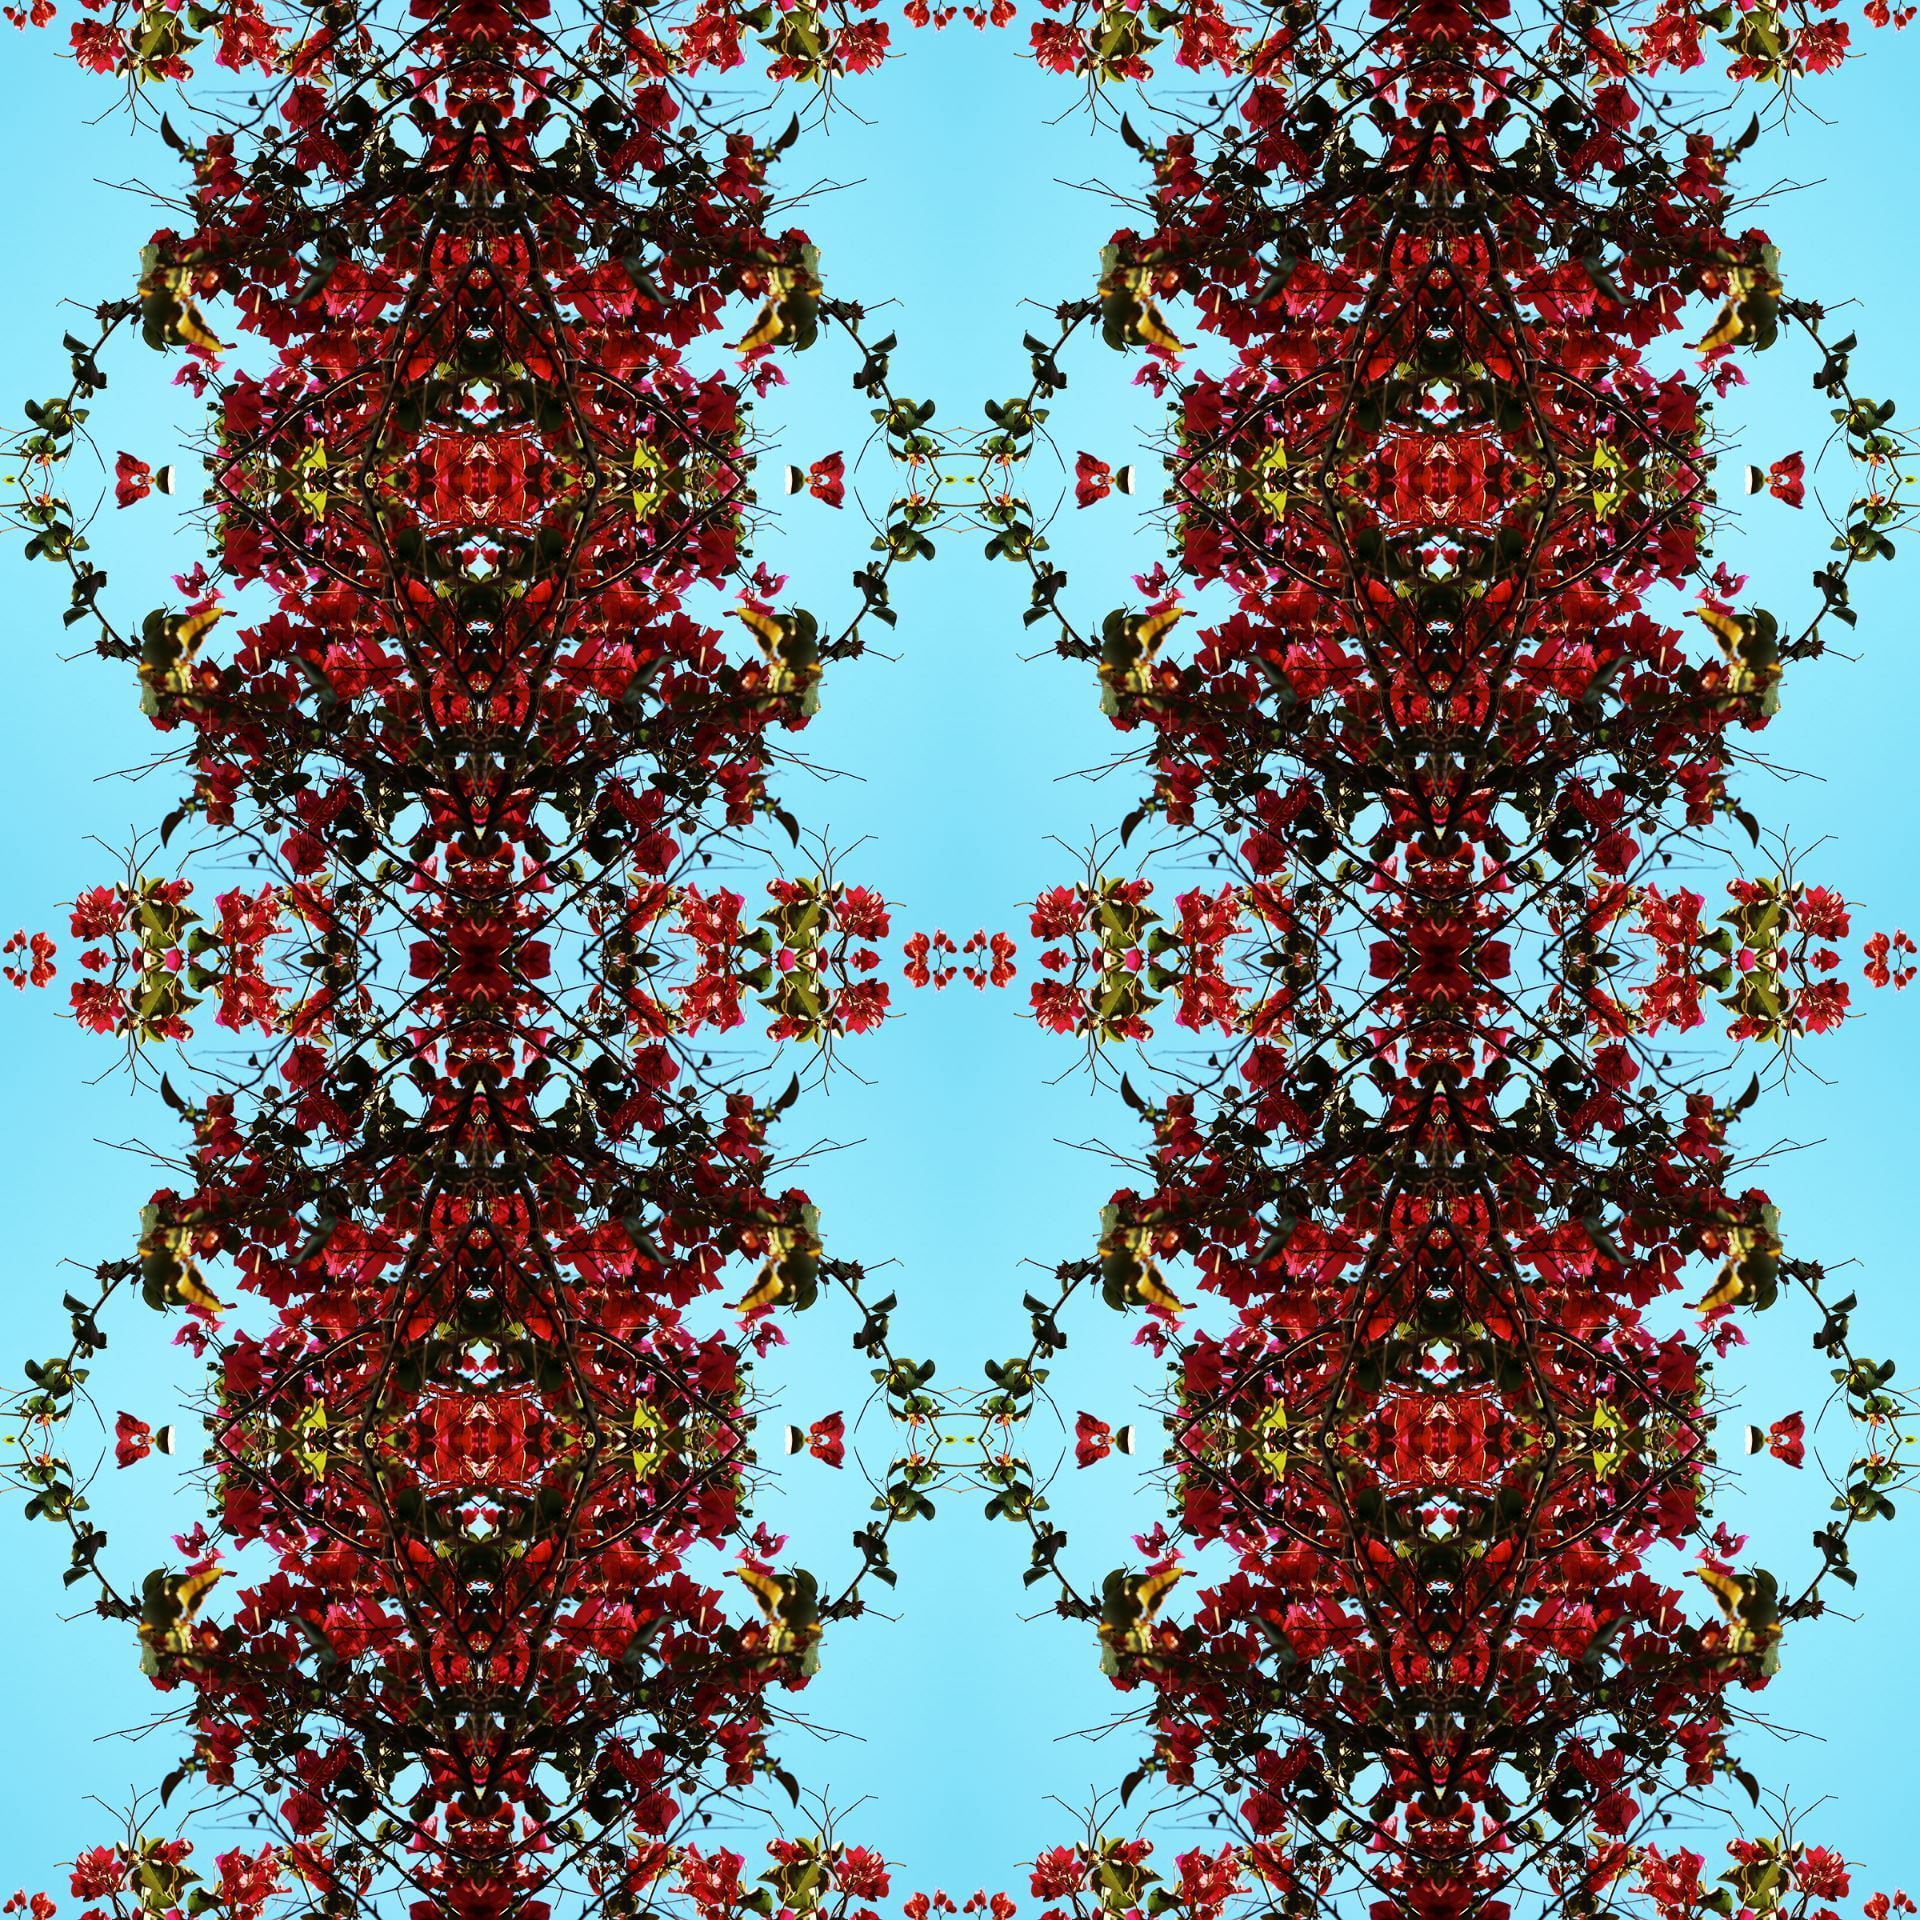
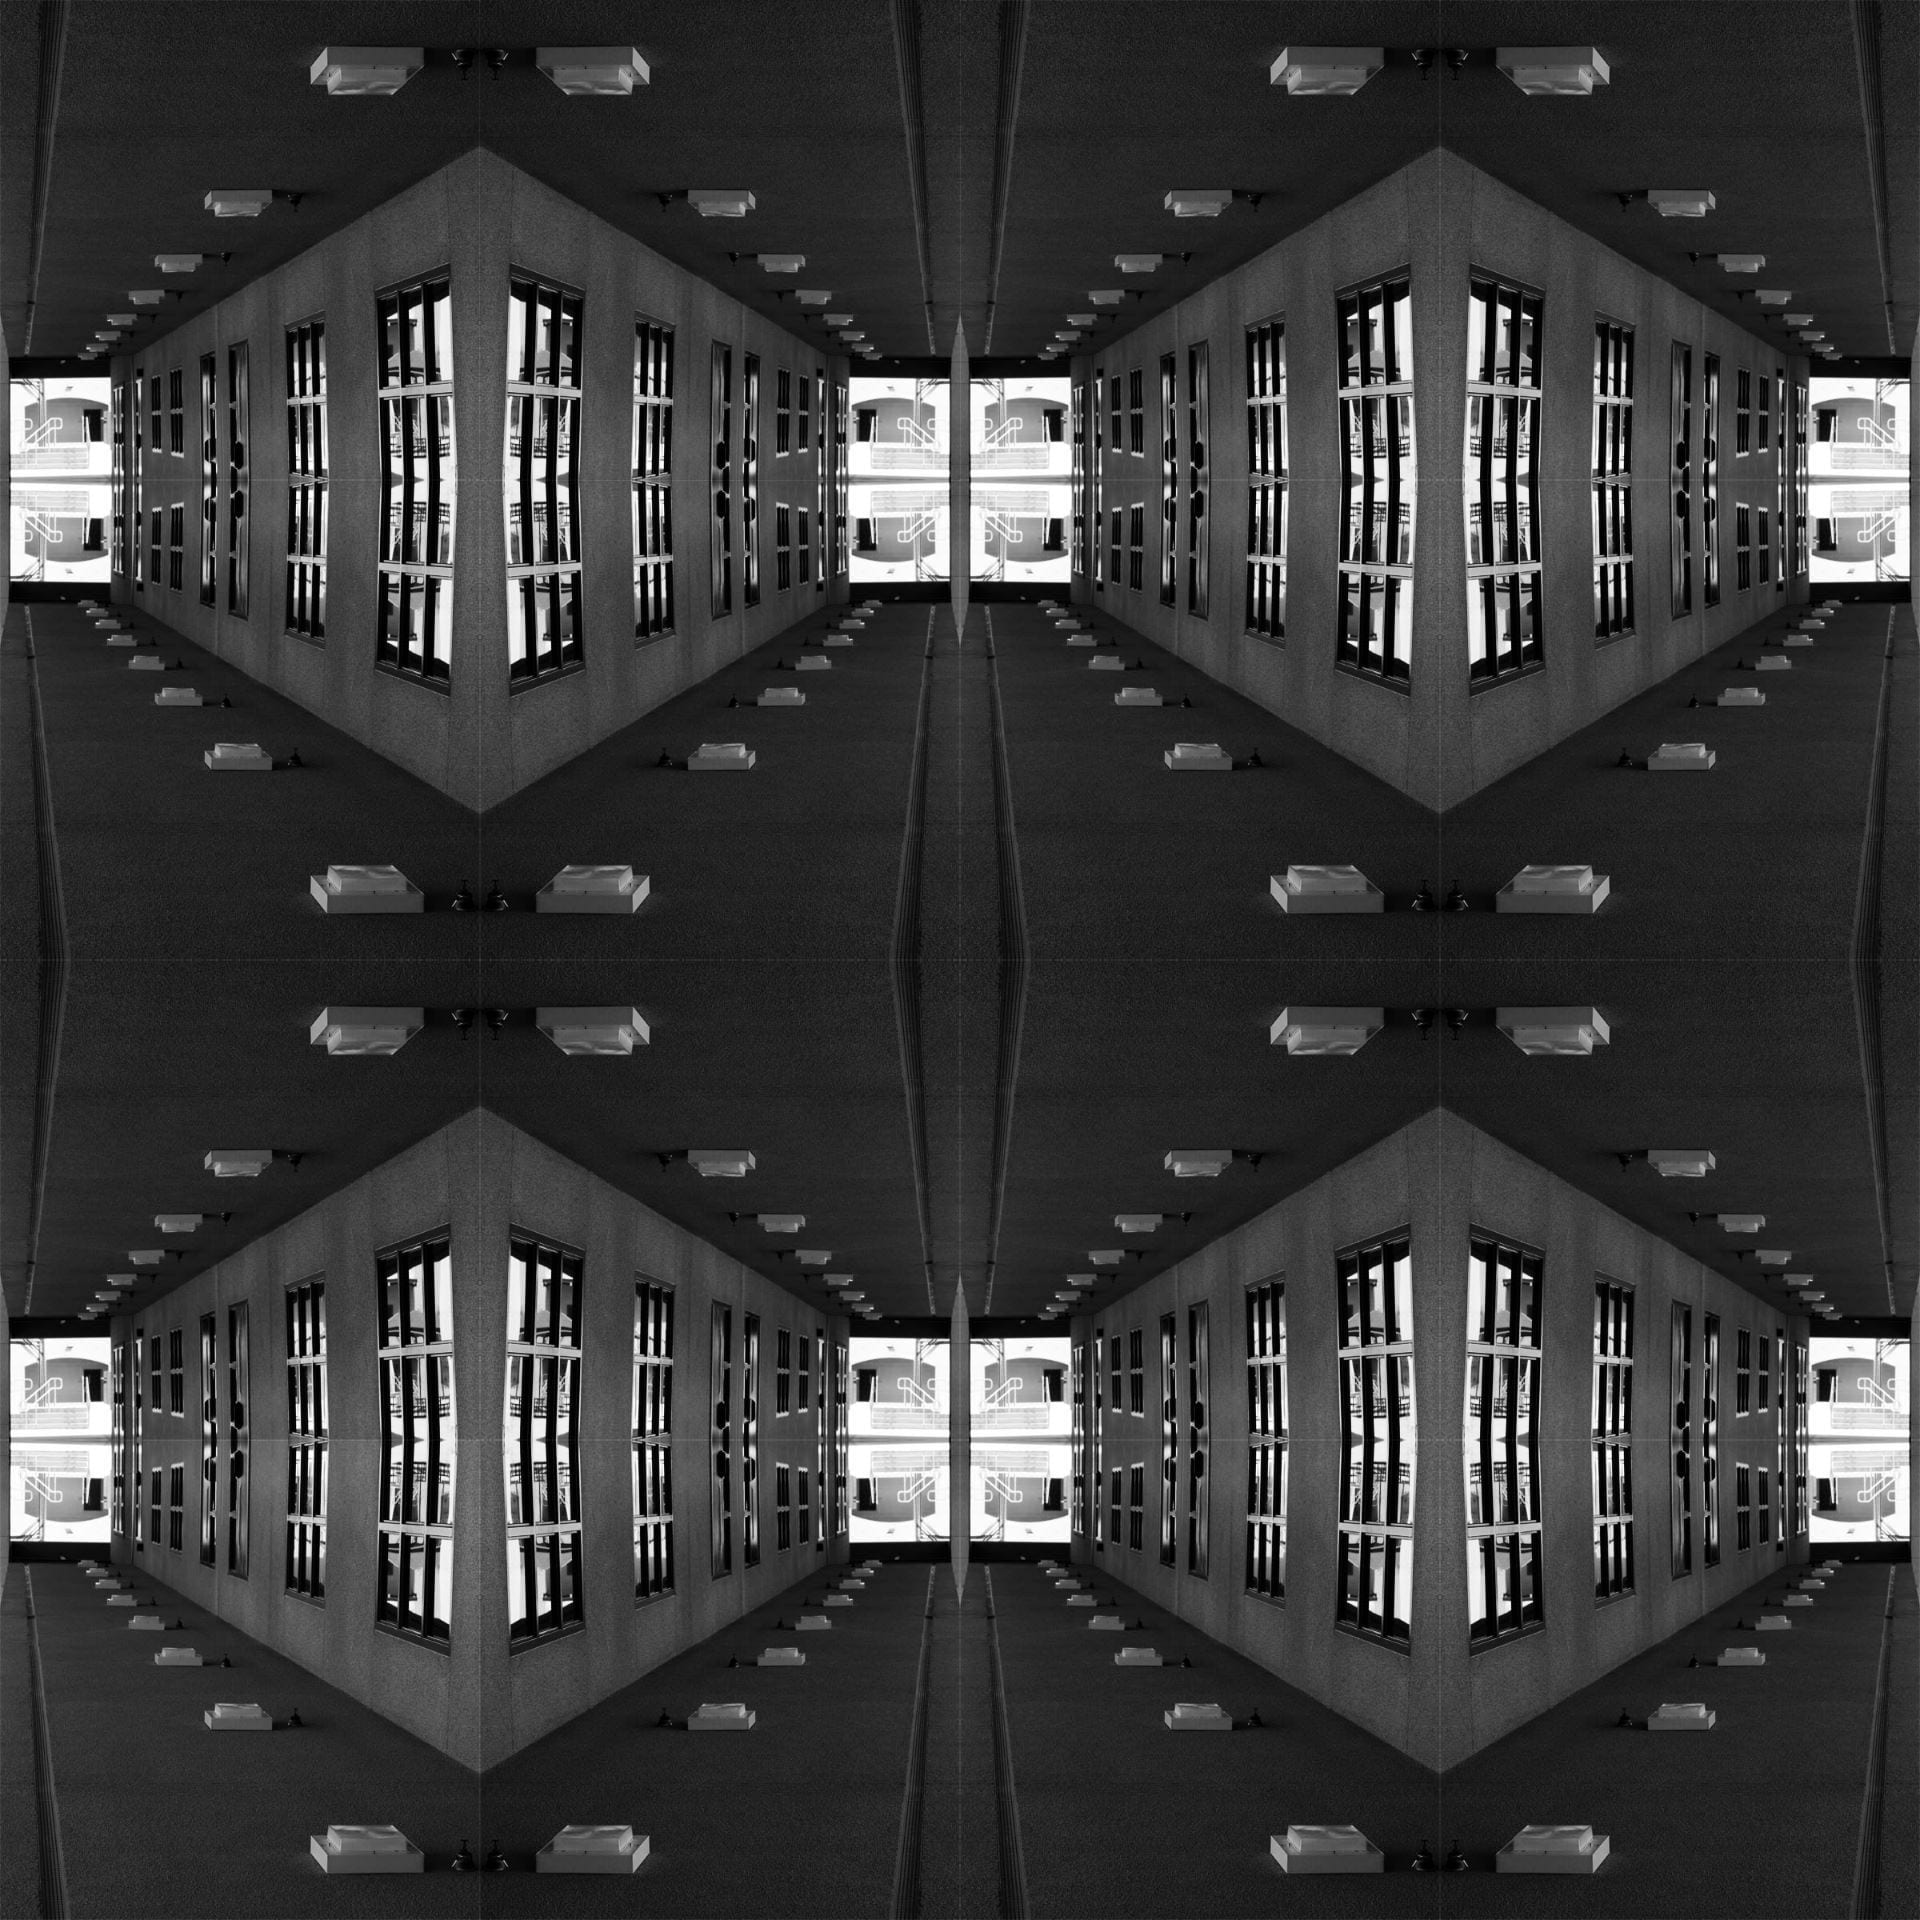
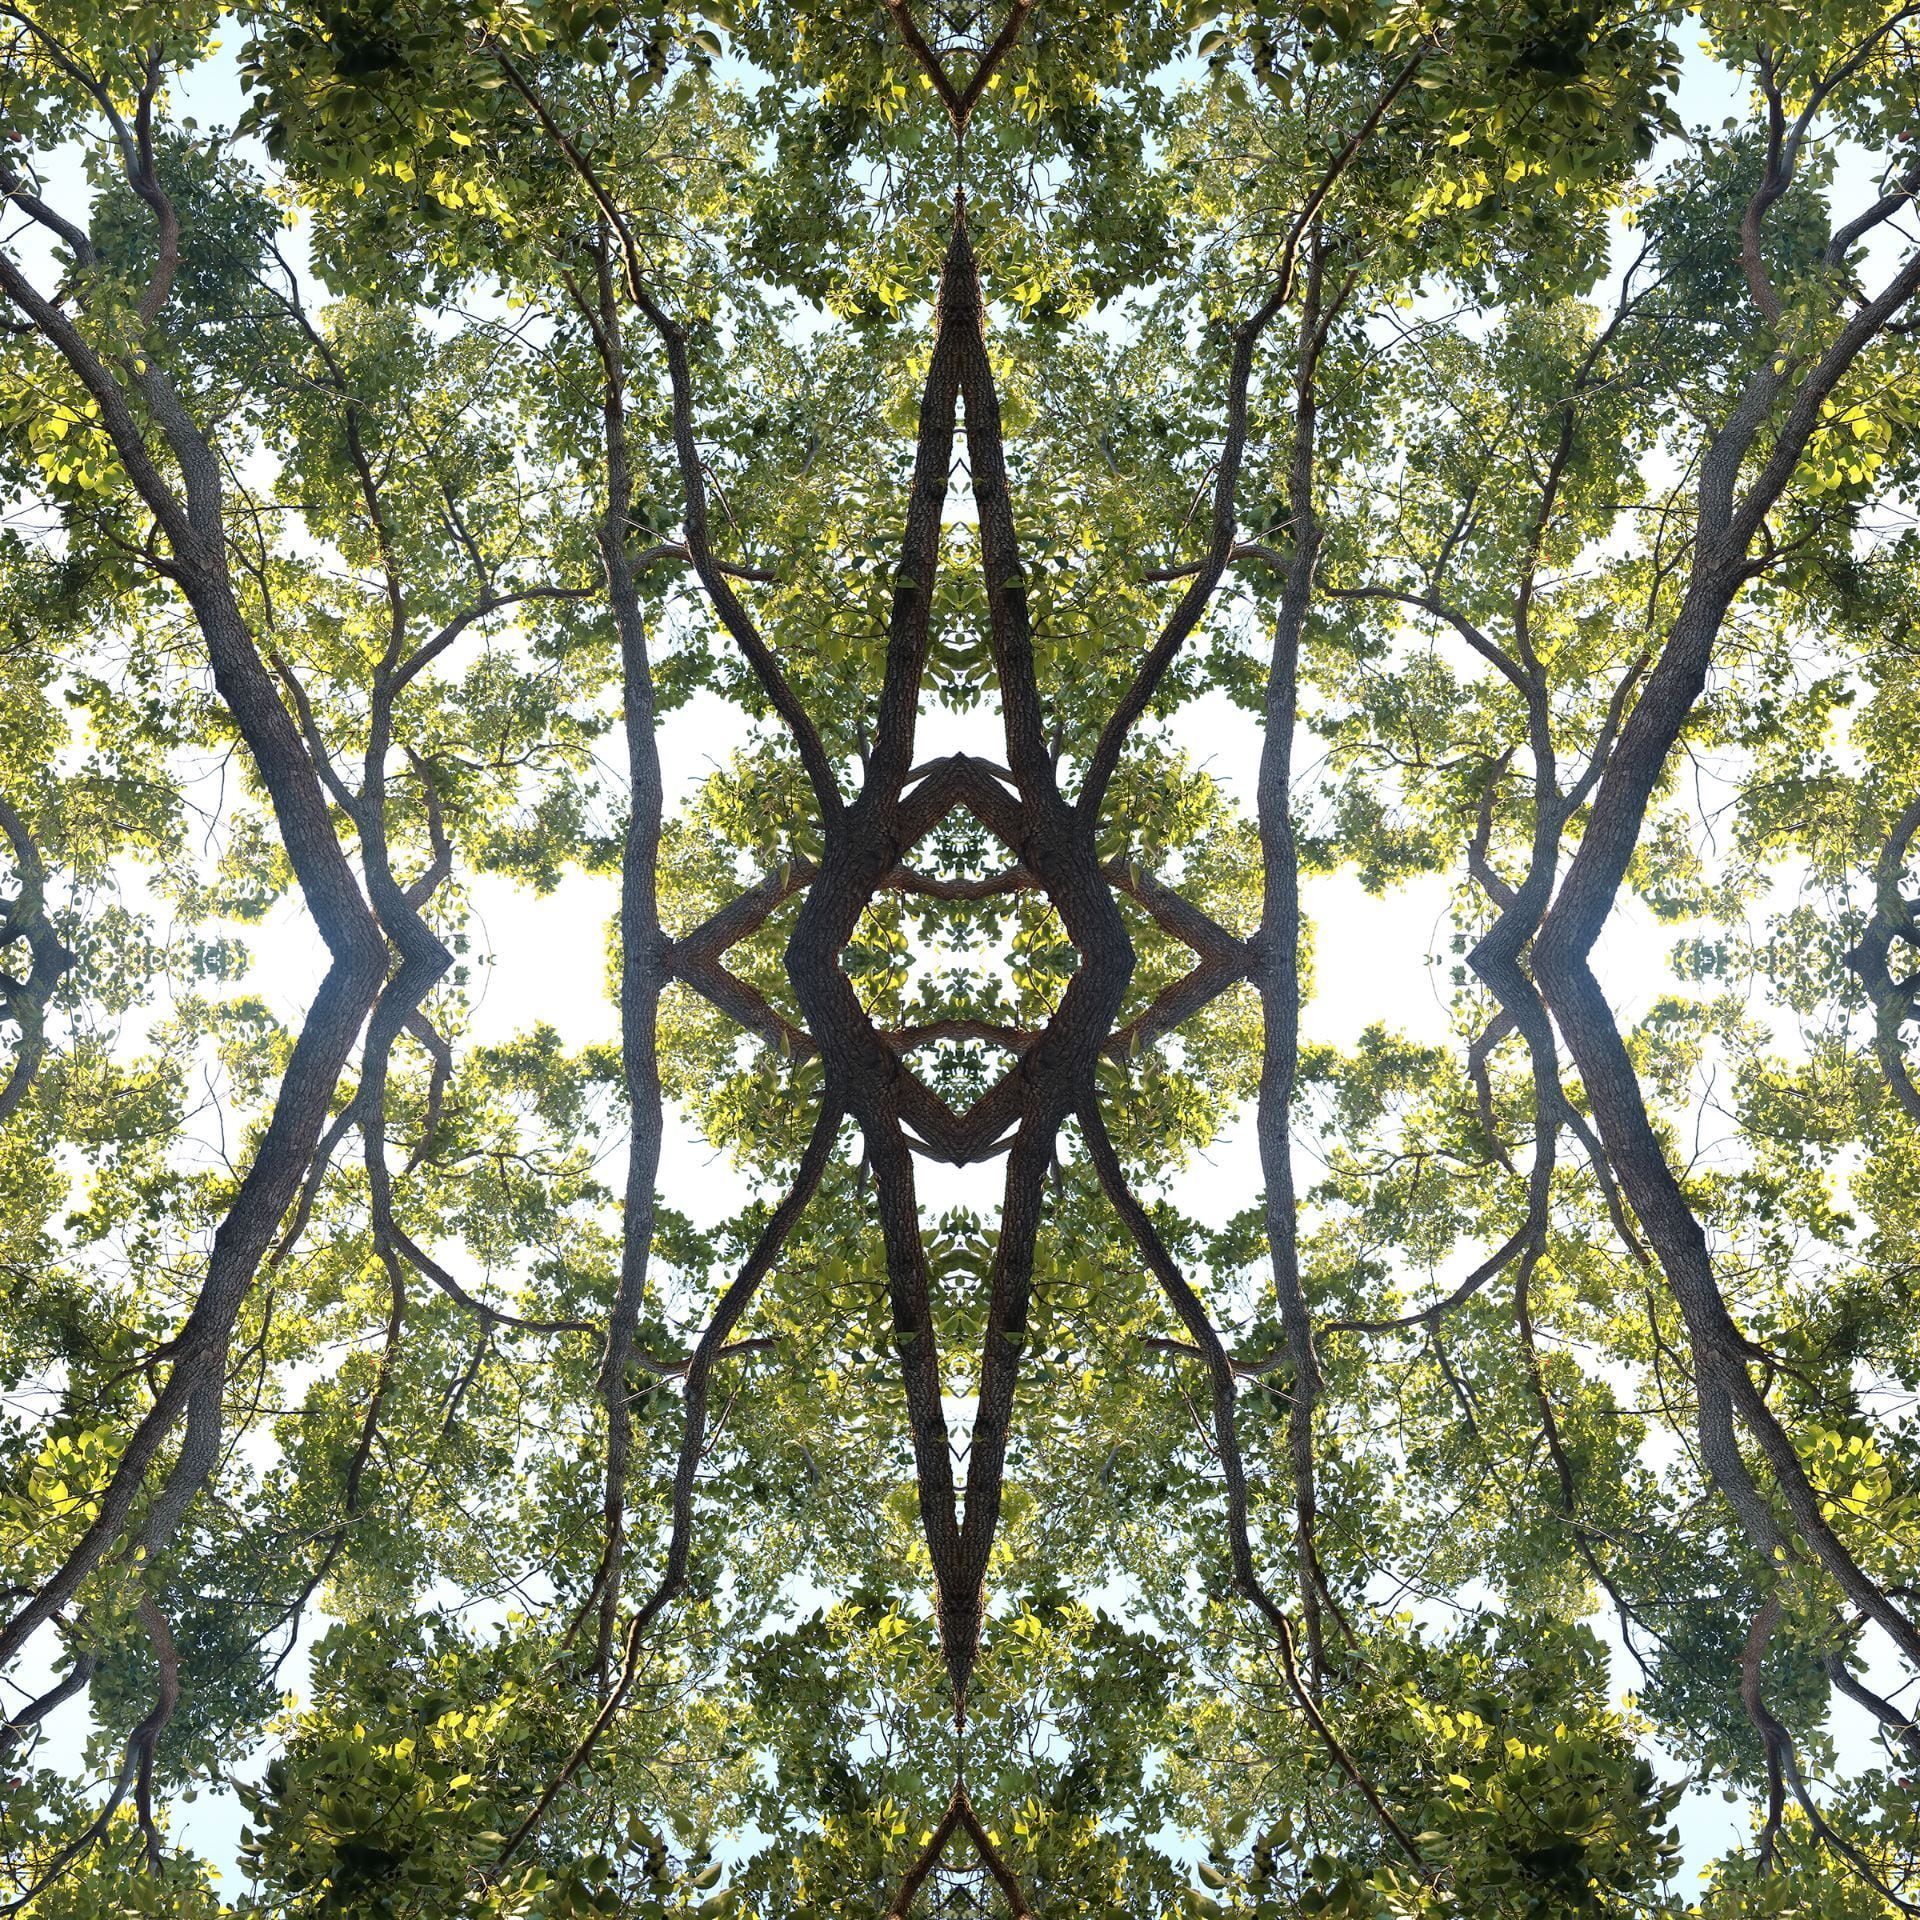
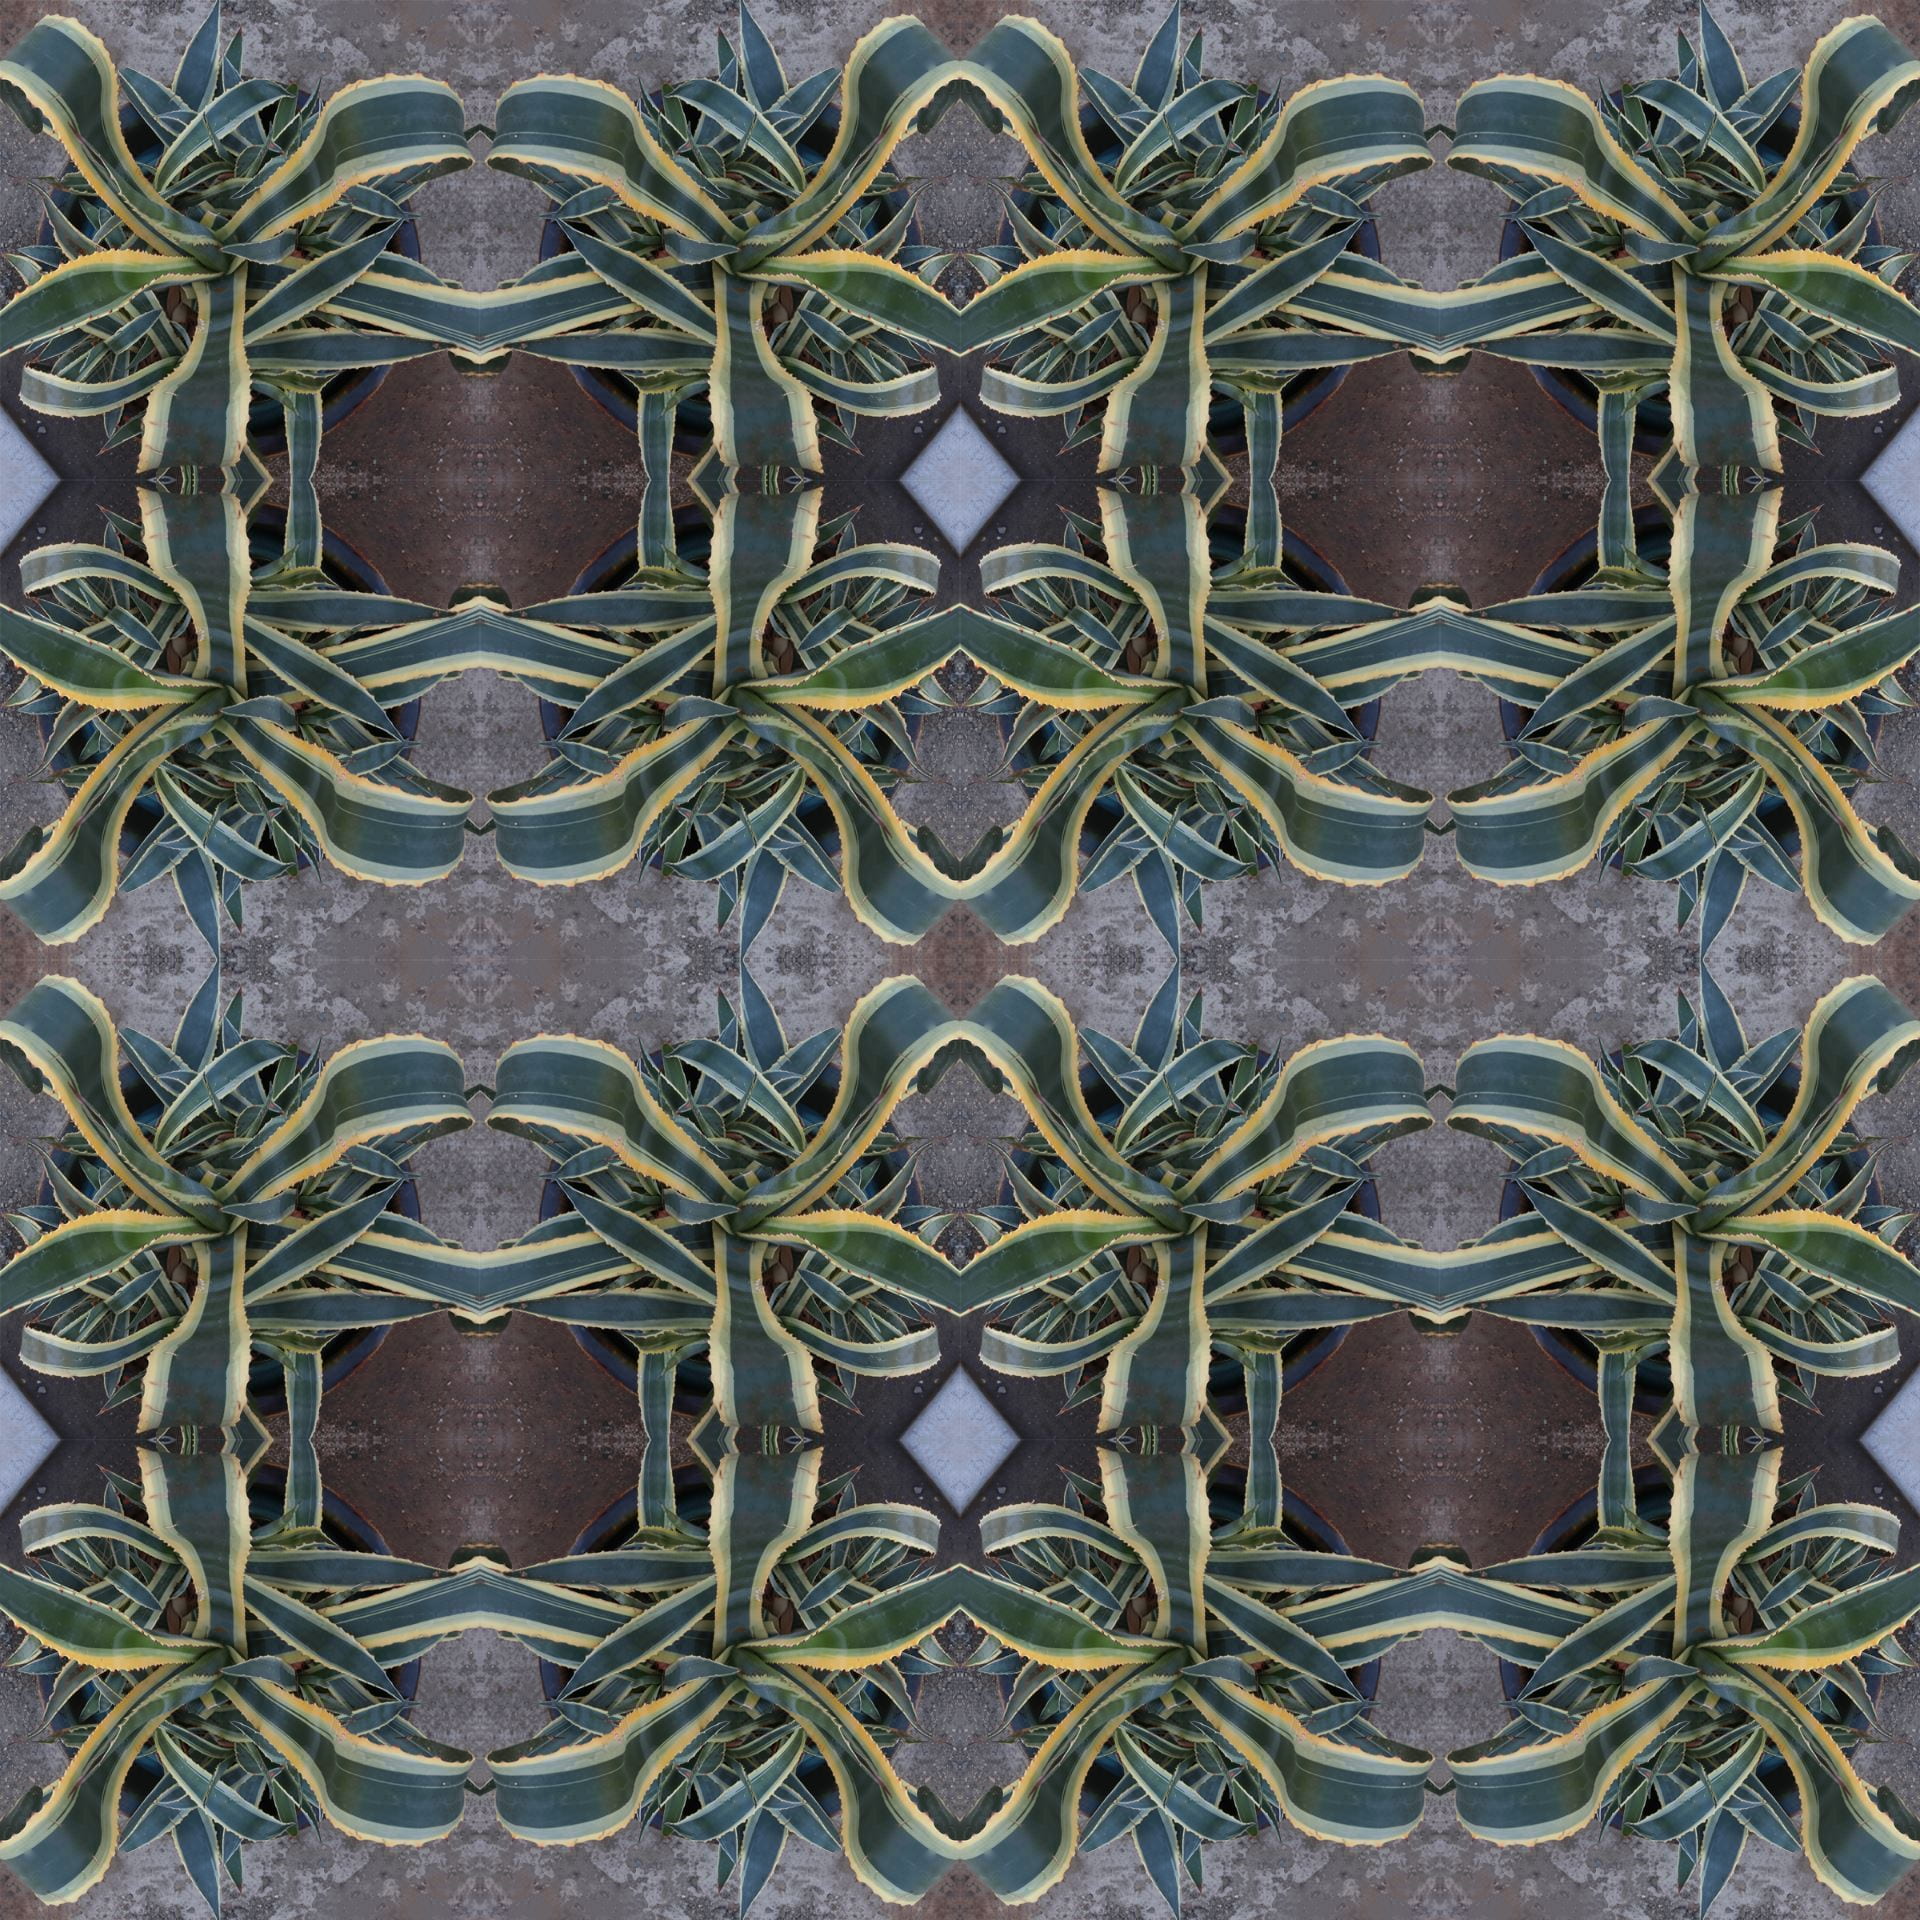
Creating Super Symmetry!

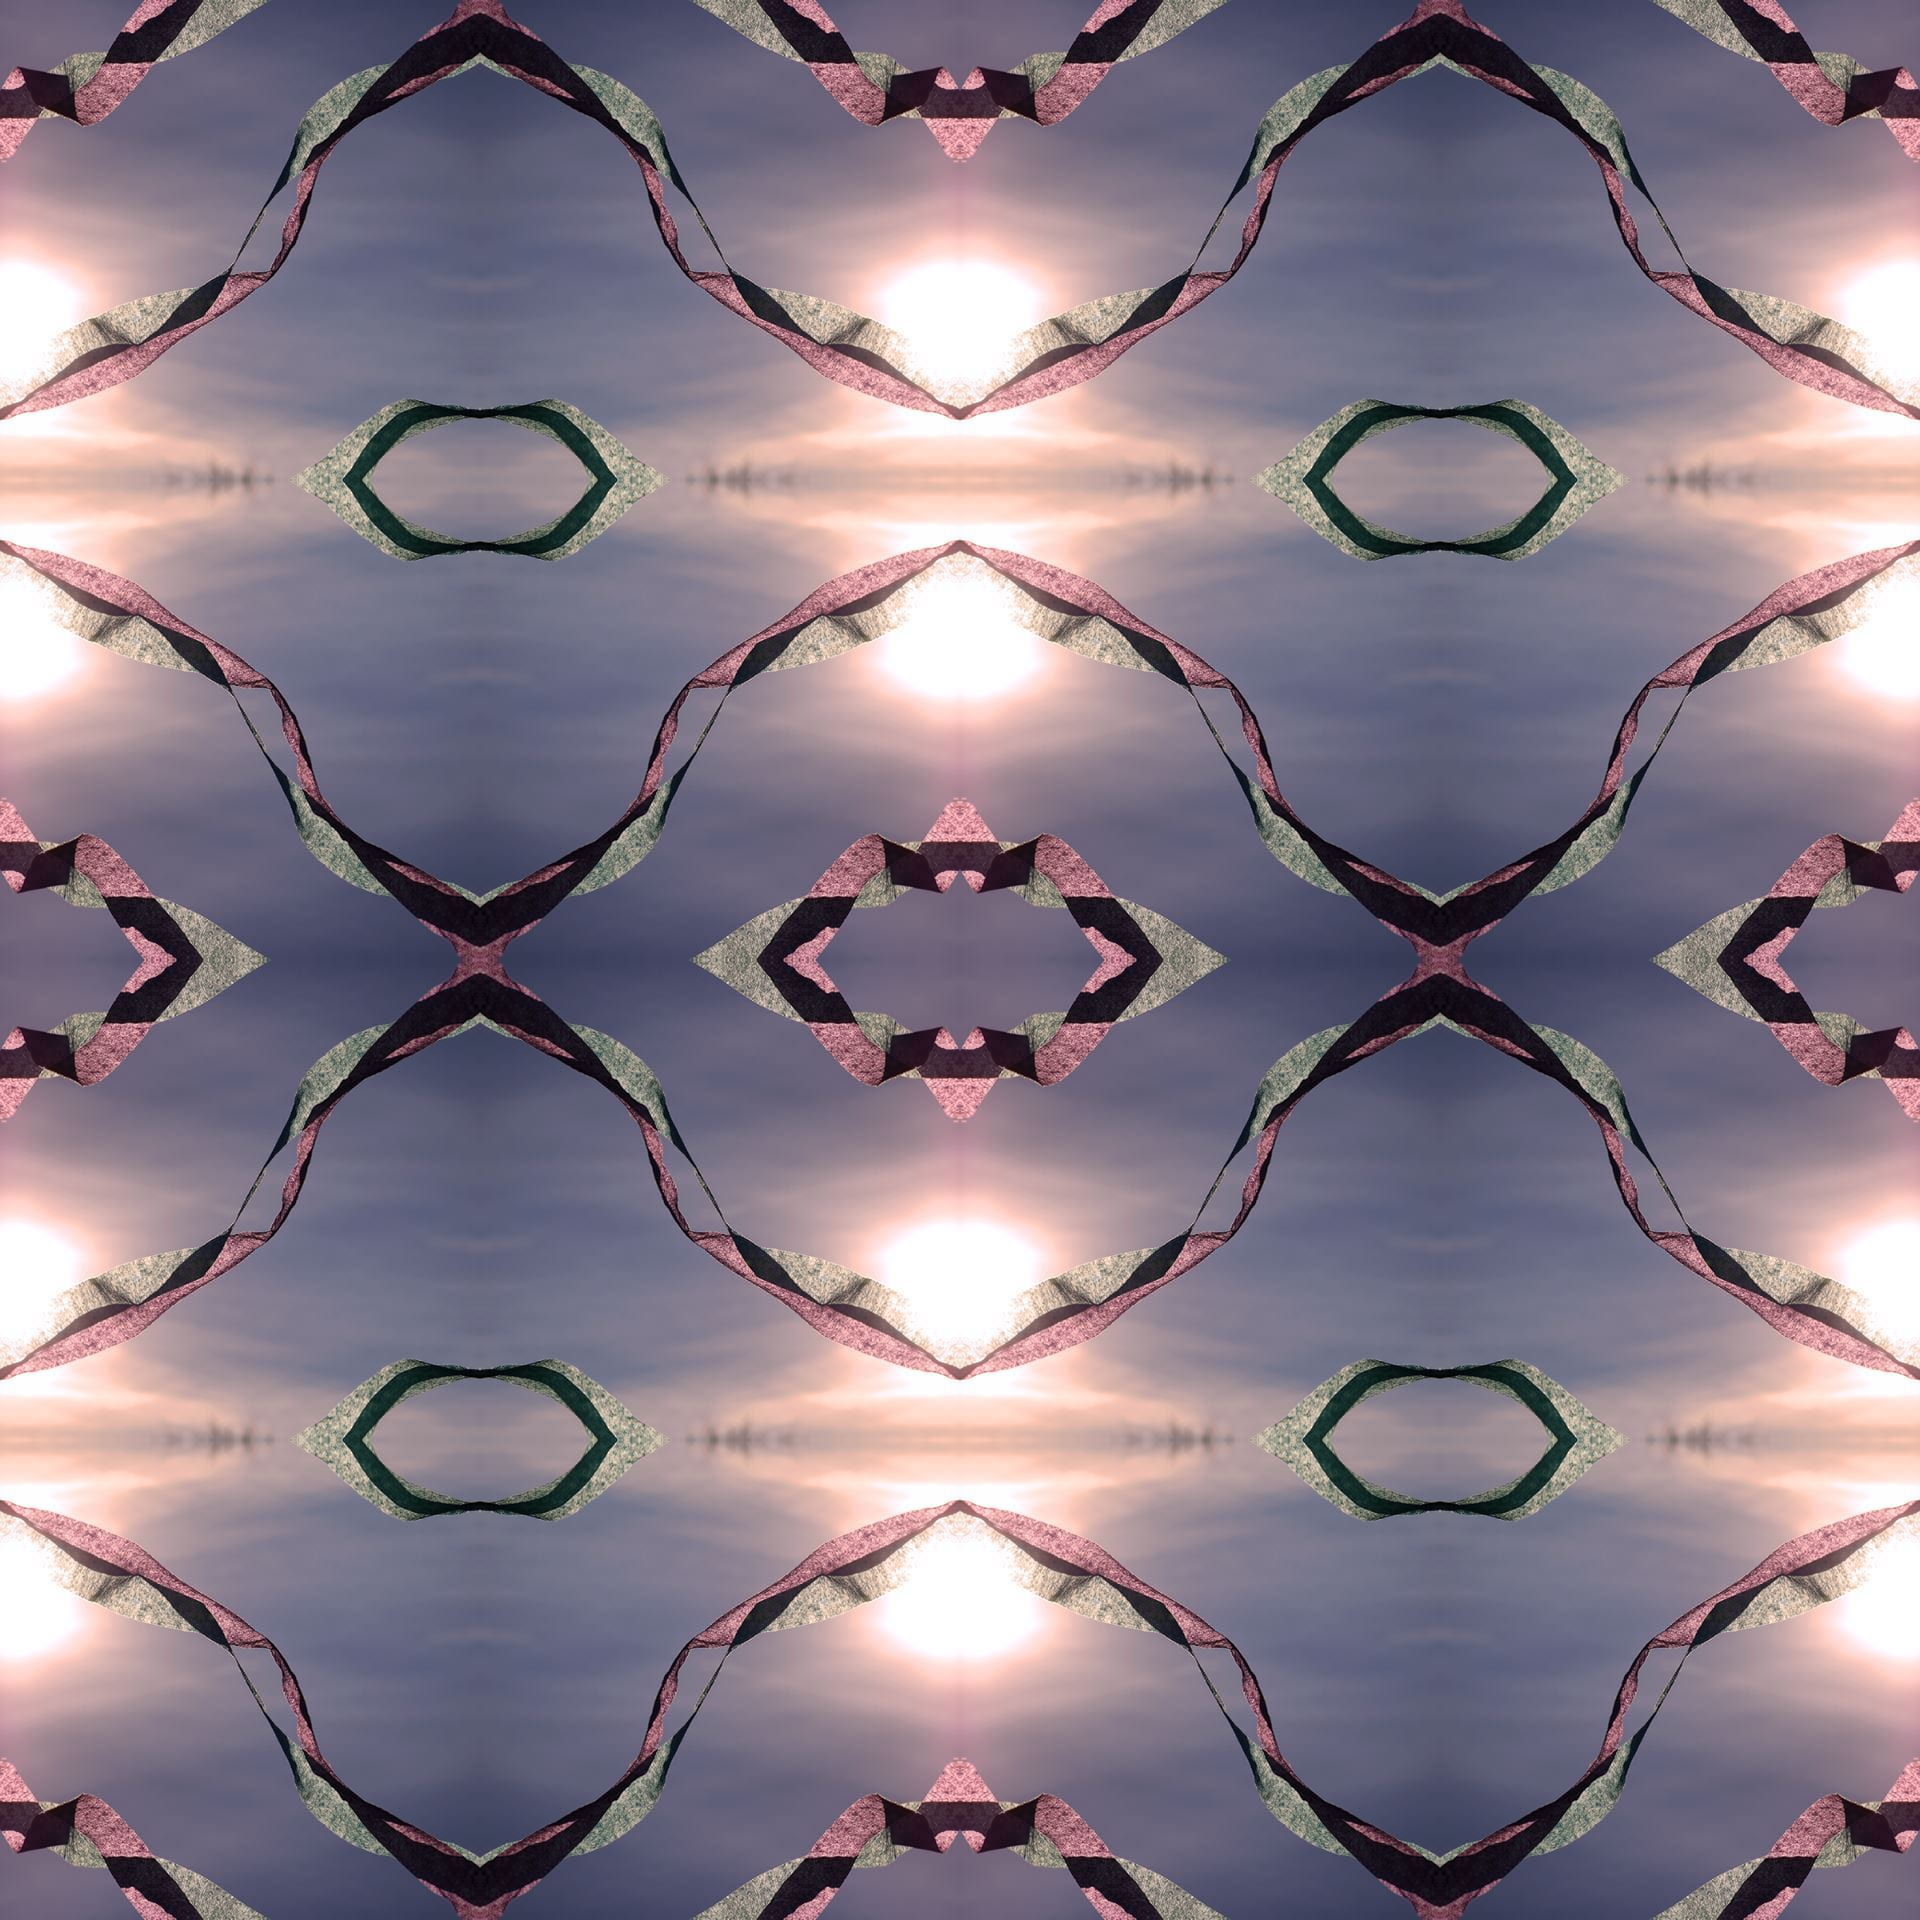
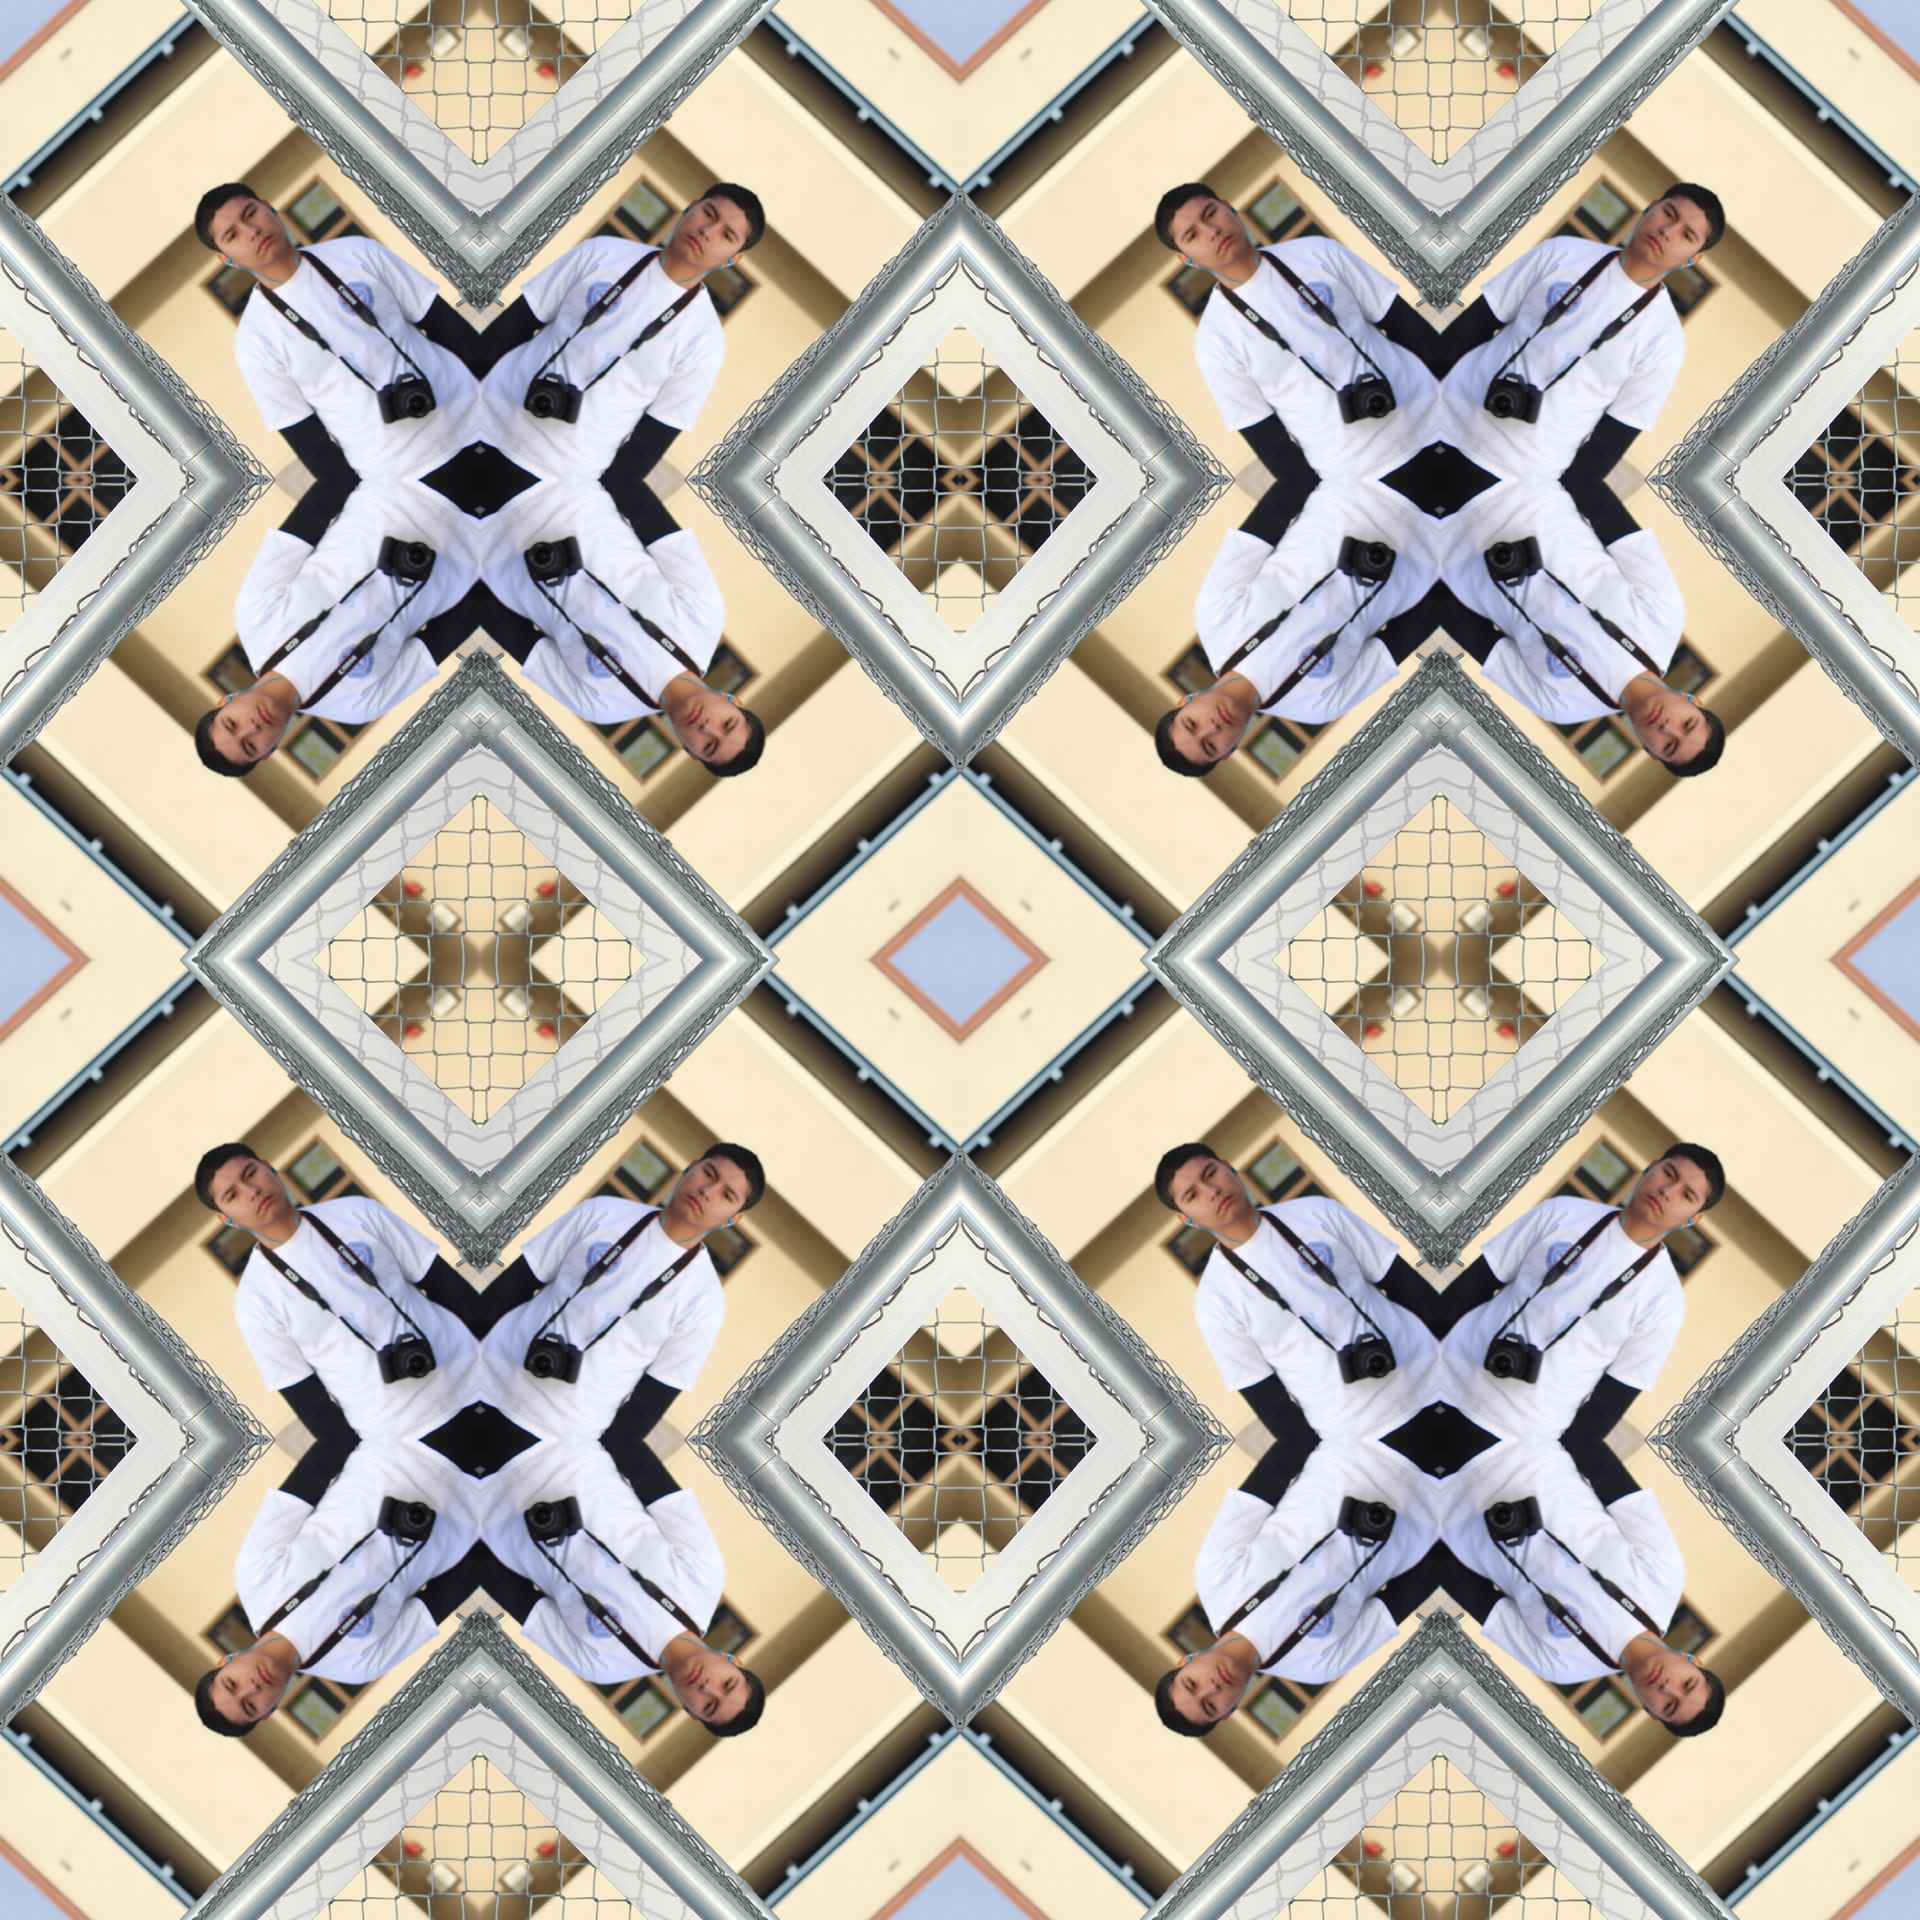
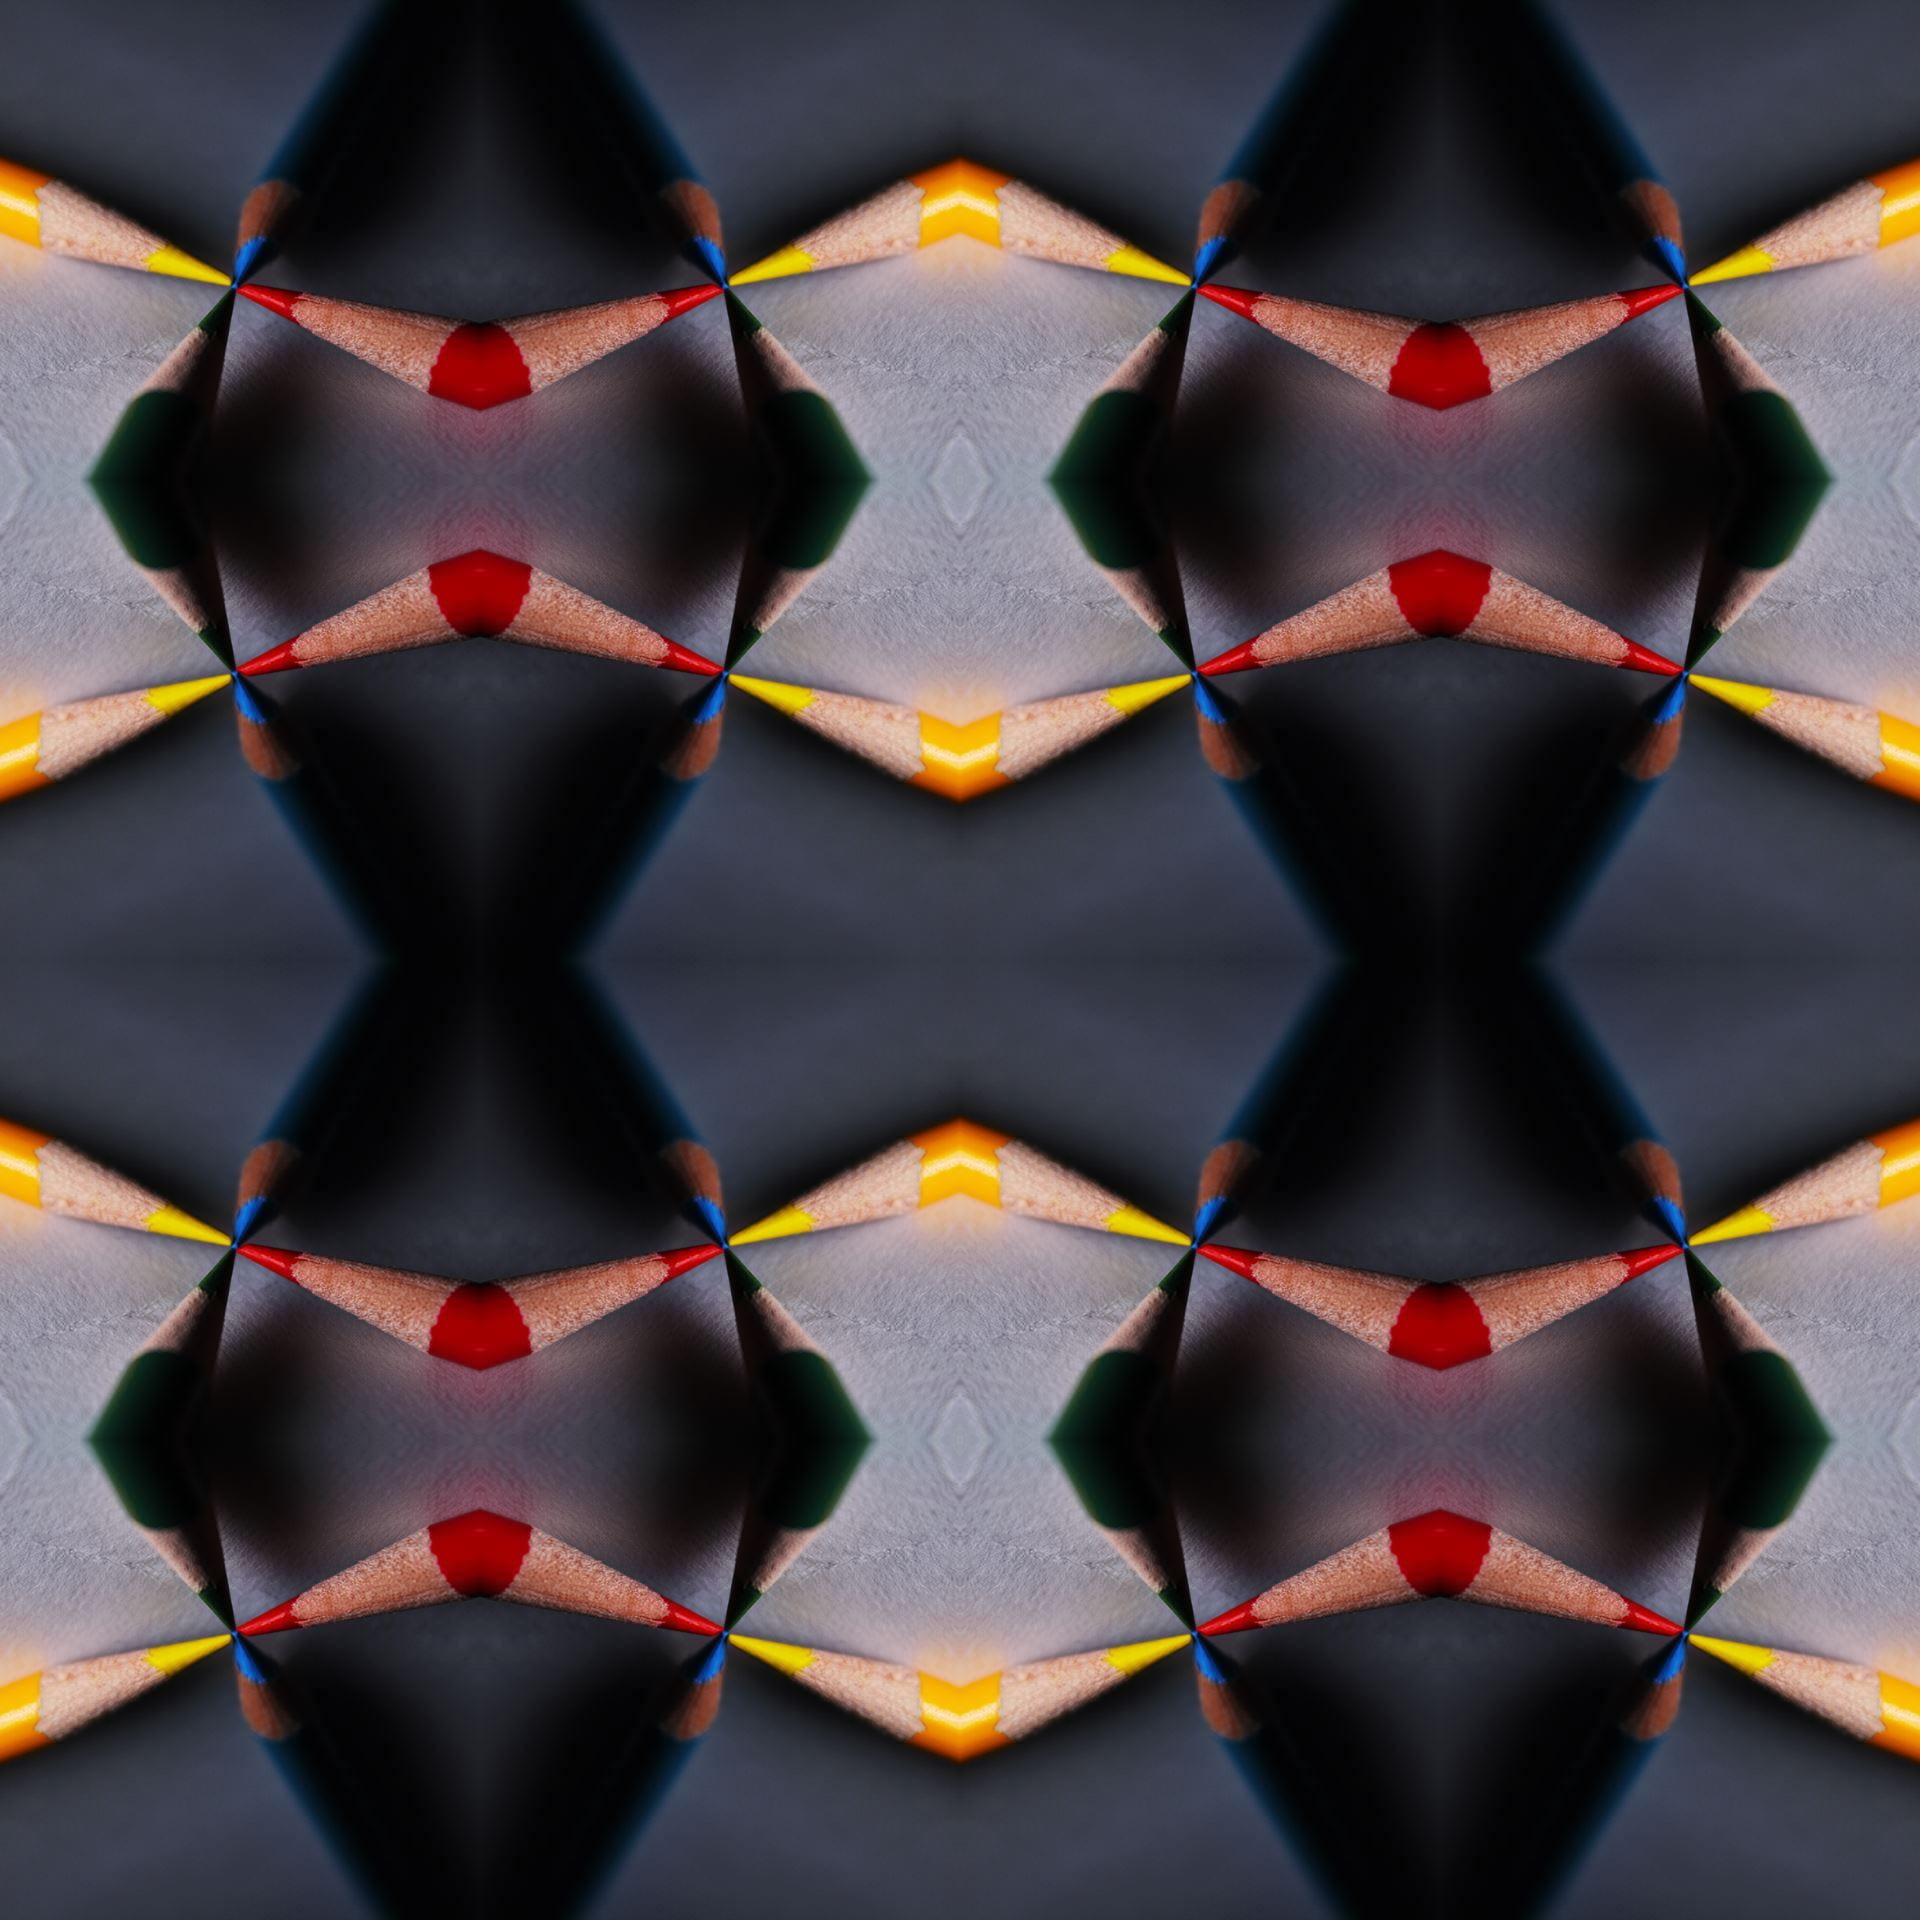
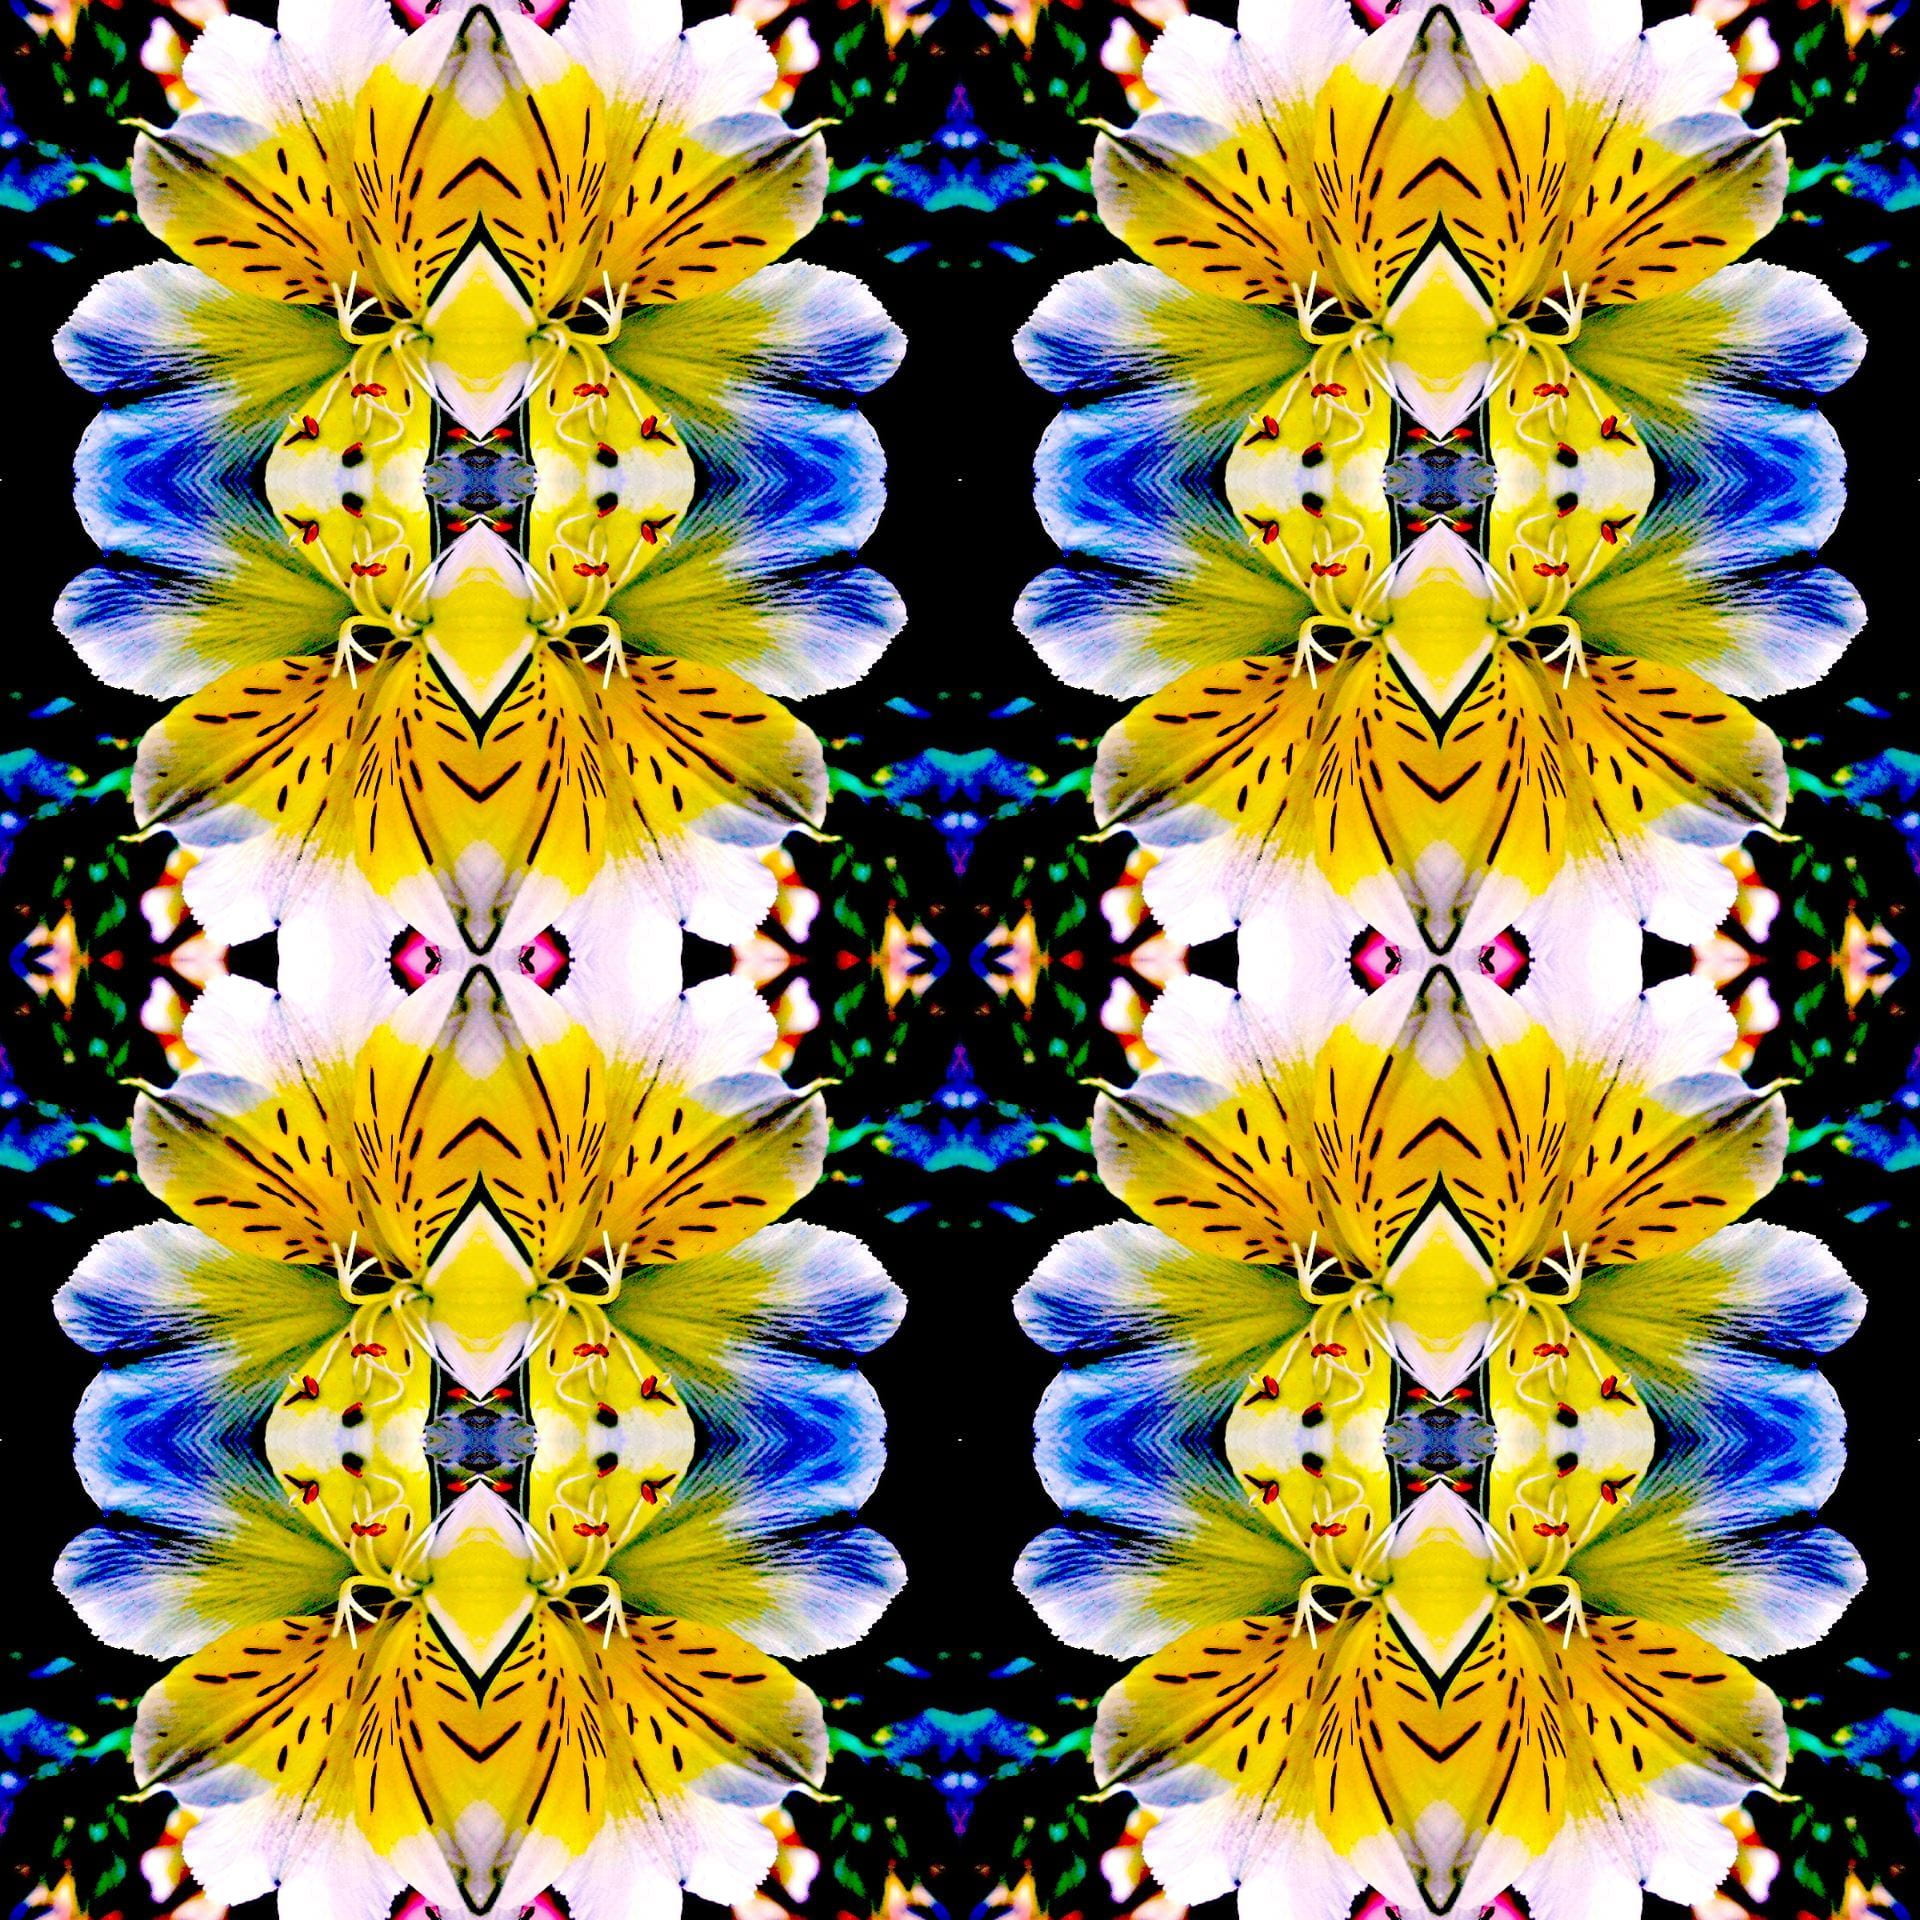
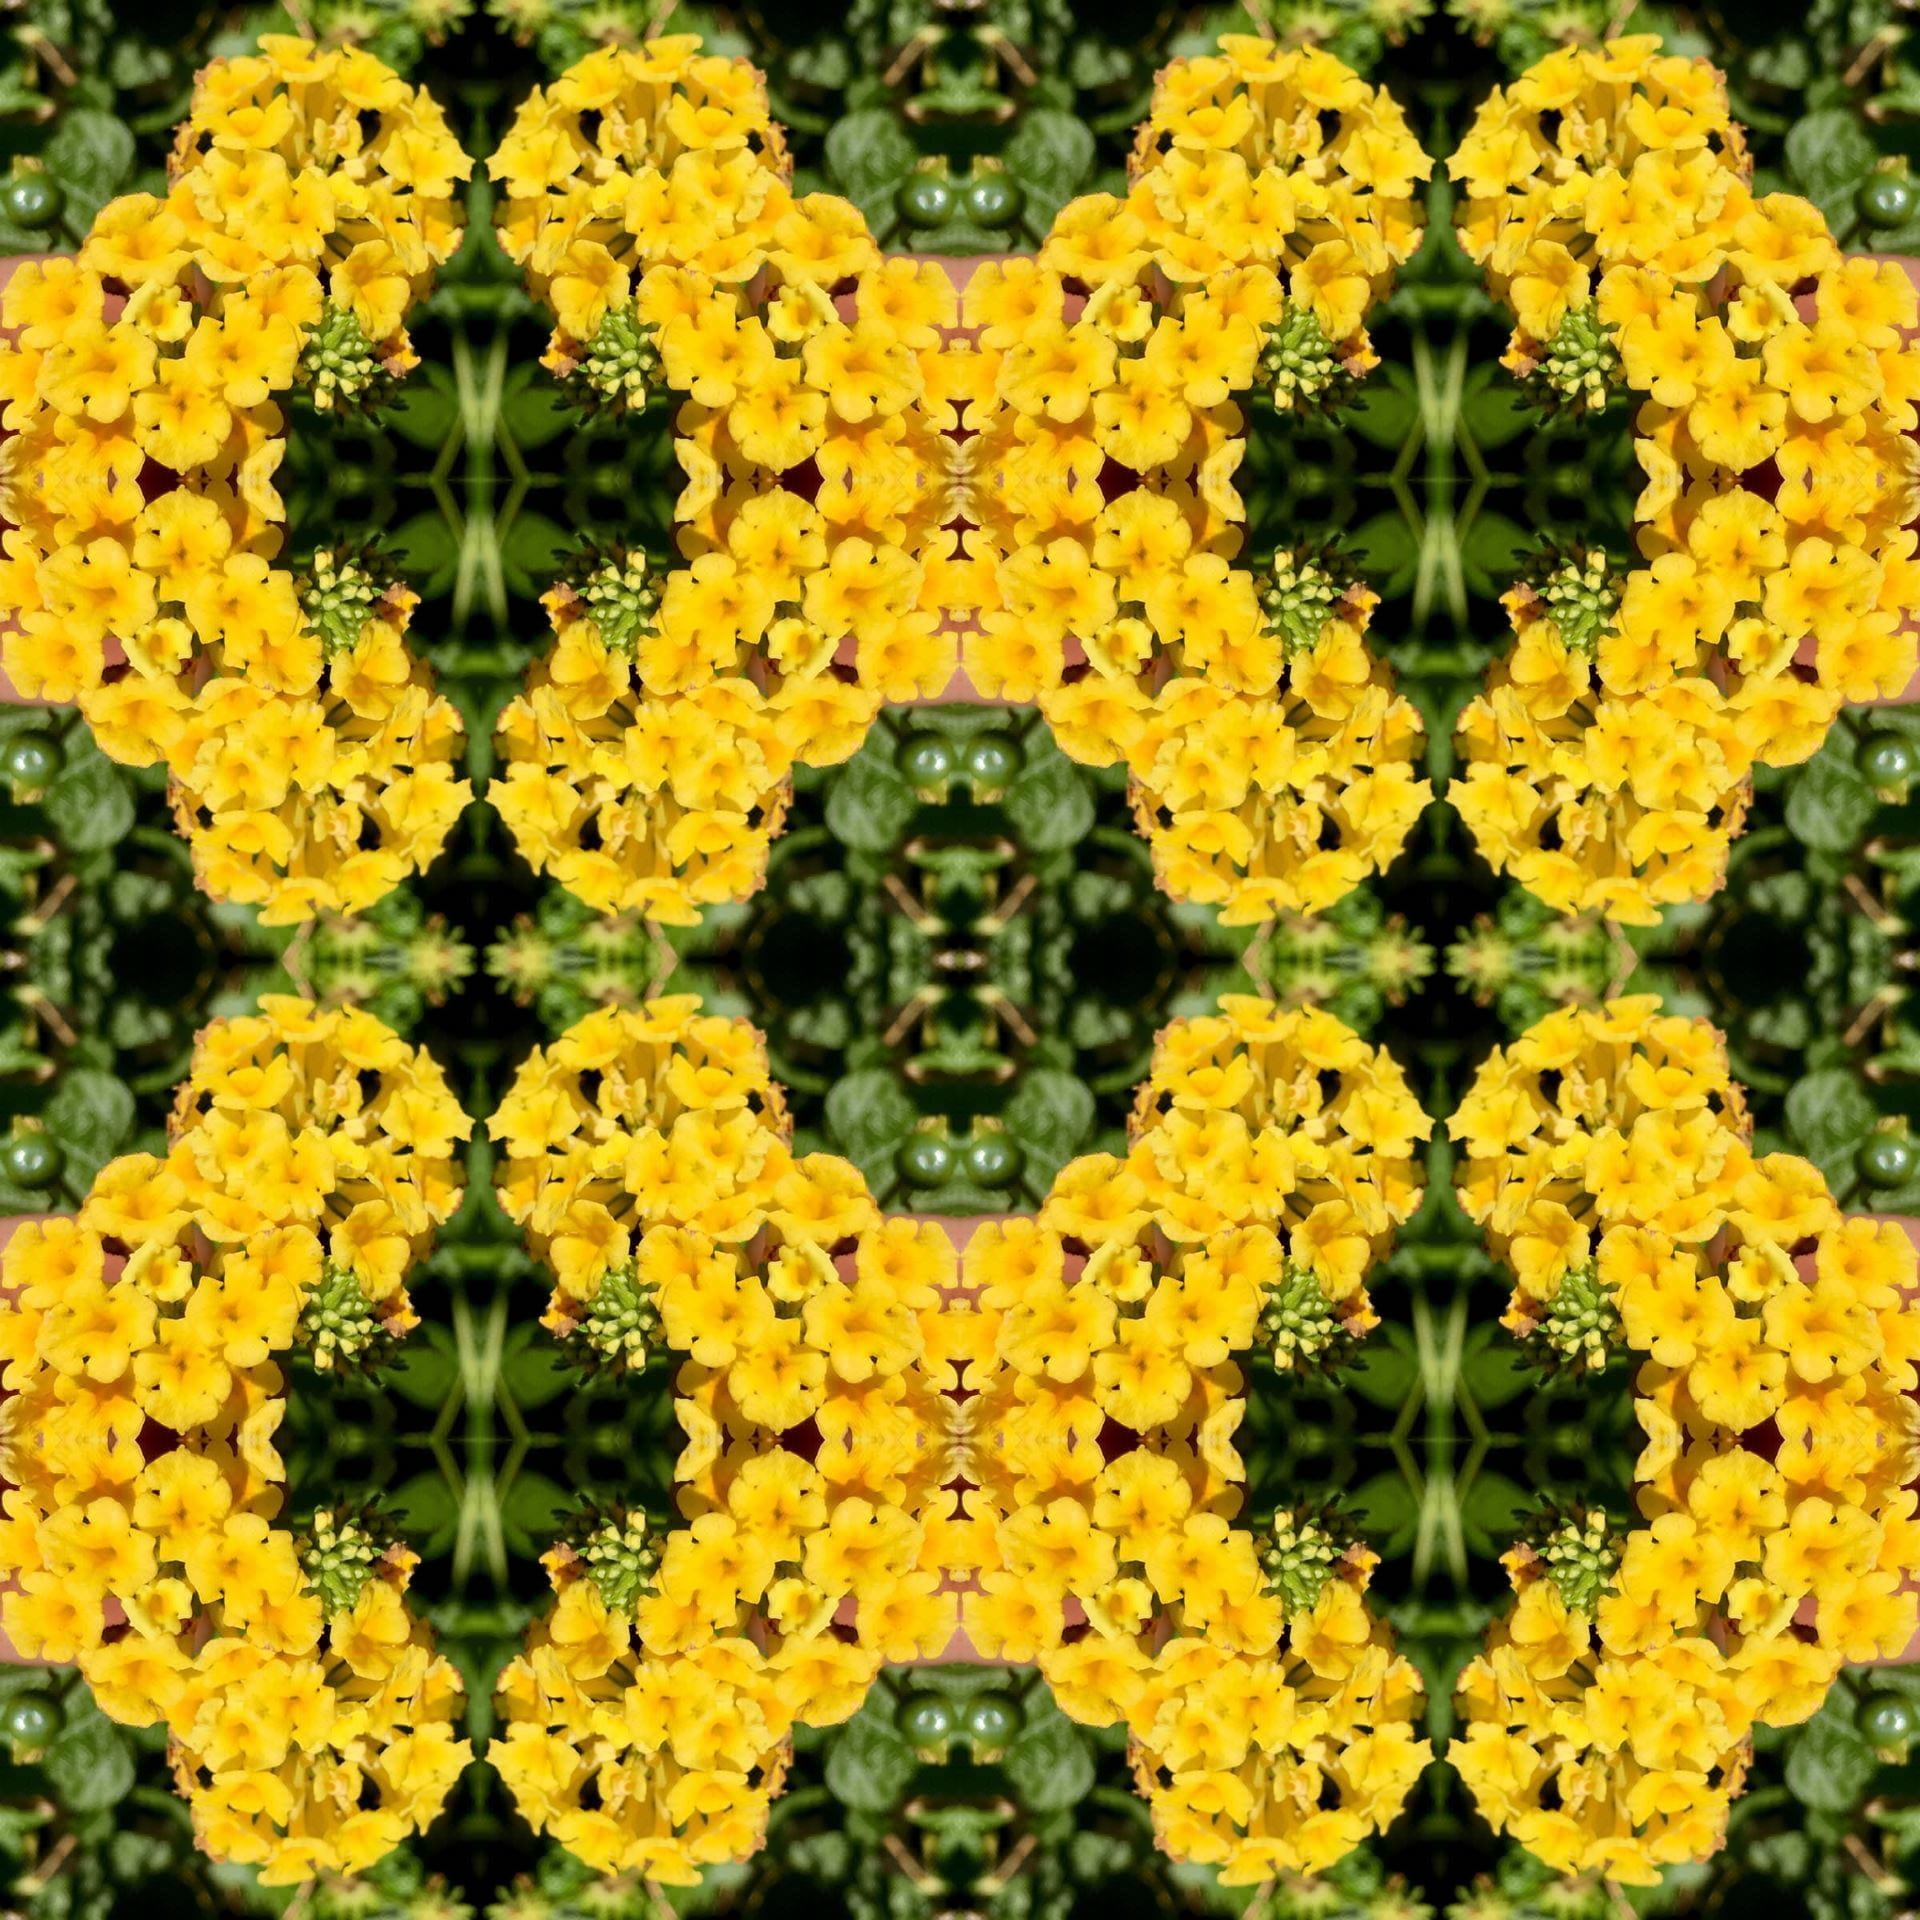
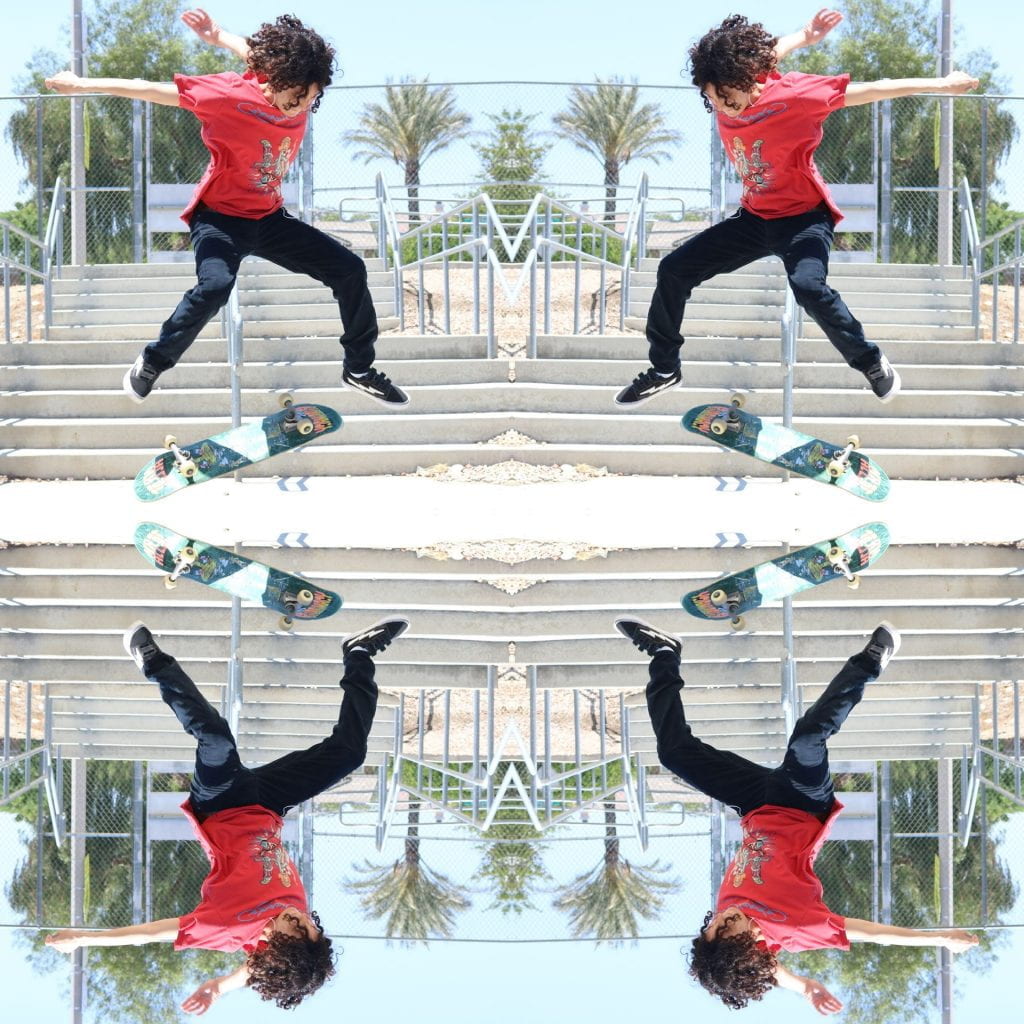
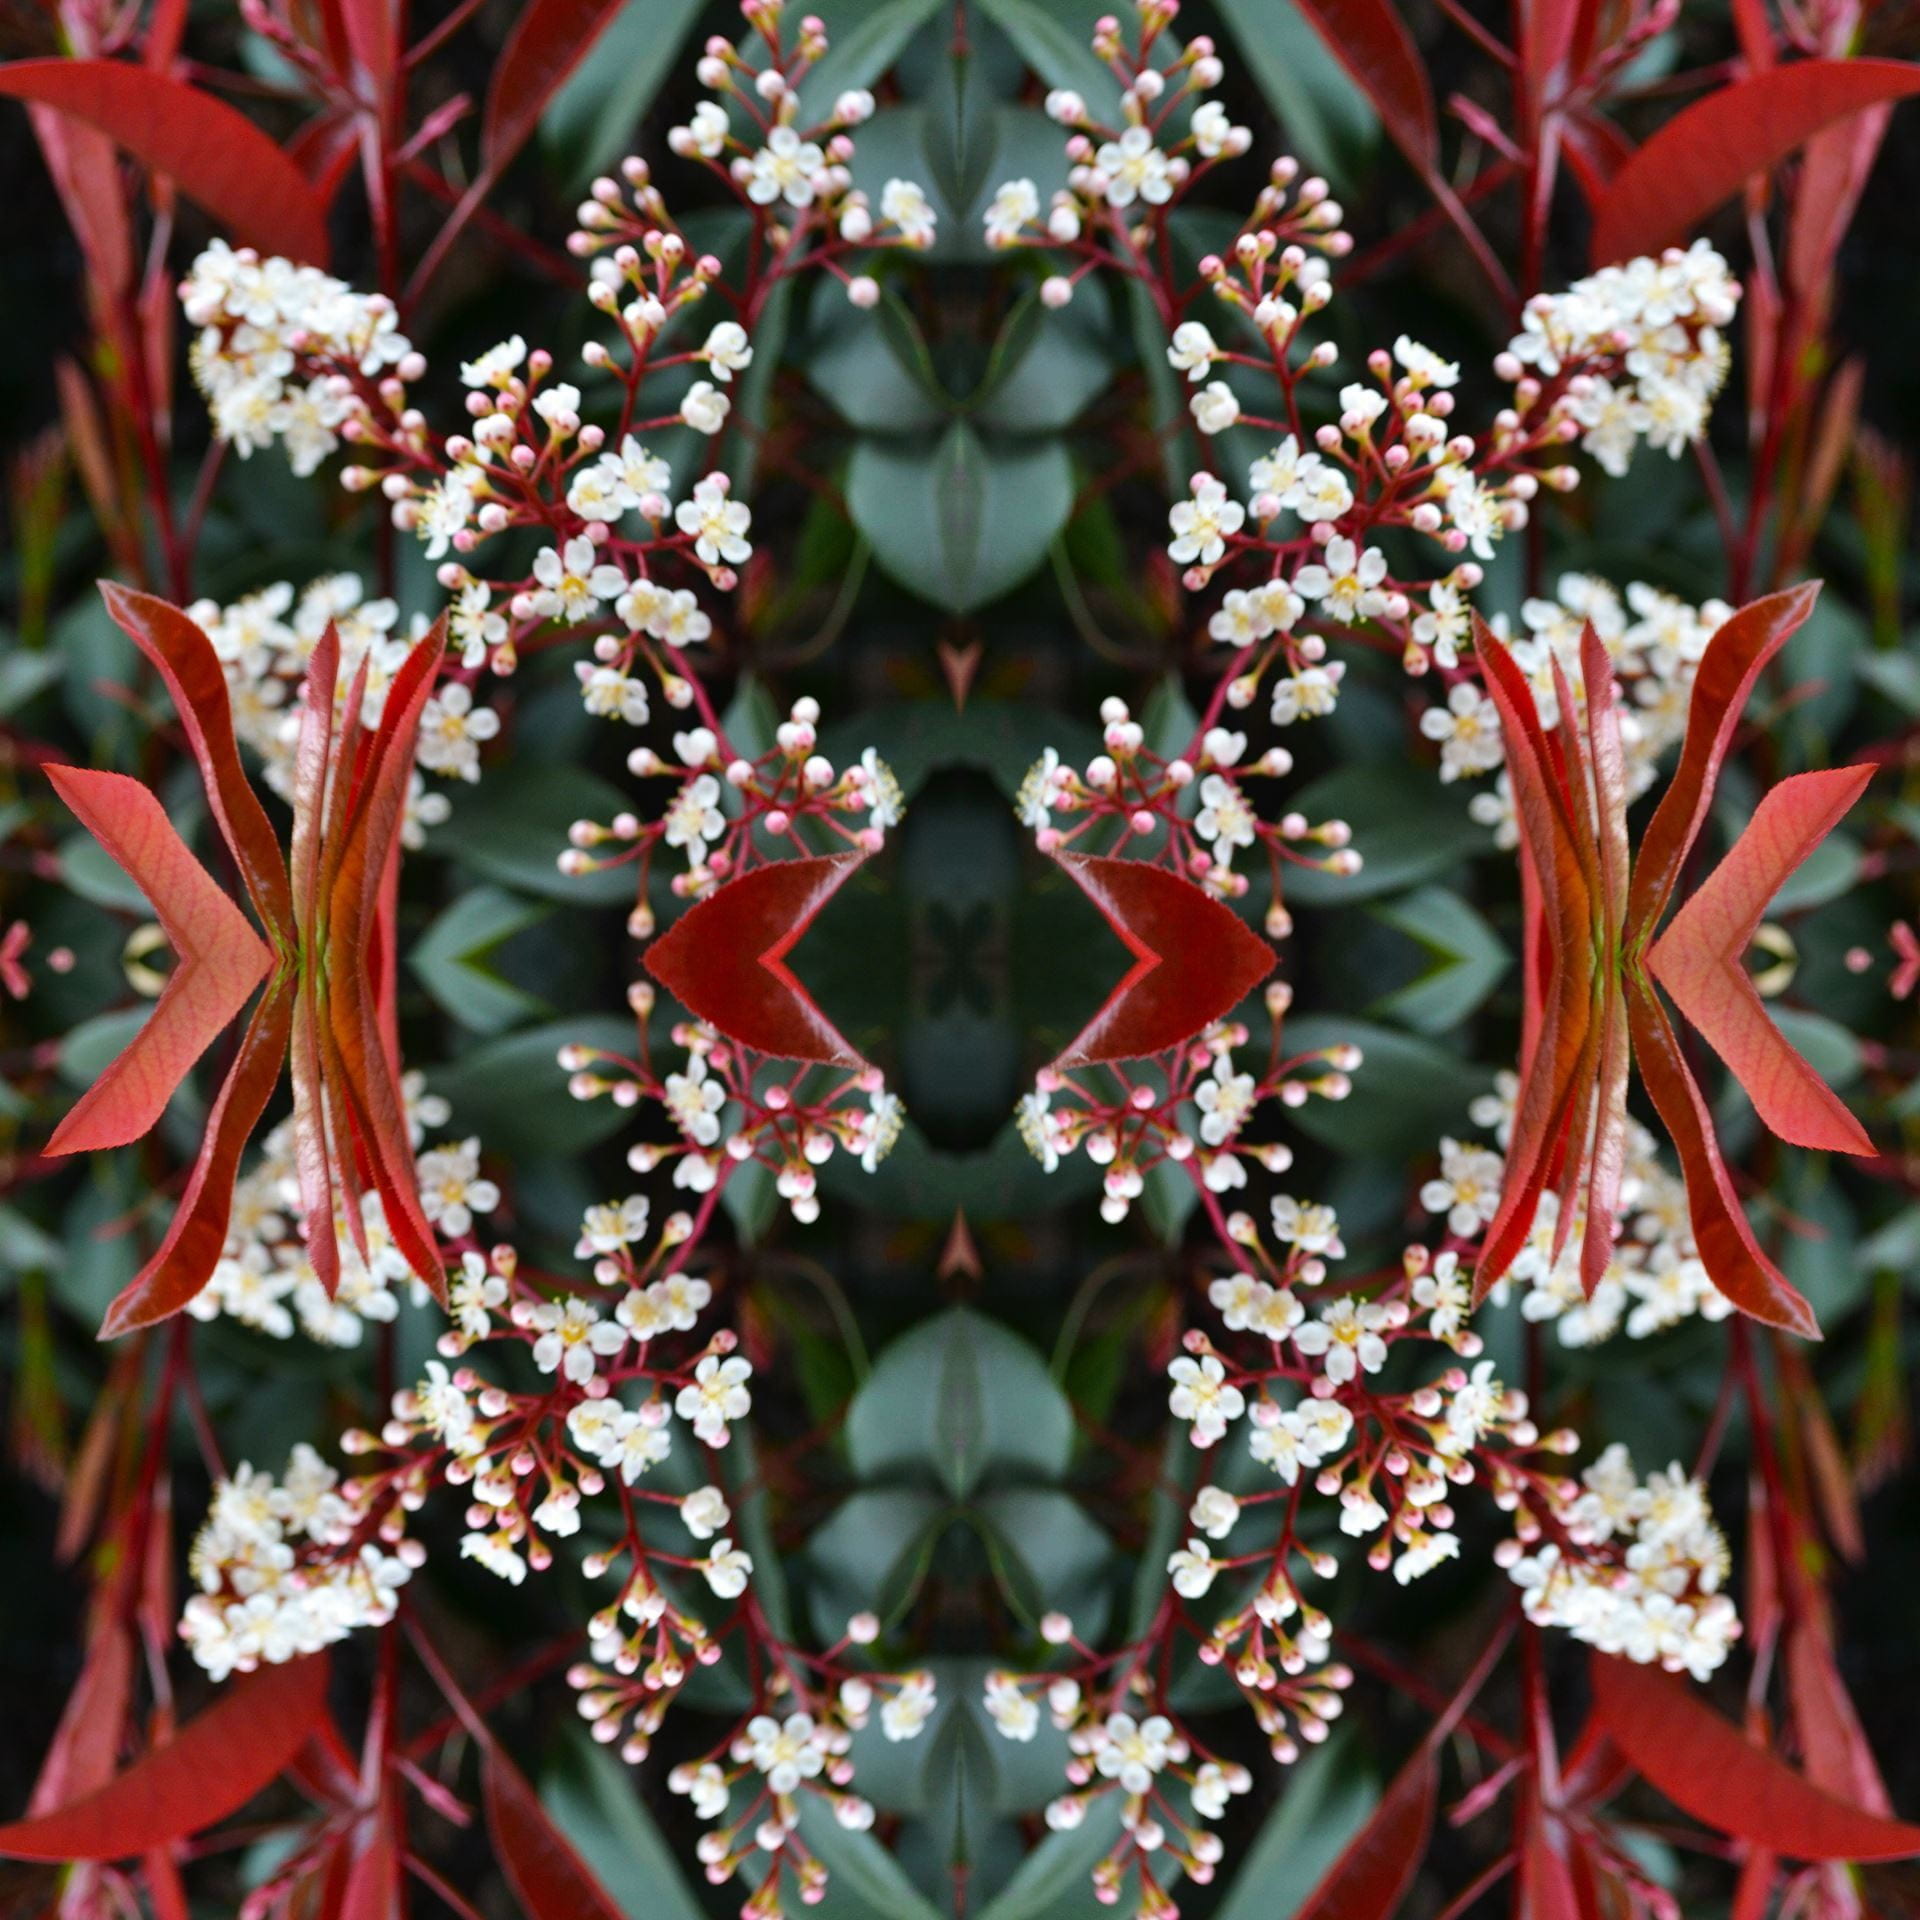
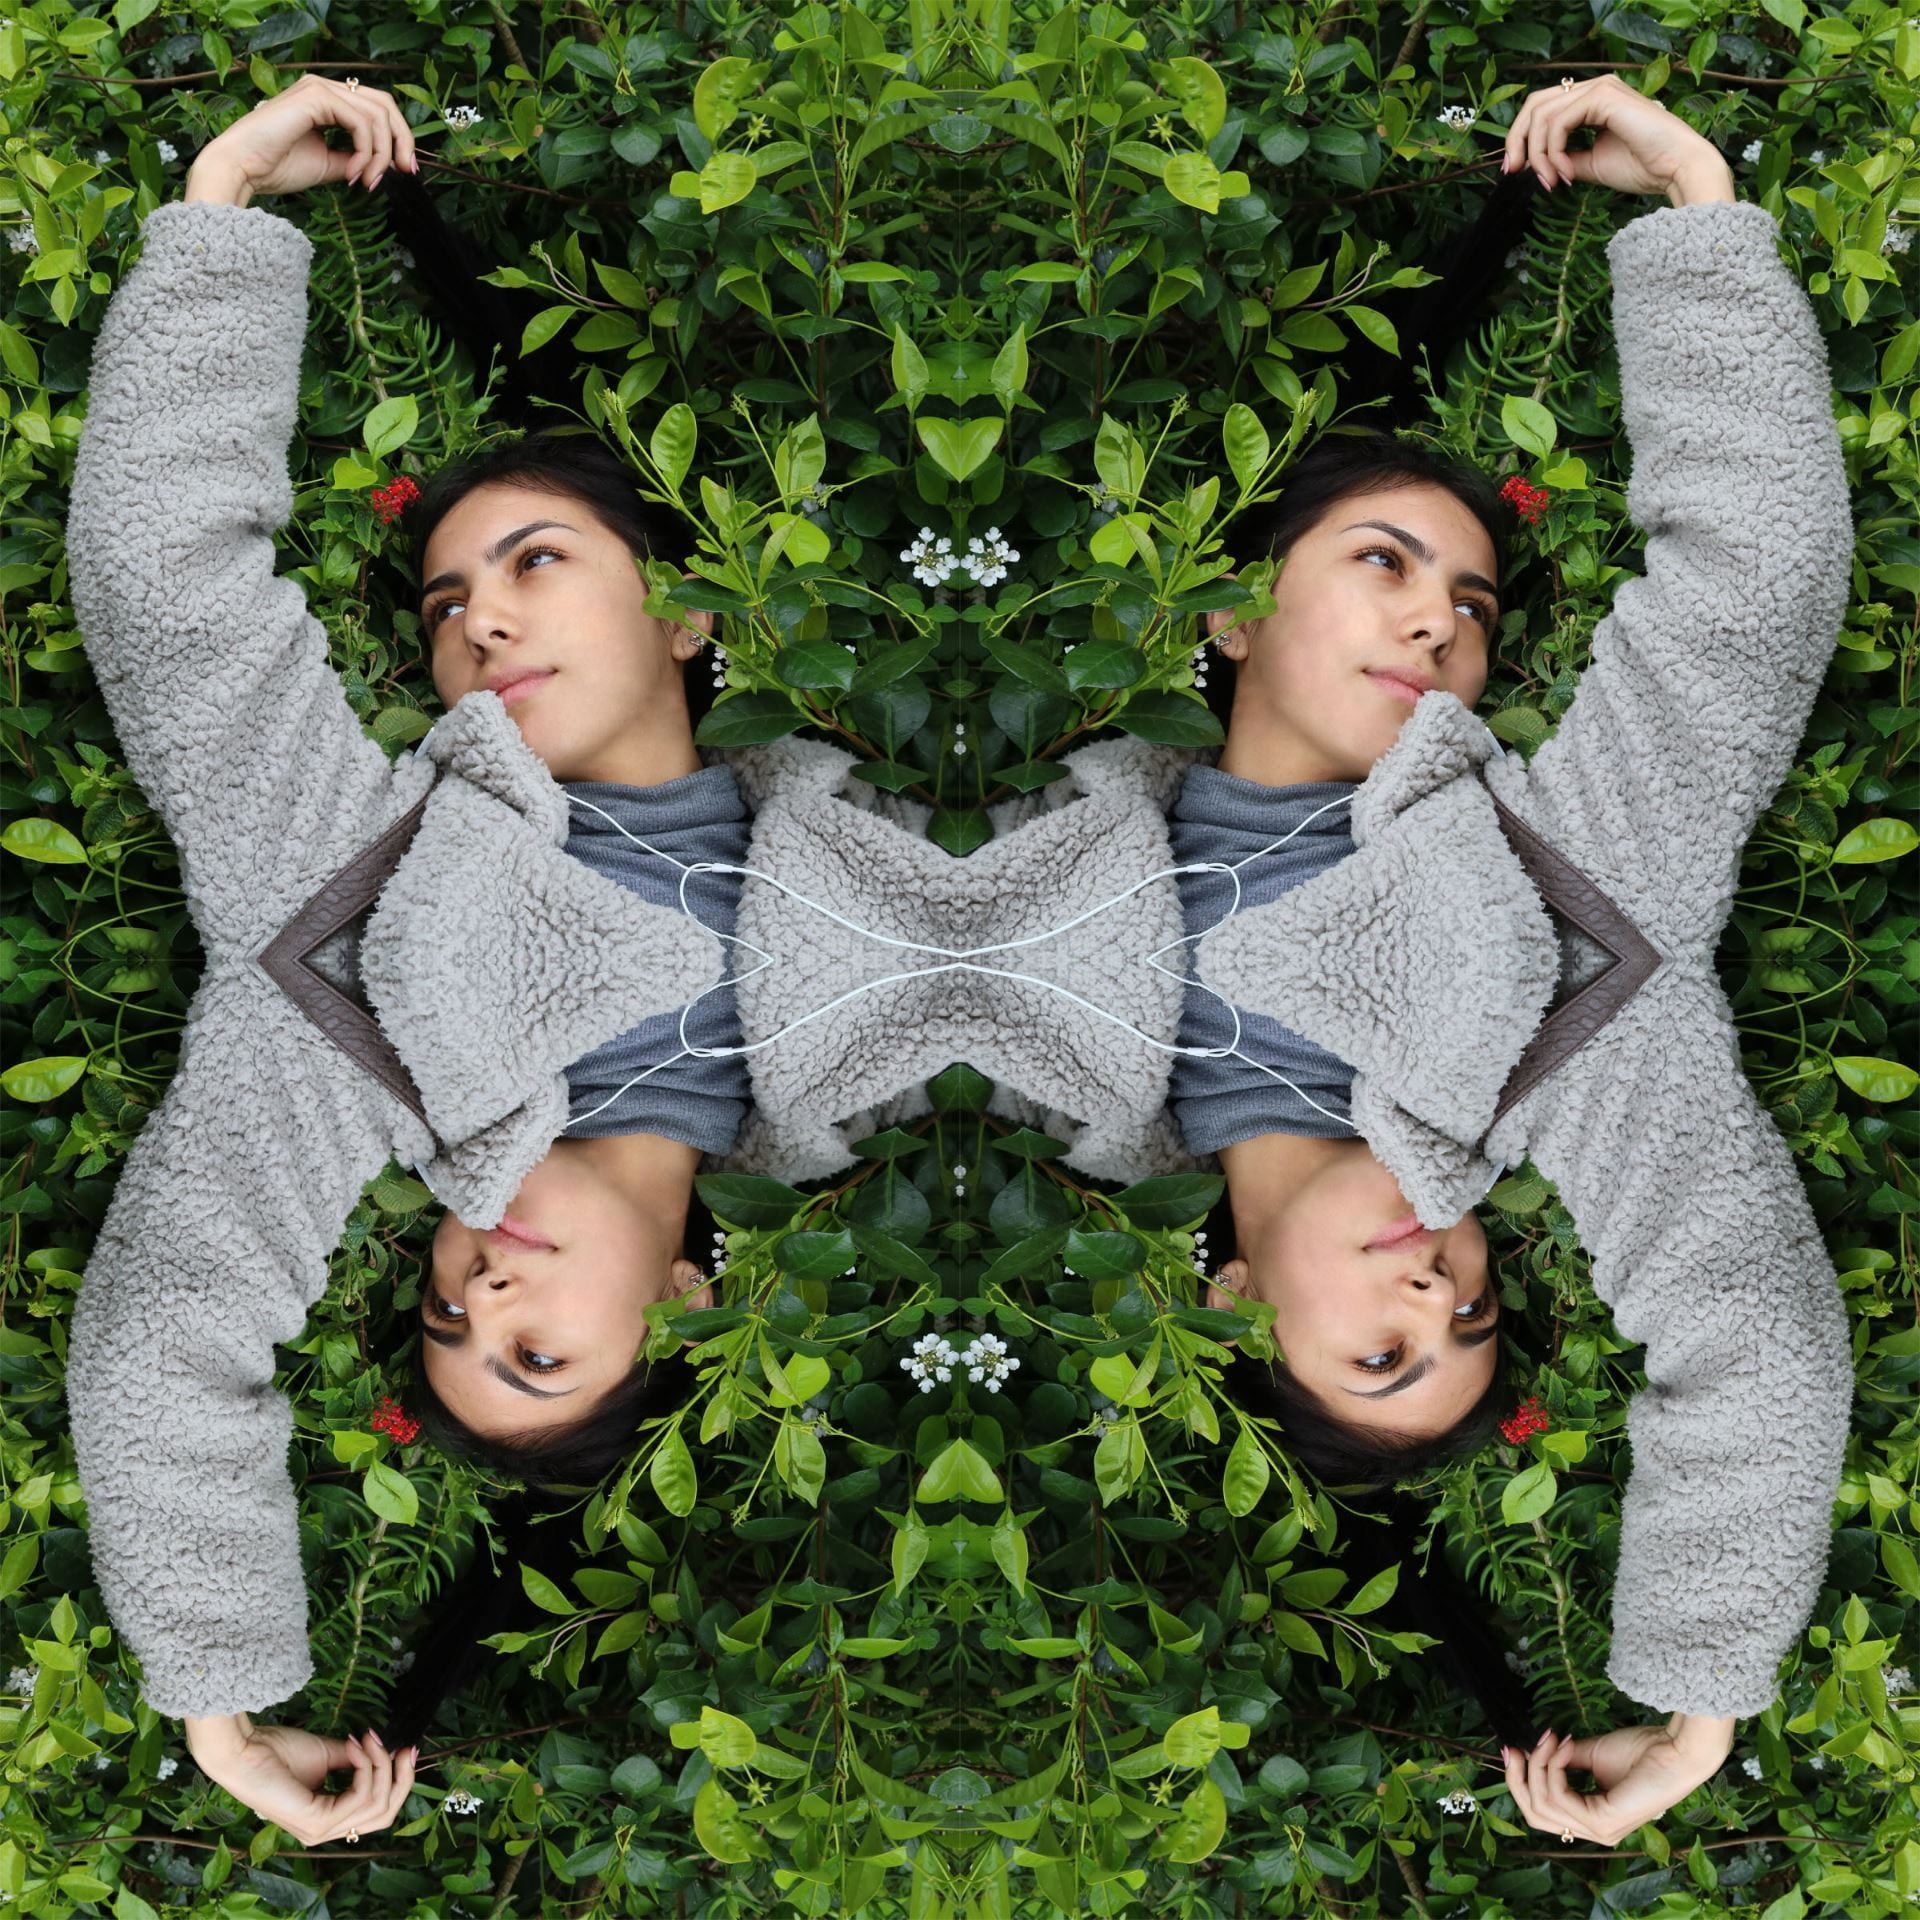
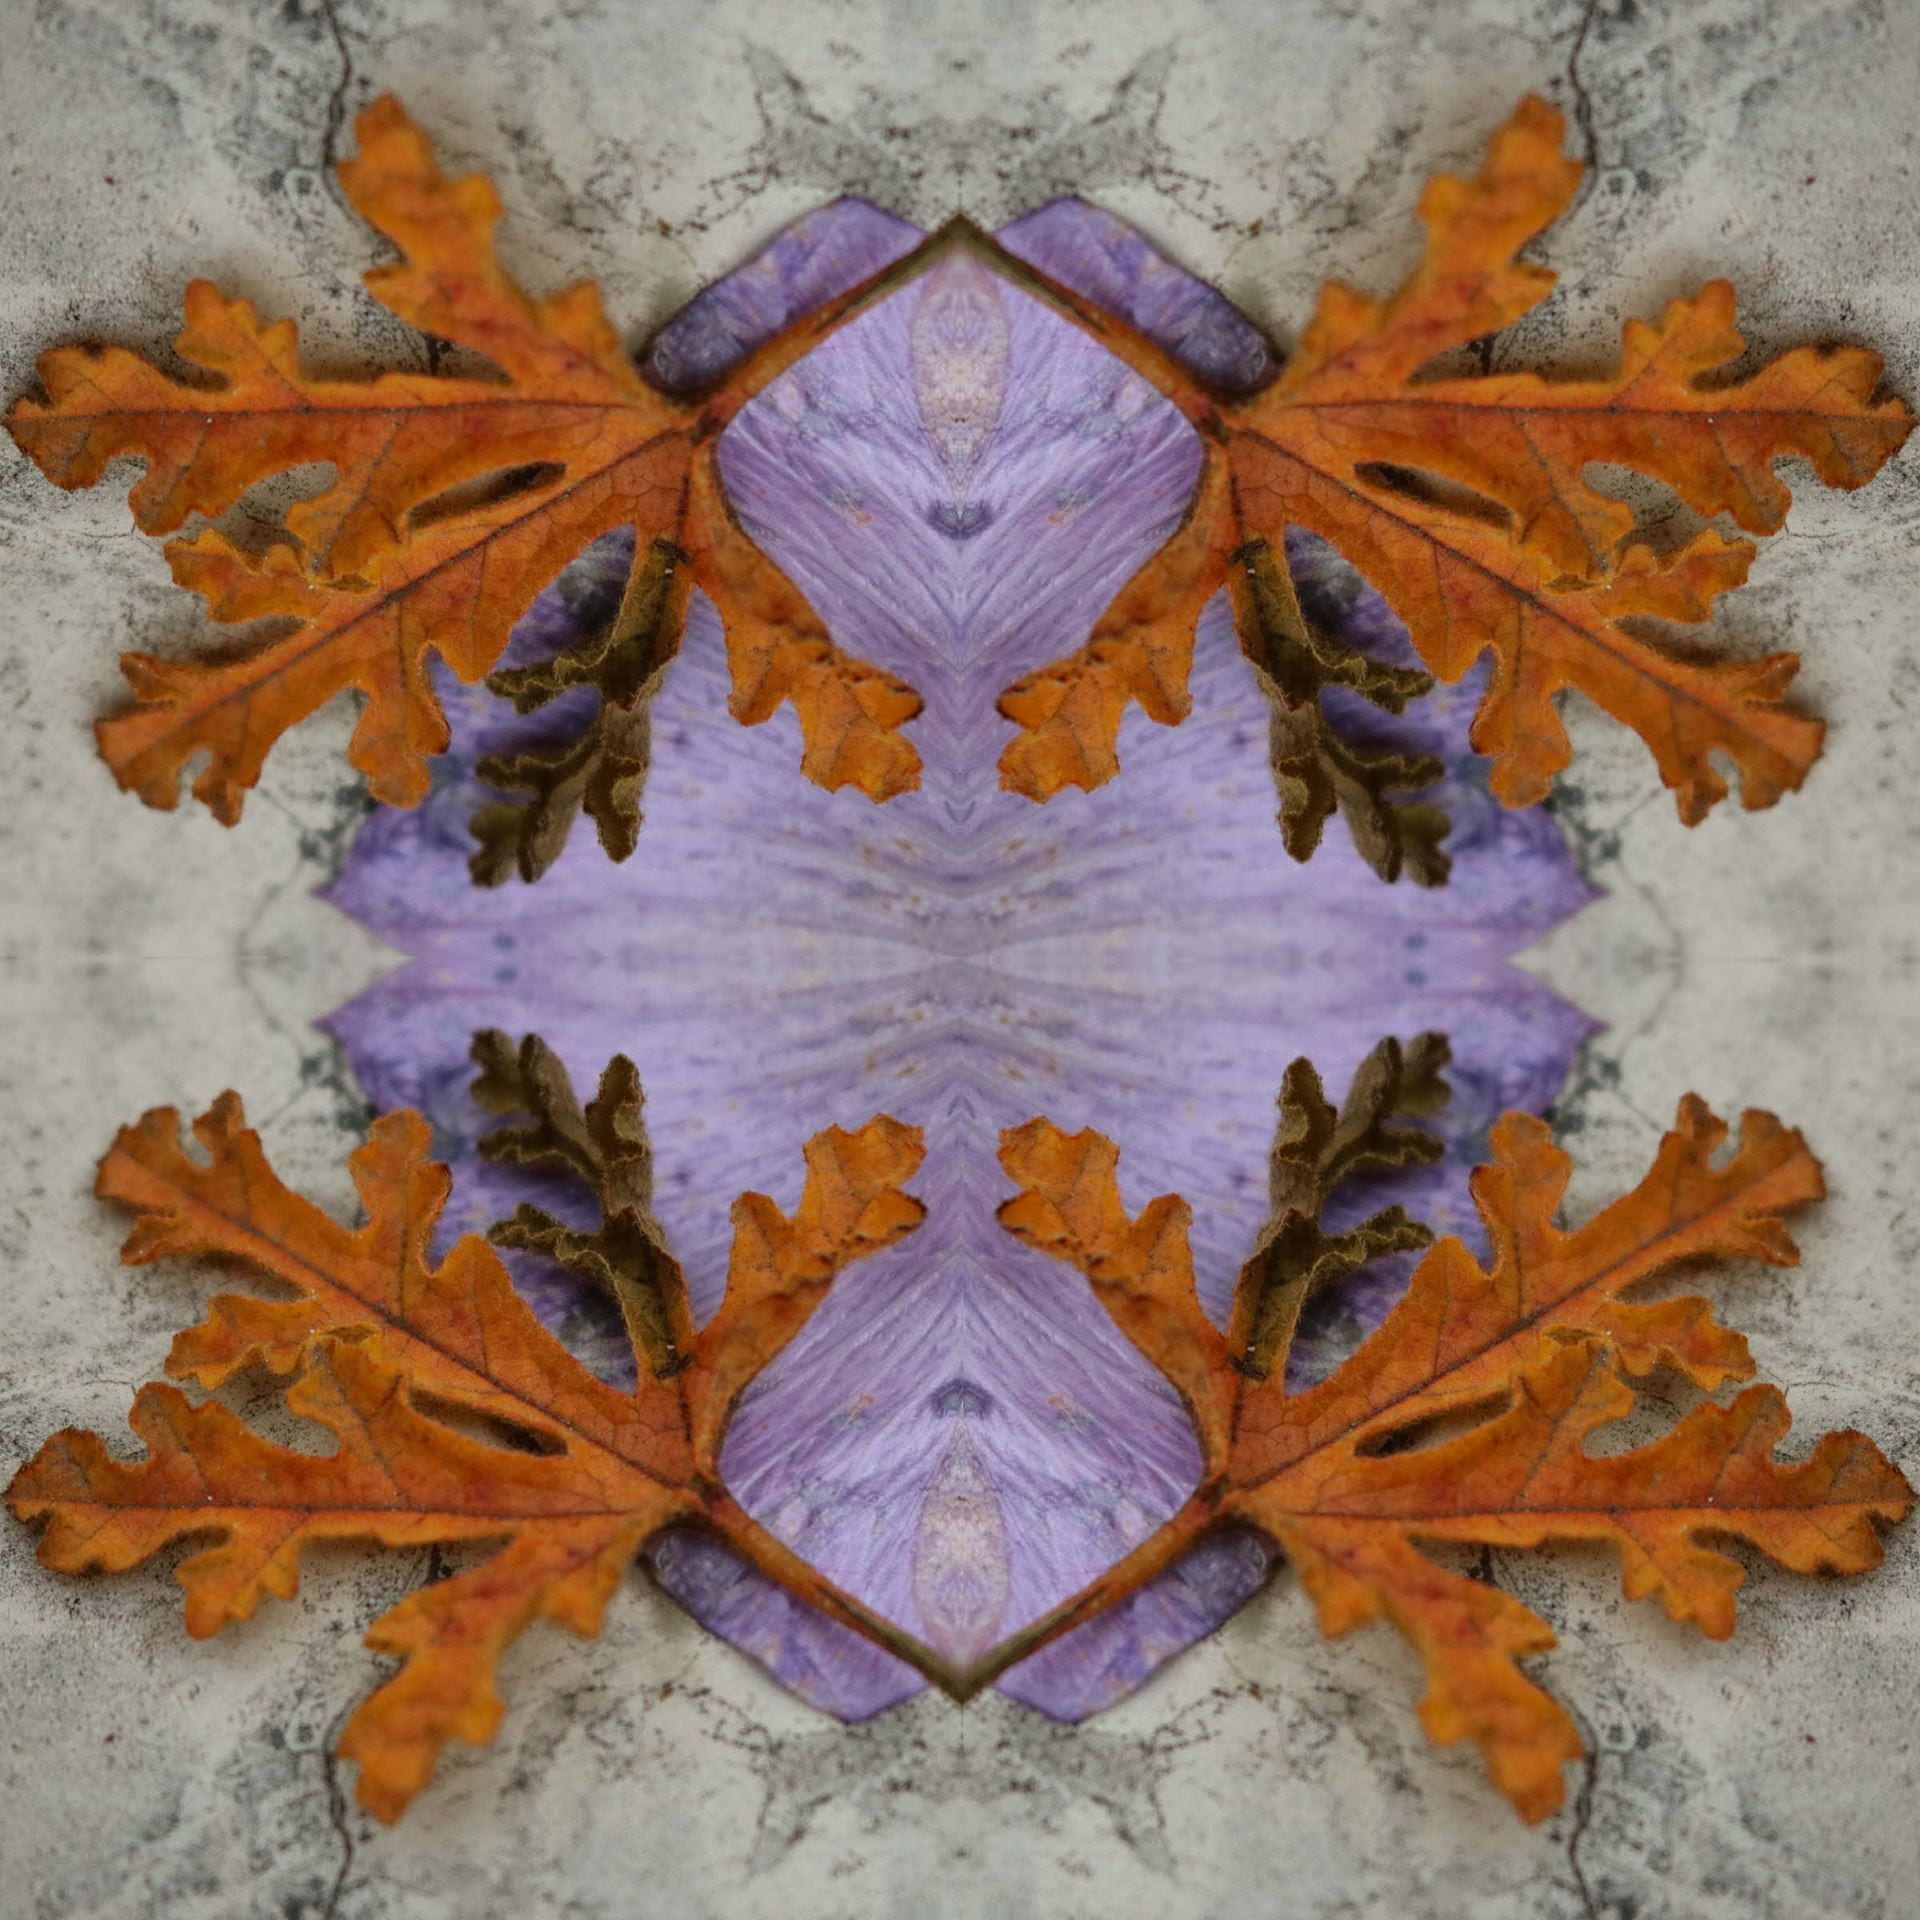
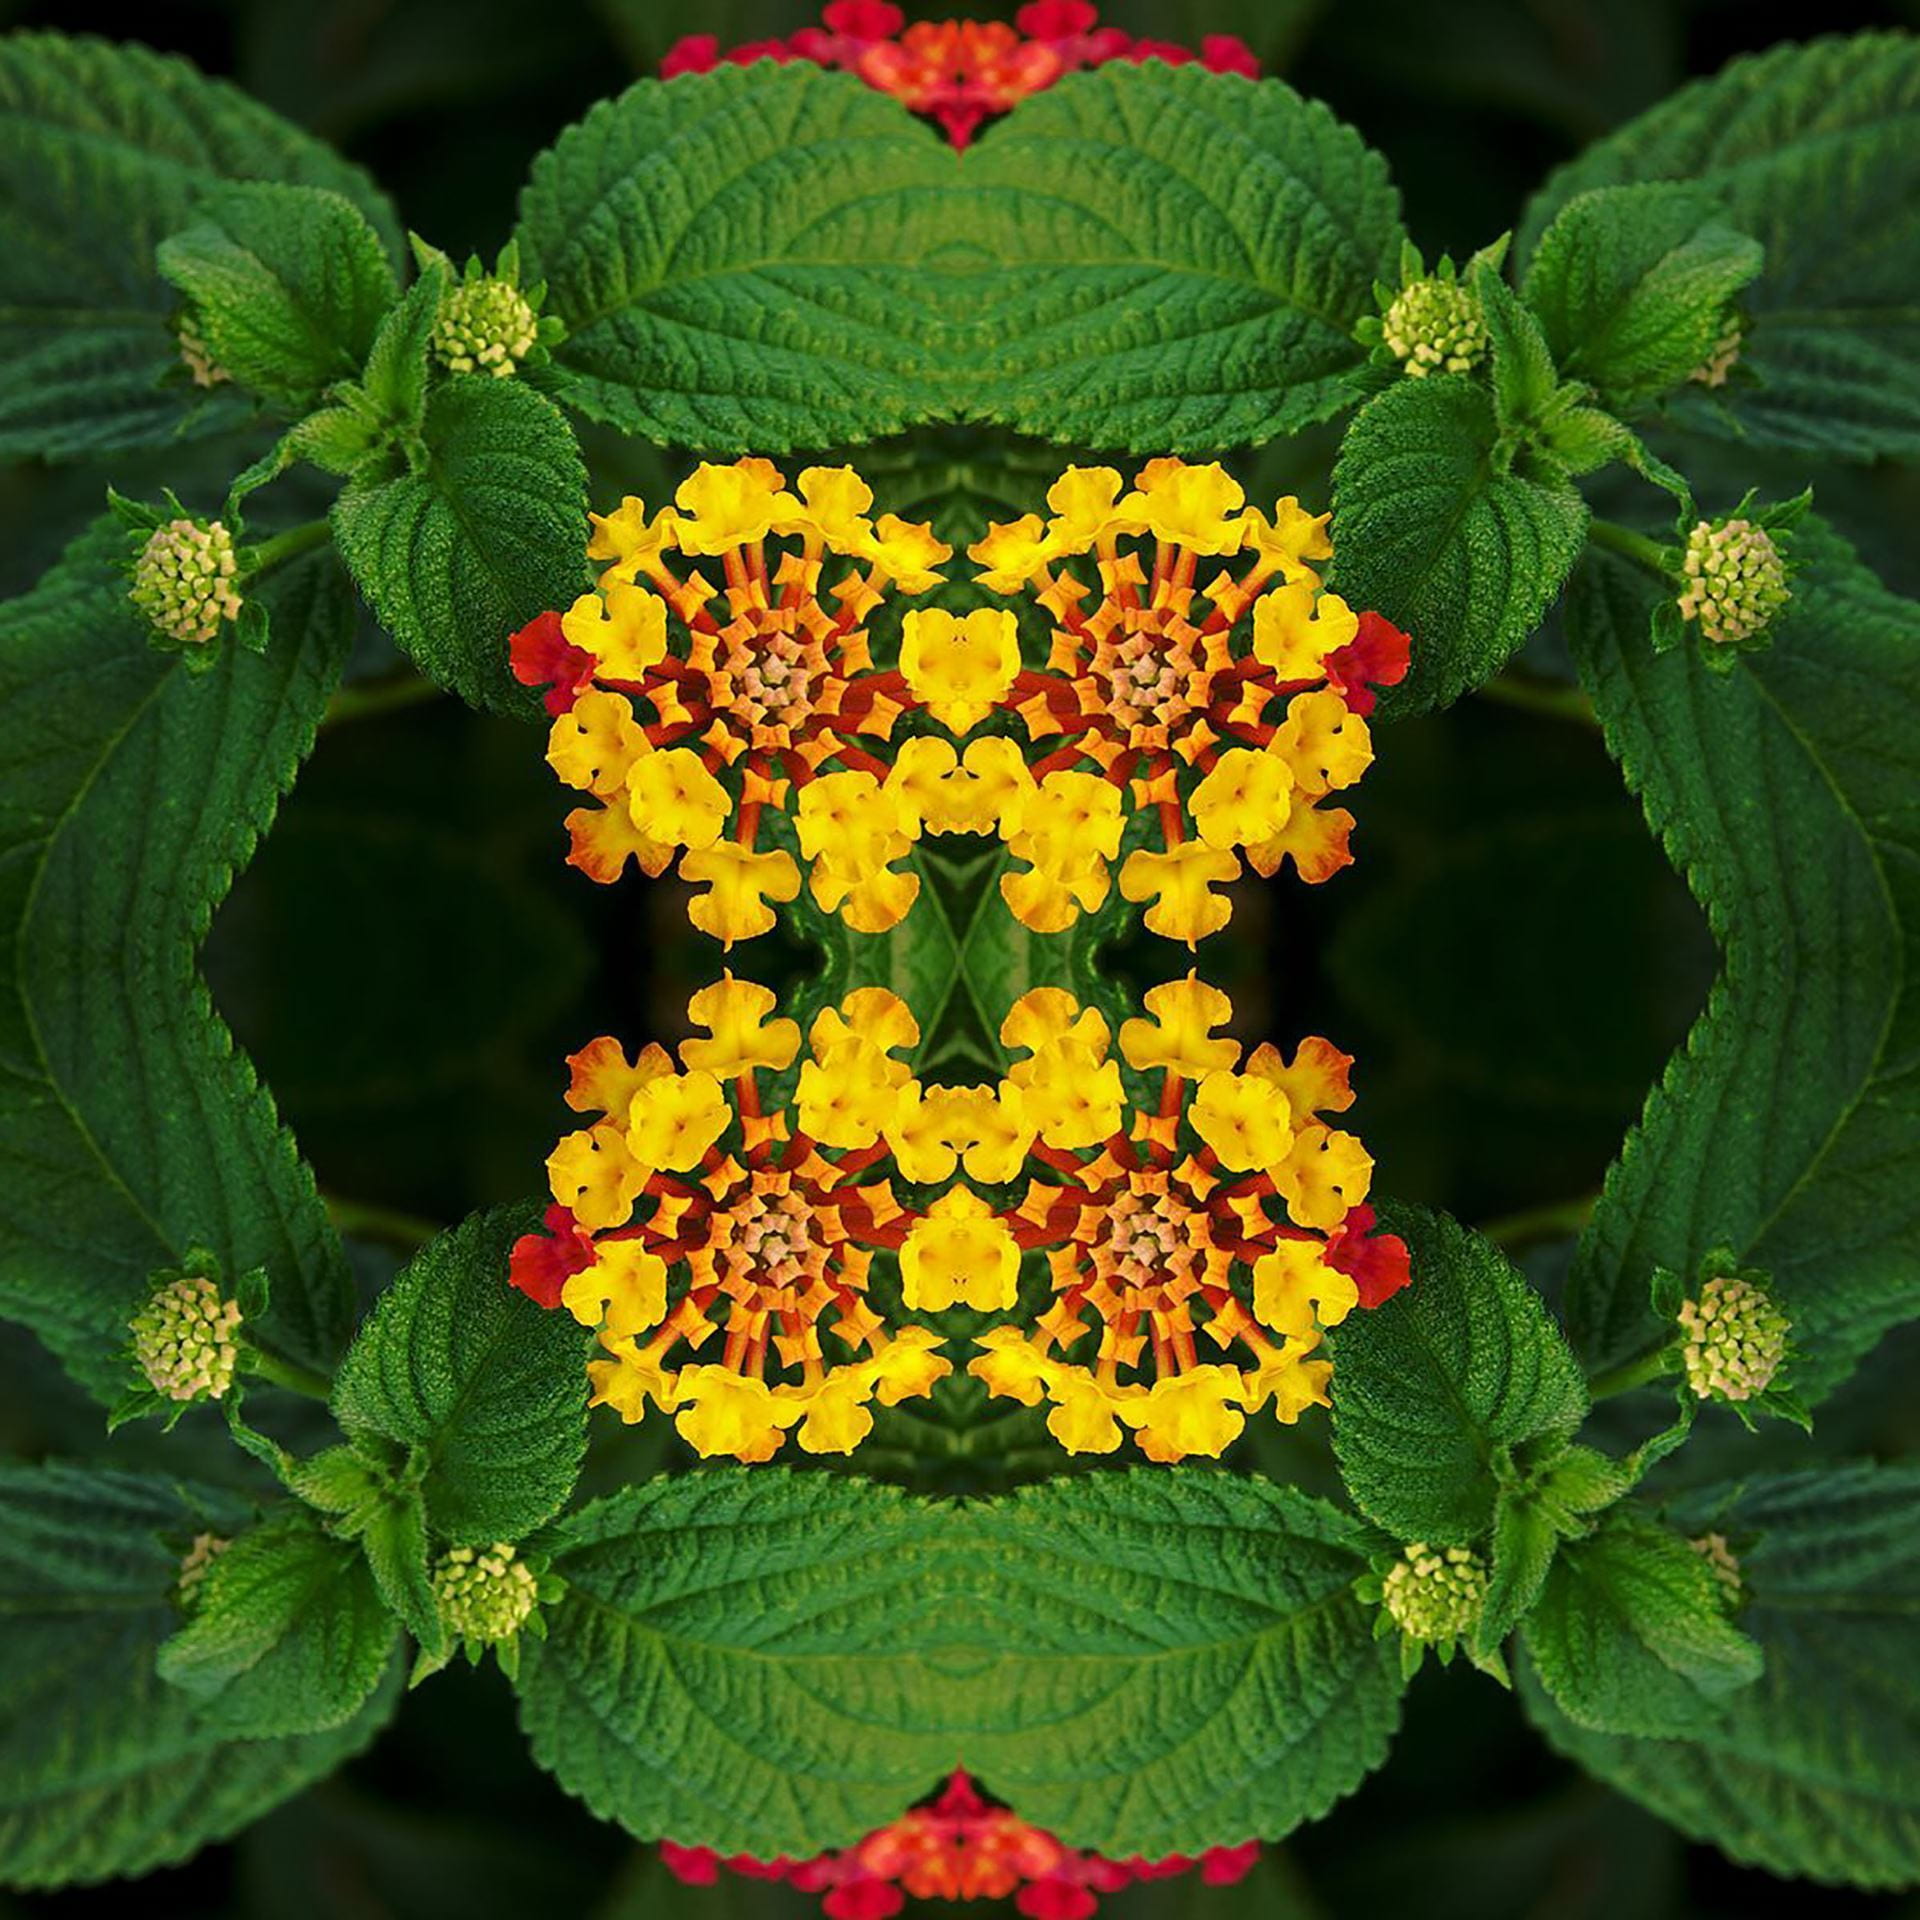
Instructions: Create a 4-inch design using the video tutorial provided.

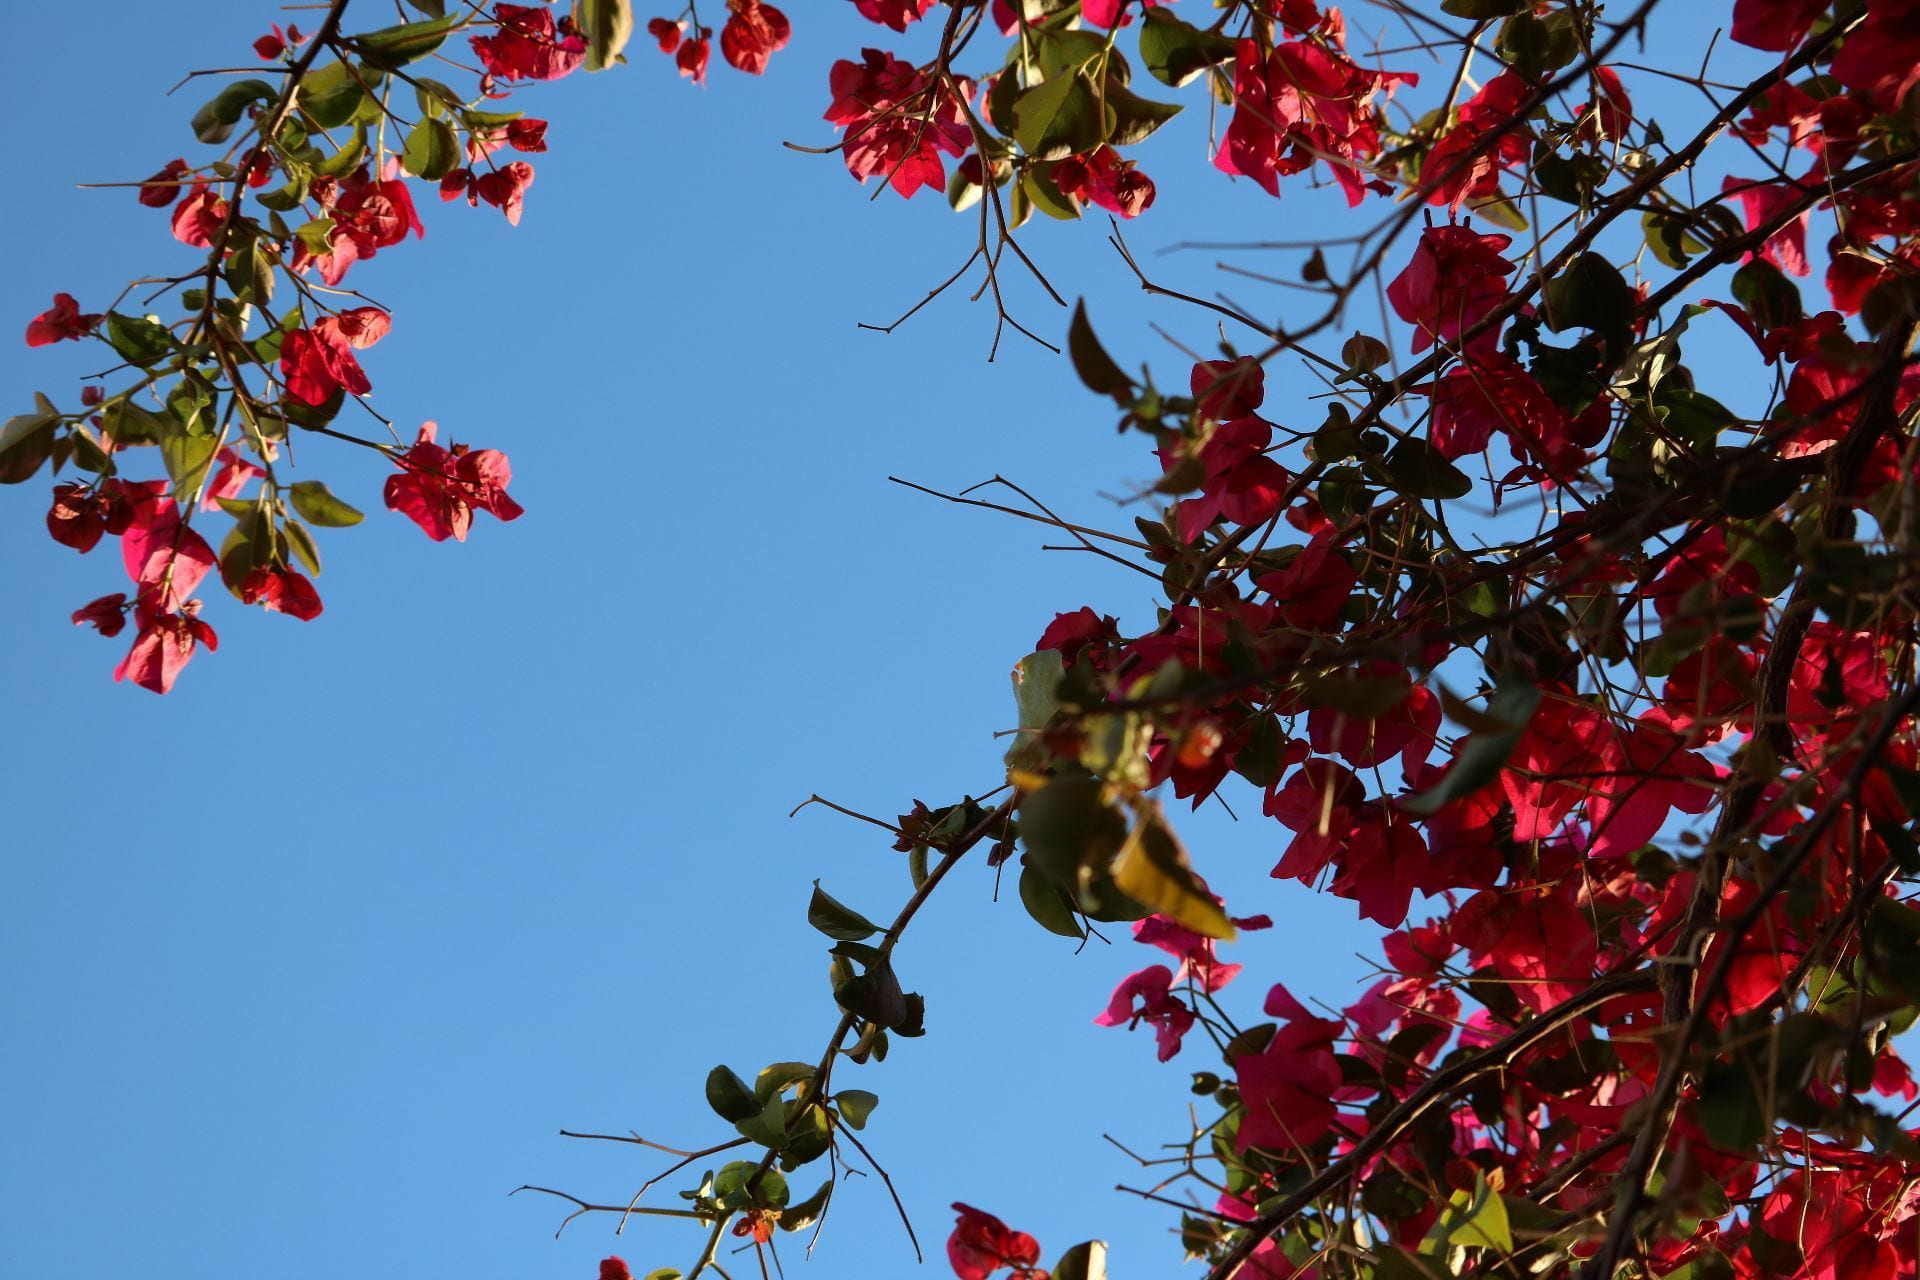
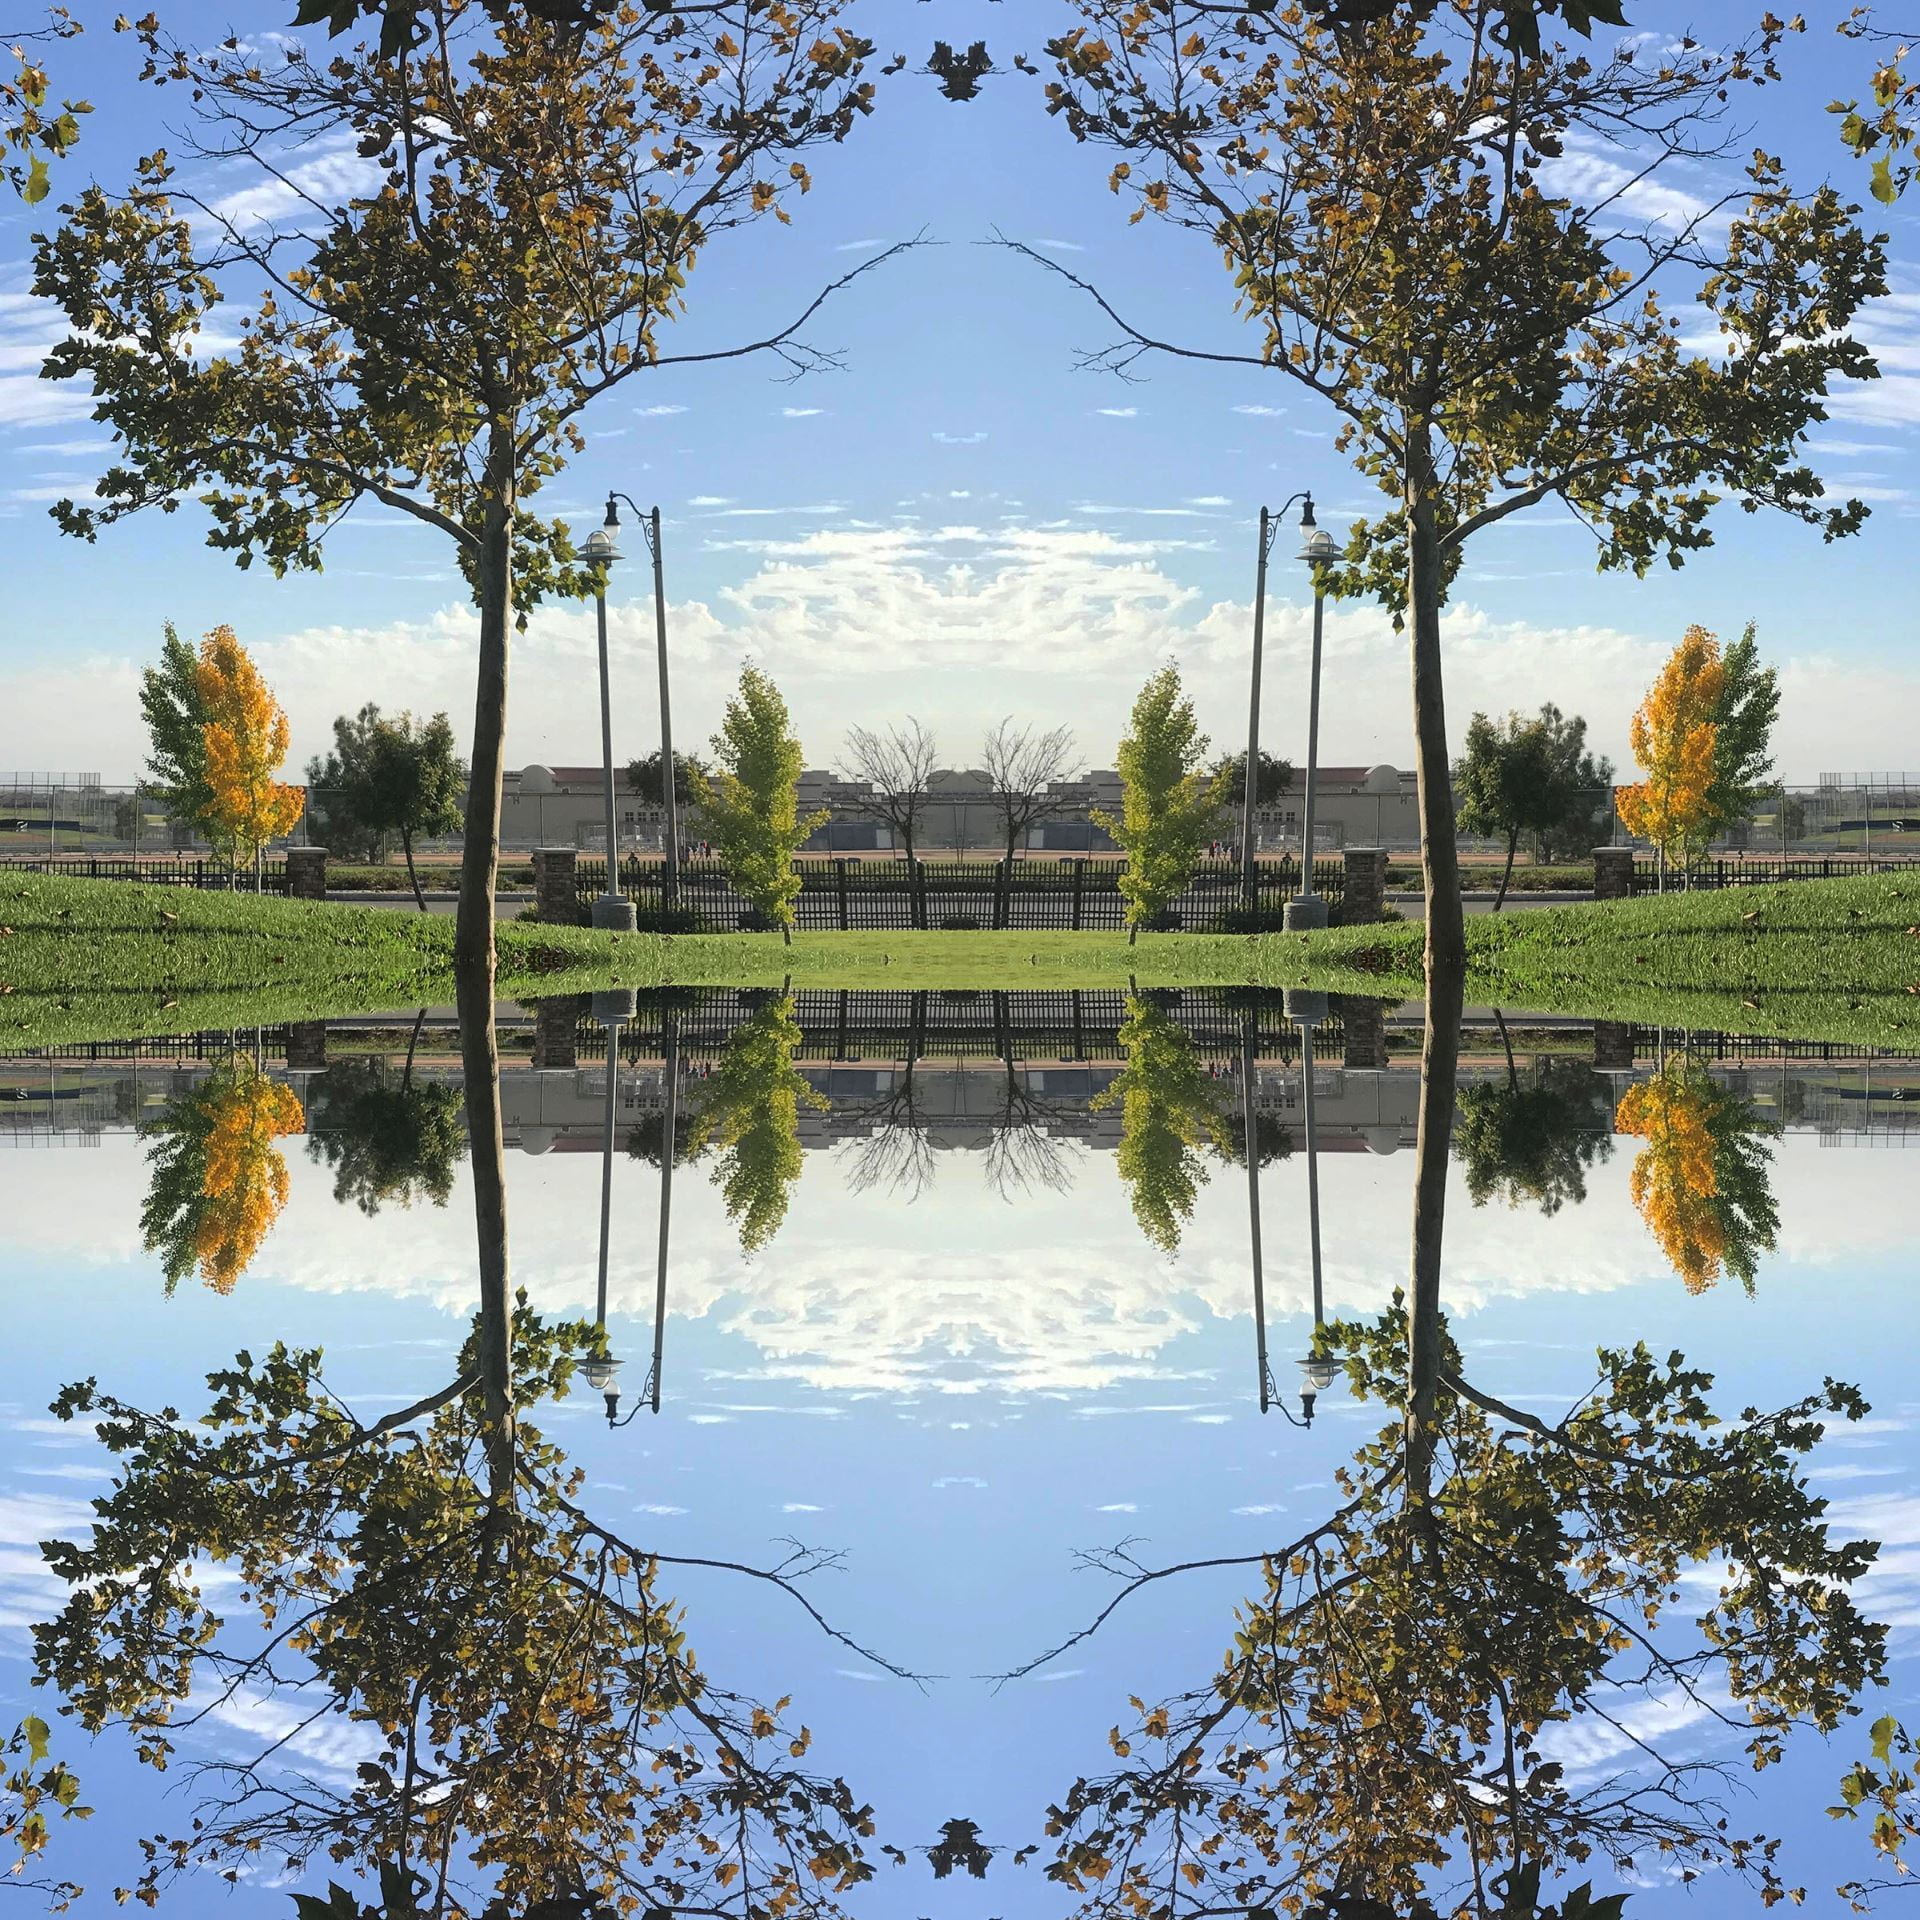
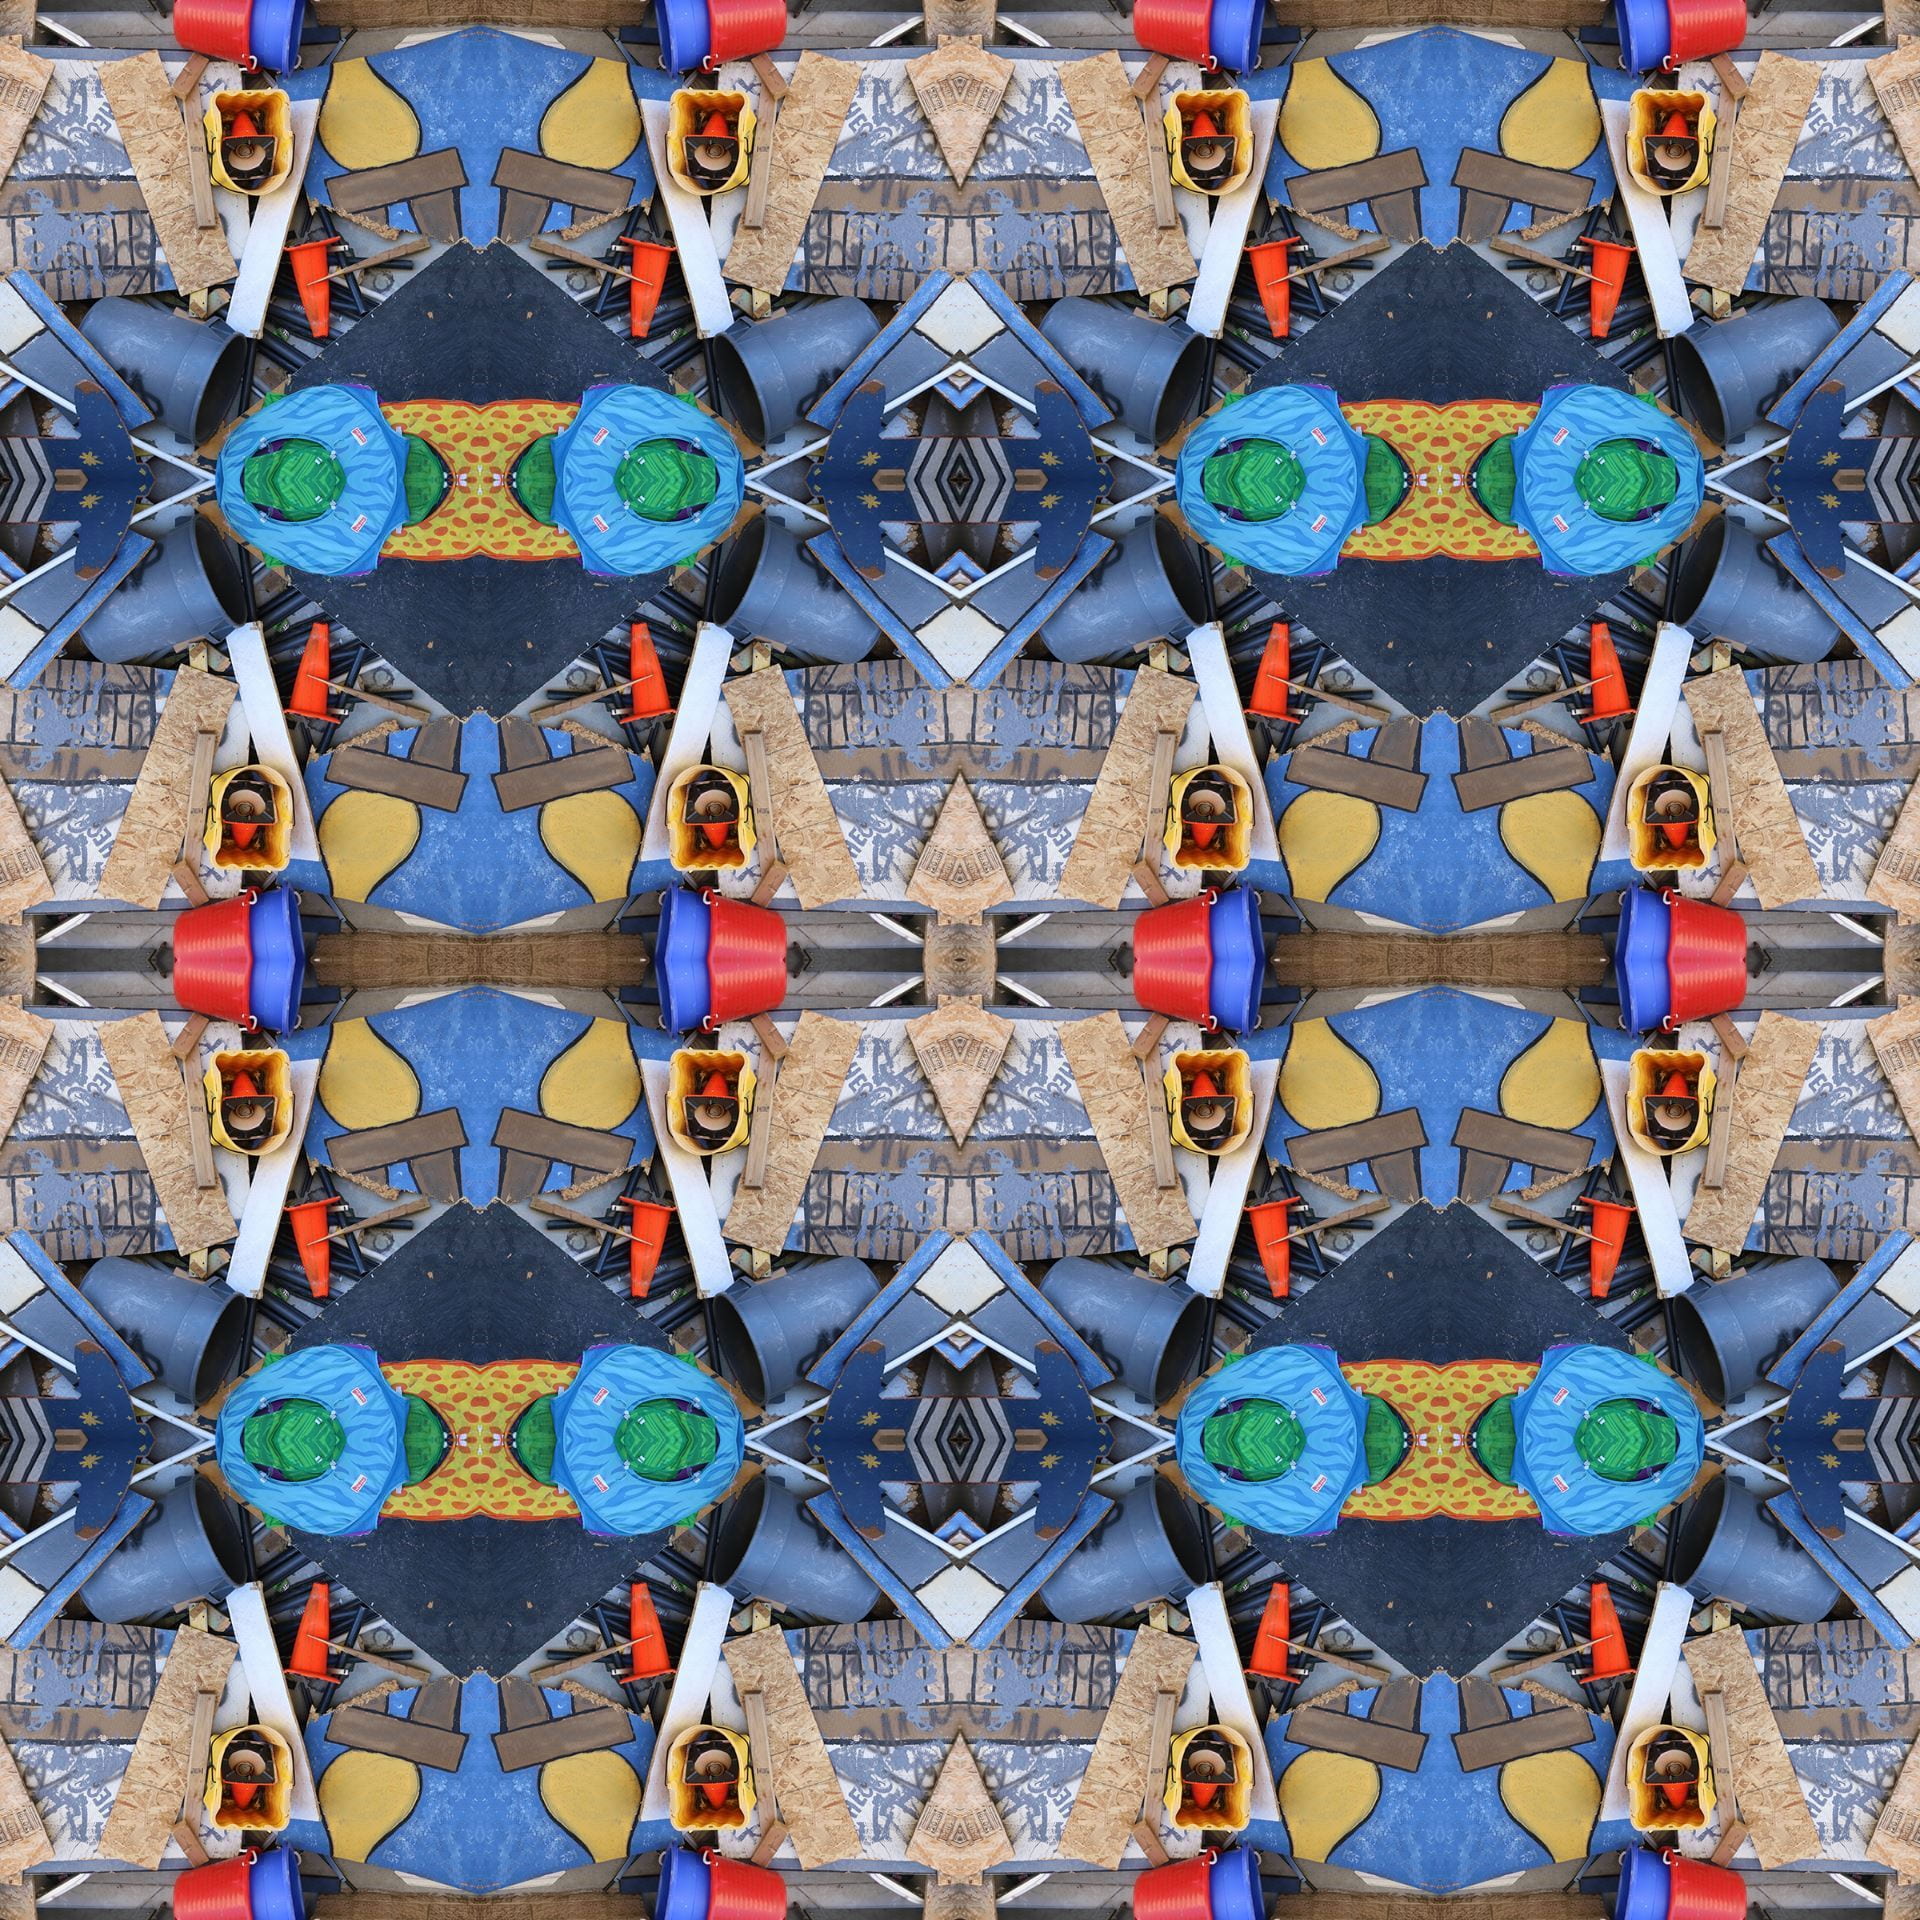
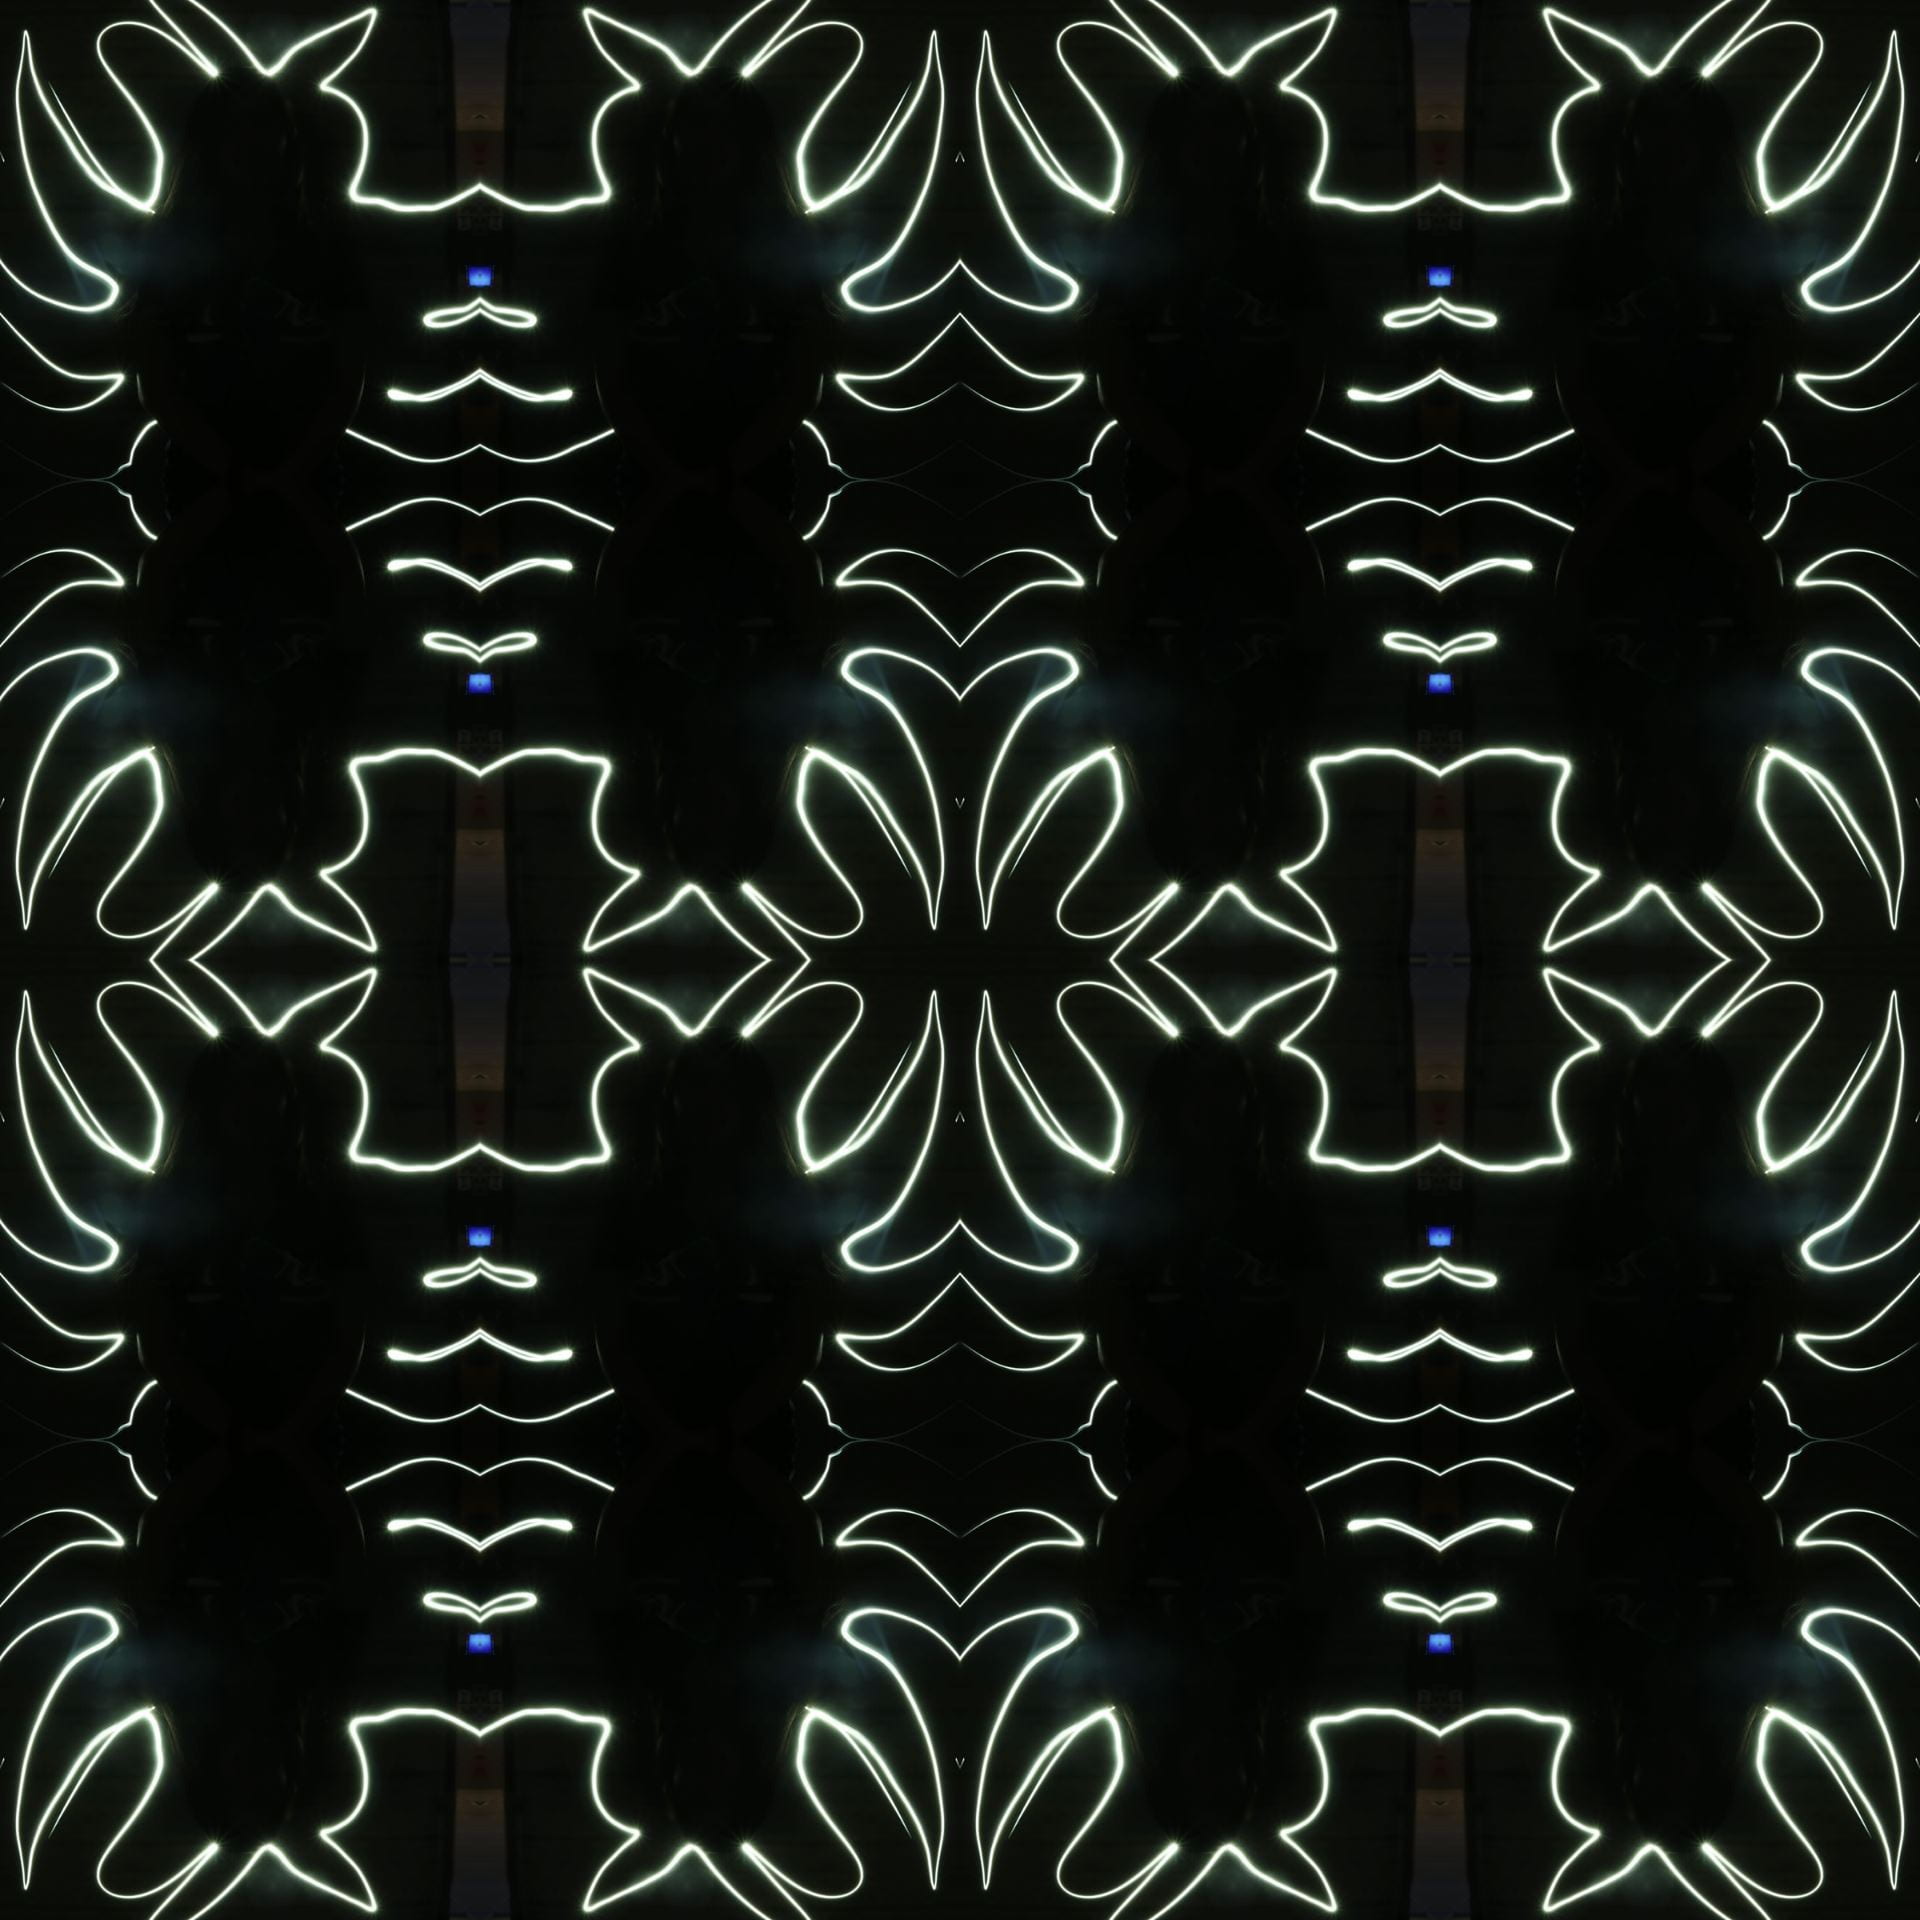
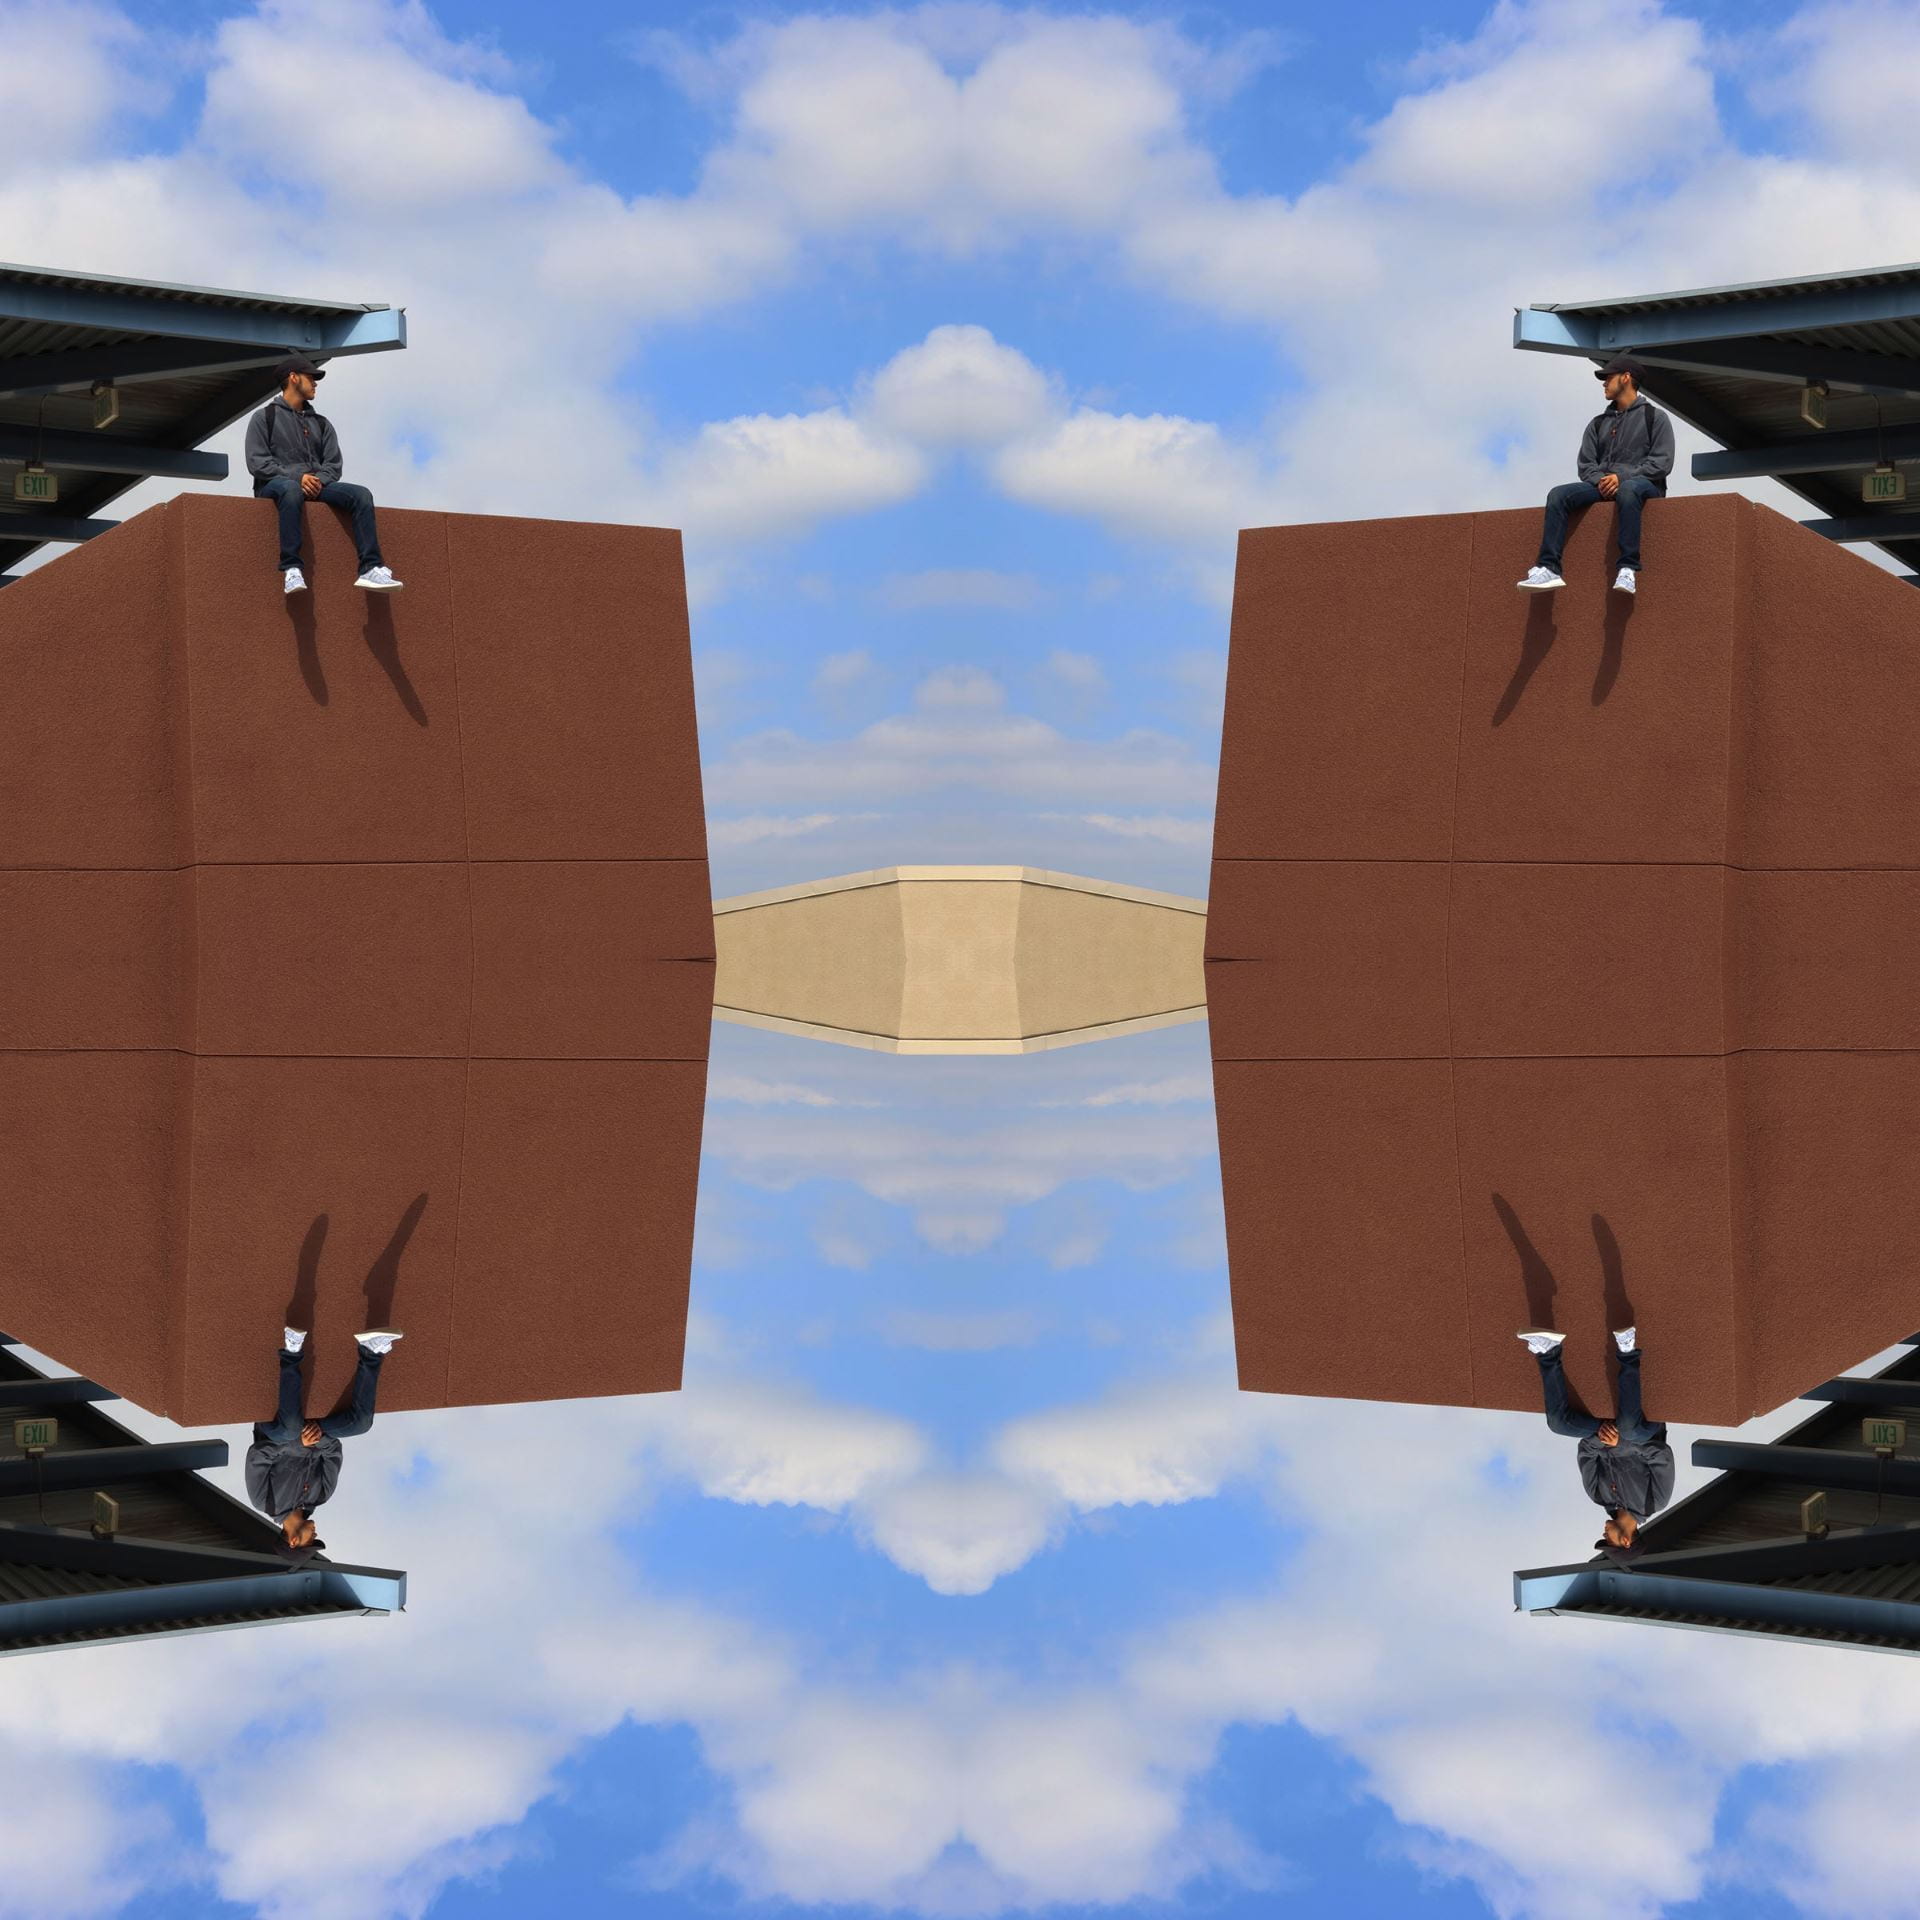
Use your own photography for this. Photos that have elements reaching the edges of the frames work best. Check out the examples below.

Click here for video tutorial!


Posting instructions:

Post your jpeg on your blog: size large, link to media file.

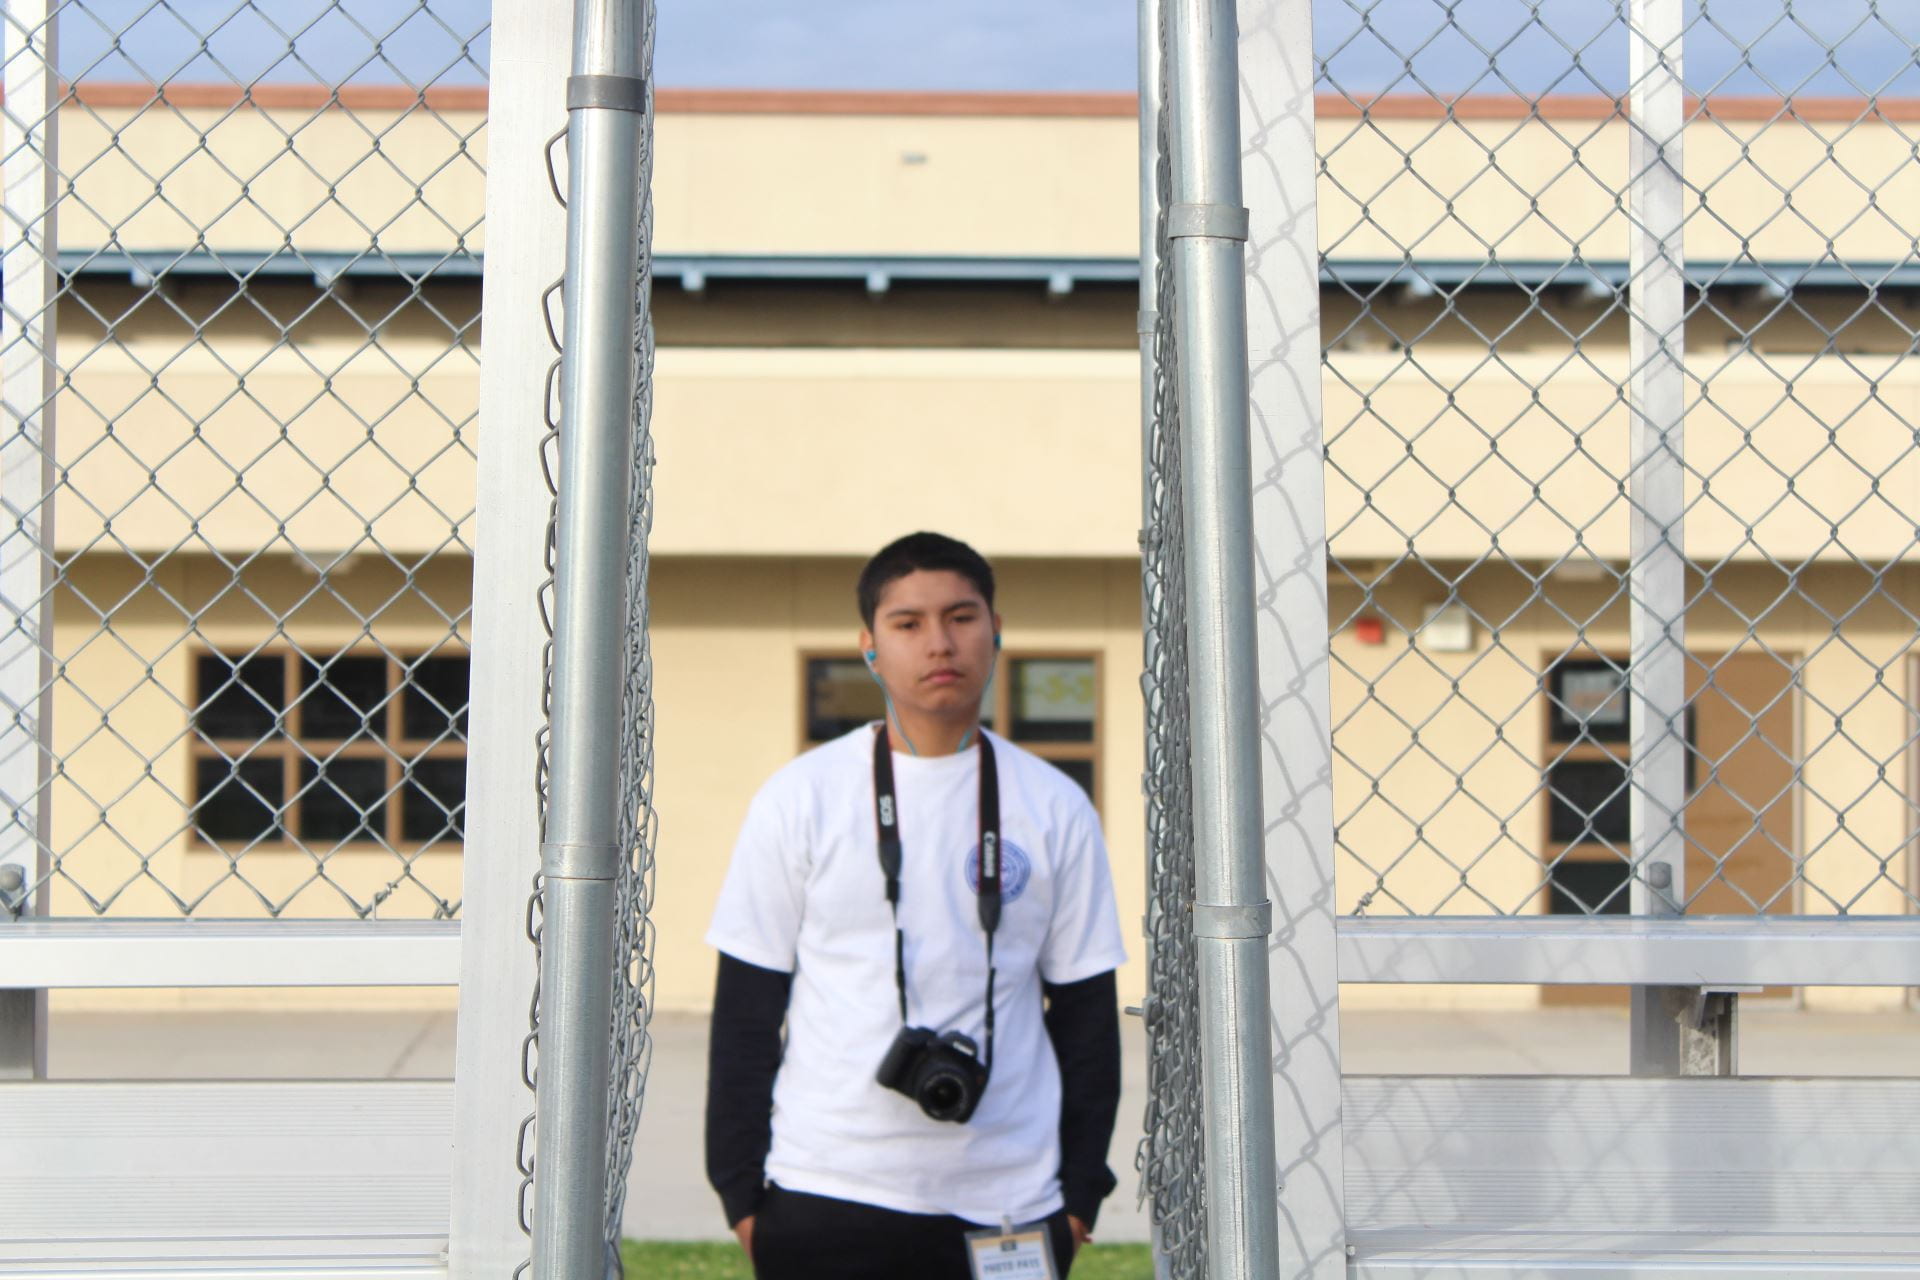
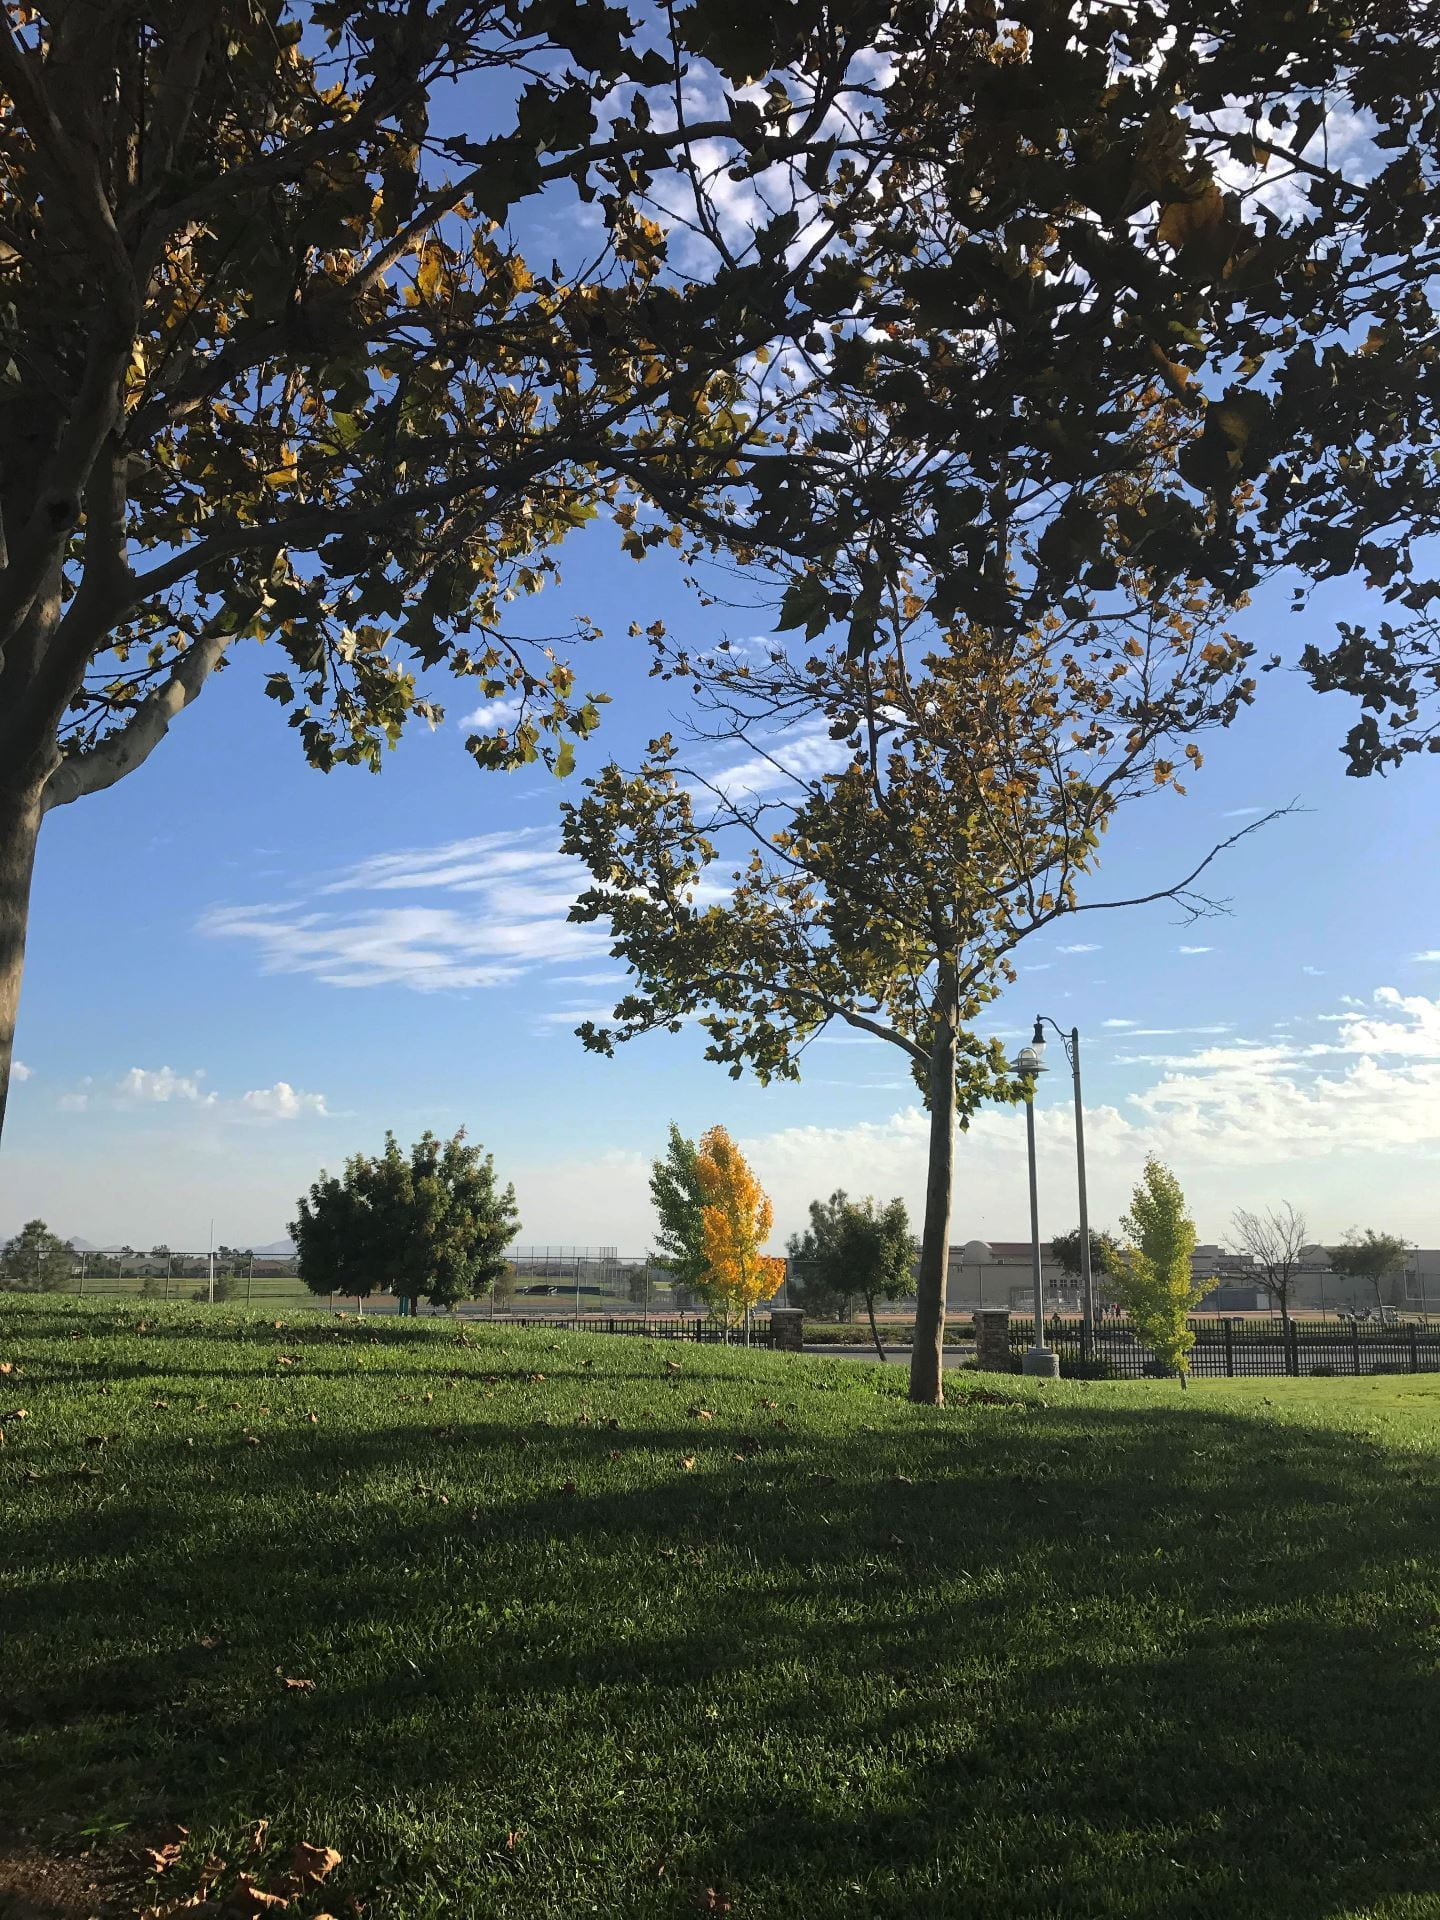
Then also post the original photo you used so we can see how you transformed it!

Want more of a challenge? You can also create a 2 inch design instead of the 4 inch that you just learned.

Student examples of 4 and 2 inch symmetrical designs:


Posted in Photo 1 Assignments

Super Symmetry Using Photoshop

Today’s Agenda:

  • Check your grade on Q! Progress reports due this Friday!
  • Complete past due work.
  • Complete worksheet for Authentic Portrait of Significance: Due tomorrow (4/23).
  • Begin Super Symmetry Project-Due by Monday.

Creating Super Symmetry!

Instructions: Create a 4-inch design using the video tutorial provided.

Use your own photography for this. Photos that have elements reaching the edges of the frames work best. Check out the examples below.

Click here for video tutorial!


Posting instructions:

Post your jpeg on your blog: size large, link to media file.

Then also post the original photo you used so we can see how you transformed it!

Want more of a challenge? You can also create a 2 inch design instead of the 4 inch that you just learned.

Student examples of 4 and 2 inch symmetrical designs:


Posted in Photo 1 Assignments

Authentic Portrait of Significance: Worksheet + Project

Authentic Portrait of Significance

Project Due: Monday May 11th

Worksheet Assignment on Teams Due: Thursday April 23rd

Worksheet-Authentic Portrait of Significance

Project Criteria and Posting Instructions:

 Authentic Portrait PPT w Instructions & Worksheet Guide

Worth 30 summative points total!

Post & turn in: 3 Edited Portraits of Your Chosen Subject:

  1. Headshot with shallow depth of field
  2. Waist shot
  3. Environmental Portrait PowerPoint about what Environmental Portraits Are

Extra Resource: Natural Light Examples for Portraits

Rubric:

Technical: proper settings, good exposure/proper lighting, sharp focus, edited to enhance, and demonstrates appropriate depth of field.

Aesthetic: no unnecessary distractions in the background, proper framing (headshot is close enough, not too much headroom above subject, etc.), thoughtful camera angles and intentional composition.

Criteria: has all photos and paragraphs required, demonstrated planning & thoughtfulness, and followed posting instructions.

Student examples with their stories:

Student Examples of Authentic Portrait w/ Stories

Posted in Advanced Photo Assignments

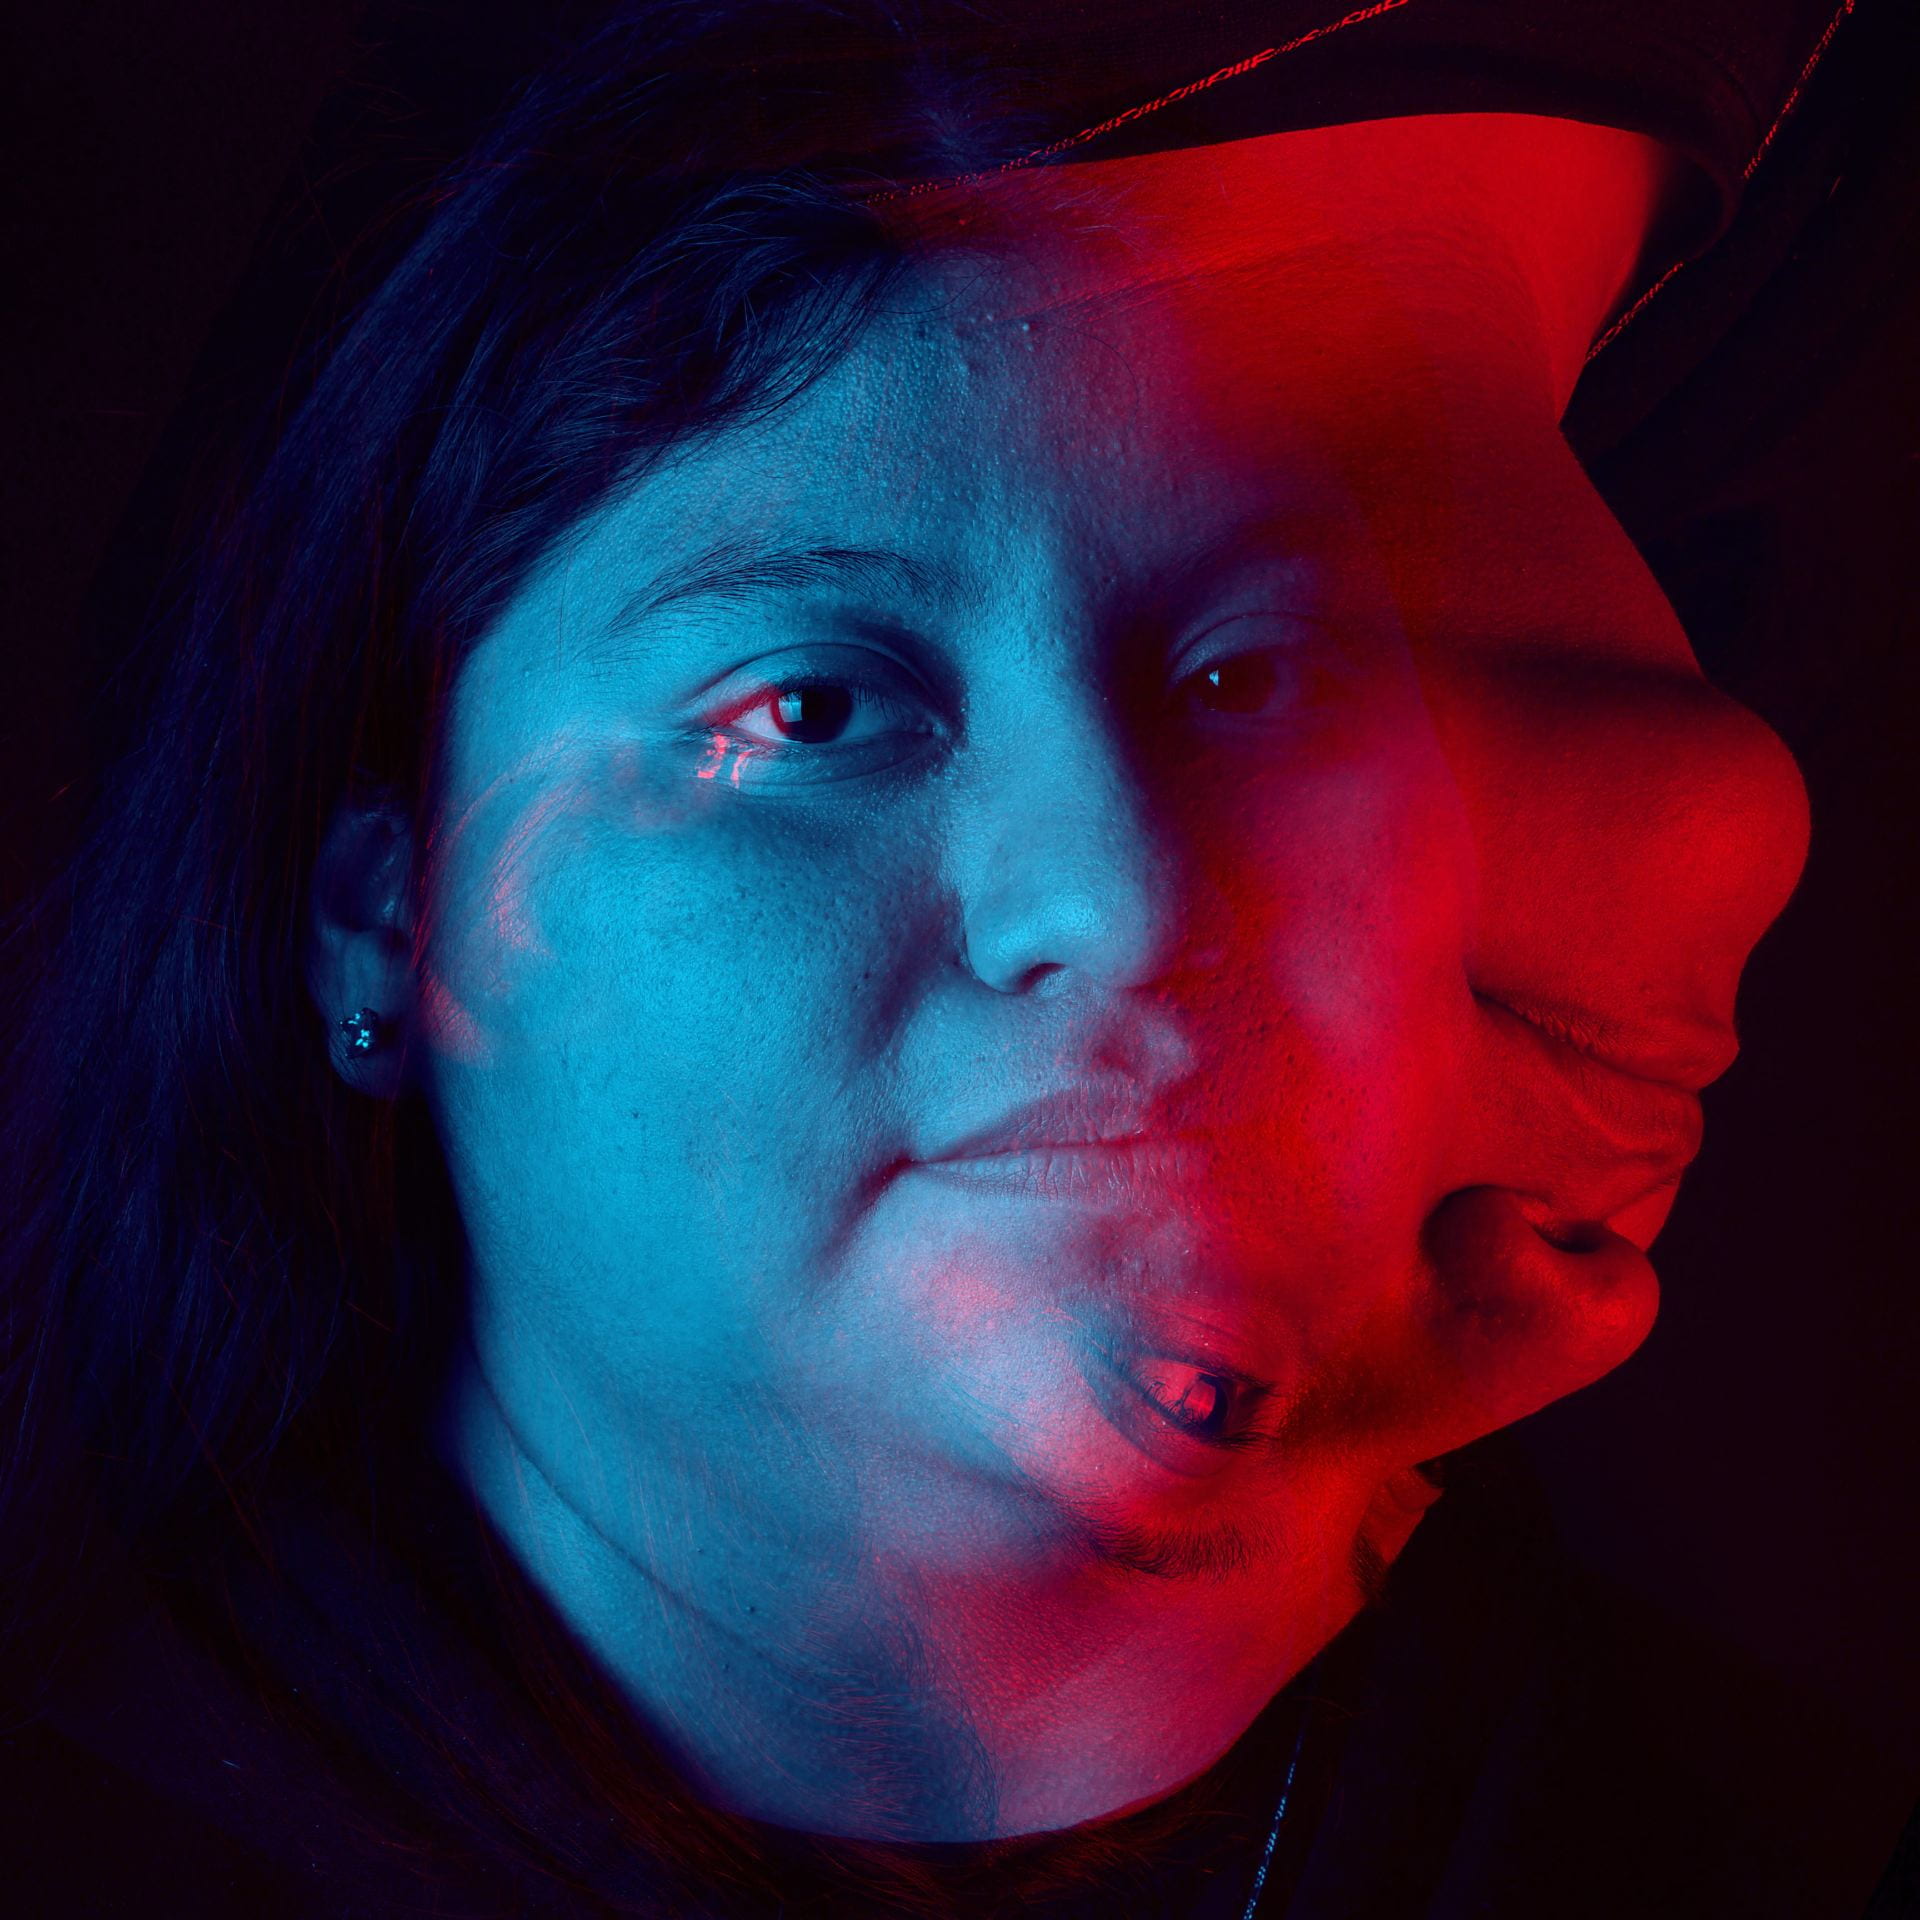
Half & Half Composites


Half & Half Composites inspired by photographer @Fontanesi

Fontanesi Photo Collages

Due by: Monday April 13th

Create a total of two composites in which you combine two of your own photos in the style of photographer, Fontanesi.  (So, you will use a total of 4 photos).

Work on these when you have free time in the class period!

Examples from other photographers, Moller Joakim and Sarah Van Rij:

Student examples:

Posted in Pathway Block

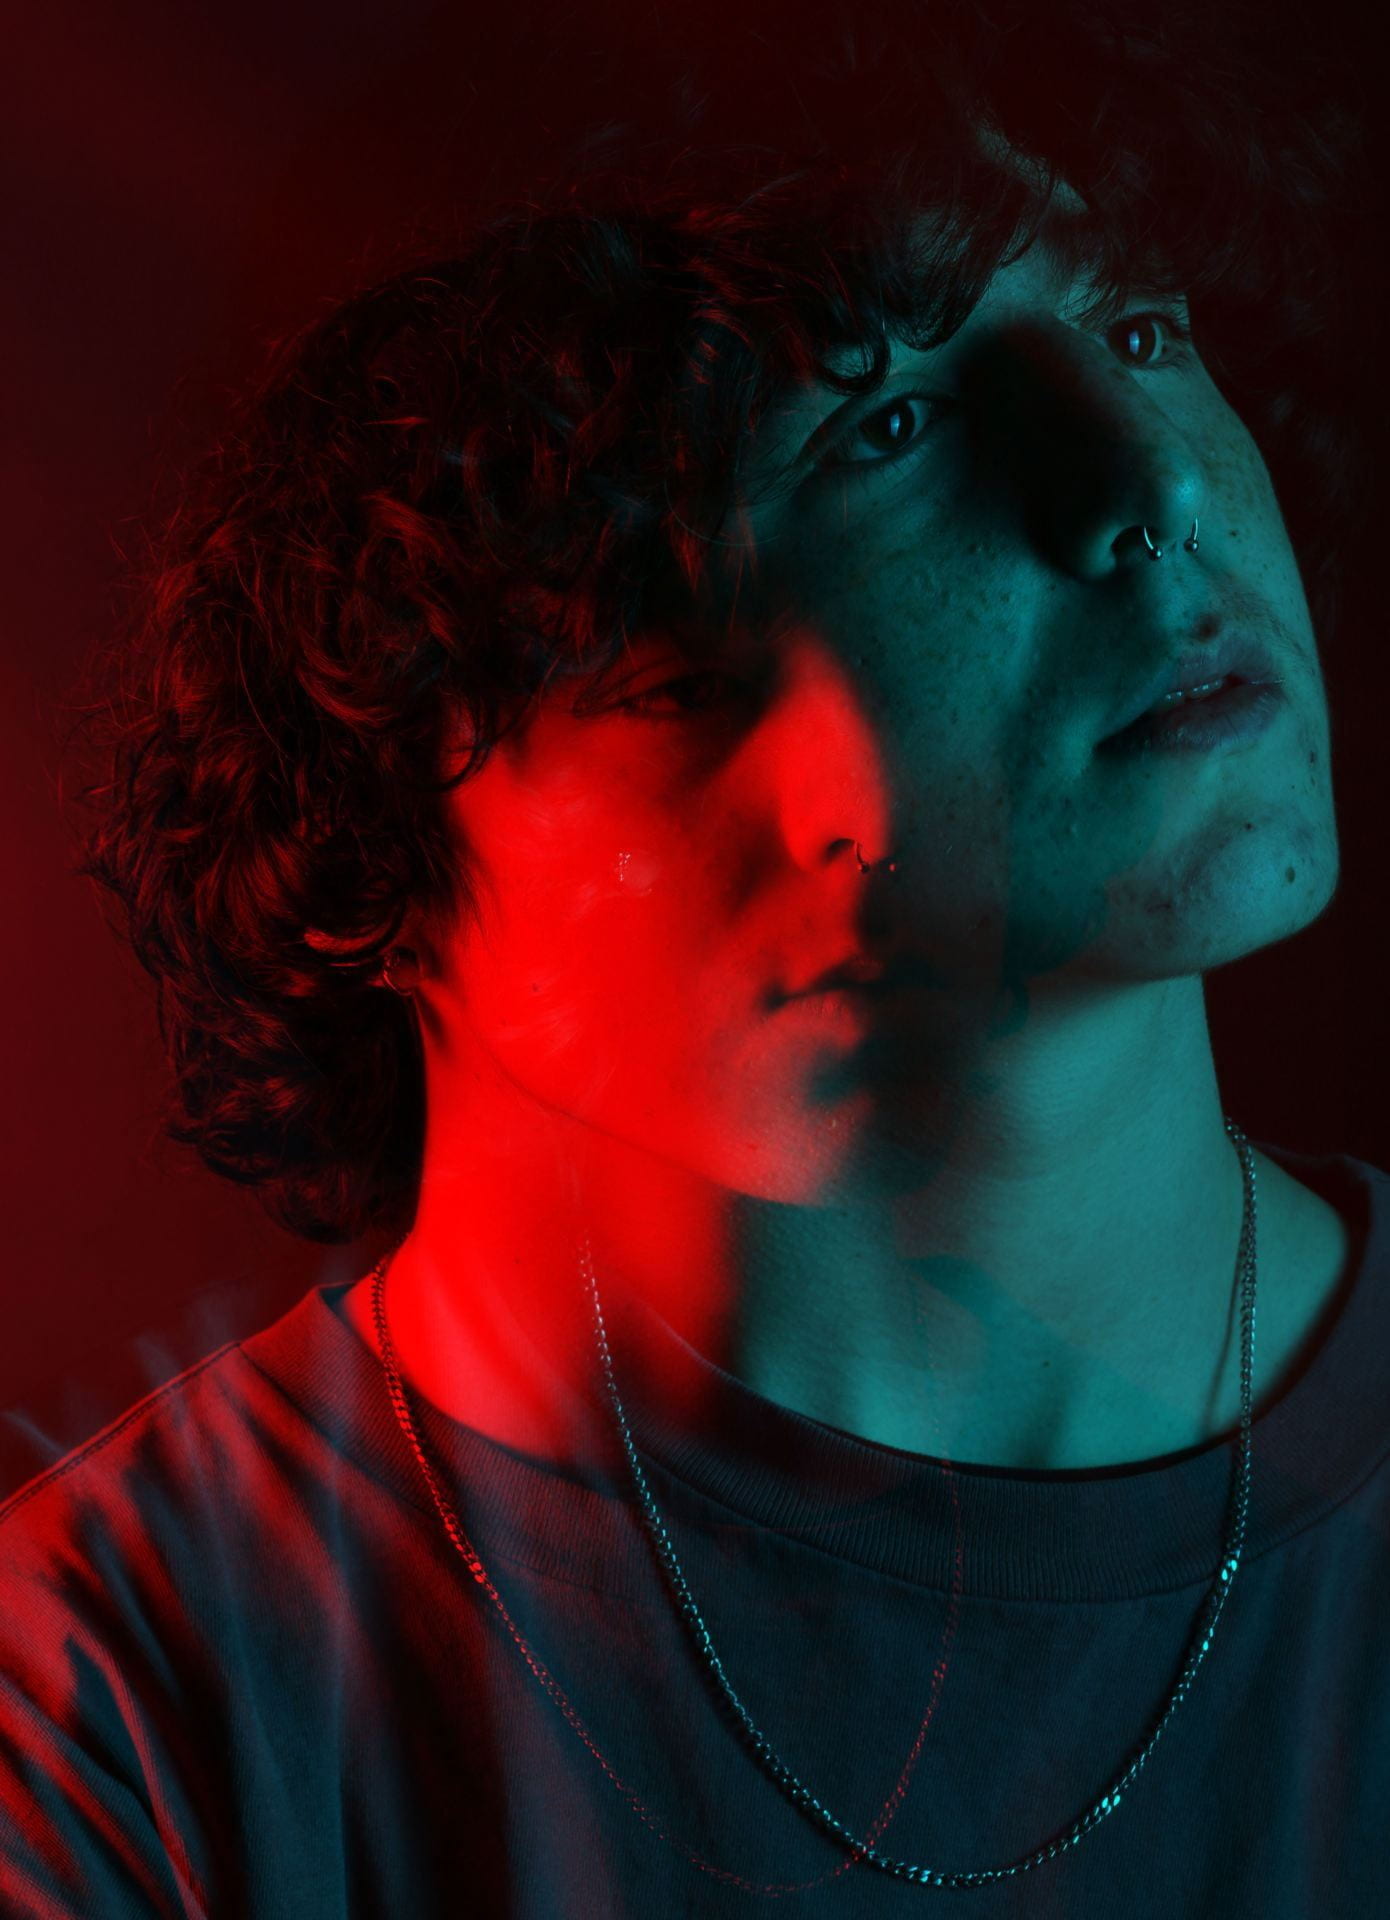
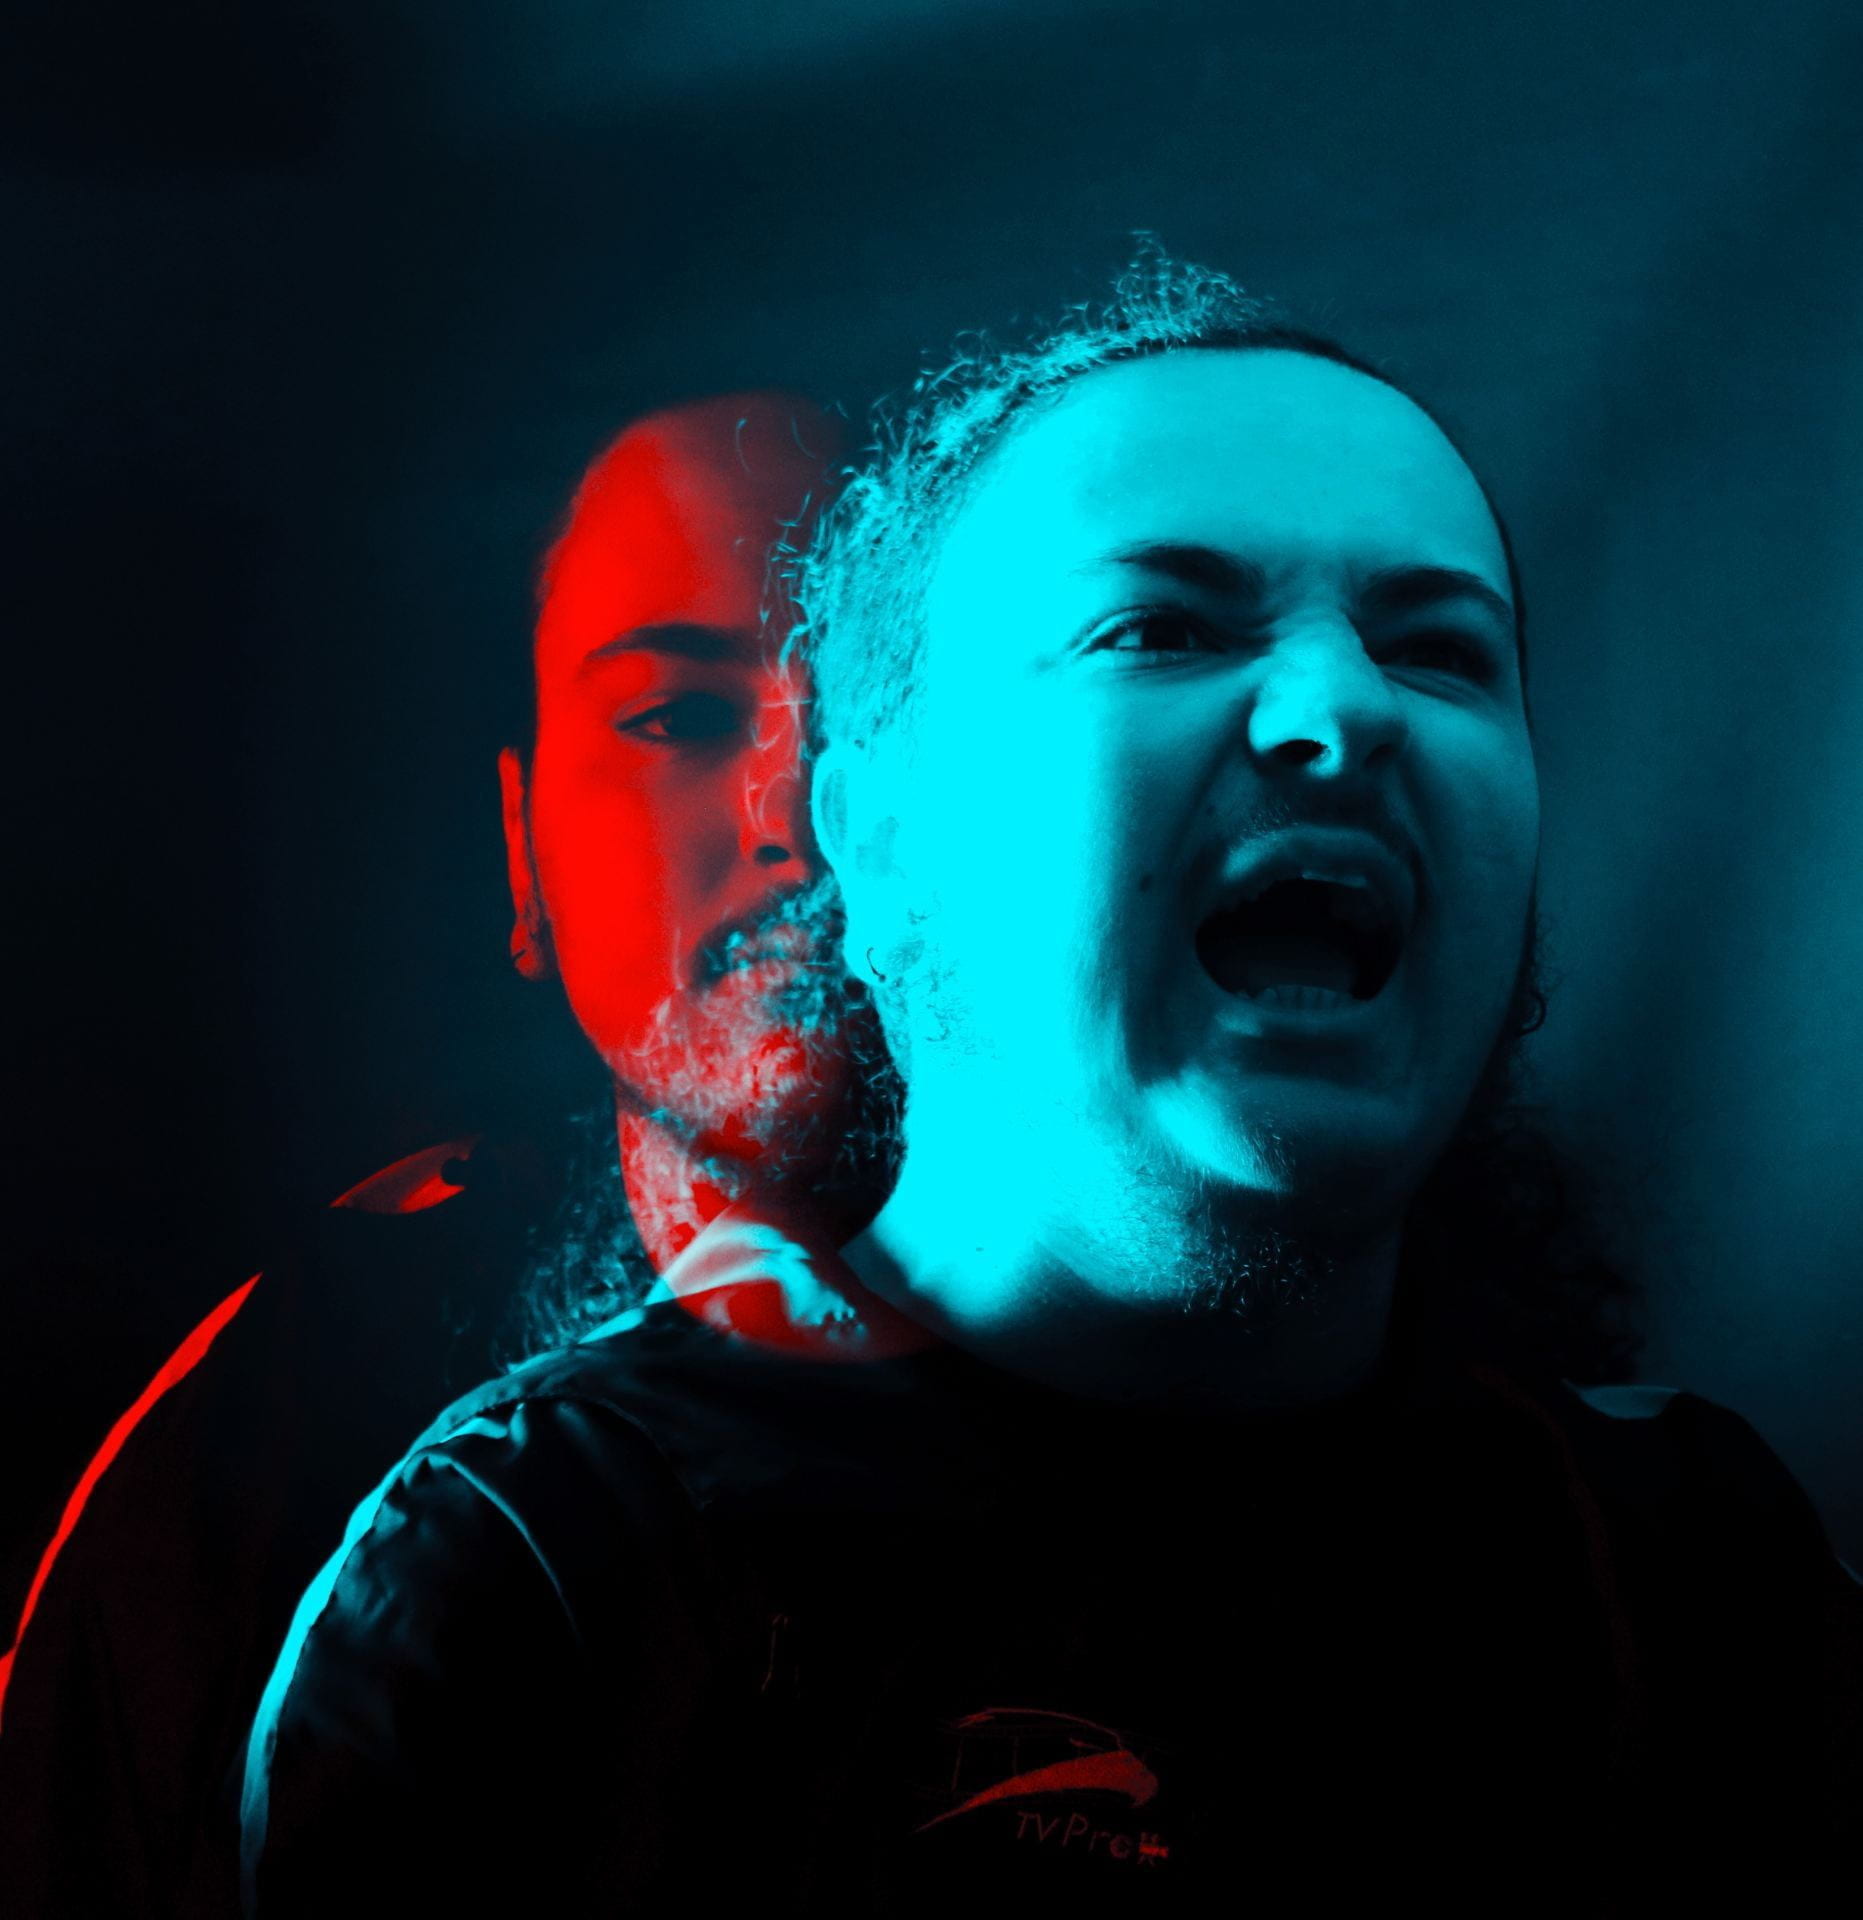
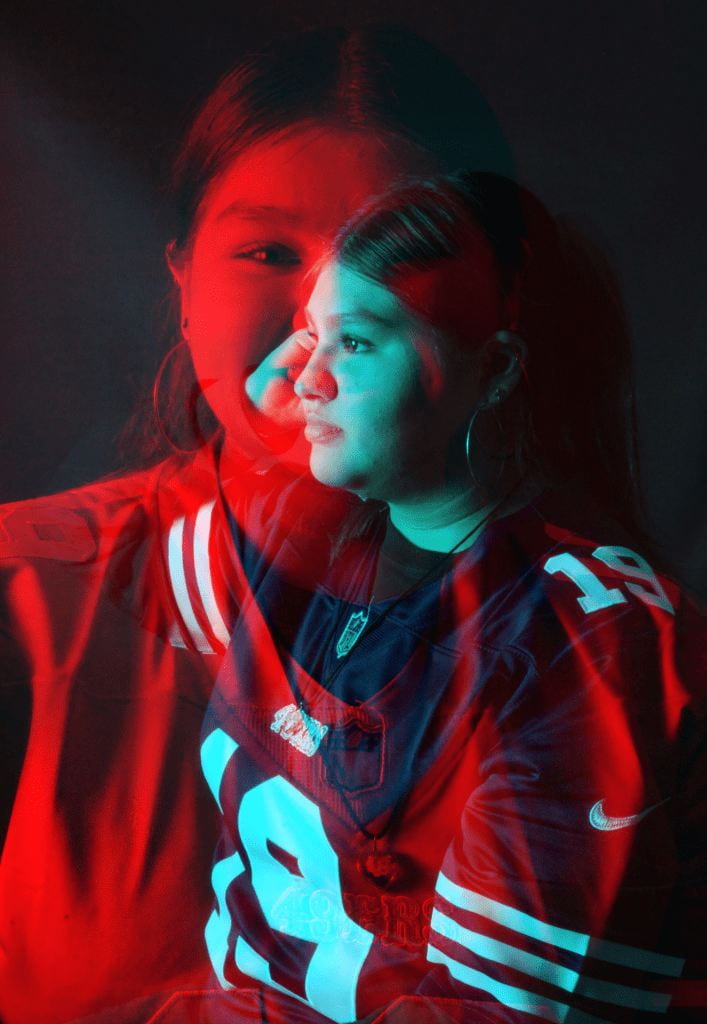
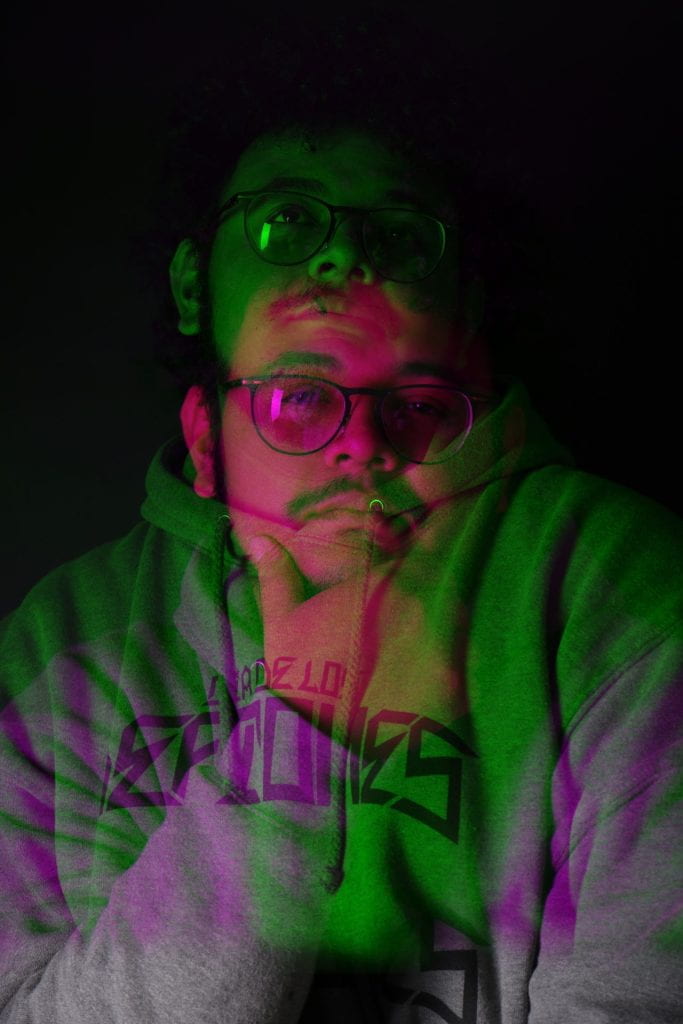
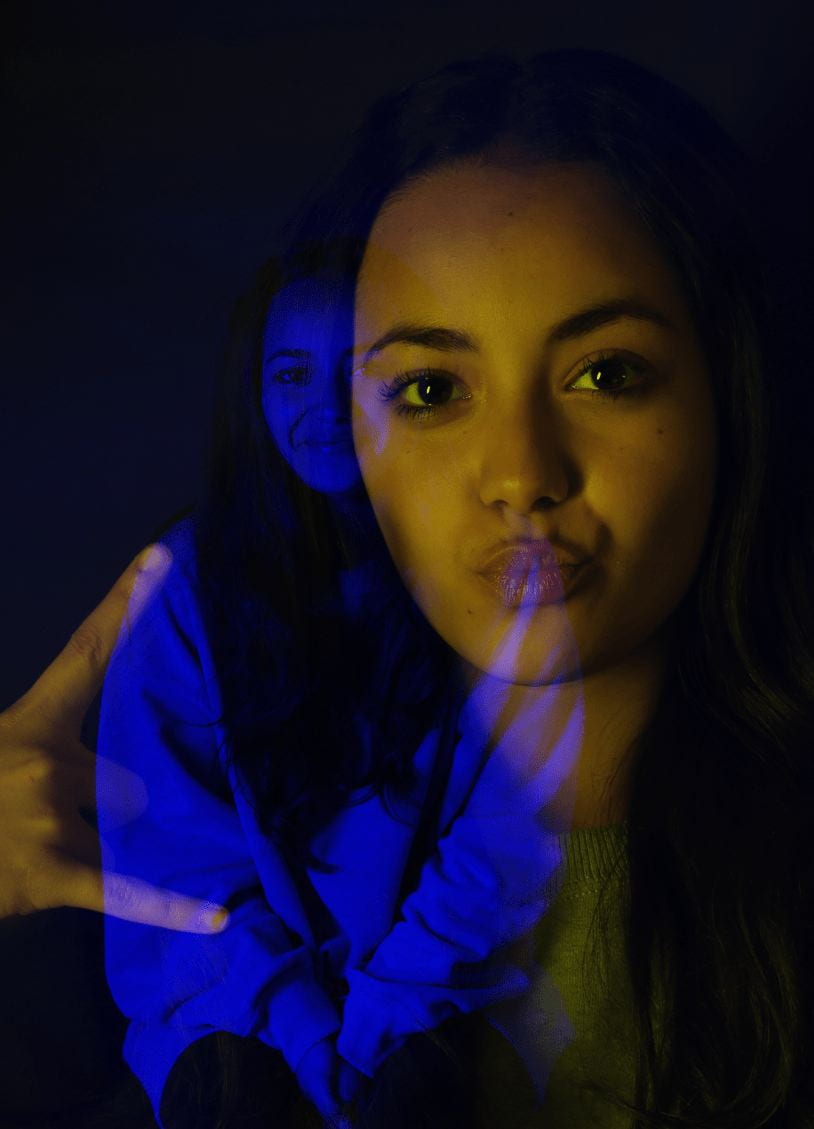
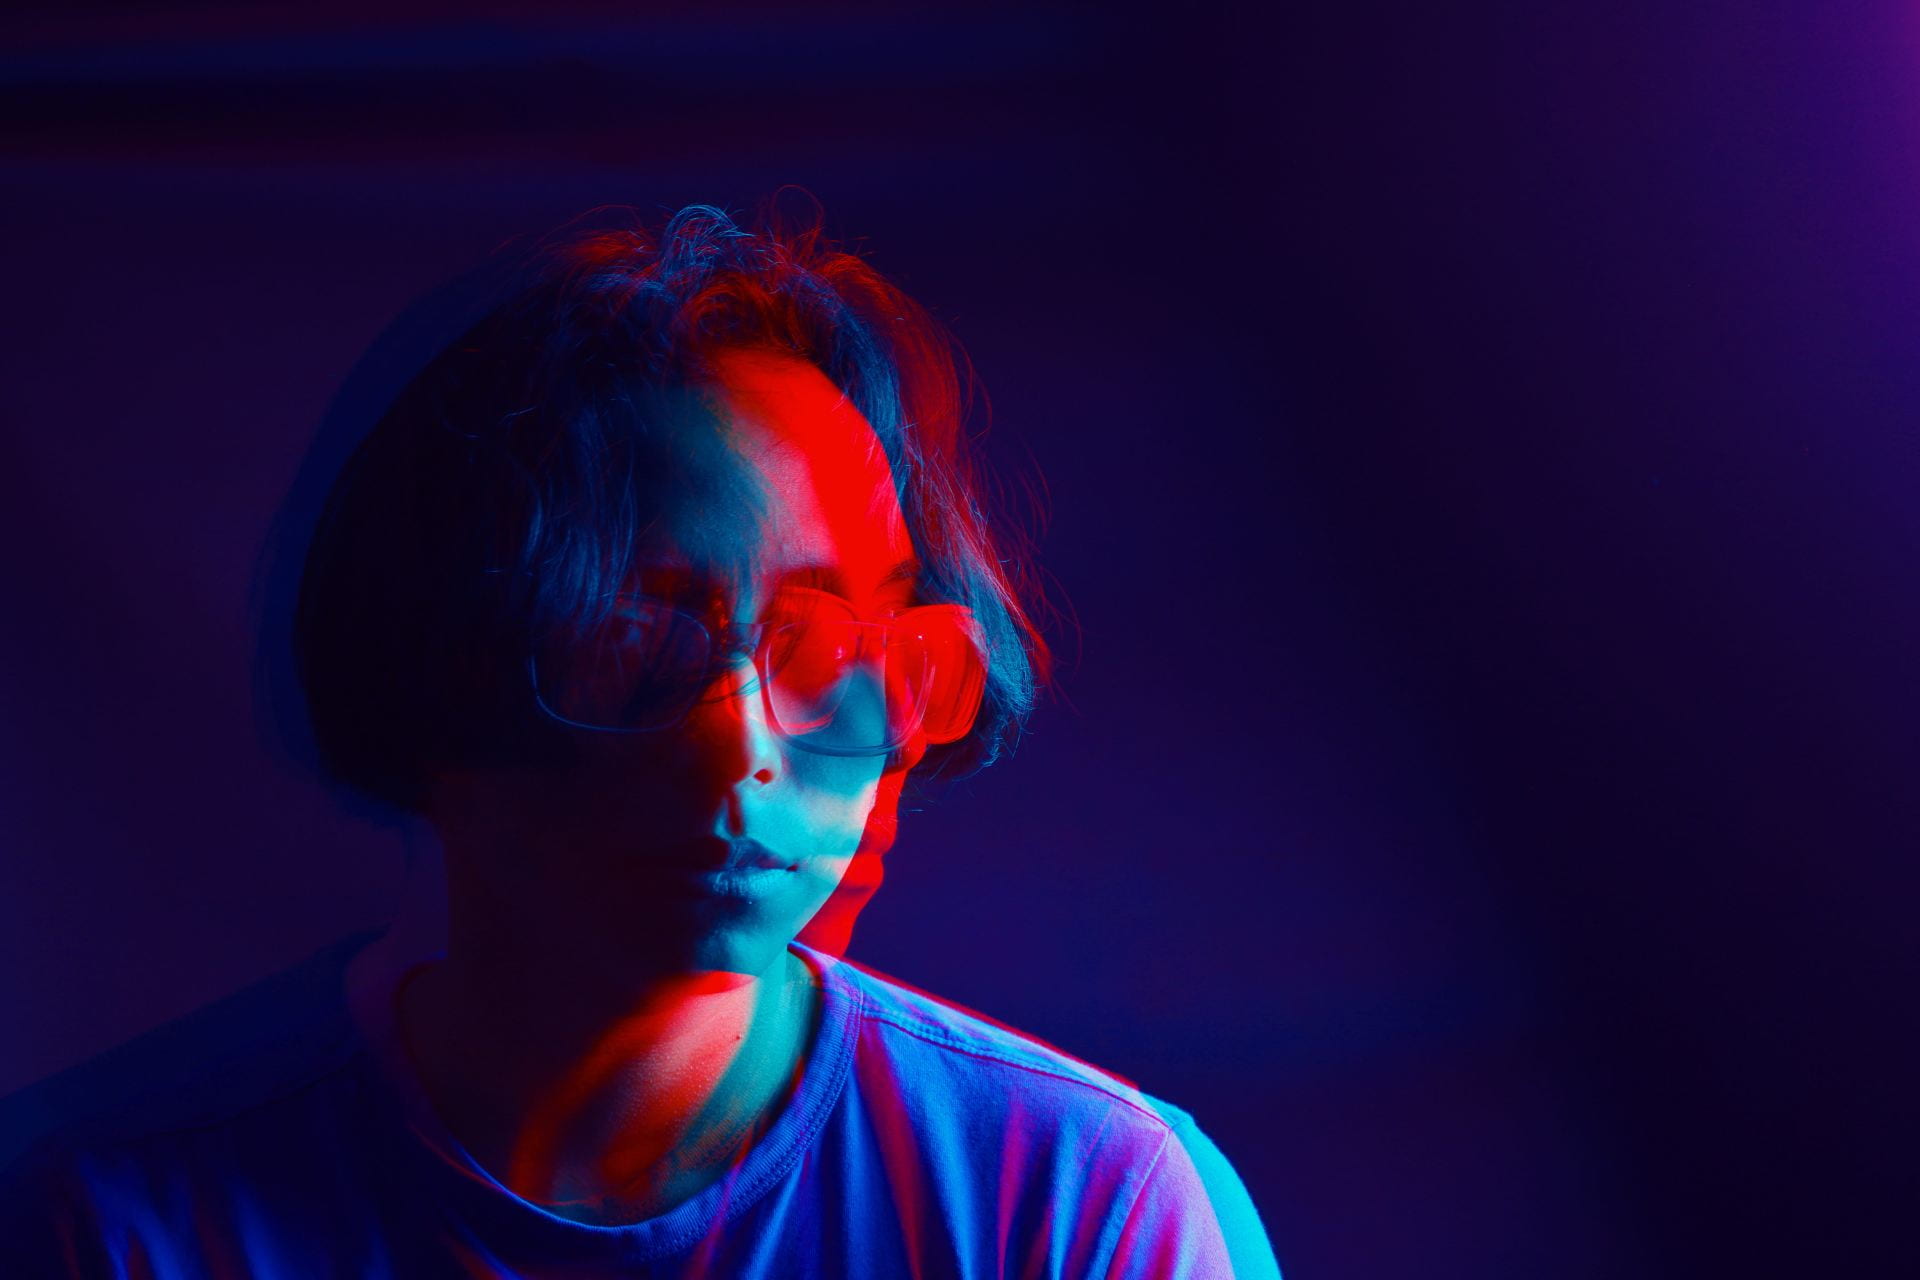
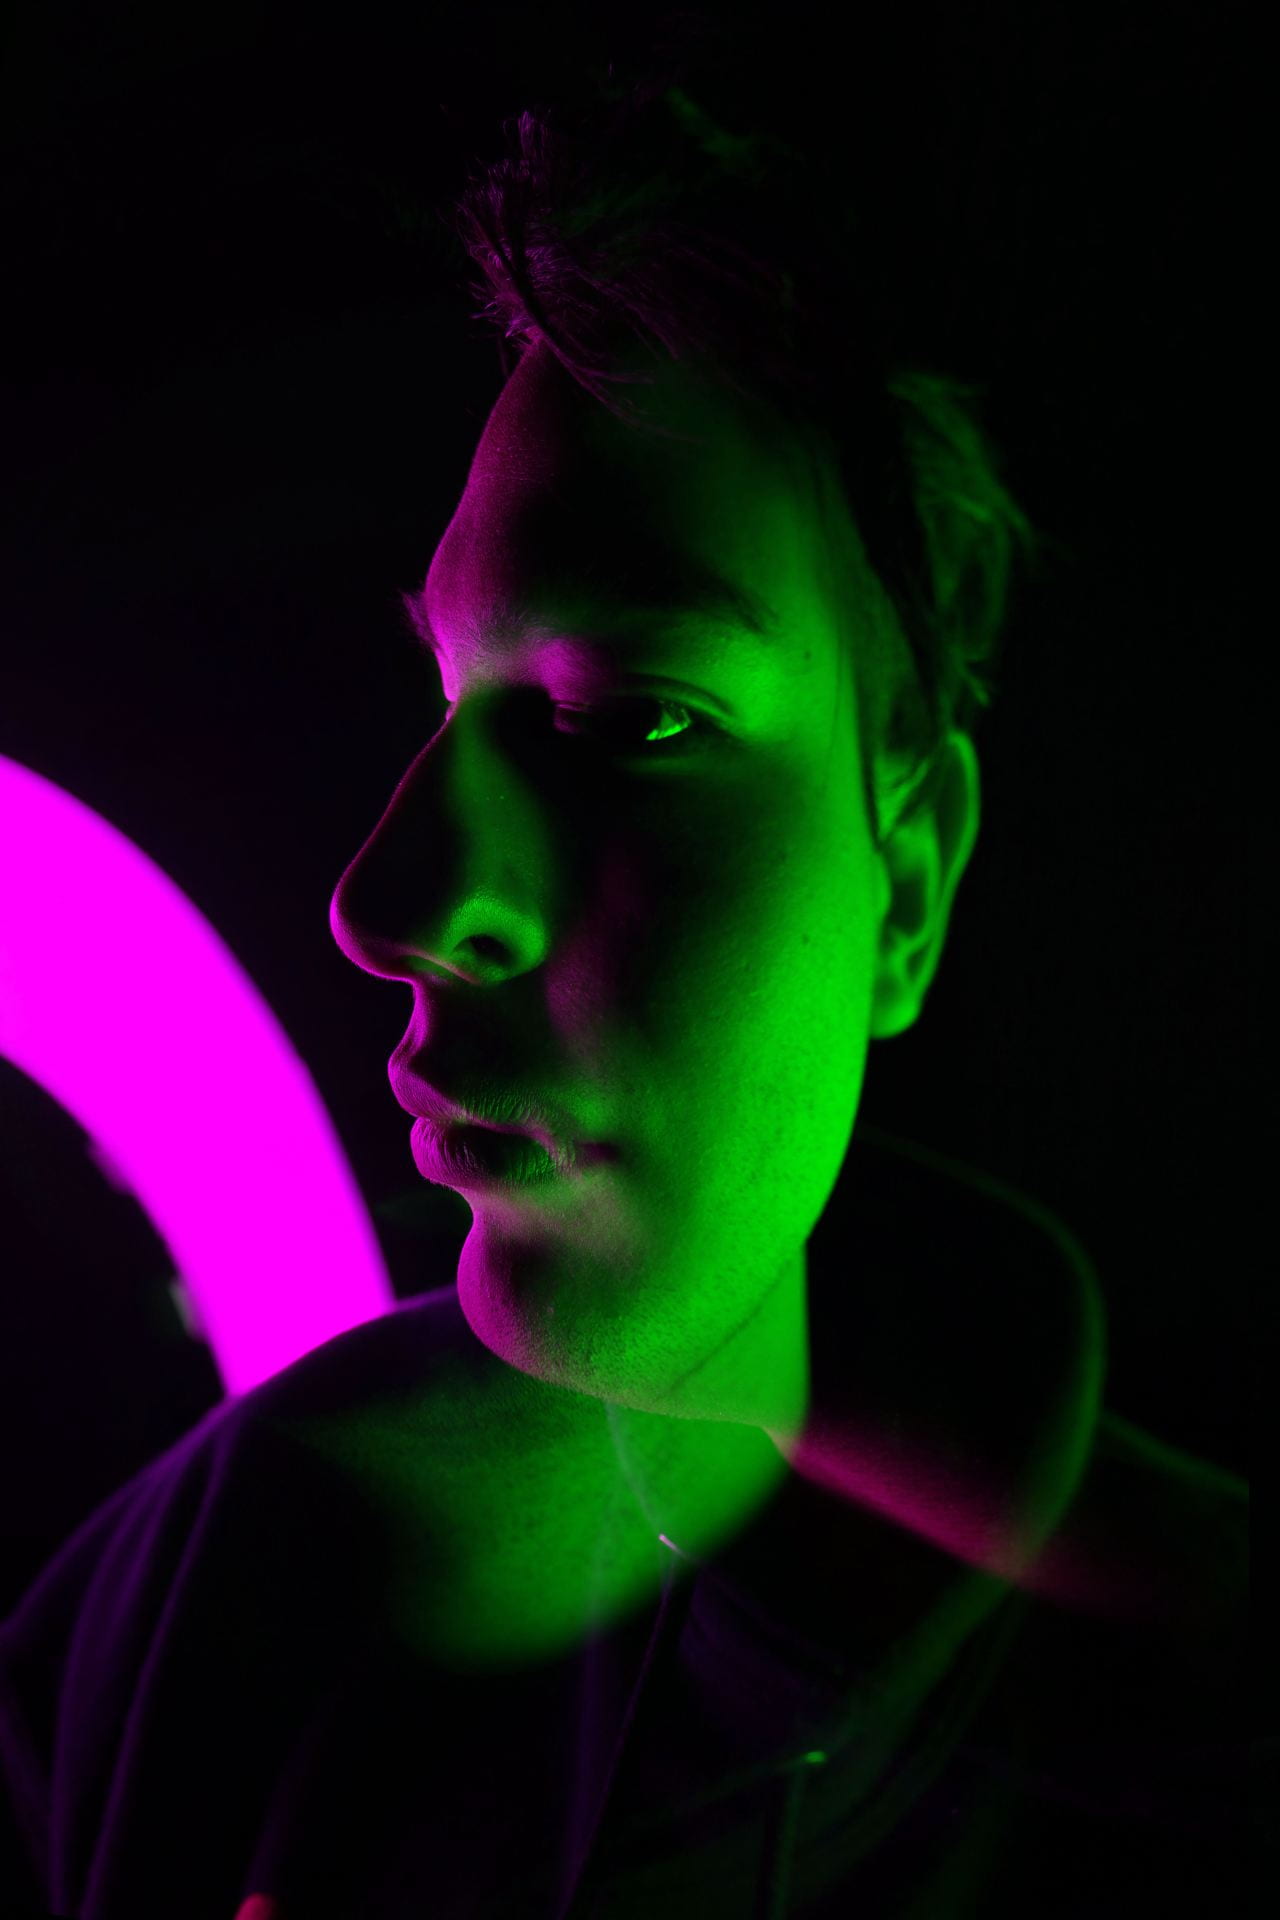
Double Color Portraits!

Today’s Agenda:

  • Catch up past due assignments. LOCK IN!
  • Plan your shoot for Senior Lifestyle Portraits for Monday & Tuesday.
  • Double Color Portraits

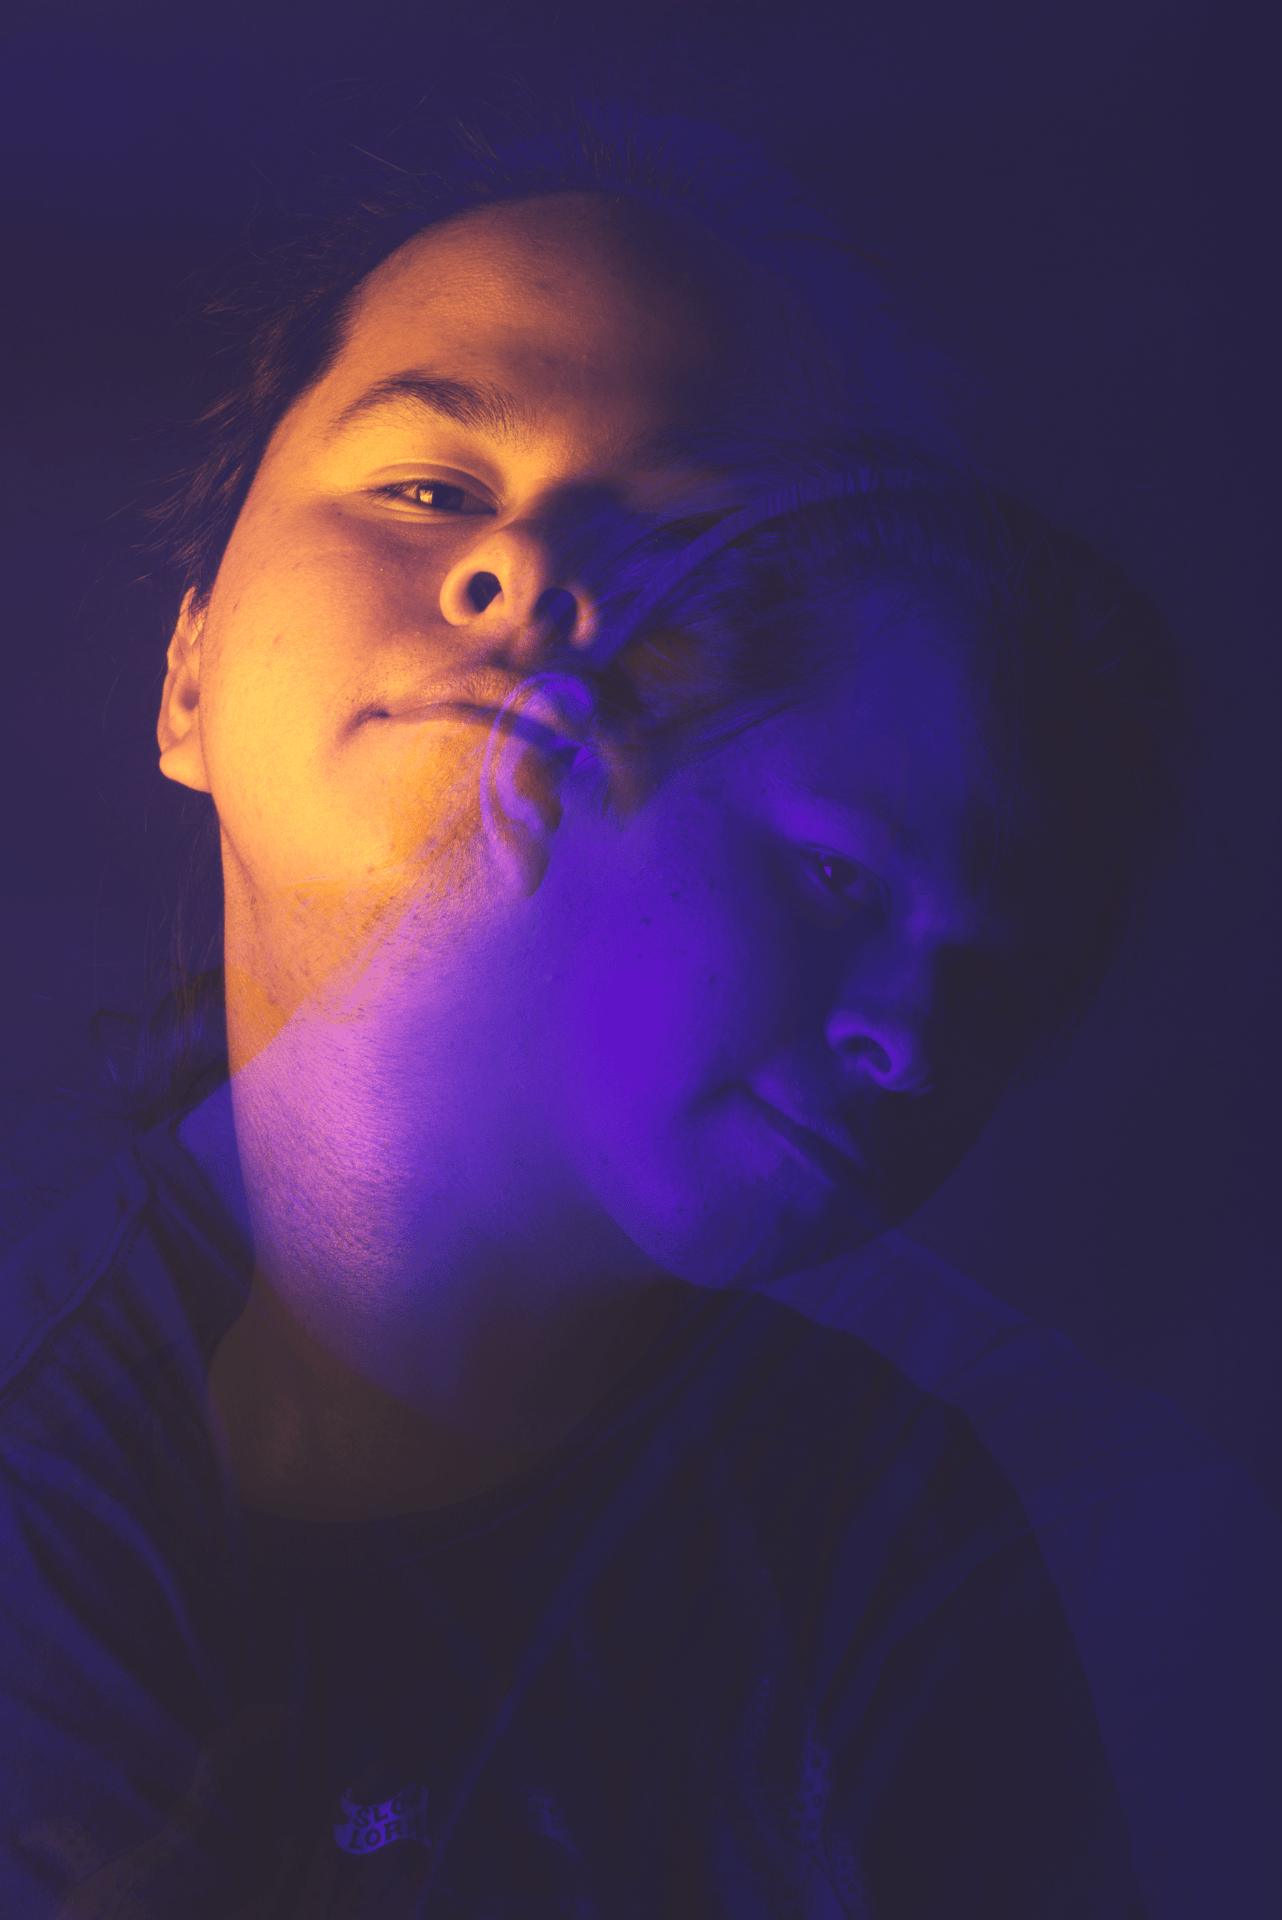
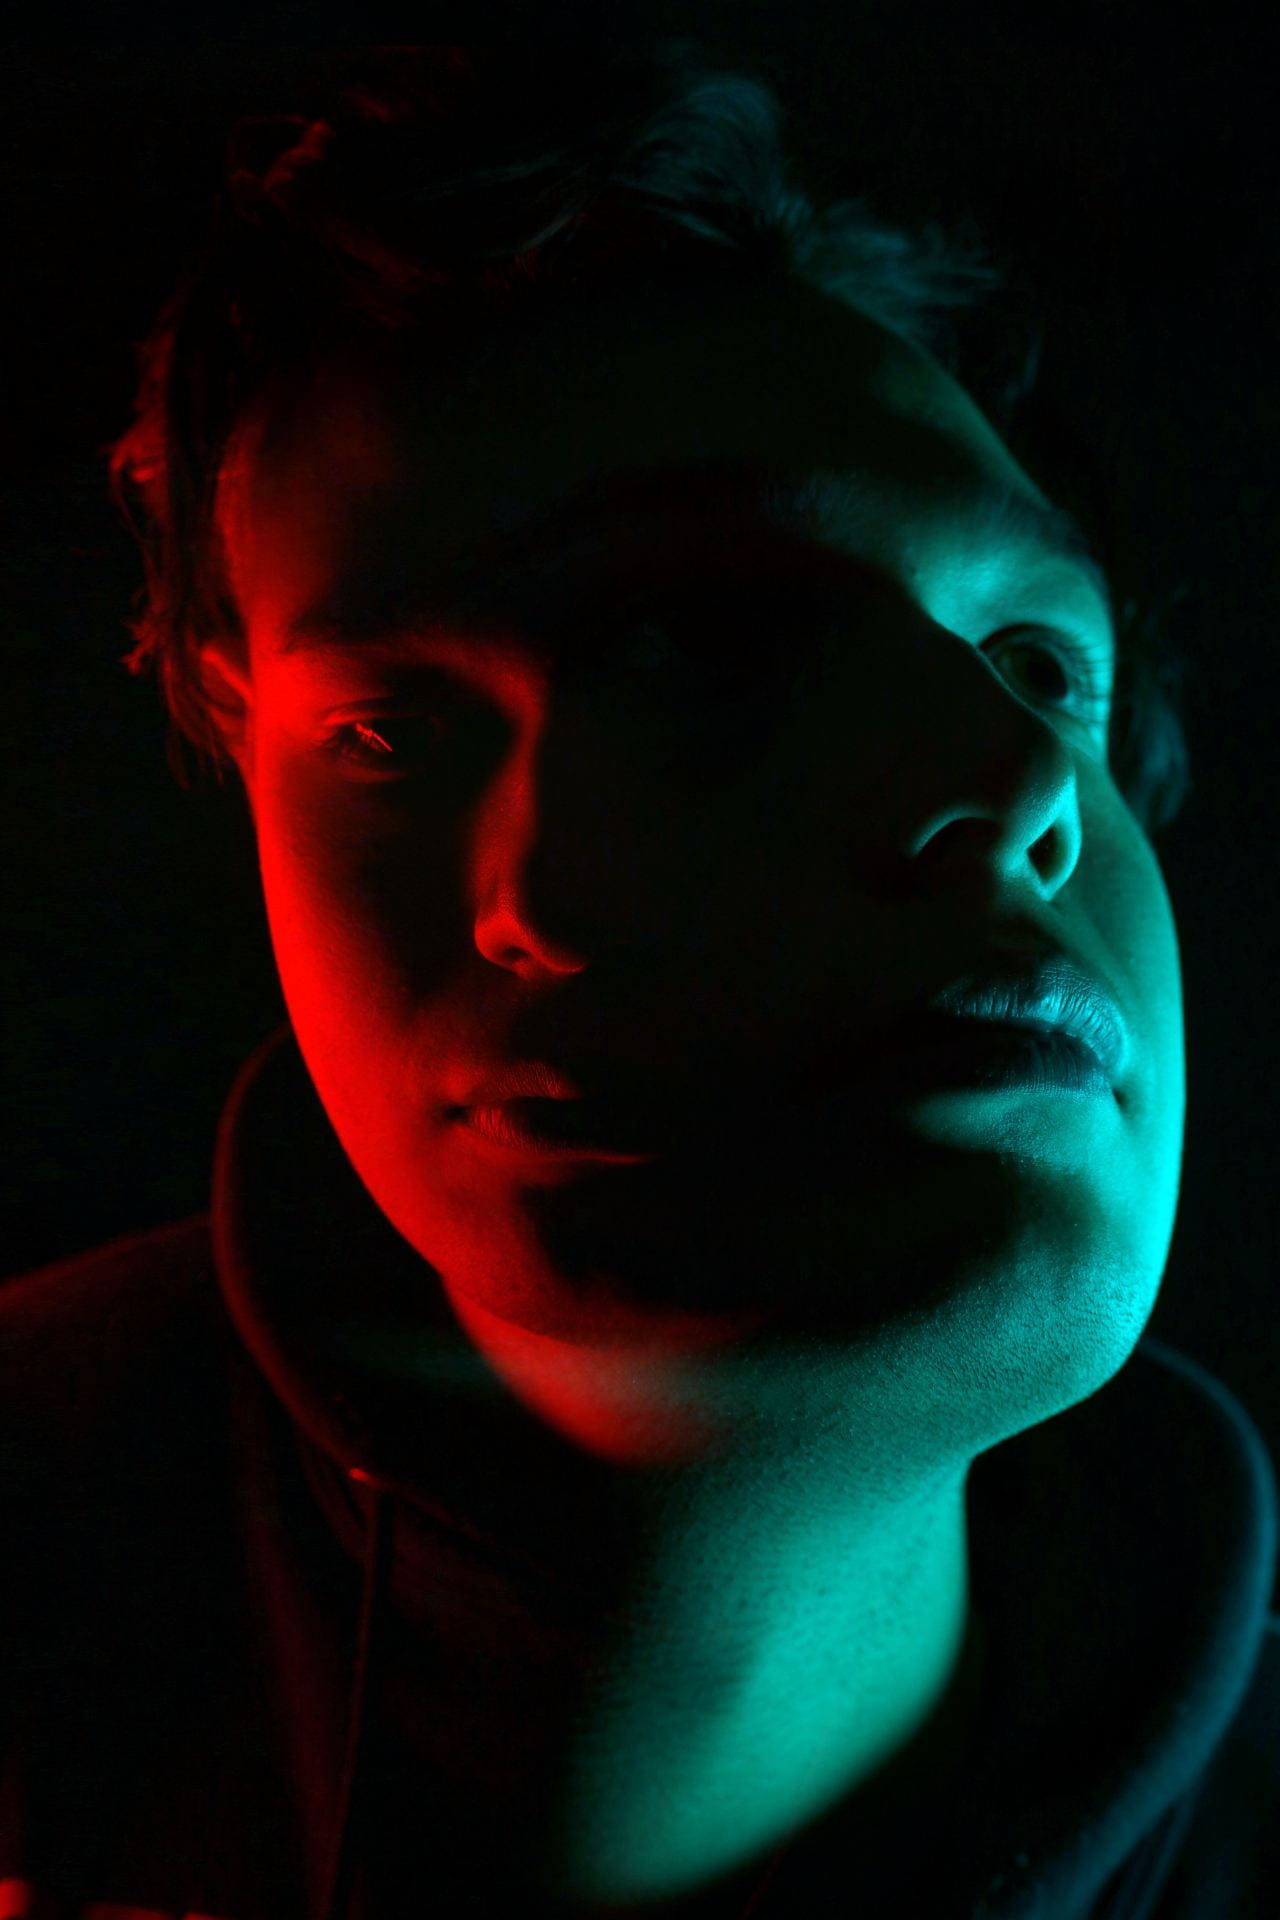
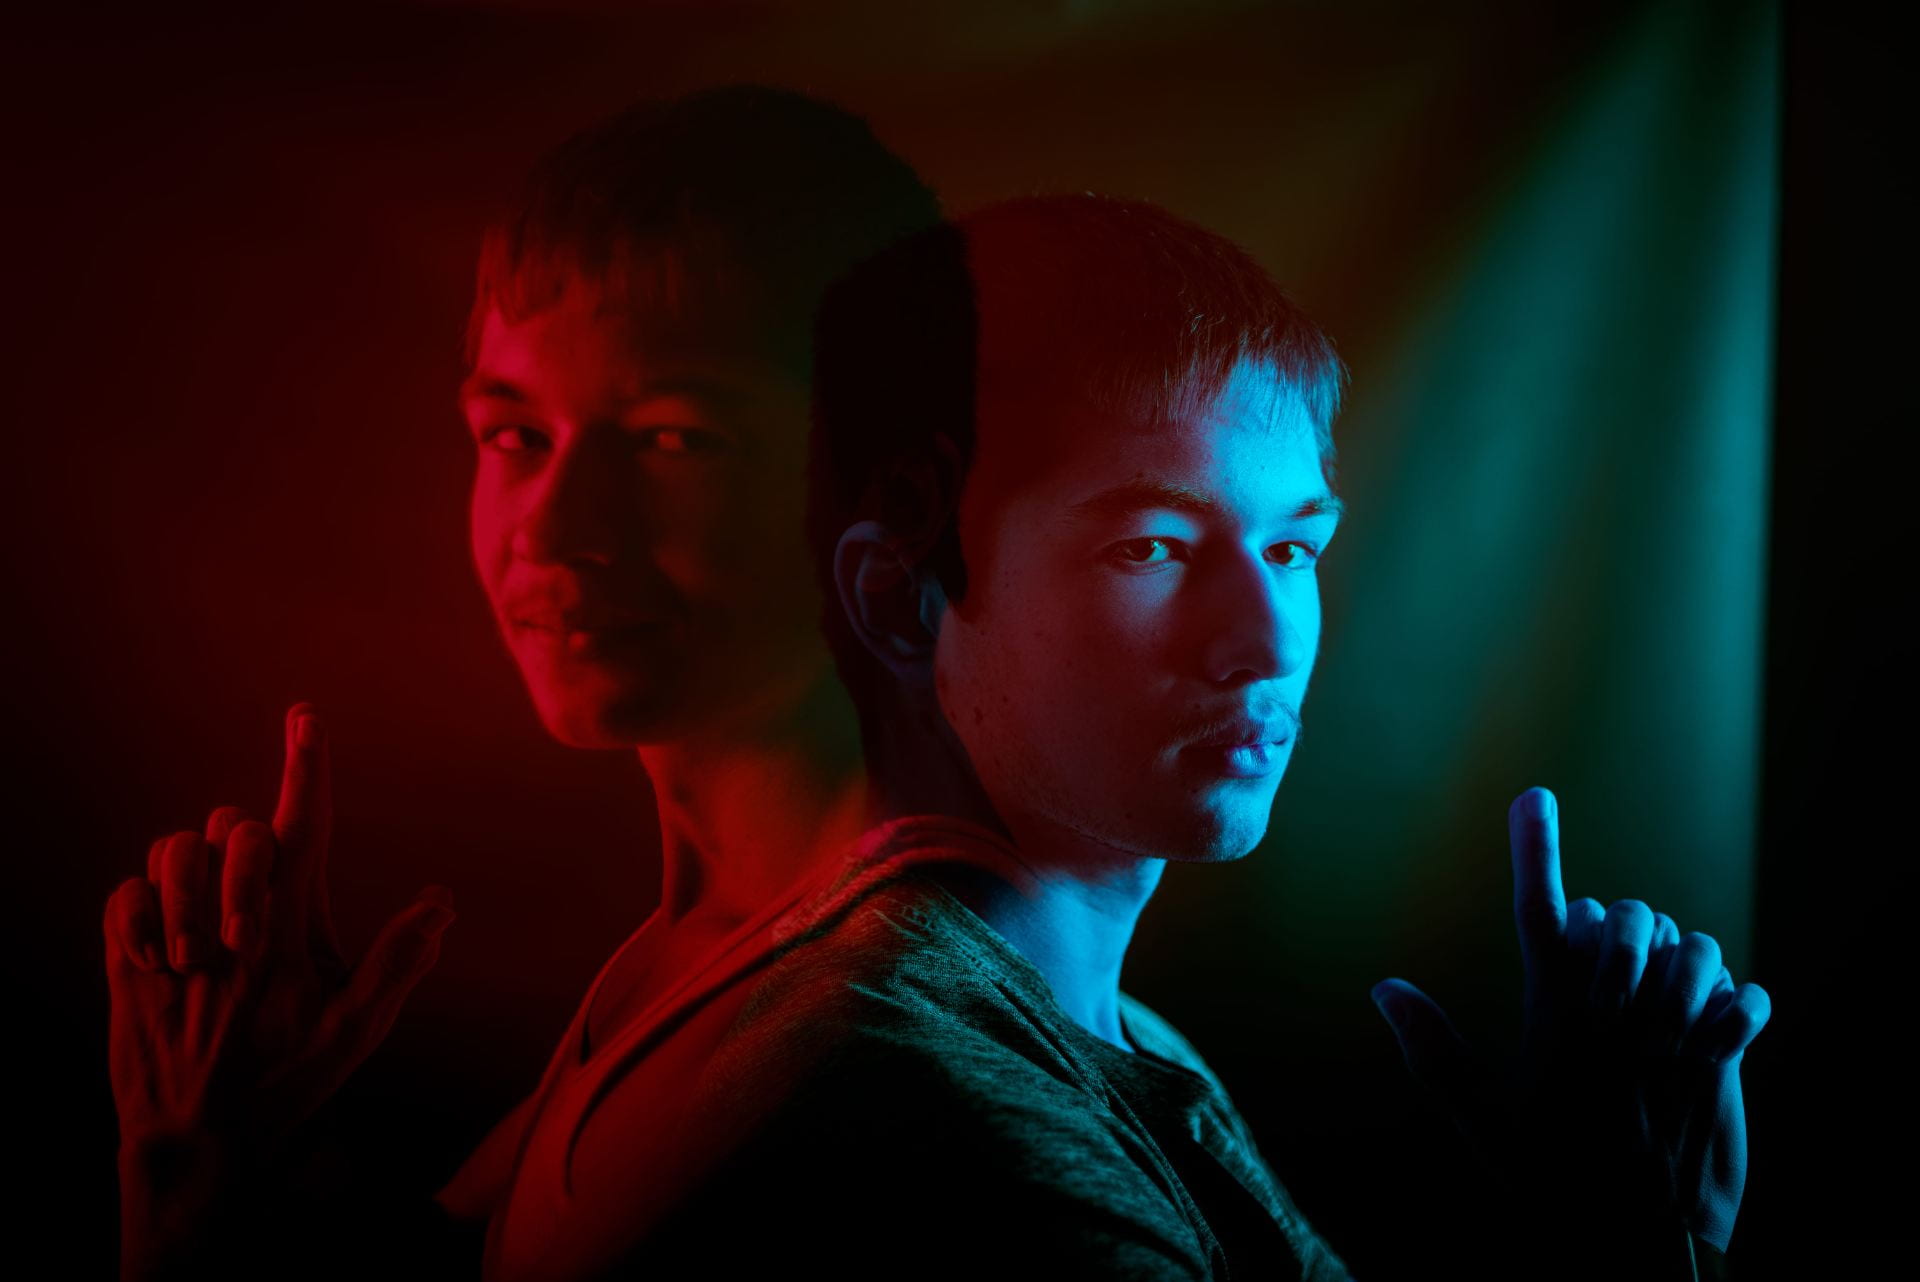
Double Color Portraits

Create a total of two. Due by Friday April 10th

Follow the instructions on this document to create two different double color portraits:

Double Color Portraits Photoshop Instructions

Video Tutorial: https://edpuzzle.com/assignments/69d7f0bd5f269574126e98a5/watch

You may take new portraits just for this assignment. Let me know and I will help you set up the photo backdrop and lights. 🙂

Upload your results to your blog and turn in on Teams.


Posted in Photo 1 Assignments

Photo Poetry Series

Photo Poetry Series

Due Friday April 10th

Combine your own photography with words using Photoshop. Explore your creativity and imagination!

Layer masks, blending modes, layer opacity, and layer effects should be explored as ways to merge words with images.

Instructions:

Use your own original photographs to create TWO separate photo poetry images with different criteria:

  • Photo Poetry Composite #1: Handwritten words* + your original photo
  • Photo Poetry Composite #2: Typed words w/ Photoshop text tool + your original photo

*Your handwritten words can be captured with your phone or photographed with a DSLR. And you may come up with other ways to get your handwriting uploaded (using your own drawing tablet, for example). 

What can you write about?

  • stories, poems, song lyrics, from you or other writers.
  • a letter (love letter, letter to younger or future self, letter to someone you wish to communicate with, fictional letter, letter you actually received)
  • flow of consciousness, journal entry, questions, ponderings, affirmations, prayers, meditations
  • recipes, shopping lists, to-do lists, instructions, homework
  • Poetry Websitehttps://www.poetryfoundation.org/

Posting Instructions:

  1. Insert your two creations individually (not as gallery). Change link to media file and size to large or full size.
  2. Create a gallery that displays all the original images used to make them. Change link to media file, leave as thumbnails.
  3. Publish and turn in on Teams by Friday before the period is over.

For any poetry nerds out there, here are some of my favorite poems:

https://poets.org/poem/kissing-vietnamese

https://www.poetryfoundation.org/poems/160778/torso-of-air

https://www.poetryfoundation.org/poems/149814/how-to-triumph-like-a-girl

Posted in Photo 1 Assignments

Environmental Portraits Group Project

Today’s Agenda:

  • Intro to Environmental Portrait Assignment (answer questions on Word doc)
  • Critique Blog Post
  • Video Playlist: Anchoring and Lighting
  • Create groups of 2-3 for upcoming Environmental Portrait project (we will most likely begin photo shoots on Monday)

Environmental Group Project

Objective: to make an environmental portrait of your partner on a location on school campus that expresses something about them.

Photographs must be well exposed & adequately lit, well composed, and in sharp focus.

Consider using on or off-camera flash and/or reflector to add light or fill in shadows.

Step 1: Interview.

If you have a group of 3, decide who will photograph who. Once you know who your subject is, you need to conduct a little interview. Here are some question suggestions:

  1. What is your name?
  2. What grade are you in and how old are you?
  3. Are you involved in any clubs, sports, or other organizations on campus?
  4. What’s your favorite subject or class?
  5. What are some of the spots on campus that you typically hang out at or have fond memories of?
  6. What place(s) on campus can express something about you as a student here at Summit?
  7. What would you like the portrait to show or say about you as a student?

Step 2: Plan It Out.

Take a camera and pass on your own to check out the locations you consider using for your subject’s portraits. I suggest having two places in mind before stepping out in case one spot doesn’t work out (some places may require admin permission ahead of time-let me know if you need help with this).

  • Observe the lighting situation and take some test shots to figure out possible camera settings.
  • Also note if you’ll need only a reflector or a flash unit as well.
  • Visualize the portrait and where you will position your subject and what you’ll have them do (stand, sit, lean, etc.)
  • Take a few test shots without your subject. You will need to save these photos for later.

Step 3: Photograph!

  • Take at least 10 photos of your subject at the chosen location. Just like you saw Chris Orwig in the anchoring video, you may need to change your camera height, composition, and subject’s positions to get the best results.
  • Talk to your subject as you photograph to give directions and compliments. 🙂
  • Save the photos you took to your OneDrive.

Step 4: Edit.

Edit the best 2-3 portraits in Lightroom. Consider some of the techniques you’ve been picking up from past tutorials. Save as a JPEG large, name it with your subject’s name (spell it correctly!).

Step 5: Post and Turn In.

  • Create a blog post titled, “Environmental Portraits of [their name].”
  • Post the photos in a gallery, link to media file, 2 columns, size LARGE. Caption with camera settings.
  • Add a second gallery that includes all your 10+ unedited photos.
  • Include TWO paragraphs:
    1. First one to introduce your audience to your subject. Include all the information you gathered from your interview and conversations. 🙂
    2. Second paragraph is to tell me about the shoot. How did you get the shots, equipment used, what the experience was like, what worked well, and what was most challenging, etc.

Publish and turn in on Teams!

Inspo: