Today’s Agenda:
- Edpuzzle video with Questions
- PPT + Photo Series Project: Understanding White Balance
- Catch up on past due assignments
- Feb Photo Challenges due Friday!

Summit High Digital Photography
Follow @SkyHawksPhotography on Instagram! Email: delasa@fusd.net
Today’s Agenda:
Today’s Agenda:
Today’s Agenda:


Due Wednesday Feb. 18th
Open this file for steps, requirements, and visual inspo!
Due Thursday Feb. 19th
Open this file for steps, requirements, and visual inspo!
Clone Yourself!
Due Friday Feb. 20th
Clone Yourself Instructions + Video Tutorial
Professional examples:


Student examples:


Today’s Agenda:
Your Guide to Creating Stunning High-Speed Splash Photos Without Flash
Objective: Work in groups of 3 to capture water splashes that are focused & frozen using fast shutter speeds.
Take turns in your group roles: photographer, item dropper, and backdrop holder.
Each photographer will need to photograph a different item and may need about 5 tries just to capture one good splash. Aim to capture 3 good splashes.

More Tips!
Title post: “My Splash Photos”.
Publish and turn in on Teams.
Student examples:


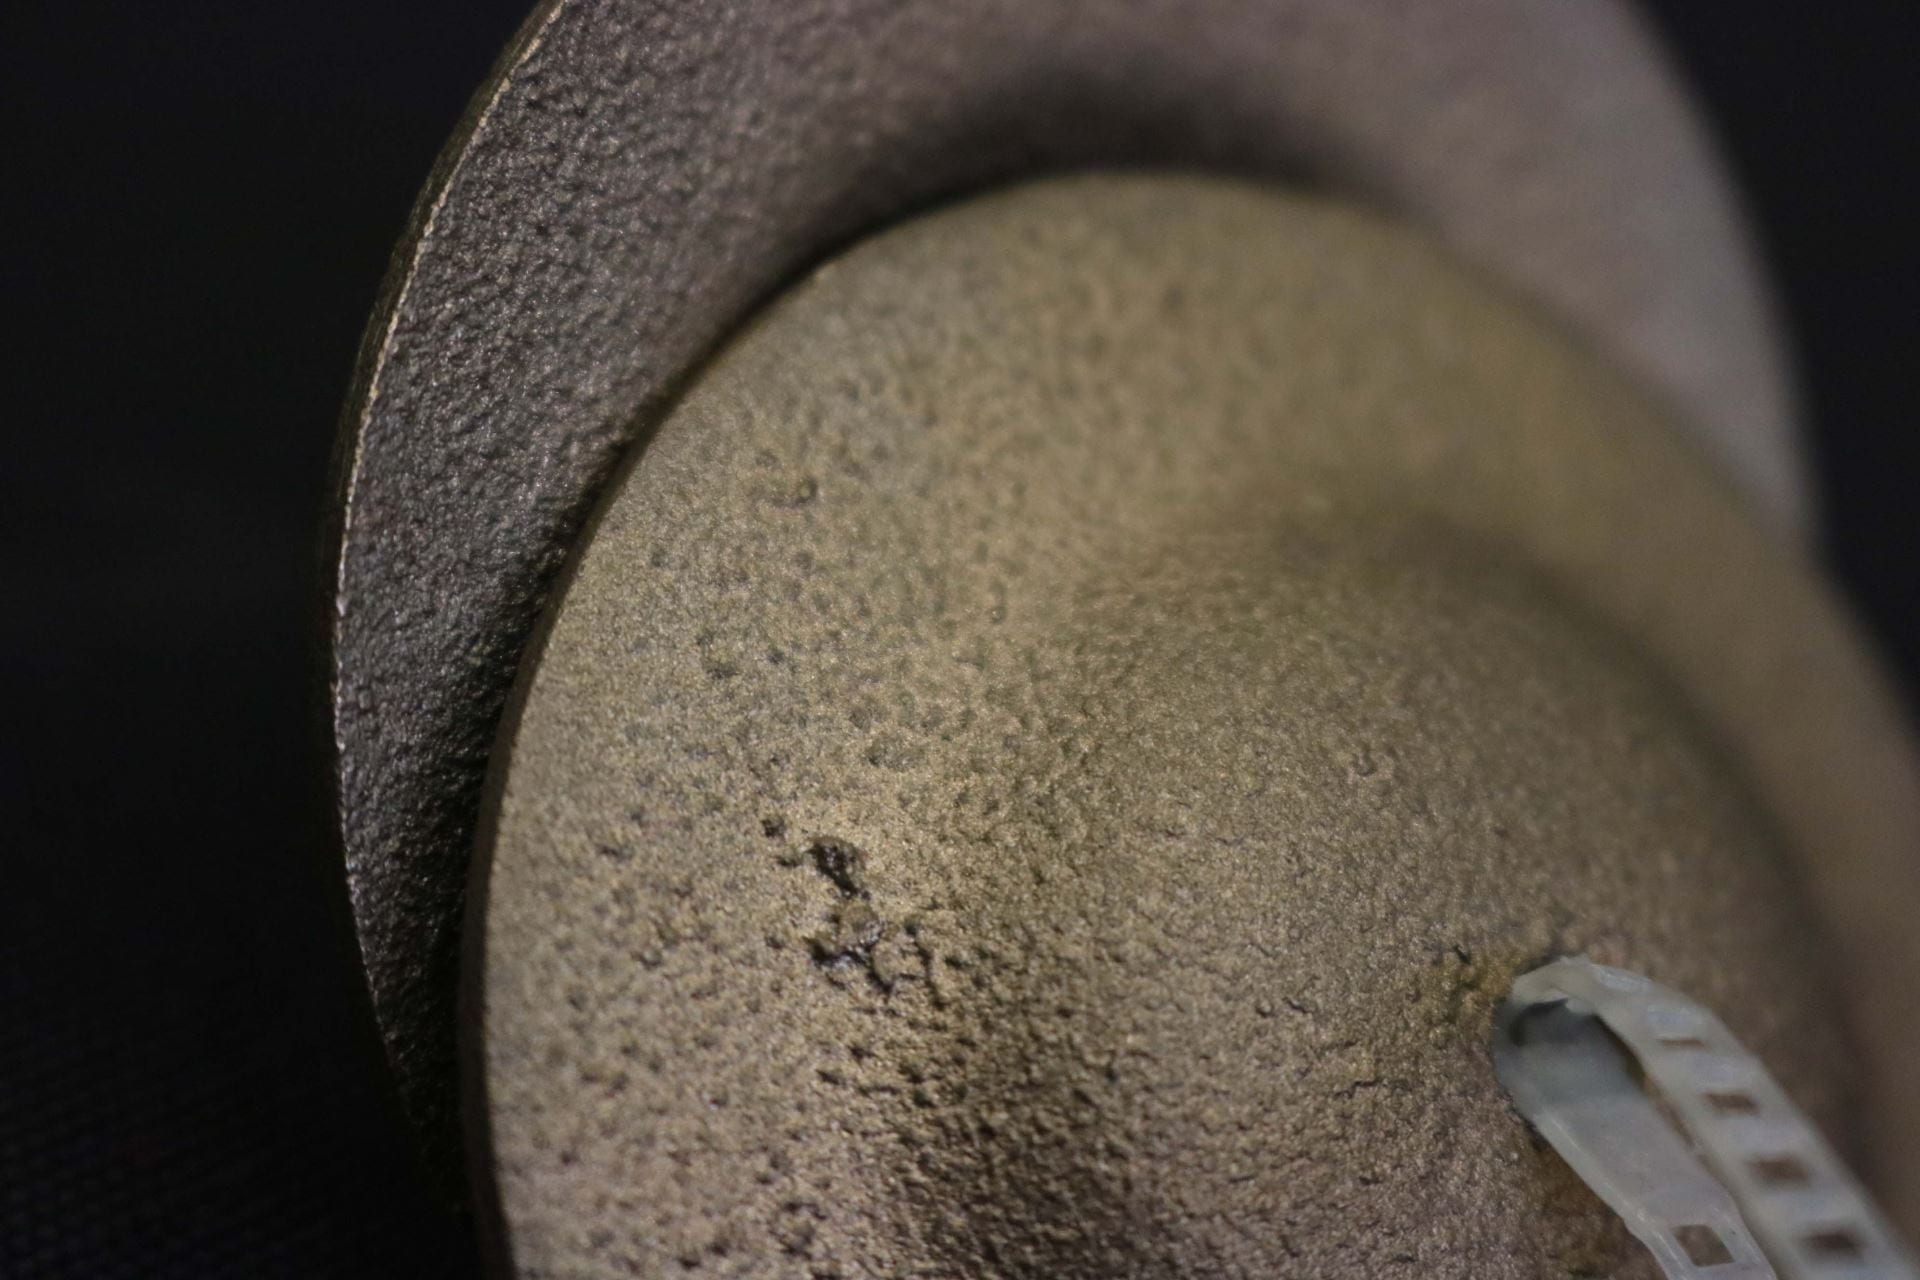
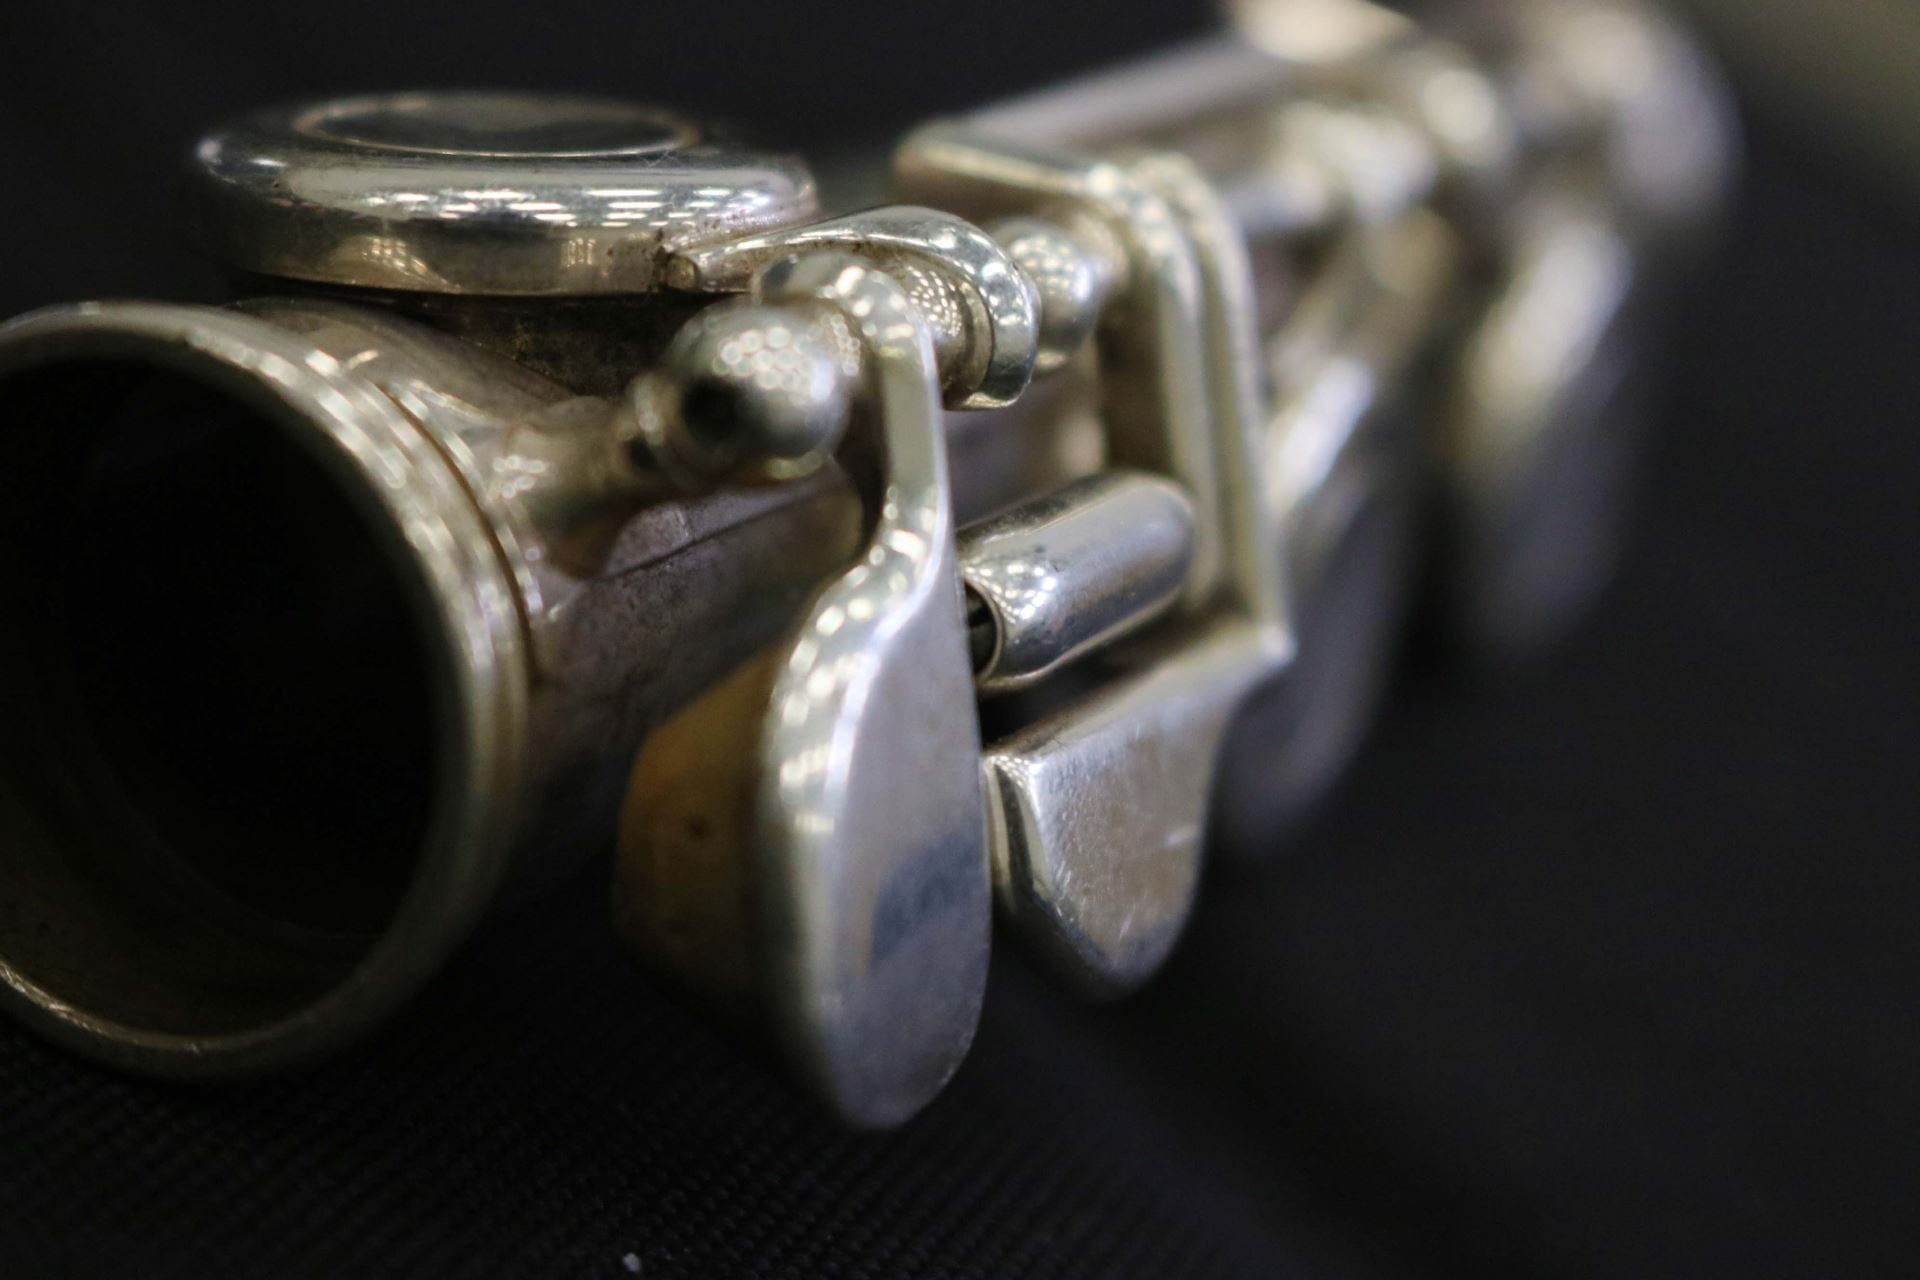
Macro Photography PowerPoint with Tips & Tricks!
Project Due Wednesday 2/11/26

What you’ll need:
In addition to the blog post instructions below, add a brief explanation to your viewers about what macro photography is and summarize 8 of the tips shared from the PowerPoint (there are more than 10 tips to choose from).


How to Check Your Camera Settings on Saved Photos