Today’s Agenda:
- Intro to Environmental Portrait Assignment (answer questions on Word doc)
- Critique Blog Post
- Video Playlist: Anchoring and Lighting
- Create groups of 2-3 for upcoming Environmental Portrait project (we will most likely begin photo shoots on Monday)
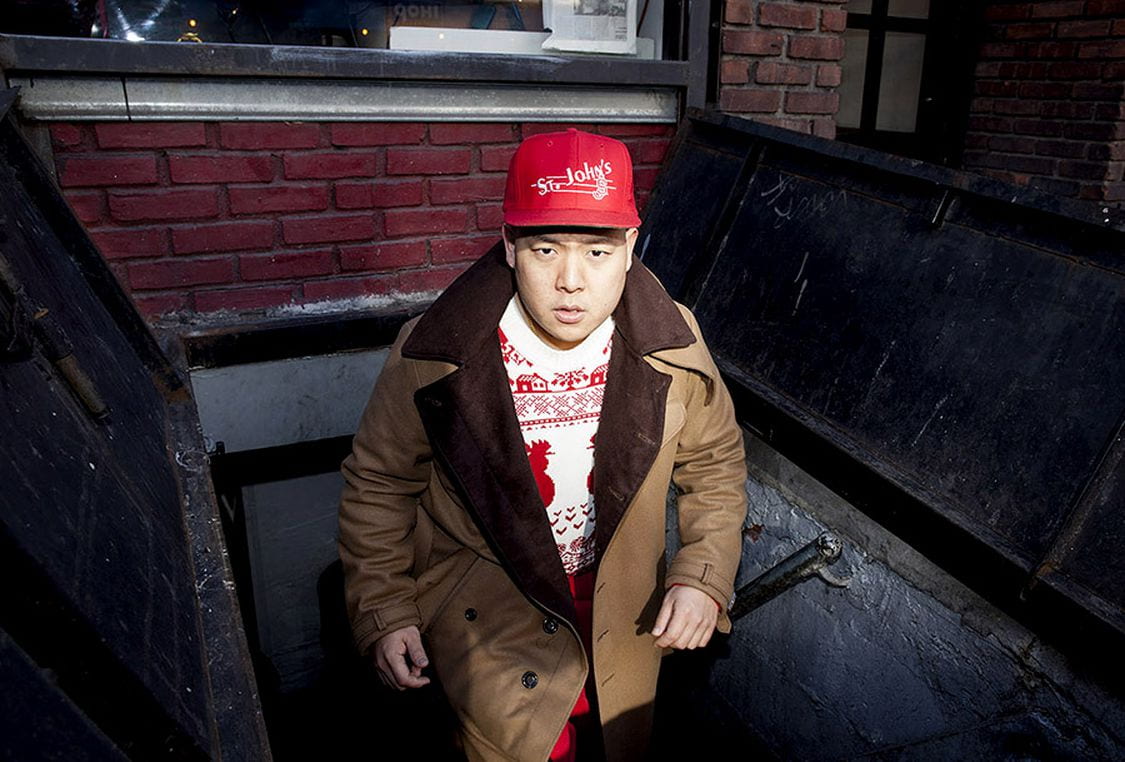
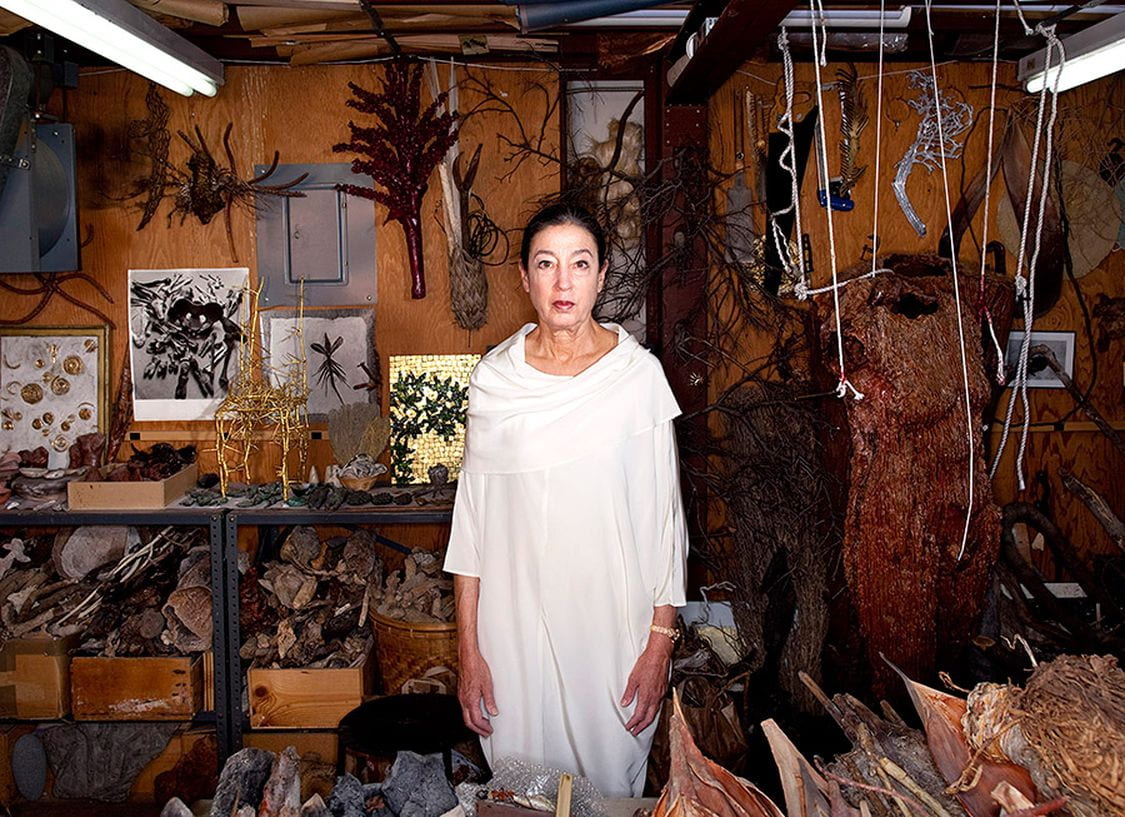
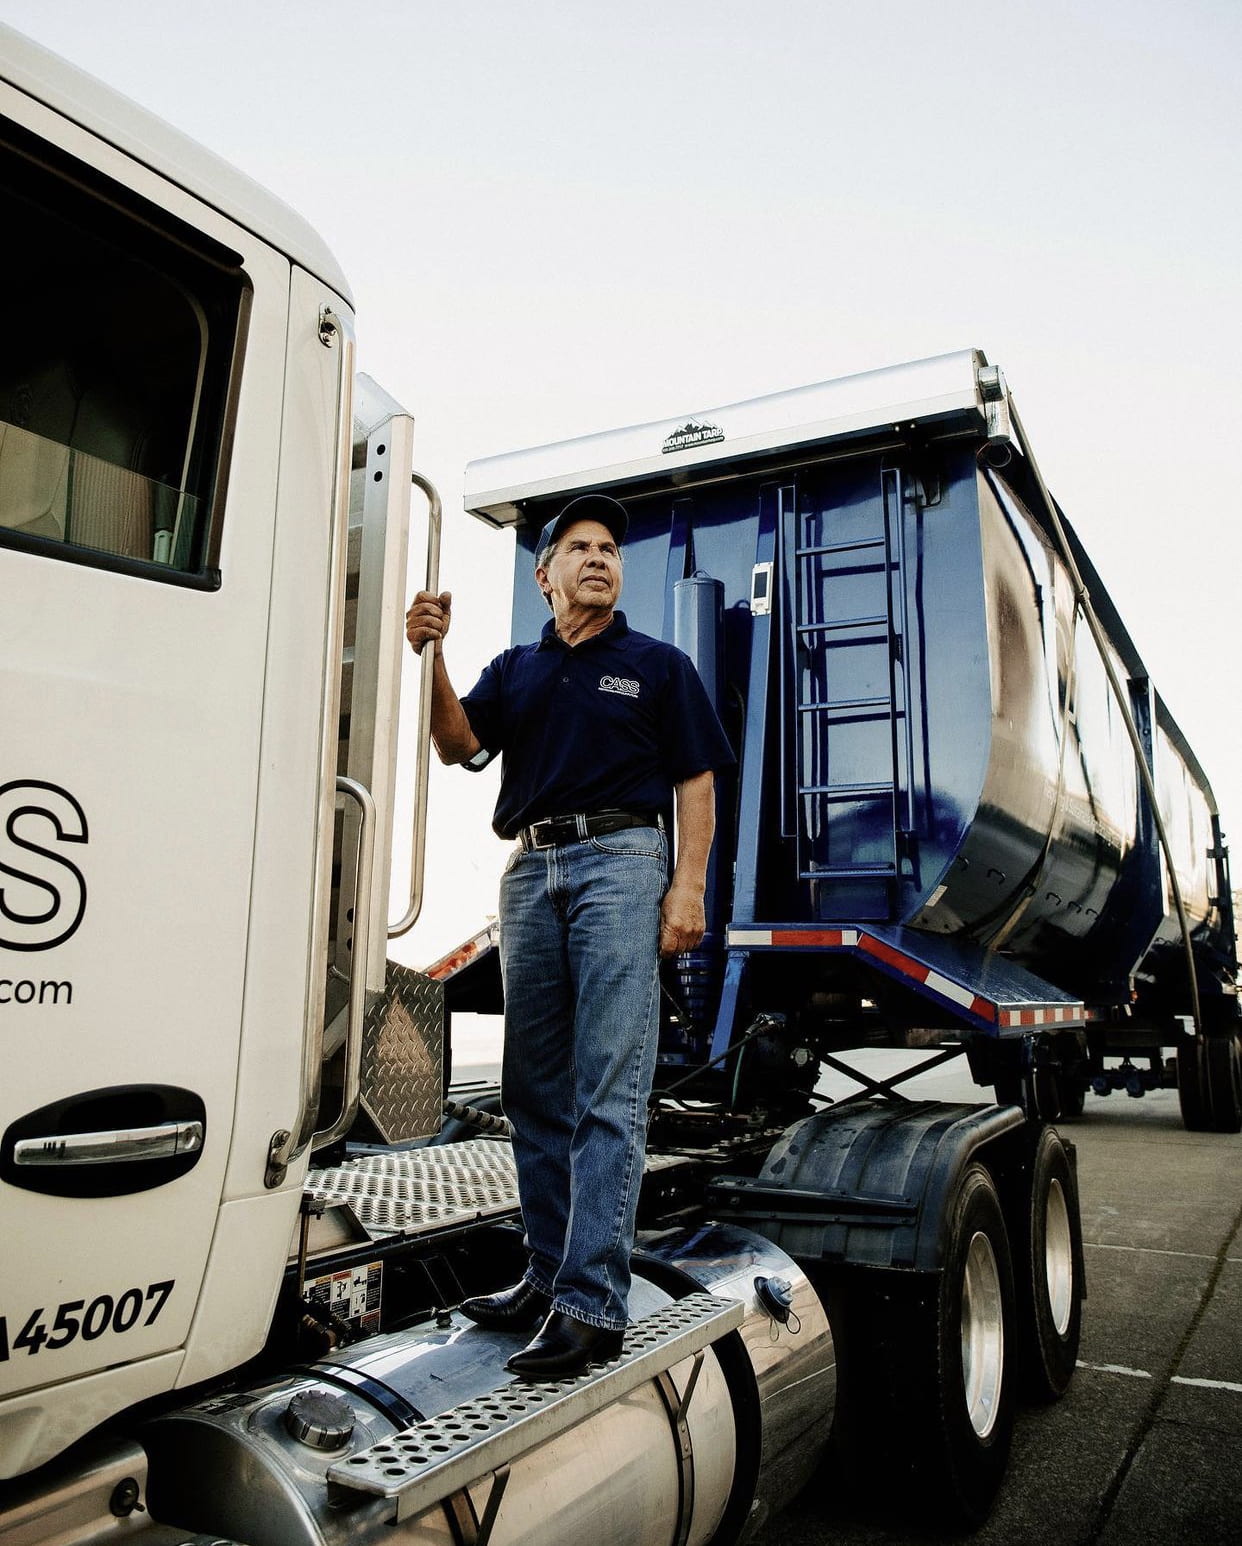
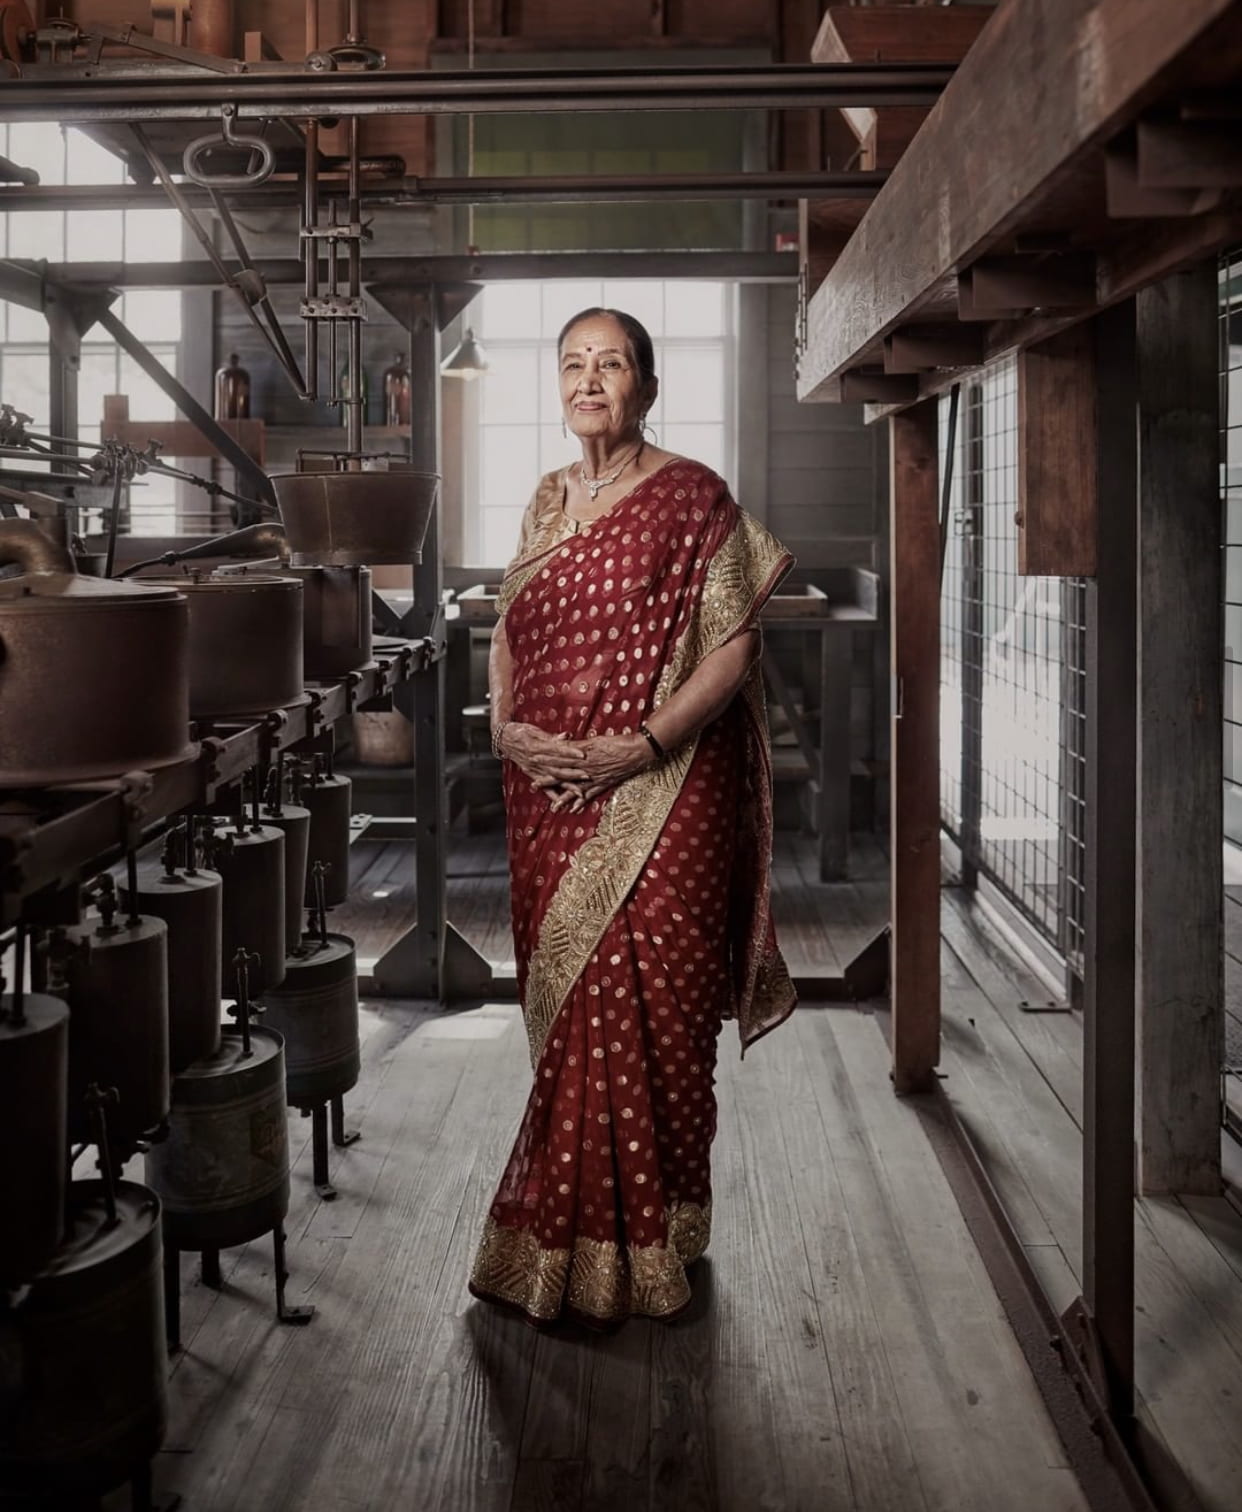
Environmental Group Project
Objective: to make an environmental portrait of your partner on a location on school campus that expresses something about them.
Photographs must be well exposed & adequately lit, well composed, and in sharp focus.
Consider using on or off-camera flash and/or reflector to add light or fill in shadows.
Step 1: Interview.
If you have a group of 3, decide who will photograph who. Once you know who your subject is, you need to conduct a little interview. Here are some question suggestions:
- What is your name?
- What grade are you in and how old are you?
- Are you involved in any clubs, sports, or other organizations on campus?
- What’s your favorite subject or class?
- What are some of the spots on campus that you typically hang out at or have fond memories of?
- What place(s) on campus can express something about you as a student here at Summit?
- What would you like the portrait to show or say about you as a student?
Step 2: Plan It Out.
Take a camera and pass on your own to check out the locations you consider using for your subject’s portraits. I suggest having two places in mind before stepping out in case one spot doesn’t work out (some places may require admin permission ahead of time-let me know if you need help with this).
- Observe the lighting situation and take some test shots to figure out possible camera settings.
- Also note if you’ll need only a reflector or a flash unit as well.
- Visualize the portrait and where you will position your subject and what you’ll have them do (stand, sit, lean, etc.)
- Take a few test shots without your subject. You will need to save these photos for later.
Step 3: Photograph!
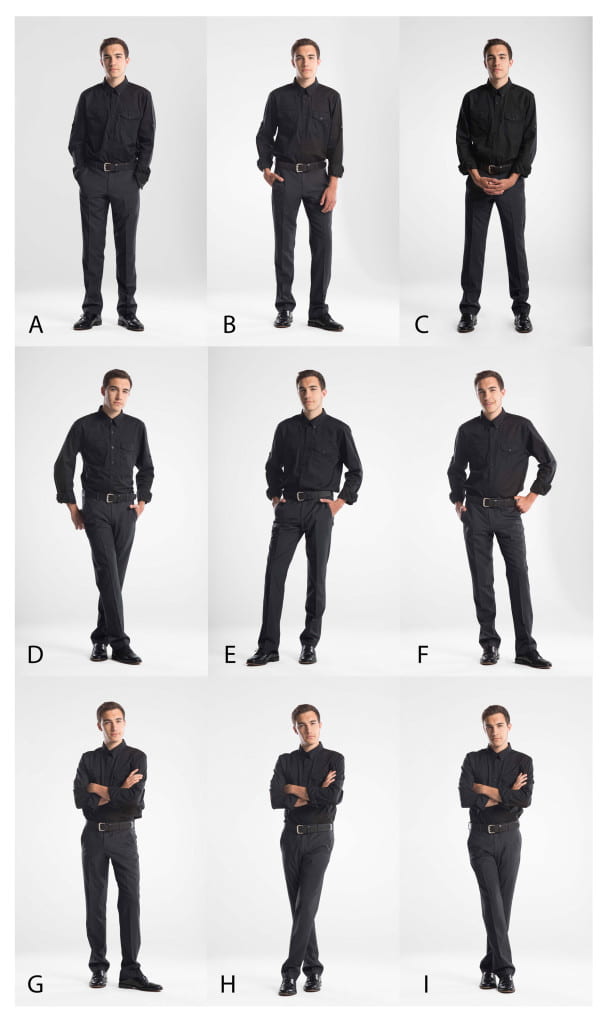
- Take at least 10 photos of your subject at the chosen location. Just like you saw Chris Orwig in the anchoring video, you may need to change your camera height, composition, and subject’s positions to get the best results.
- Talk to your subject as you photograph to give directions and compliments. 🙂
- Save the photos you took to your OneDrive.
Step 4: Edit.
Edit the best 2-3 portraits in Lightroom. Consider some of the techniques you’ve been picking up from past tutorials. Save as a JPEG large, name it with your subject’s name (spell it correctly!).
Step 5: Post and Turn In.
- Create a blog post titled, “Environmental Portraits of [their name].”
- Post the photos in a gallery, link to media file, 2 columns, size LARGE. Caption with camera settings.
- Add a second gallery that includes all your 10+ unedited photos.
- Include TWO paragraphs:
-
- First one to introduce your audience to your subject. Include all the information you gathered from your interview and conversations. 🙂
- Second paragraph is to tell me about the shoot. How did you get the shots, equipment used, what the experience was like, what worked well, and what was most challenging, etc.
Publish and turn in on Teams!
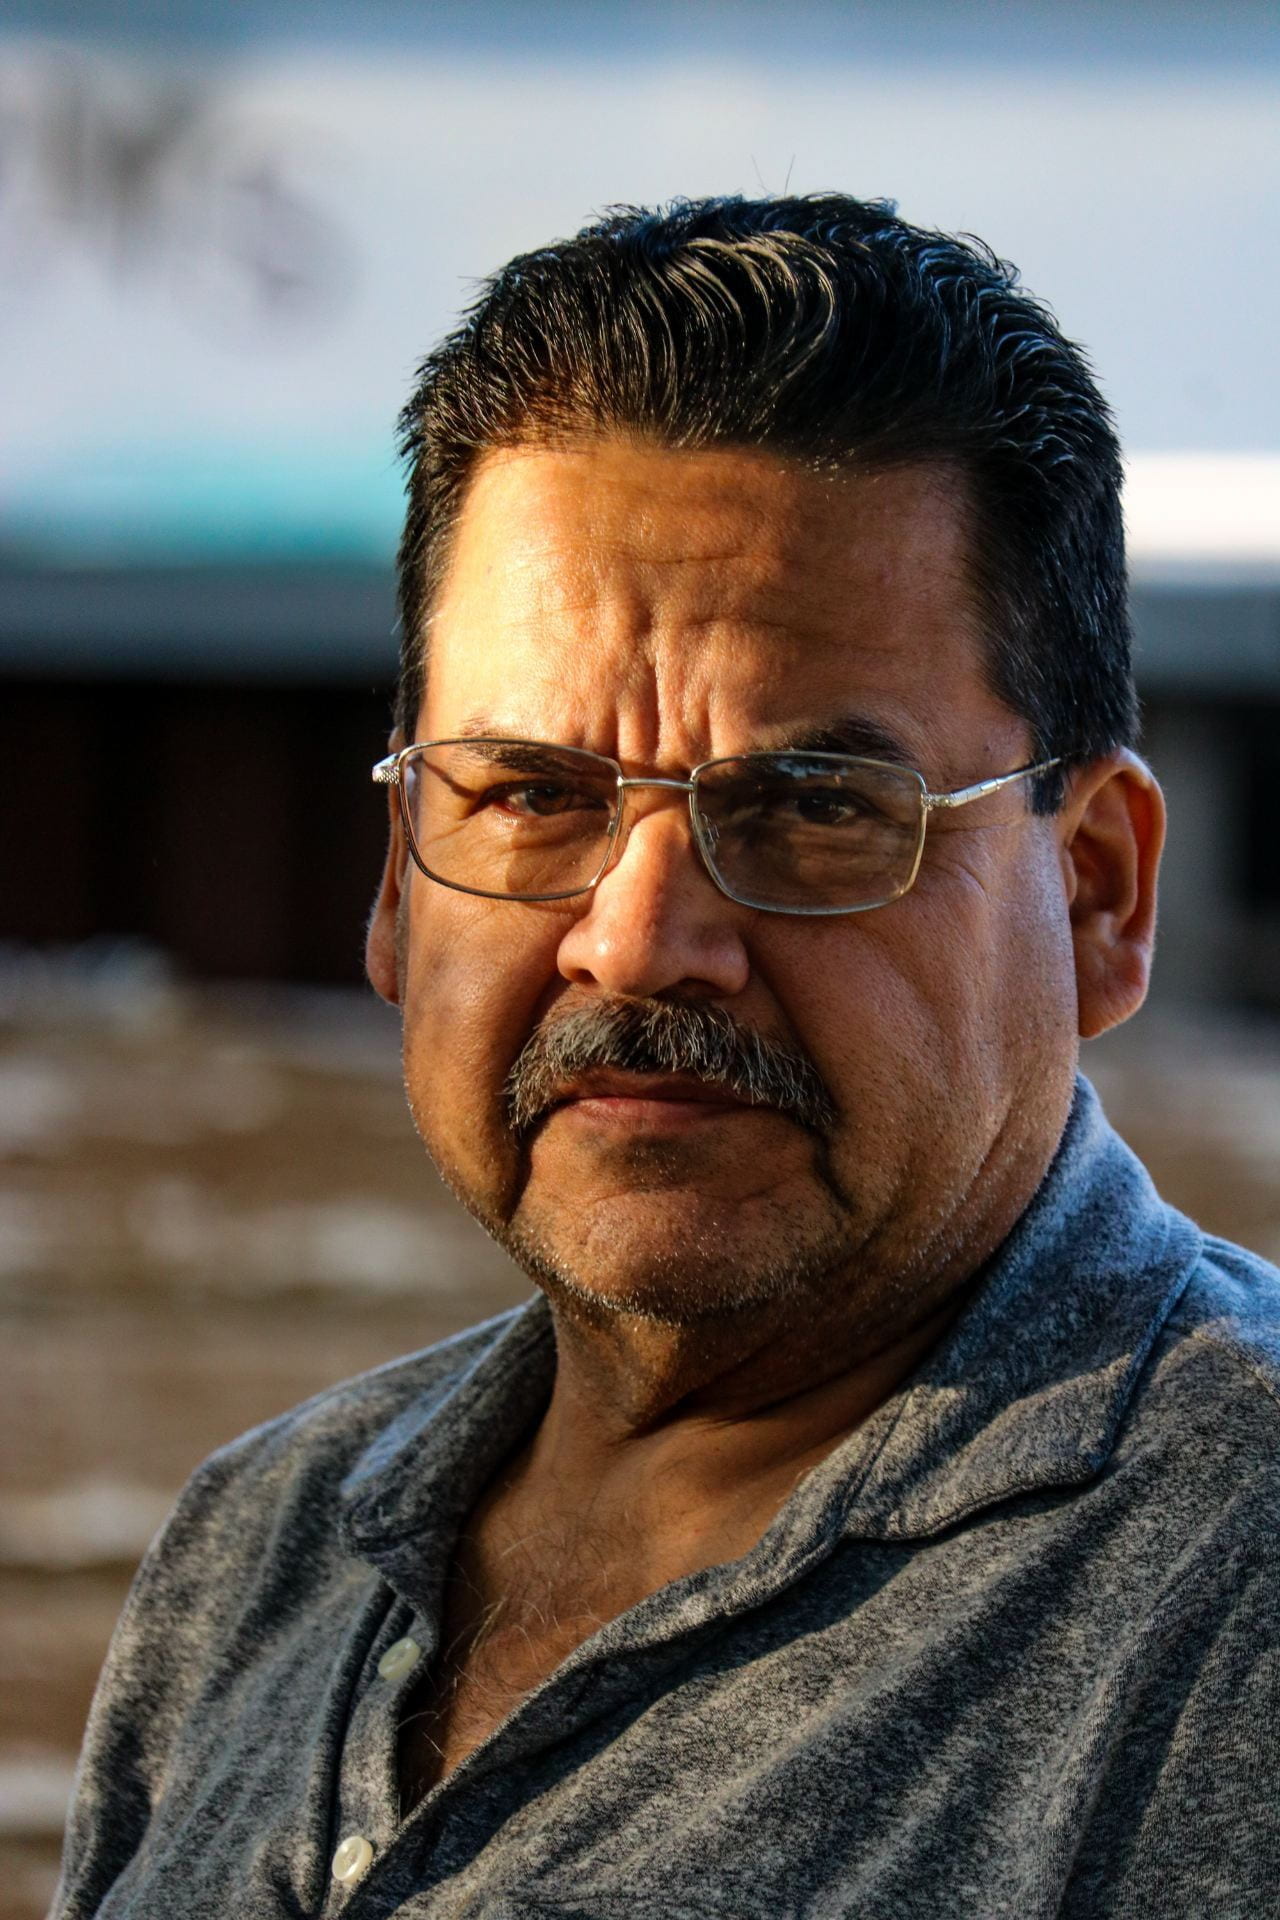
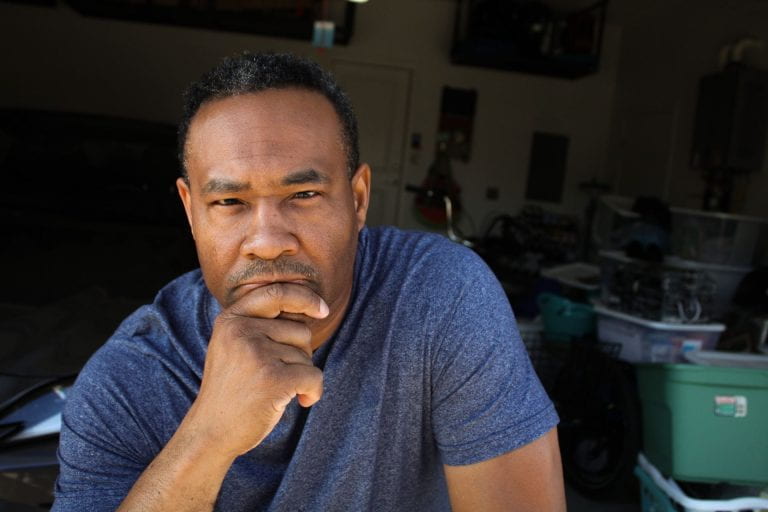
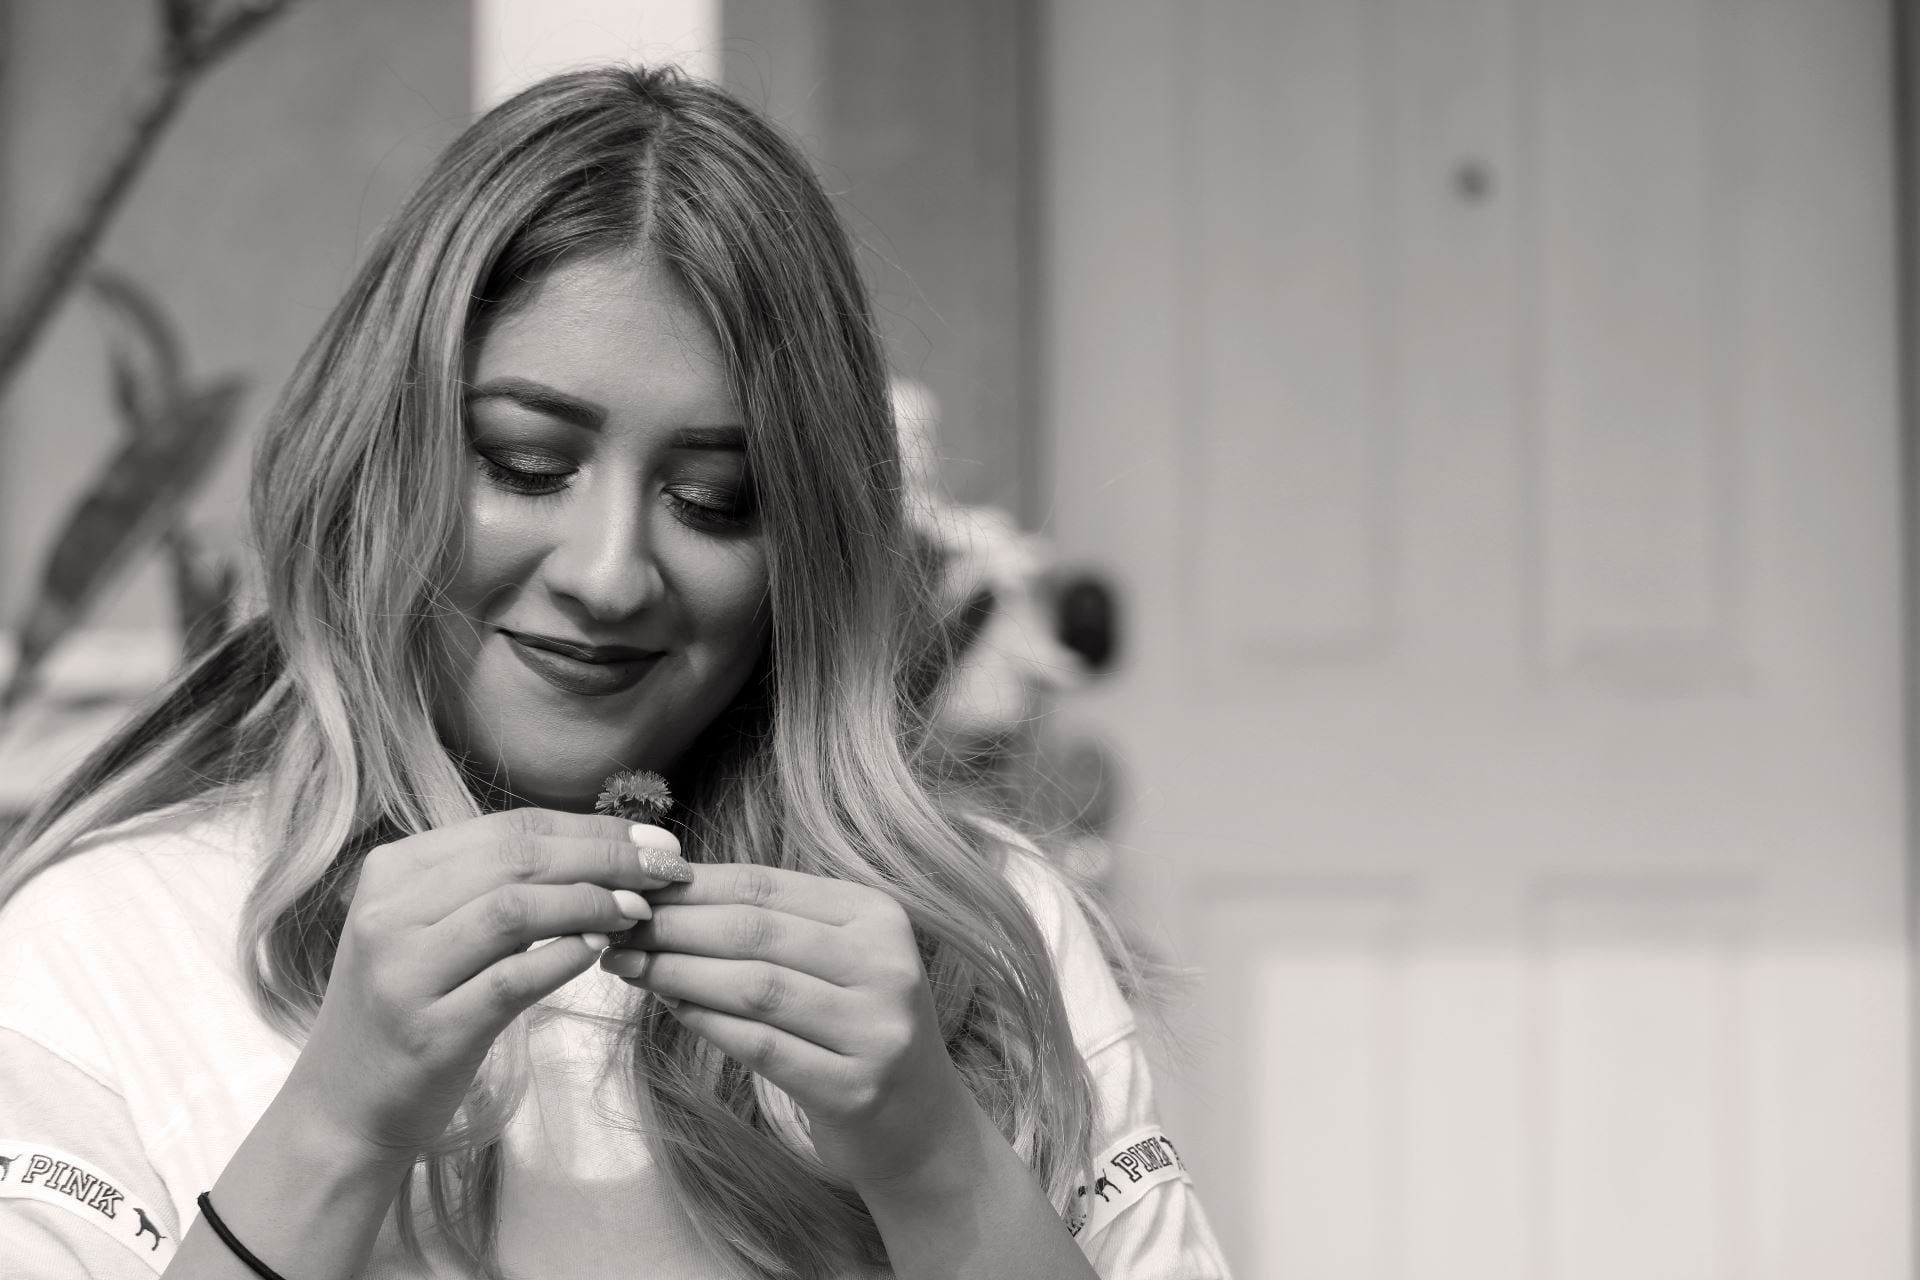
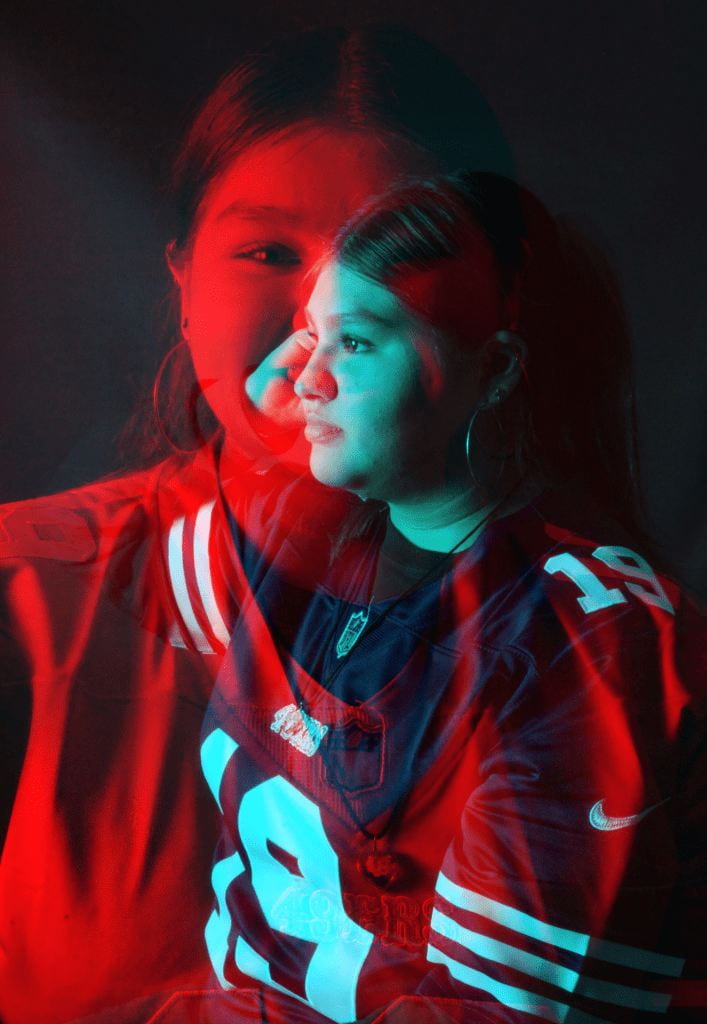
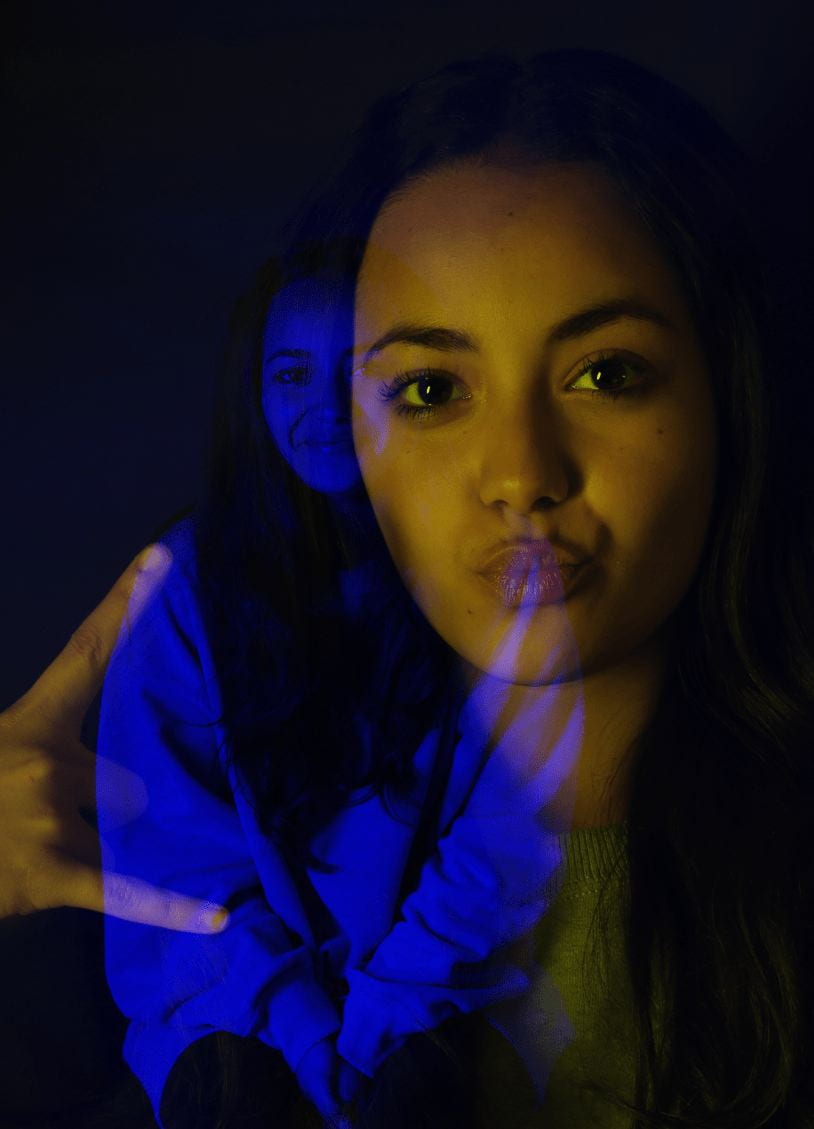
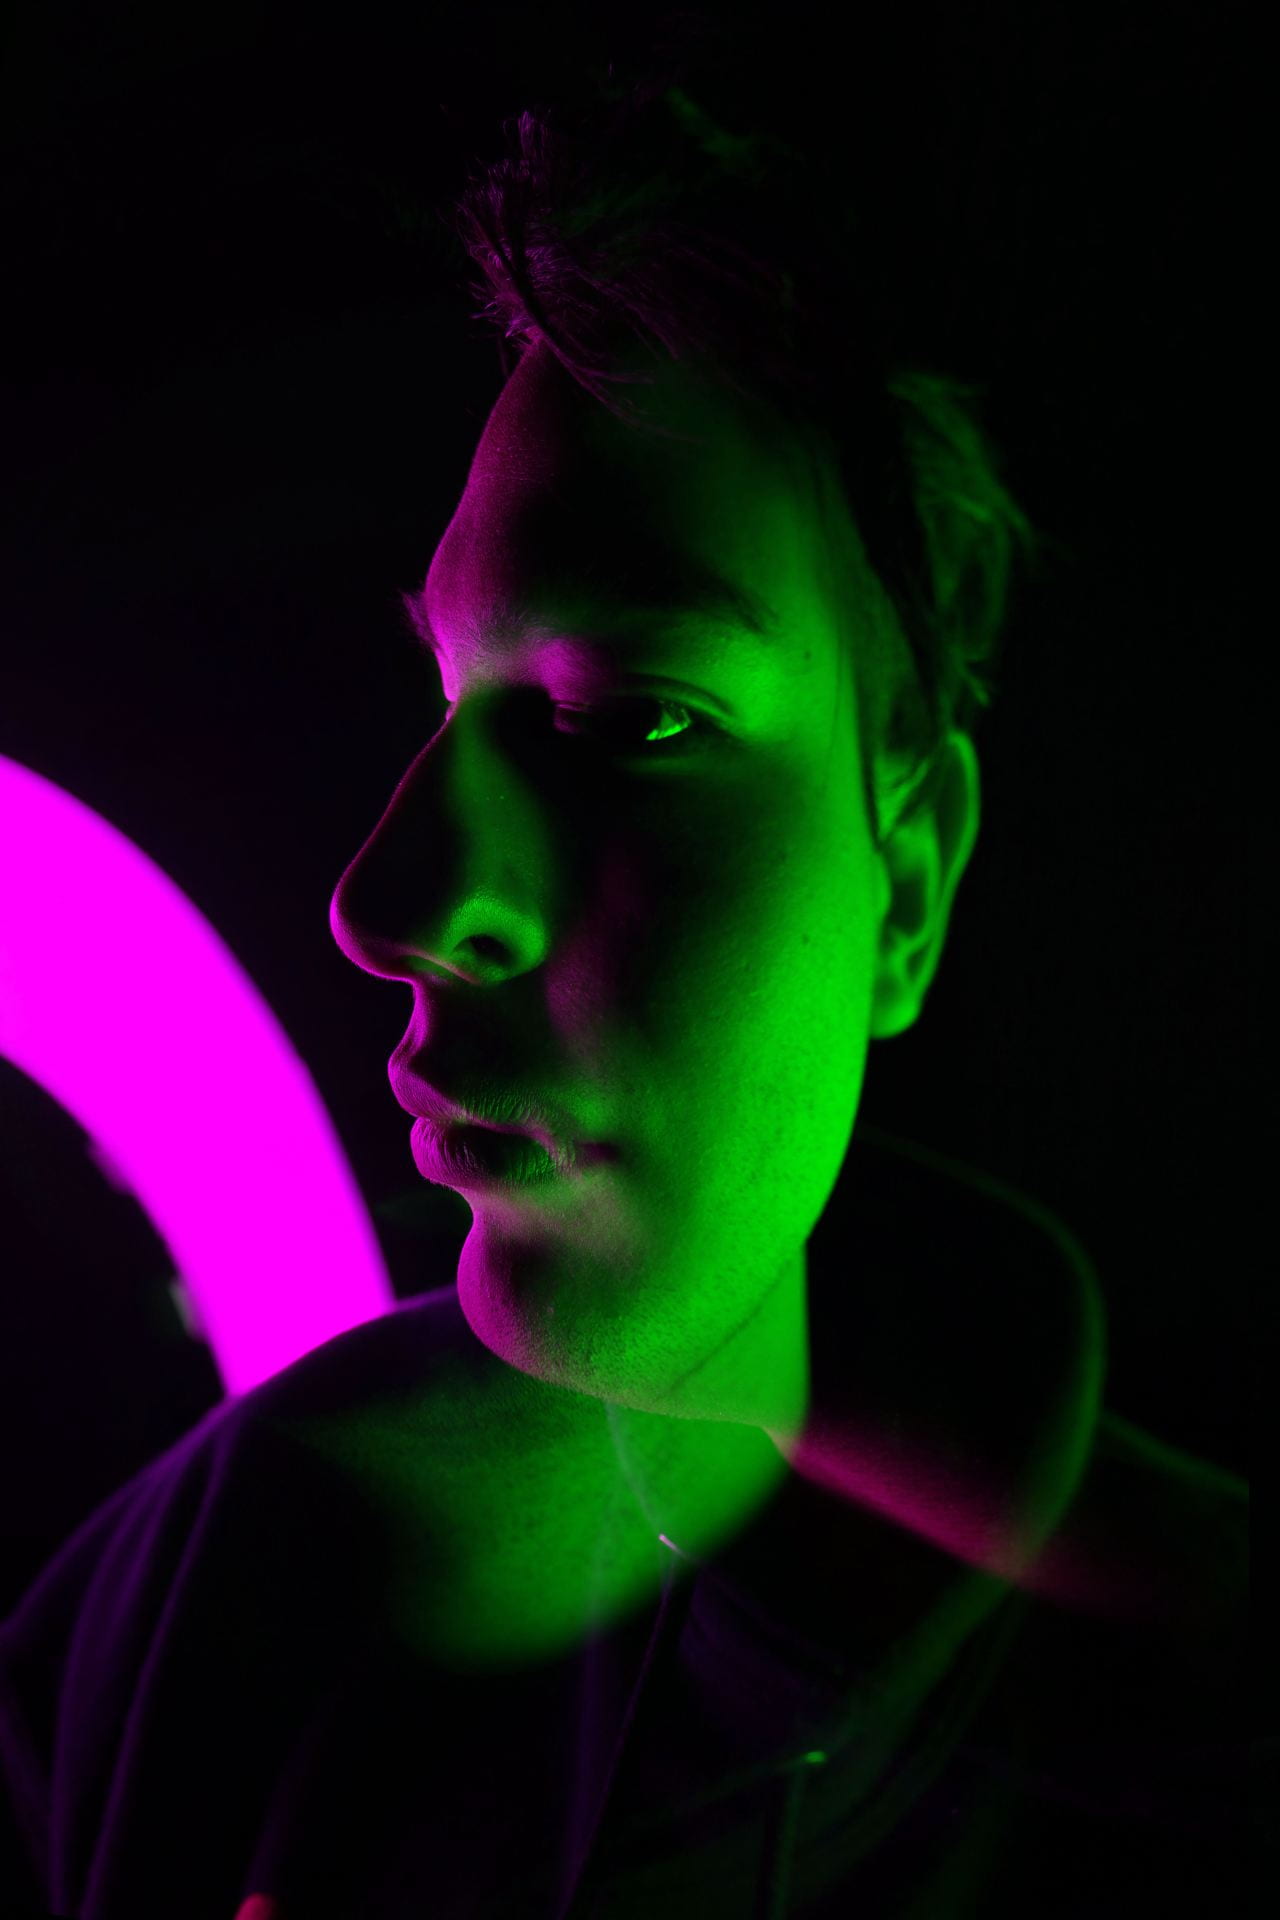
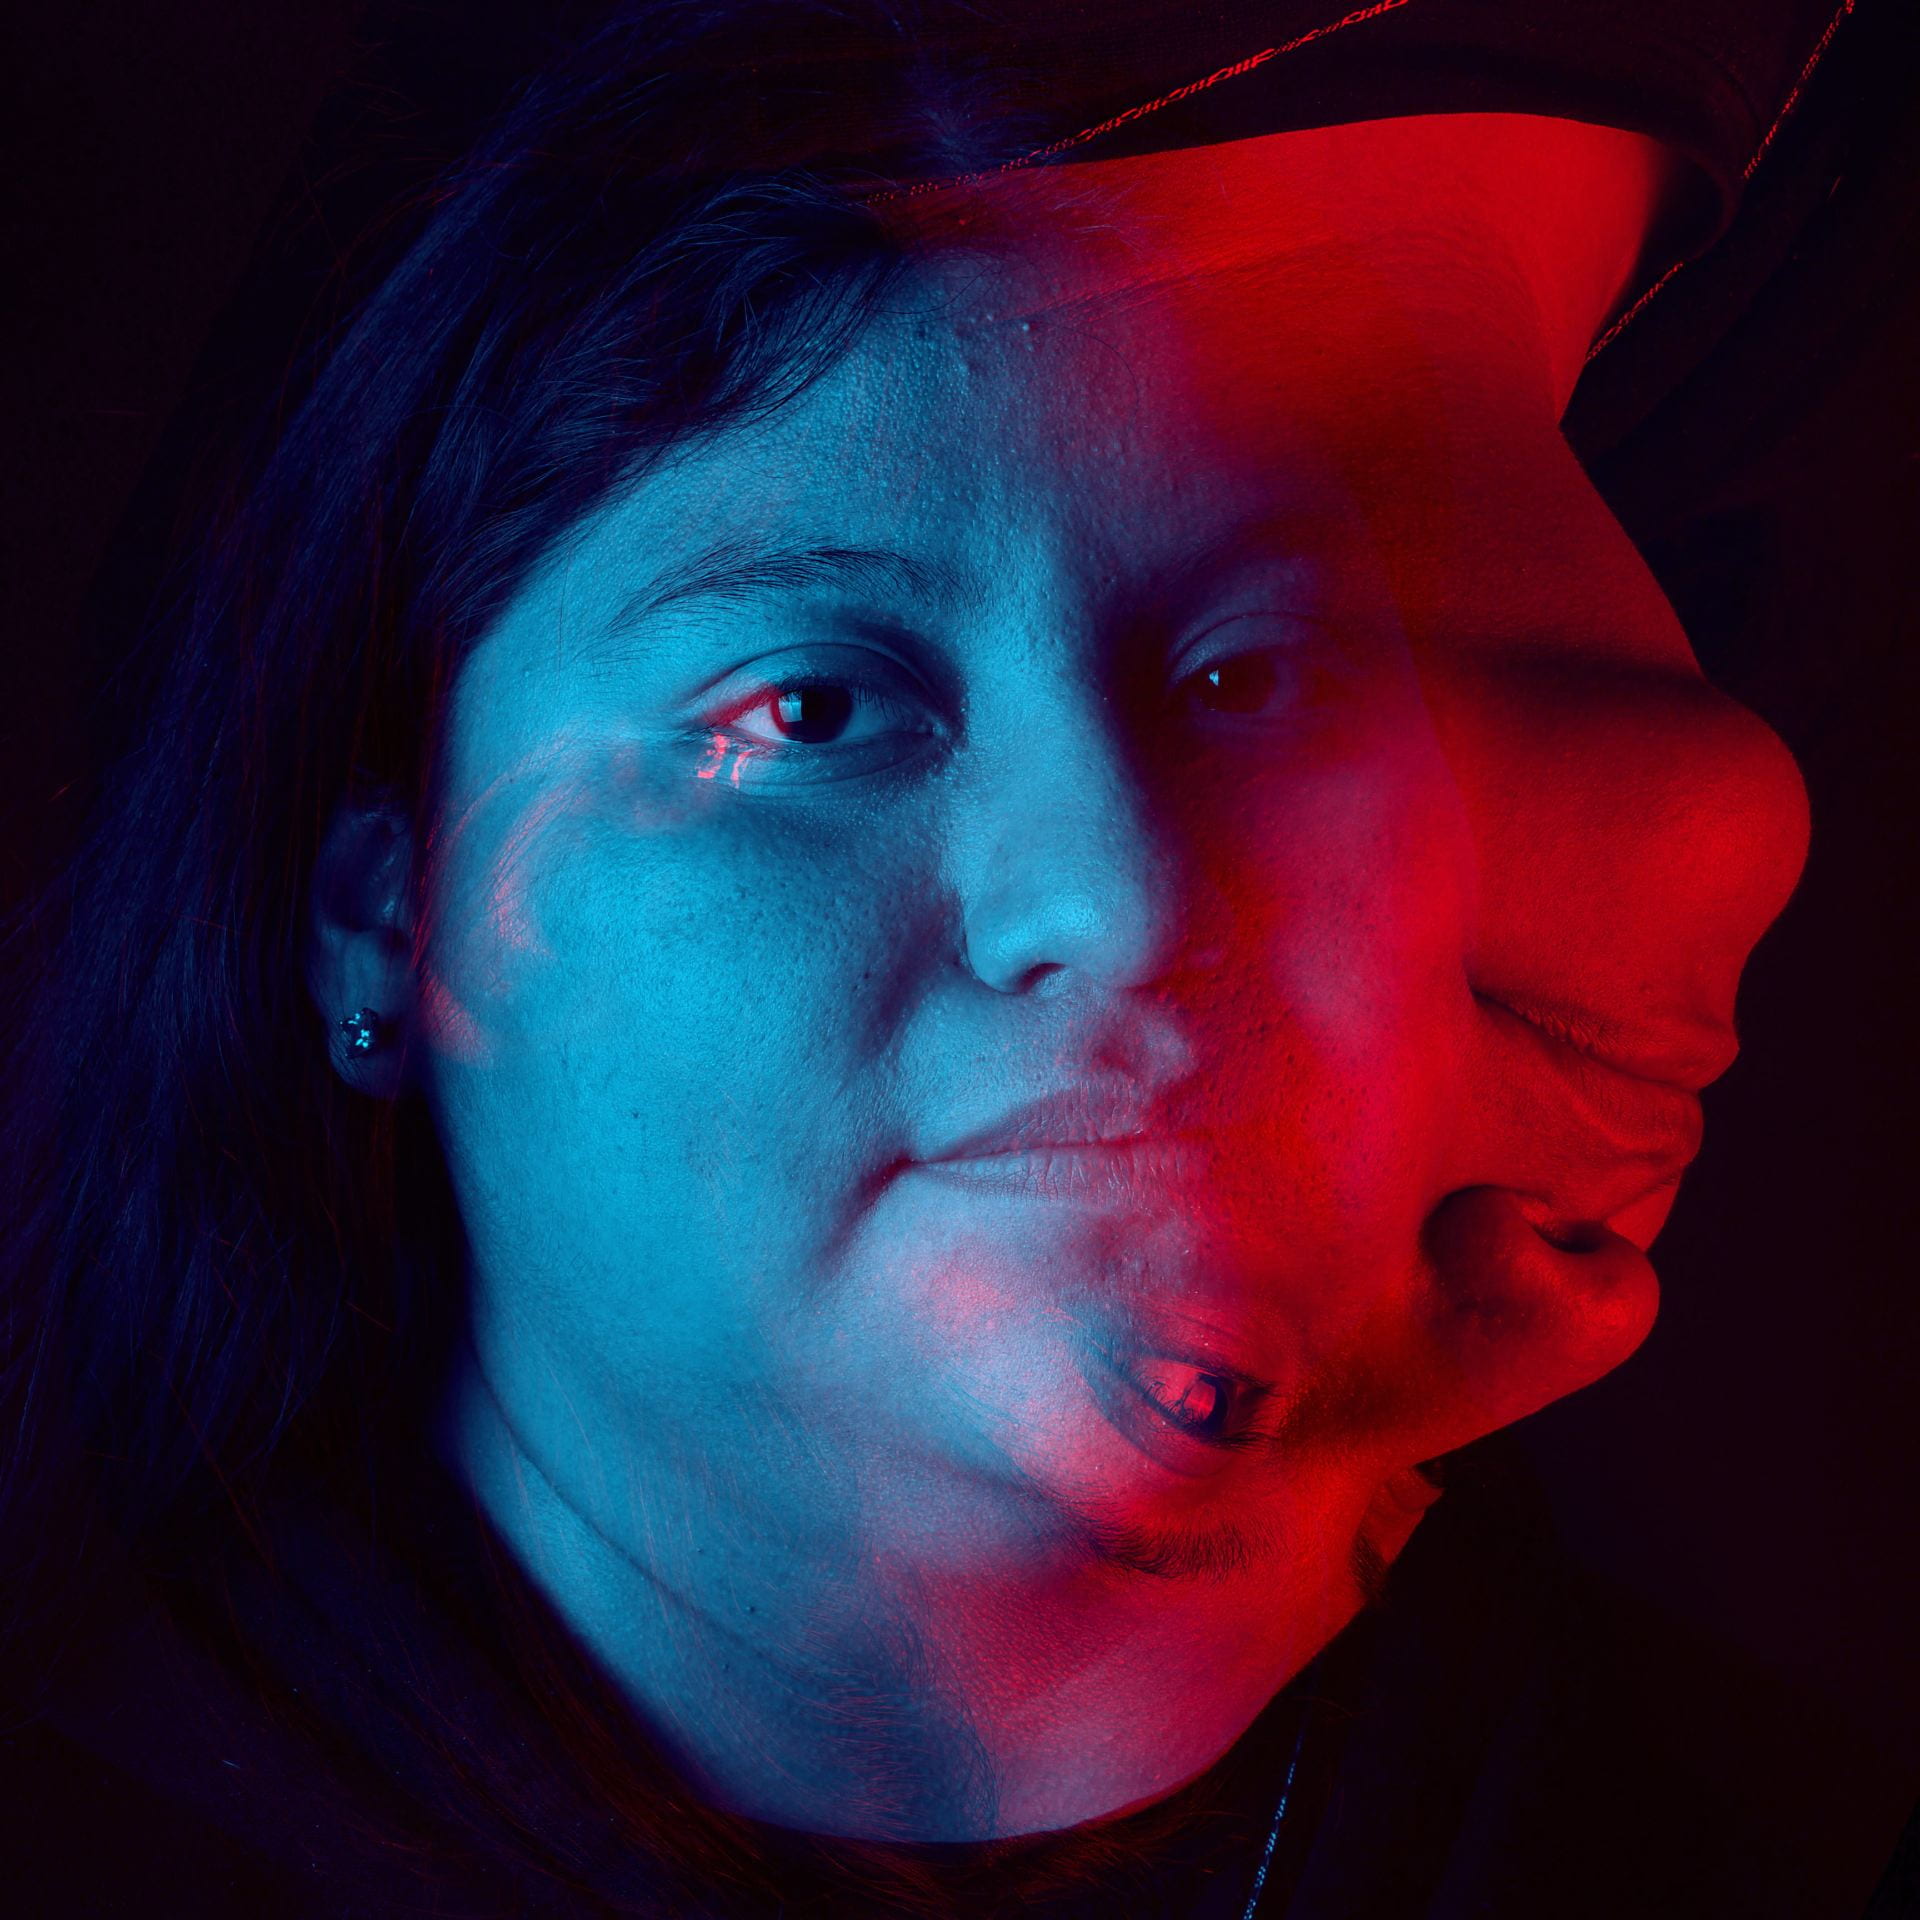
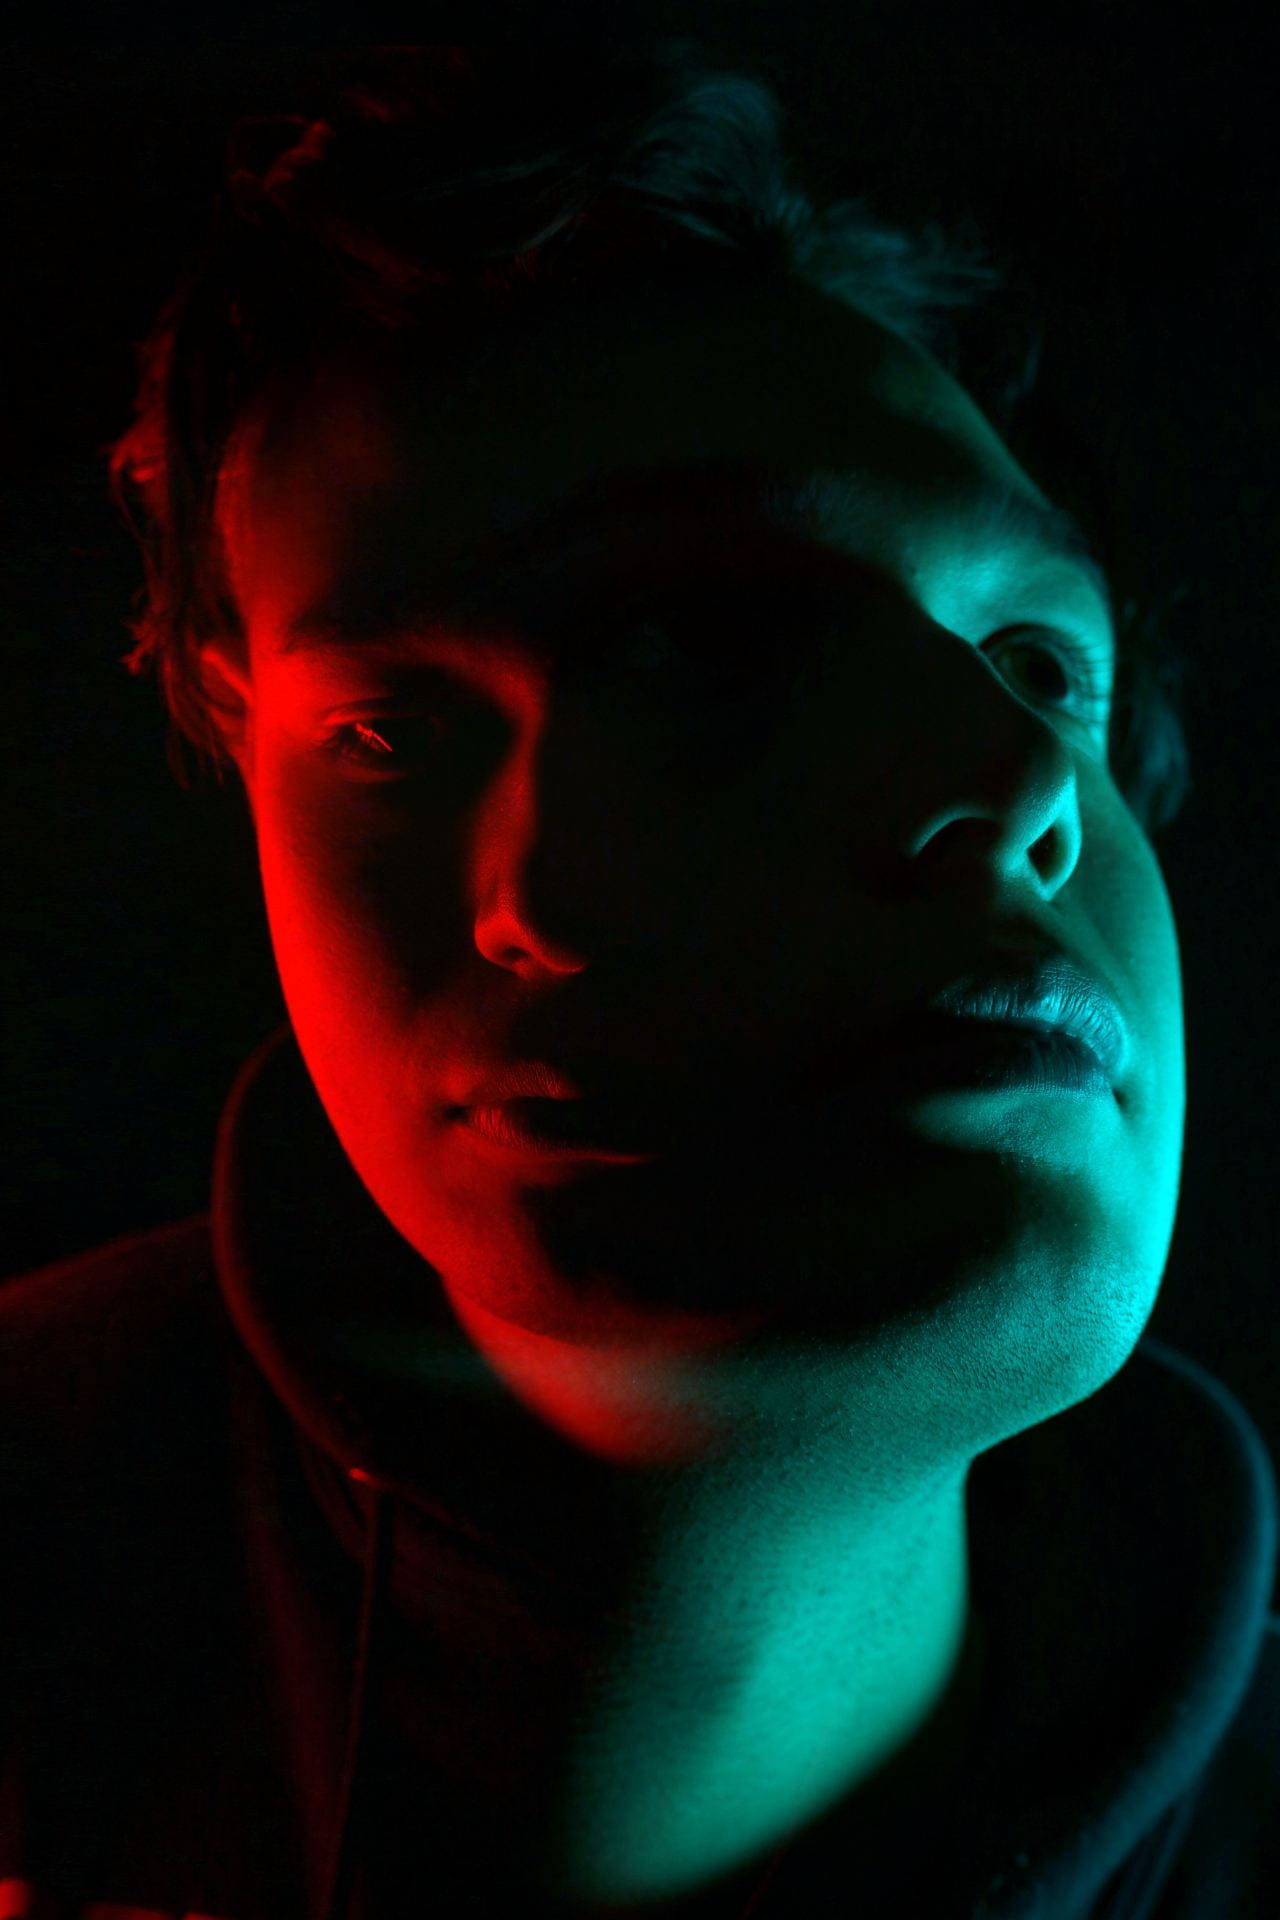
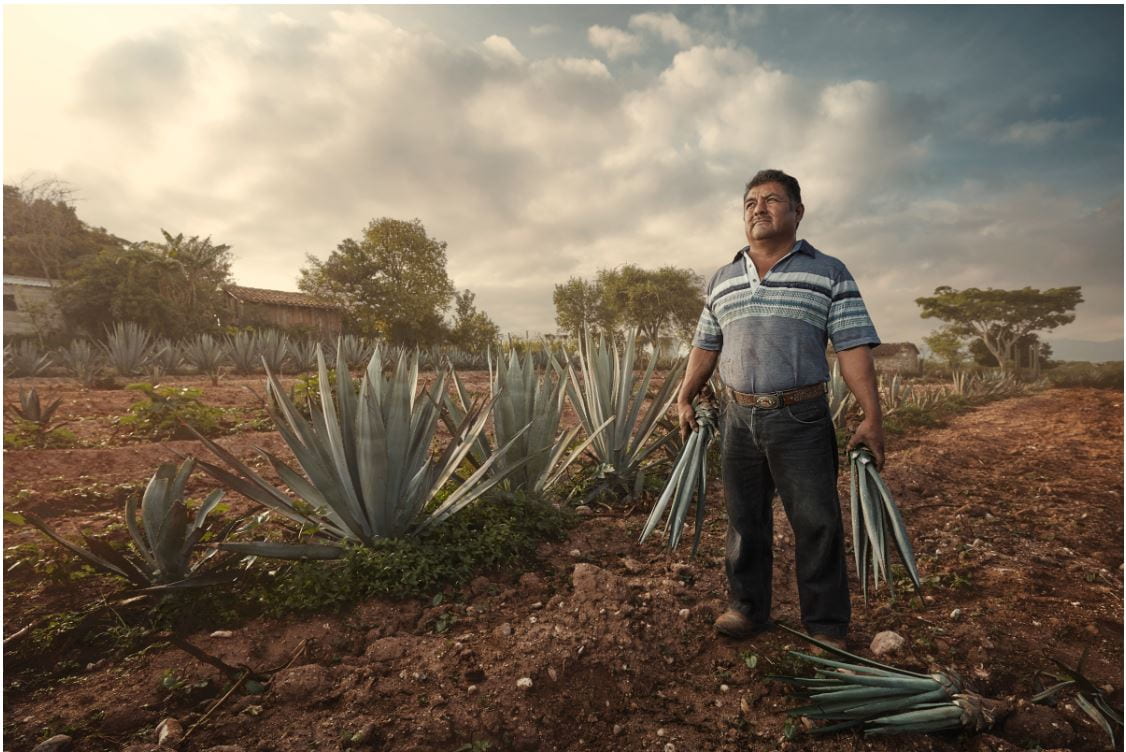
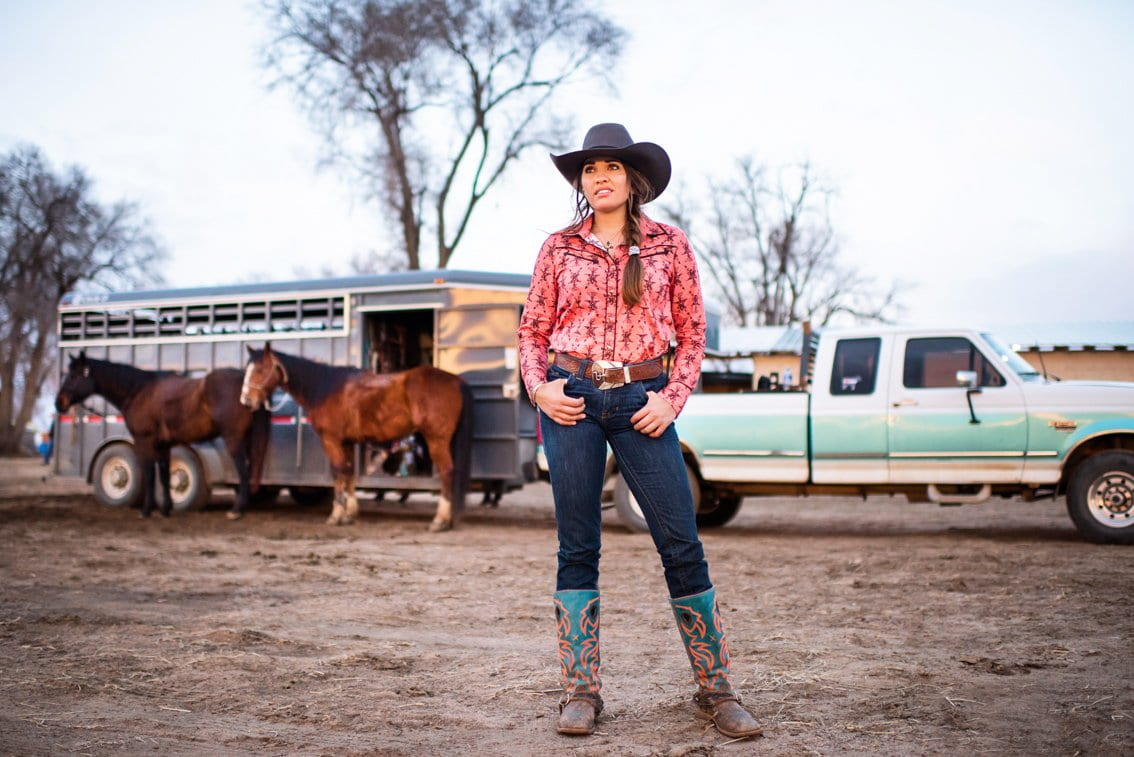
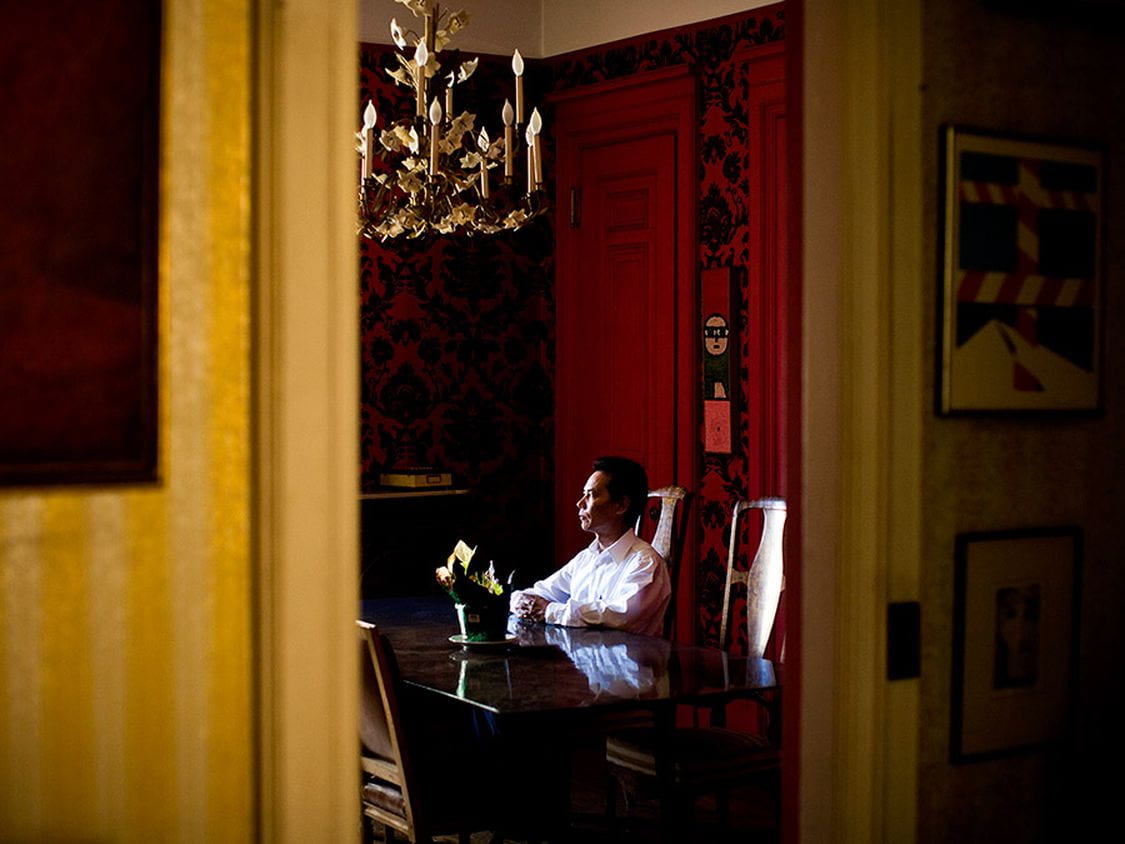
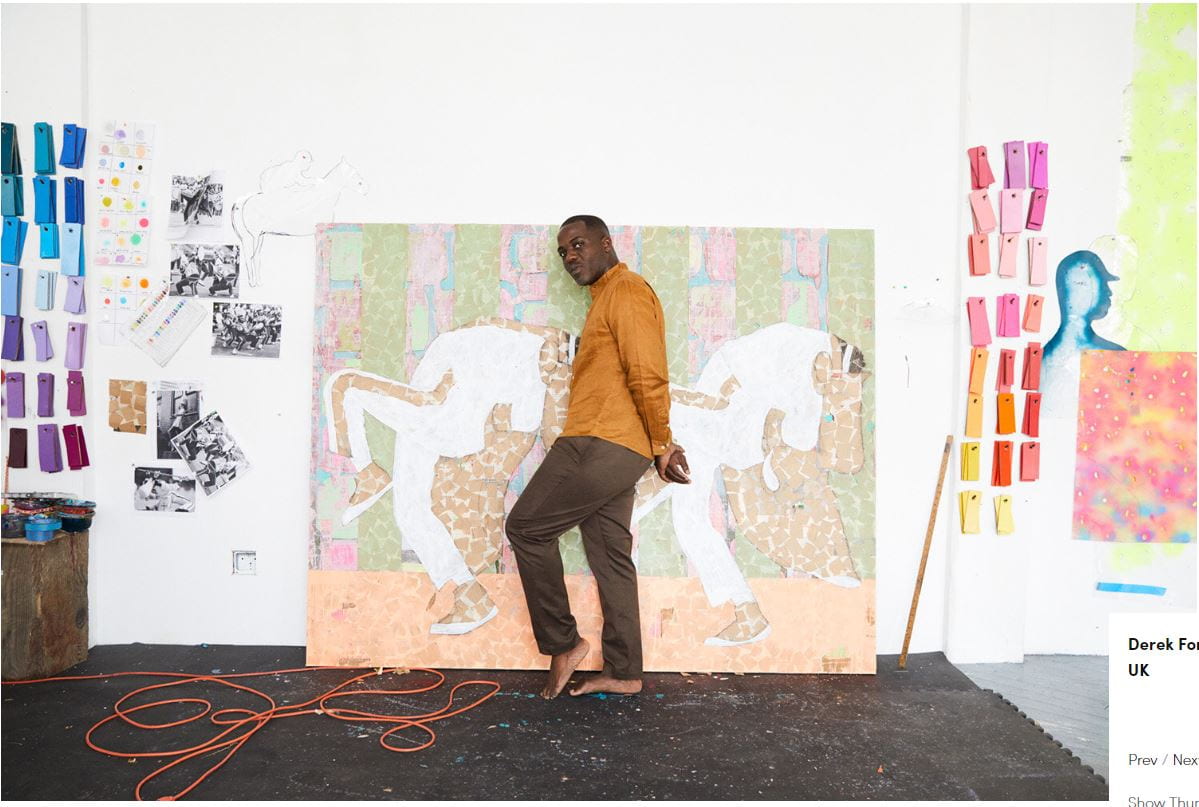
Inspo: